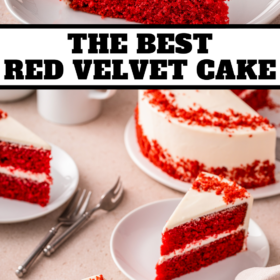
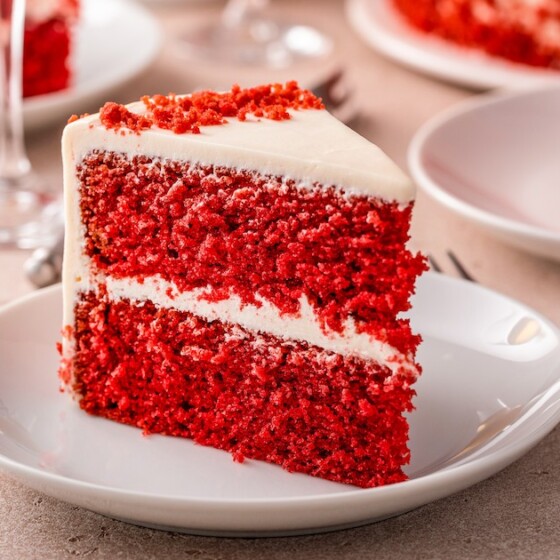
This Red Velvet Dream Cake is the best recipe for a traditional red velvet cake with a moist, light crumb and decadent chocolatey flavor! Covered in homemade cream cheese frosting, it’s a stunning dessert that tastes even better than it looks.

Why You’ll Love This Dreamy Red Velvet Cake
There’s so much to love about this old-fashioned cake! Let’s take a look:
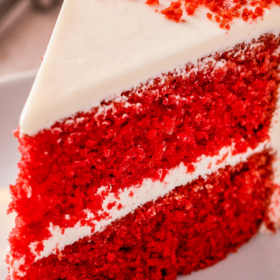
- Moist and Light: “Velvet” is a very accurate word to use for this cake, because the texture is so smooth. You’ll love the velvety texture of this cake.
- Tangy and Sweet: A good red velvet cake should have a creamy, tangy flavor to it. This comes from the buttermilk, and it’s wonderful!
- Chocolate: Need I say more? Chocolate, you guys.
- Festive: Red velvet is just so pretty, especially with all of that snowy-white frosting. It’s perfect for Christmas, Valentine’s Day, or just because.

Is a Red Velvet Cake Just a Chocolate Cake?
No, no, no – red velvet cake is not just your average chocolate cake. (Although I love me a good chocolate cake, as well.) They are two very different desserts. Some people think that red velvet simply means taking a vanilla cake, and coloring it red with food coloring. Looking at you, grocery stores. This isn’t how you make a good red velvet cake, either.
In fact, this special dessert gets its signature color from… chemistry? Yep, that’s right. Old-timey recipes don’t call for food coloring – the original red velvet cake got its color from a reaction between the sour ingredients (such as buttermilk) and cocoa powder in the recipe, which gave the cake a reddish color.
These days, most people add a bit of food coloring as well, to enhance the red color and make the cake extra pretty. That’s what I do, and I think it really adds the perfect finishing touch.
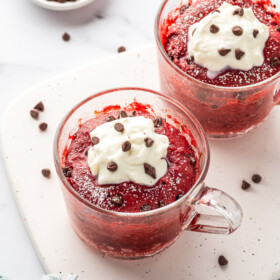
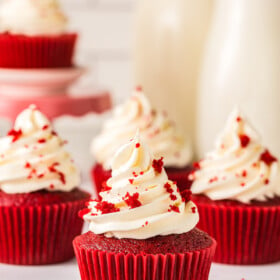
(If you love all things red velvet, then you have to try this Red Velvet Mug Cake and Red Velvet Cupcakes too!)

Recipe Ingredients
This is a classic red velvet recipe. It has a little chocolate, buttermilk, and distilled white vinegar (yes, you read that right!). Here’s the list:
For the Cake
- Flour: Use cake flour, not all-purpose flour, for that silky texture.
- Sugar: White granulated sugar.
- Baking Soda: Be sure to use baking soda, not baking powder, or the cake won’t rise correctly.
- Cocoa Powder: Natural cocoa powder or Dutch process, whichever you prefer.
- Salt
- Eggs: Large, whole eggs give the cake structure.
- Oil: Using oil instead of butter keeps the cake moist, but still light. You can use any neutral-tasting oil that you prefer. I usually use vegetable oil.
- Buttermilk: If you don’t have this, you can just pour a tablespoon of white vinegar, lemon juice, or apple cider vinegar into a measuring cup. Add enough whole milk to make one cup, and let it sit for five minutes to thicken.
- Red Food Coloring: I like to use red gel food coloring or “icing coloring”, a little bit goes a long way.
- Vanilla Extract: Use pure vanilla extract for the best flavor.
- Vinegar: A little white vinegar is traditional and gives the cake an irresistible tang.
For the Frosting
A thick coating of Cream Cheese Frosting is the perfect pairing with red velvet.
- Cream Cheese: Softened, so that it will beat smoothly.
- Butter: Also softened.
- Vanilla: Pure vanilla extract.
- Powdered Sugar: Do not use granulated sugar for this – it won’t dissolve as well. Powdered sugar is perfect for frosting.

How to Make Red Velvet Cake
- Mix the Dry Ingredients. In a bowl, whisk together flour, sugar, baking soda, cocoa powder, and salt.
- Mix the Wet Ingredients. In the bowl of your stand mixer, beat the eggs, oil, buttermilk, food coloring, vanilla, and vinegar.
- Combine the Two. Add the dry ingredients to the wet ingredients, and beat until smooth.


- Bake and Cool. Pour the batter into two 8-inch cake pans, and bake until a cake tester inserted in the centers comes out clean (about 35 minutes). Let the cakes cool completely before frosting.


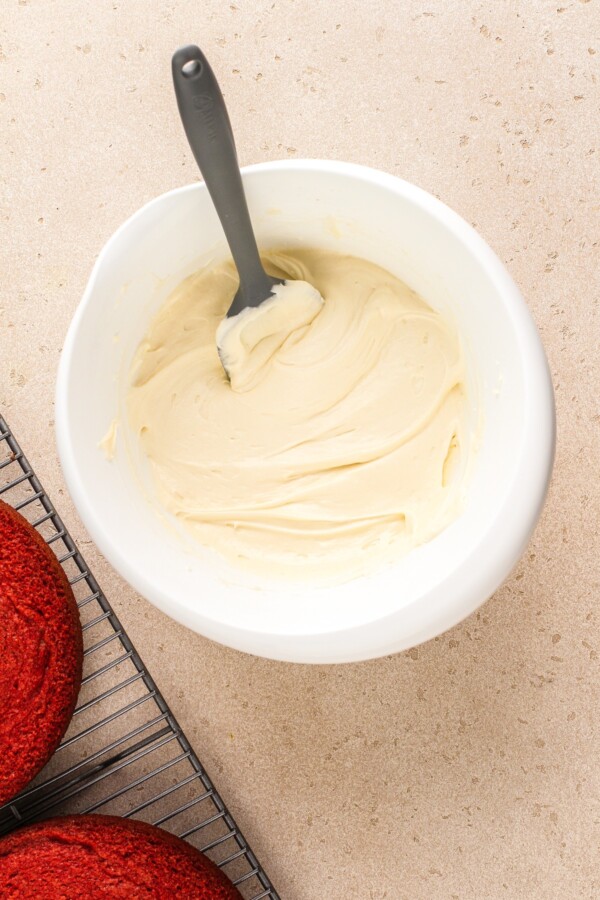
- Make the Cream Cheese Frosting: Beat the cream cheese, butter, and vanilla together until combined. Add the powdered sugar and beat until the frosting is light and fluffy, 5-7 minutes.
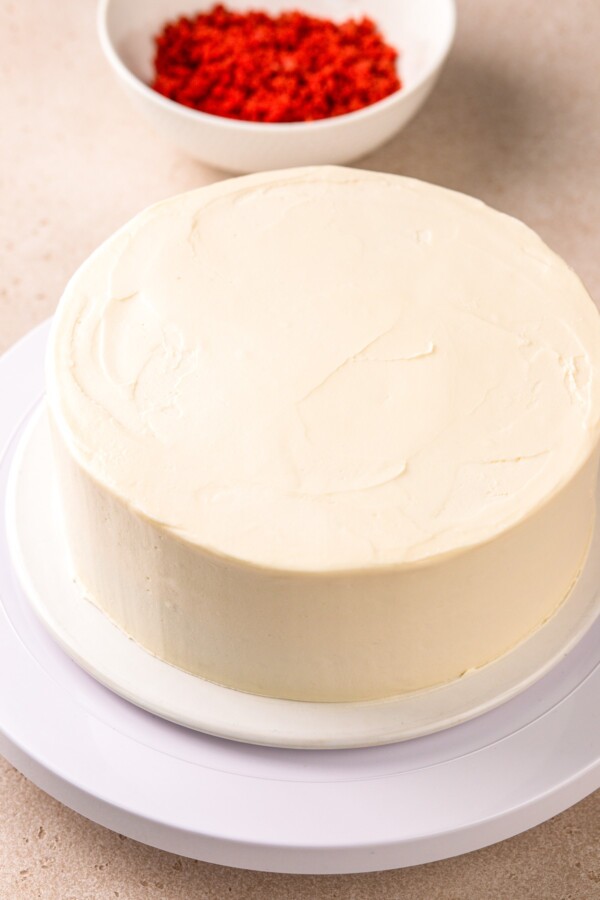
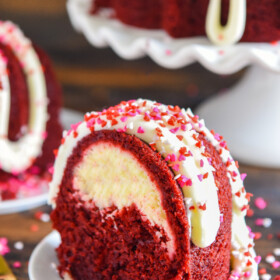
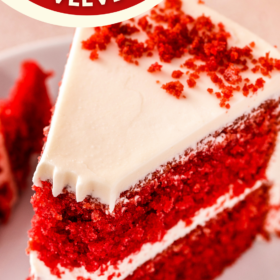
- Assemble. Level the cakes with a serrated knife and crumble the part you cut off, to use for decorating. Frost one layer, and place the second layer on top. Frost all over with a thin crumb coat, and place in the freezer for 10 minutes to harden. Last, frost the cake all over thickly with frosting, and sprinkle the crumbs on top and around the base for decoration.

Tips for a Perfect Red Velvet Cake
Baking this cake is easy to do, but there’s more! These helpful tips will make it even easier, and more flexible, too. Read on, and enjoy!
- Two-Day Preparation: Since this is a layer cake, I recommend making it over the course of two days. On the first day, you can bake the cakes and on the second day, you can assemble and frost. It means less to do at once and is my favorite way of making layer cakes less intimidating!
- Room Temperature Ingredients: It’s best to make this recipe with room-temp ingredients, from the eggs to the cream cheese.
- Room Temperature Cake: If you store the cake in the fridge before eating it, I recommend letting it sit at room temperature for a bit (around 20 minutes) before you slice and serve. It tastes best when it’s not super cold.
- Decorations: You don’t have to use cake crumbs for decorating – you can use anything you like, from chopped nuts to sprinkles to chocolate shavings, or nothing at all. With the red cake and frosting, this is perfect for Valentine’s Day but you can easily call it a Christmas cake too. To turn it into a patriotic cake, you can simply add some red-white-and-blue (or just plain blue) sprinkles.

How to Store This Cake
You can store this cake in the refrigerator, covered tightly. A large, round cake storage container or cake stand works well. Individual slices can be stored in smaller airtight containers. It will keep for about five days. Serve it cold right out of the fridge, or let it come to temperature for 15 – 20 minutes for the best texture and flavor.
Does Red Velvet Cake Freeze Well?
Yes! Like most cakes, this can be popped right into your freezer, either sliced (in small airtight containers) or whole (in one large airtight container). It will keep for up to 3 months. Thaw it out in your refrigerator before you serve it.
Best Red Velvet Cake Recipe
Ingredients
Cake
- 2 ½ cups cake flour
- 1 ½ cups granulated sugar
- 1 teaspoon baking soda
- 1 tablespoon cocoa powder
- 1 teaspoon salt
- 2 large eggs
- 1 ½ cups vegetable oil
- 1 cup buttermilk
- 1 tablespoon red food coloring
- 2 teaspoons vanilla extract
- 1 ½ teaspoons white distilled vinegar
Icing
- 8 oz (1 block) cream cheese, softened
- ½ cup (1 stick) butter, softened
- 1 tablespoon vanilla extract
- 3 cups powdered sugar
Instructions
- Preheat oven to 350°F. Grease and flour two 8-inch cake pans (or spray with Baker's Joy), set aside.
- In a bowl, whisk together flour, sugar, baking soda, cocoa powder, and salt.
- In stand mixer, beat eggs, oil, buttermilk, food coloring, vanilla, and vinegar in a large bowl until well combined. Add dry ingredients and beat until smooth, about 2 minutes.
- Divide batter evenly among prepared pans. Bake until a cake tester inserted in centers comes out clean, about 35 minutes. Let cakes cool completely before frosting.
- Frosting: Beat cream cheese, butter, and vanilla together in stand mixer until combined. Add sugar and beat until frosting is light and fluffy, 5-7 minutes.
- To assemble cake: Level the two cake layers for even stacking. I level my cake with a serrated knife and cut off the minimum amount. Crumble the extra cake you cut off and set aside for decoration later.
- Assemble the 2 layers with a thick layer of frosting in between the layers. Then apply a thin crumb coat on the top and sides. Pop the cake into the freezer to harden the crumb coat for about 10 minutes.
- Apply one final thick and even layer around the outside of the cake. Then top with the crumbled up leftover cake for decoration.
- Store in the fridge if not serving within the next couple of hours. Let cake warm up a little before serving (let cake sit on counter for about 20 minutes before serving to warm up!).
Notes
Nutrition
Categories:
More Gorgeous Layer Cakes
Post may contain affiliate links. Read my disclosure policy.