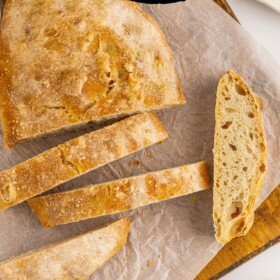
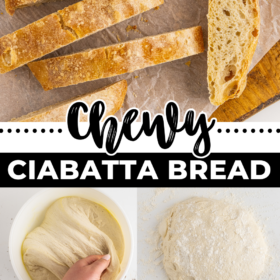
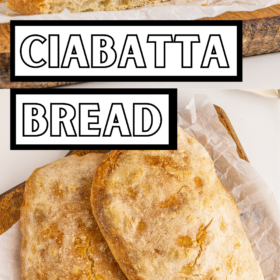
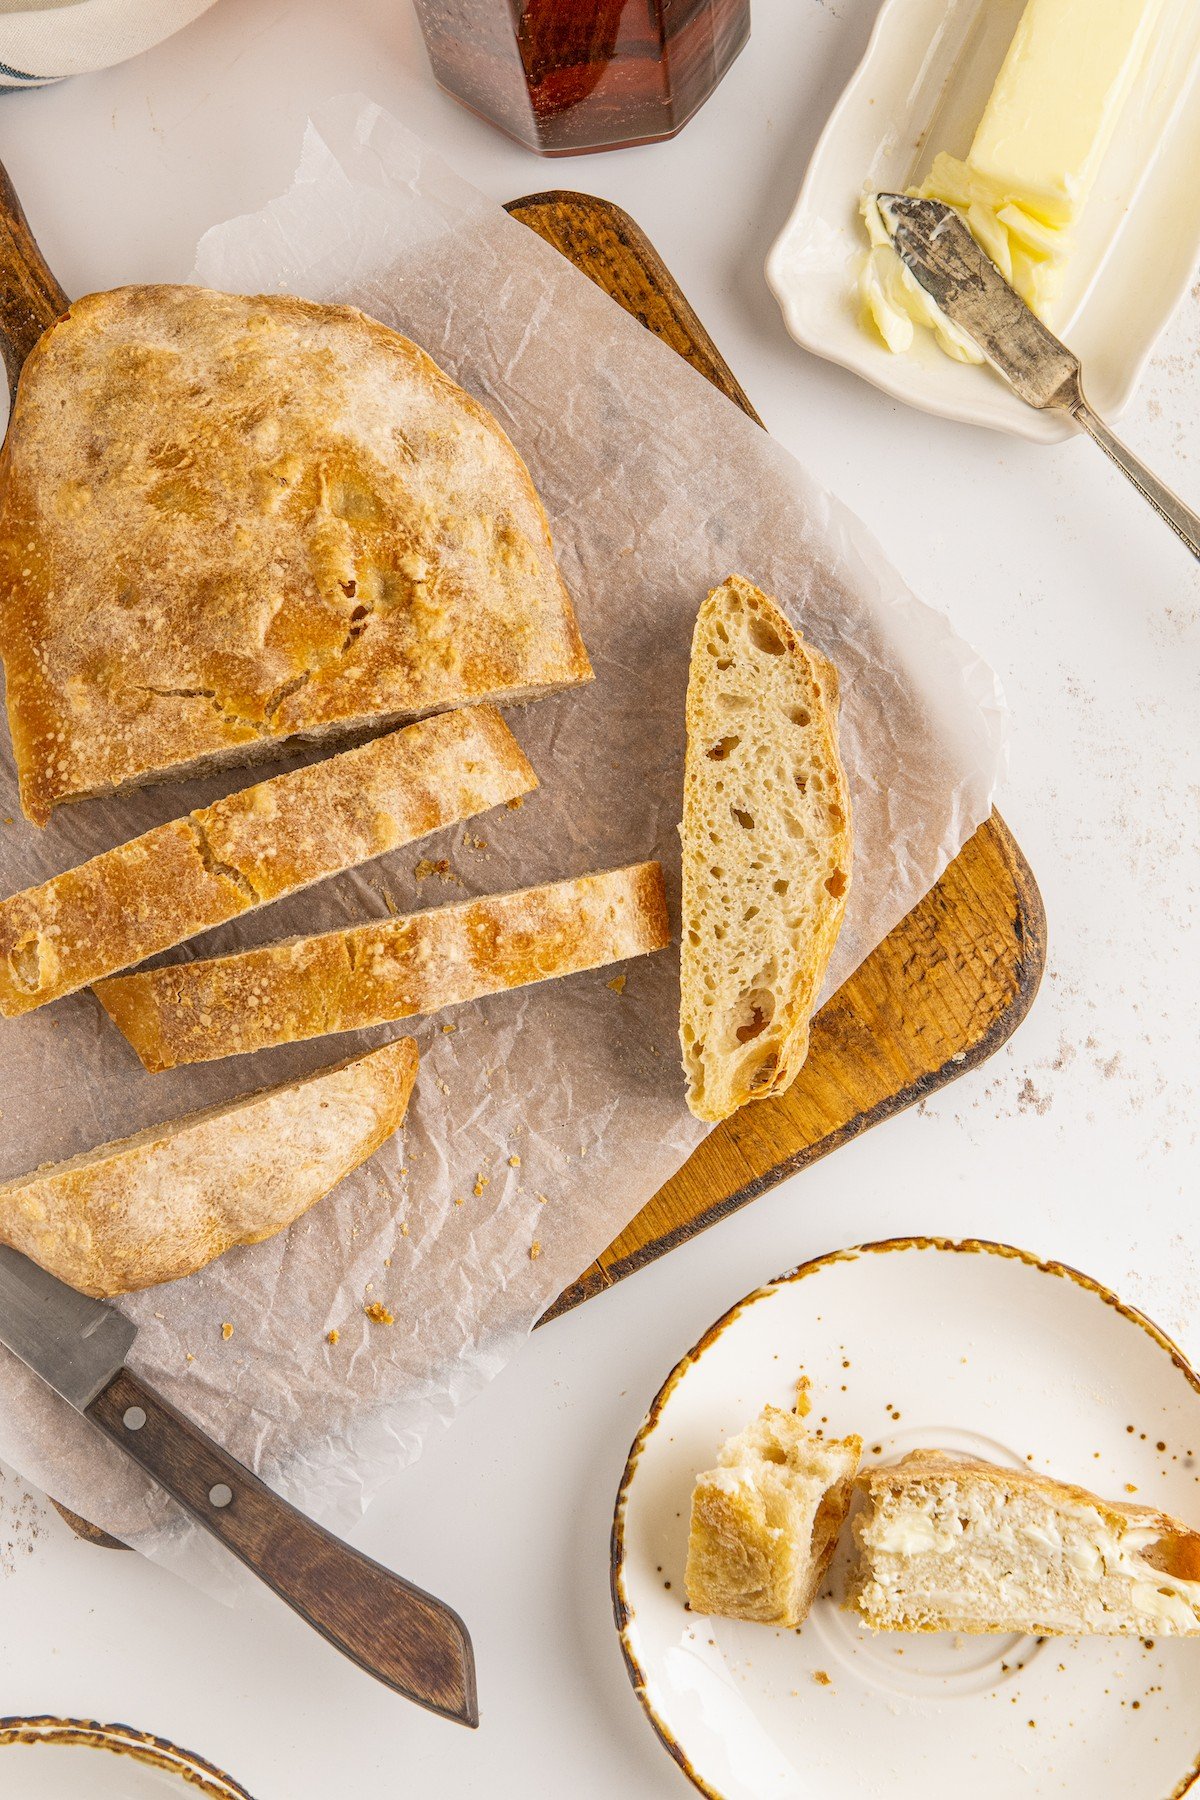
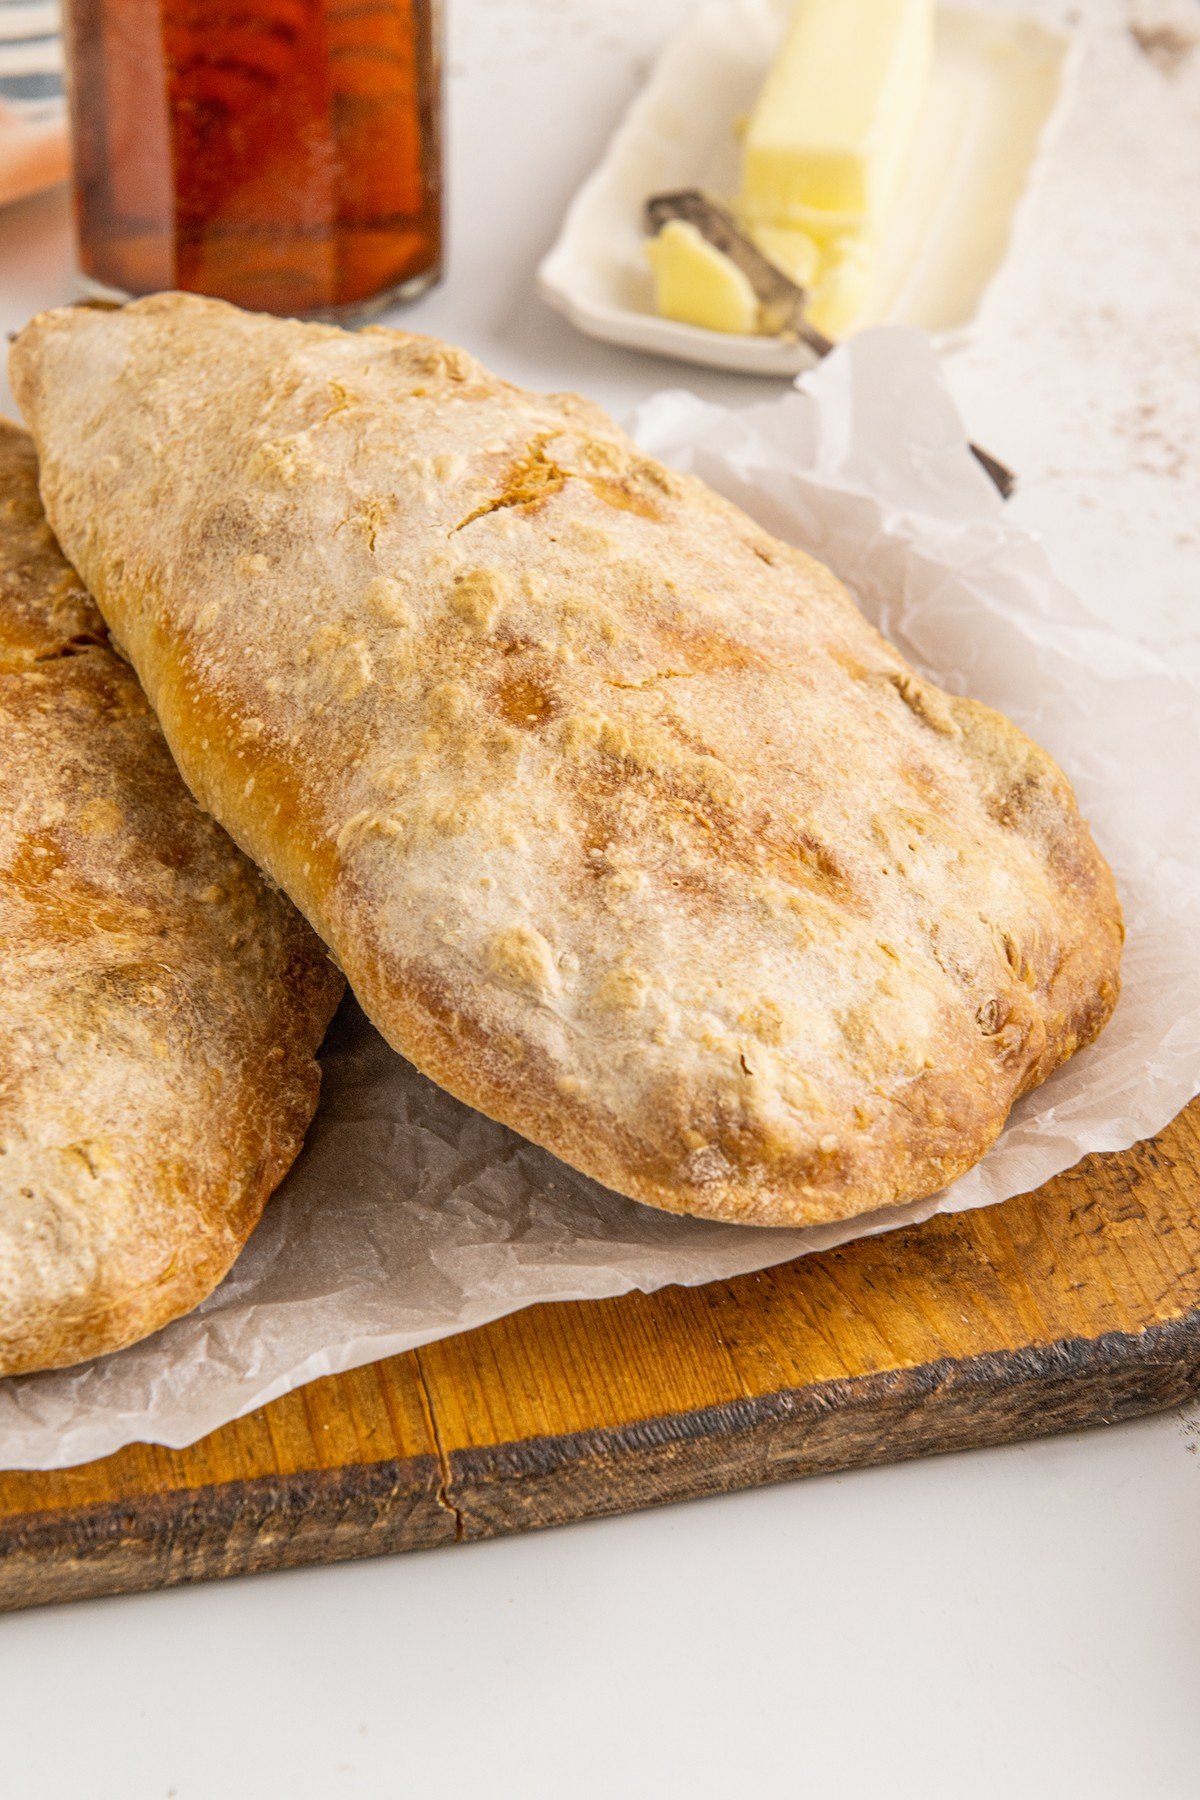
This homemade Ciabatta Bread has a chewy, golden crust and is the light and airy bread your sandwiches and soups are missing. Plain, herby, or cheesy, it’ll turn your kitchen into a traditional bakery any day of the week.
Why You’ll Love This Homemade Ciabatta Recipe
Aside from being the perfect baking project, you’ll love making ciabattas because they’re simple and versatile.
- Simple. The ingredients list is only 4 items long, keeping things nice and simple for all-level bakers. While there are quite a few steps, the steps themselves are super easy to do.
- Chewy. With a perfect chewy crust and soft tender center, this bread has the texture you expect from a bakery bought ciabatta bread.
- Versatile. Toast it and make your favorite sandwiches, use it to make mini pizzas, or dip it into your favorite soups. It’s good either way!
What Makes Ciabatta Bread Different?
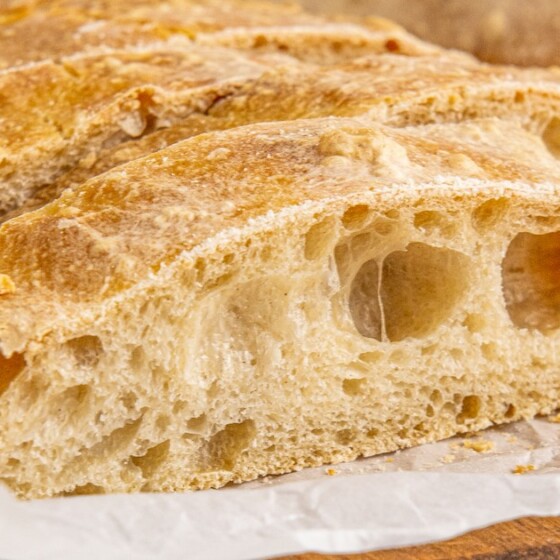
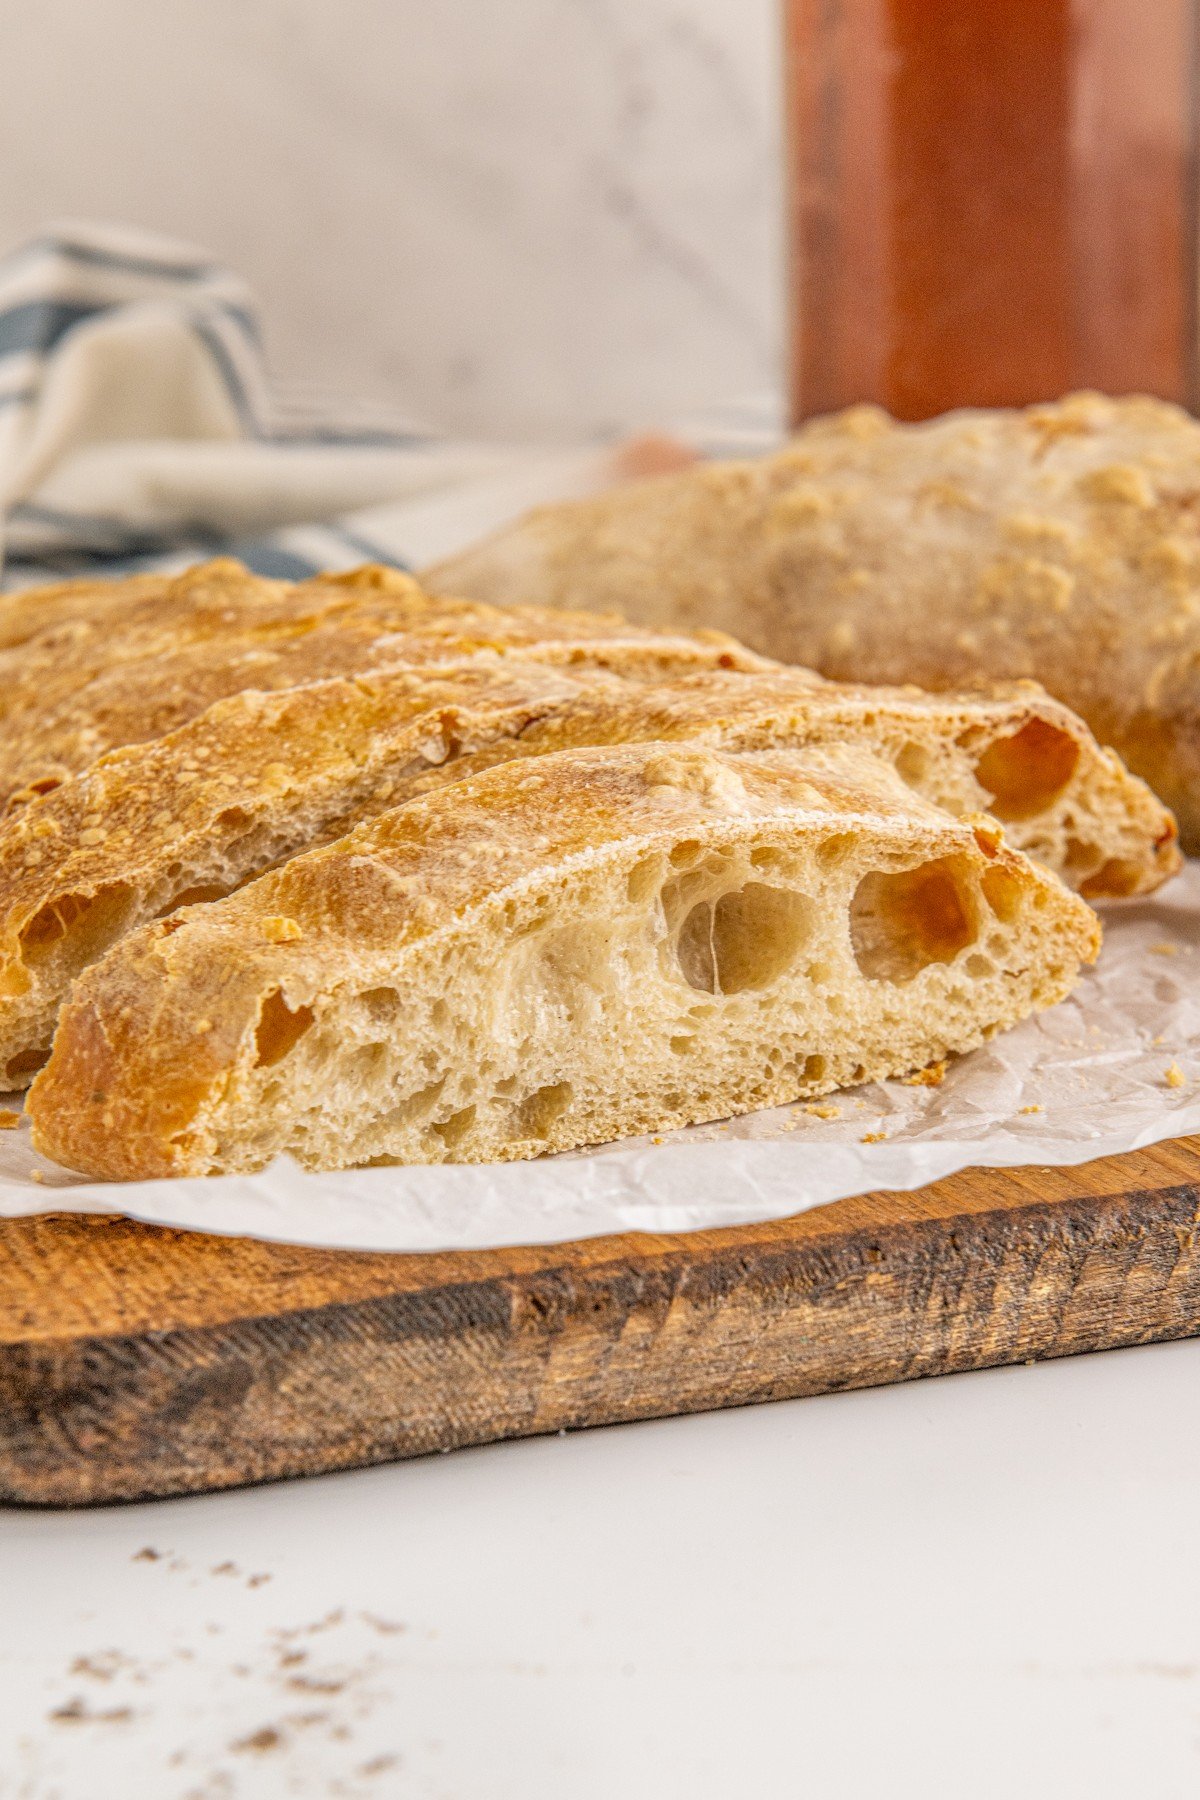
Ciabatta is a unique kind of bread because it has a high hydration-level. This means there’s a lot more moisture in the dough, resulting in larger air pockets as it bakes despite the bread being quite thin. High-hydration breads also tend to have thin, crunchy crusts and a tender, airy crumb.
What Do You Need To Make Ciabatta Bread from Scratch?
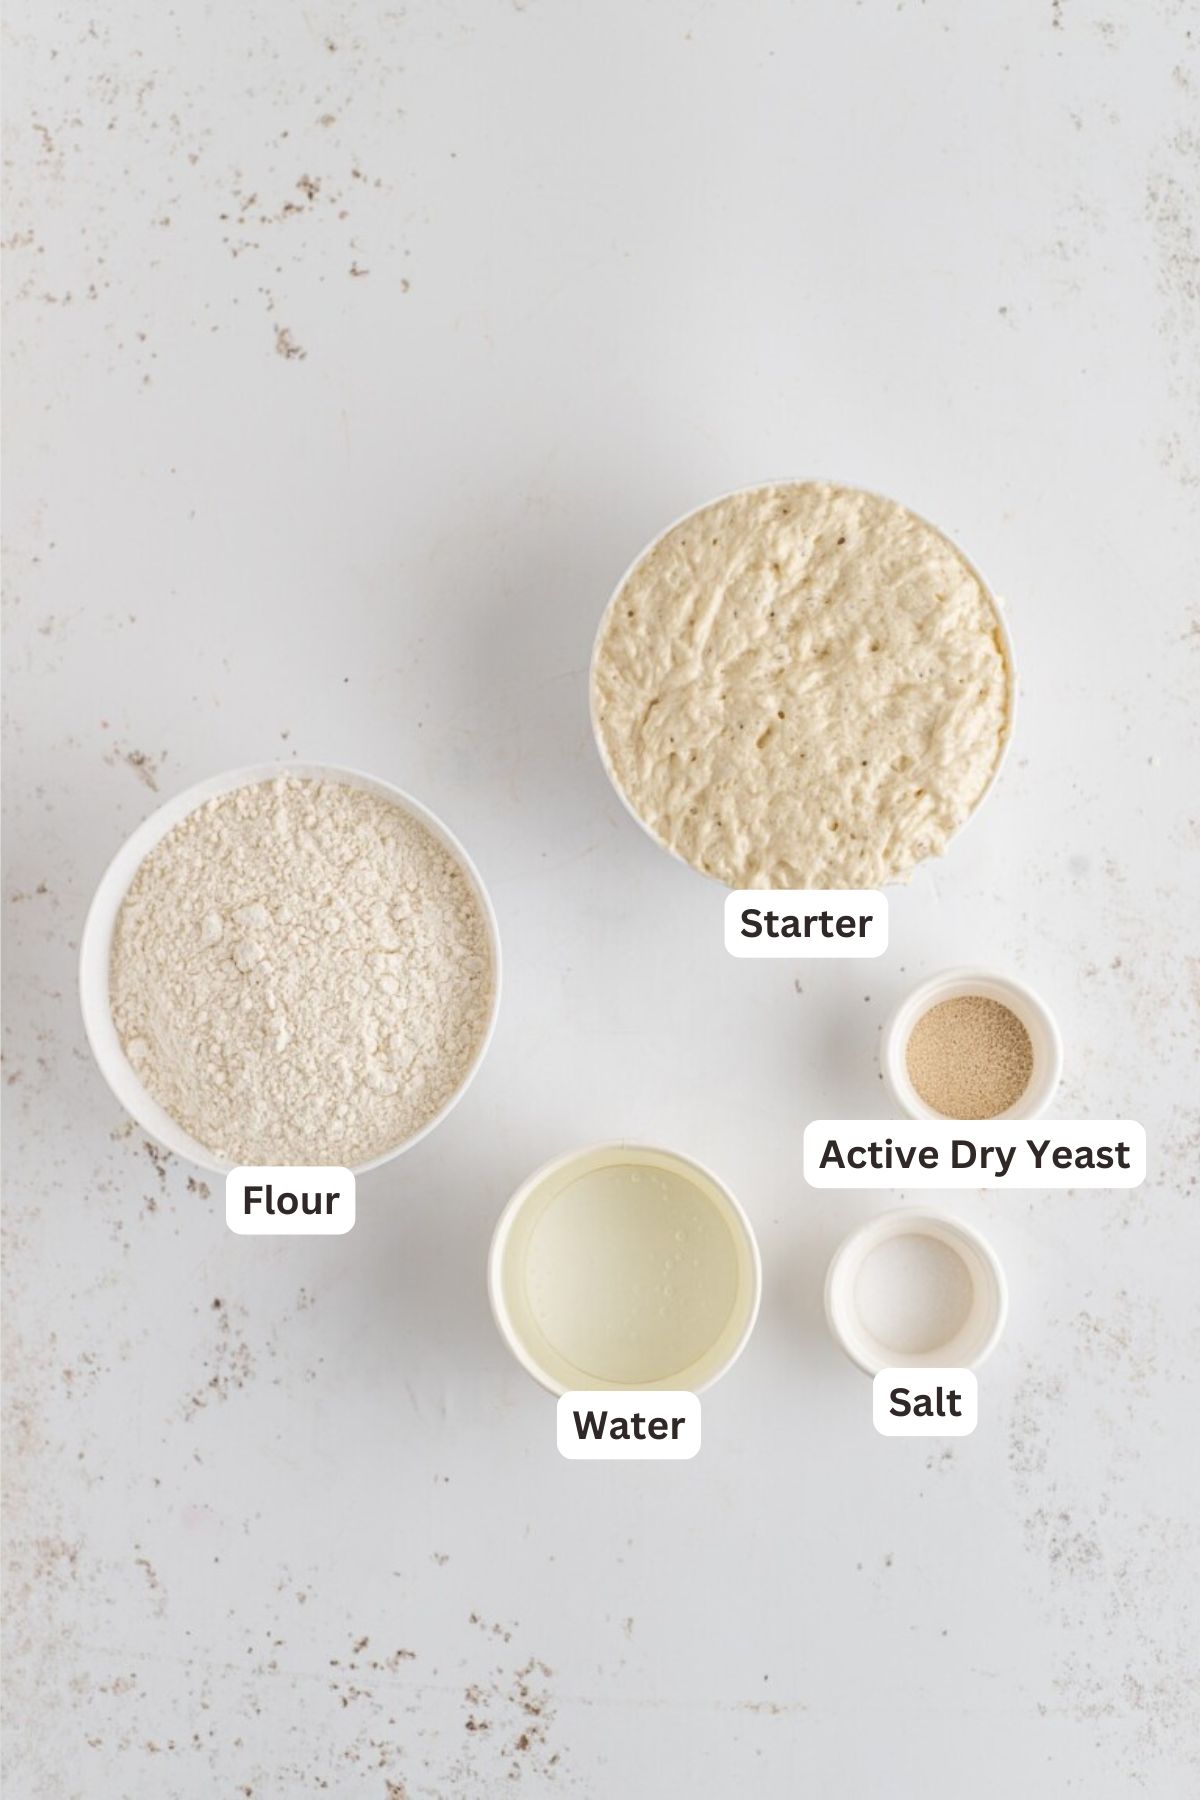
This recipe takes ciabattas back to their roots with a short ingredient list. Check the printable recipe card at the bottom of this post for exact ingredient amounts.
For the Starter
- All-Purpose Flour: You can use bread flour for this if you have some.
- Water: Don’t use milk for this.
- Active Dry Yeast: Instant dry yeast is a good swap.
For the Dough
- Starter
- All-Purpose Flour
- Water
- Active Dry Yeast
- Salt: Don’t skip it!
Tips for Success
These tips provide extra guidance so that you can make the best ciabatta even if you’re not an experienced baker.
- Let it rest. To ensure a light and airy texture, you need to follow the resting and stretching times as instructed. Depending on how the dough reacts, you might need to let it rest for longer. Don’t rush the process because you need the build up the gluten for the best loaves.
- Make the crust golden. Keep the bread in the oven once it has baked for 30 minutes. Increase the oven temperature to 425°F and bake for an additional 5-10 minutes, depending on how crusty you want the loaves to be.
- Add cheese. Sprinkle 1/4 cup of parmesan cheese over each risen loaf before placing them in the oven. Bake as usual for some cheesy ciabattas.
- Avoid cloudy days. Working with dough is much harder when it’s cloudy or cold outside because it’s harder for the dough to relax. If possible, avoid those kinds of days when bread baking for best results.
- Go whole-wheat. You can swap the all-purpose flour for whole-wheat flour.
- Add herbs. Sprinkling 1 teaspoon of garlic powder and 2 tablespoons of dried parsley, rosemary, or basil into the dry ingredients will give your loaves a kick of flavor.
Want to save this recipe?
What to Serve with Ciabatta Bread
This ciabatta is perfect for sandwiches, mini pizzas, and dipping into soups.
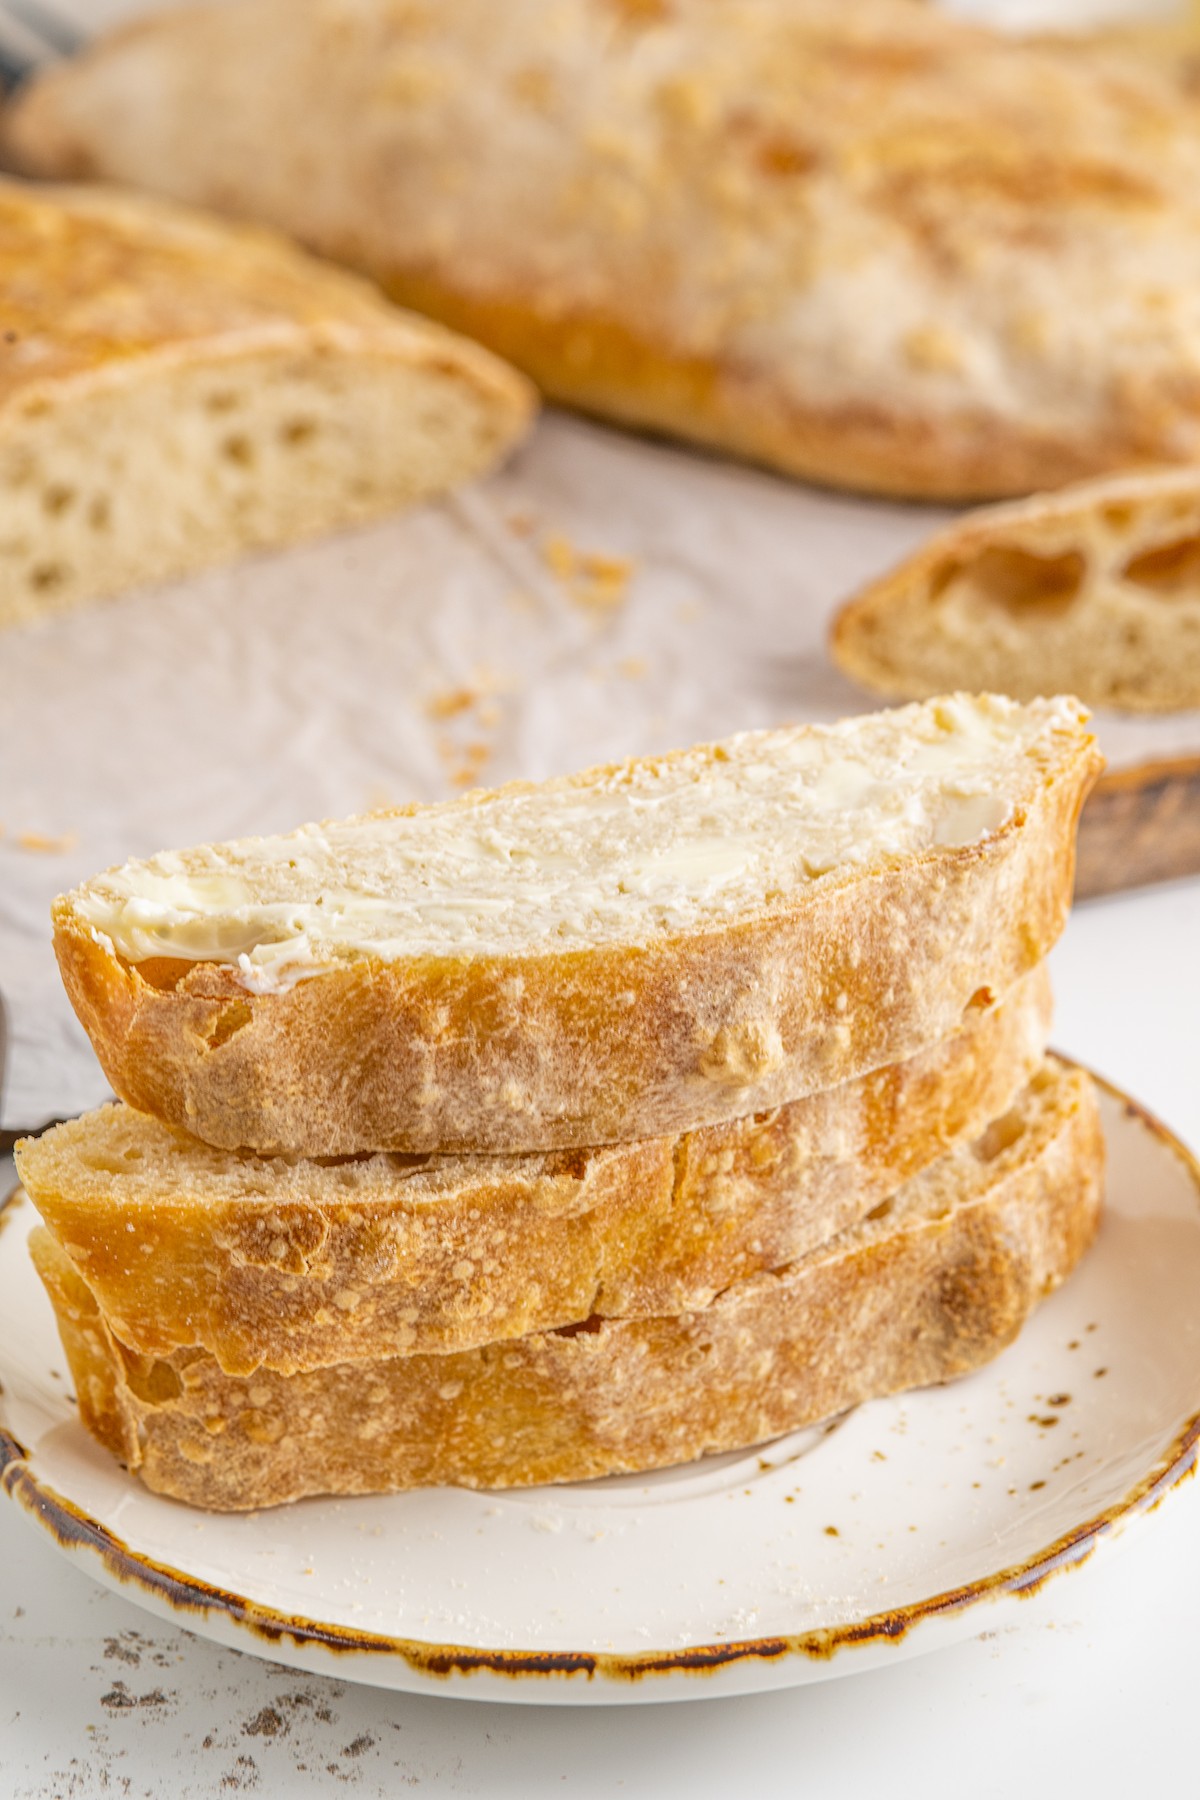
- Sandwiches. Slice it in half and spread the inside with 1/2 tablespoon of butter. Toast it and then add your favorite fillings.
- Mini pizzas. This one’s perfect for the little ones. Slice it, sprinkle it with cheese, and add pepperoni. Pop it into a toaster oven at 320 for 10-12 minutes and enjoy.
- Dipping. My Instant Pot Tomato Soup and Pizza Soup are Italian-inspired recipes you’ll love dipping the bread into.
If you’d like to keep things nice and easy, just slice it and spread it with butter, pesto, or your favorite spreads!
Should I Warm Ciabatta Bread?
You can, but it’s not necessary. Place it in the toaster or on a griddle over medium-low heat until nice and toasty. If it’s slightly stale, sprinkle it with 1/4-1/2 teaspoon of water and reheat it as usual. If it’s still fresh, feel free to eat it at room temperature.
How to Store Homemade Bread
There are three ways to store ciabatta:
- Counter. Place the cooled bread in a paper bag and store it for up to 3 days. To keep it fresh for longer, store it in an airtight container away from the sun for up to 5 days.
- Fridge. Pop it into an airtight container and refrigerate it for up to a week. Set it on the counter for 10-15 minutes before serving so it’s not cold or dense.
- Freezer. Wrap the fully cooled loaves with plastic wrap and then in aluminum foil. Place them in a freezer-friendly bag or container. Freeze for up to 3 months. Thaw them overnight in the fridge or over the counter for 2-4 hours.
More Easy Bread Recipes
- Homemade Potato Bread
- Pineapple Banana Bread
- Banana Bread Cake
- Goat Cheese Garlic Bread
- Brown Sugar Banana Bread
- Best Dinner Potato Rolls
- Homemade Hot Dog Buns
- Homemade Crescent Rolls
Ciabatta Bread Recipe
Ingredients
Starter
- 1 ½ cups all purpose flour
- 1 ¼ cups water
- ¼ teaspoon active dry yeast
For the Dough
- All of starter from above
- 2 ⅔ cup all purpose flour
- 1 cup water
- 2 ½ teaspoons active dry yeast
- 1 ½ teaspoon salt
Want to save this recipe?
Instructions
- Starter – The night before making bread: In a medium sized mixing bowl combine flour, water and yeast. Cover with plastic wrap and let the mixture sit out overnight. It should be bubbly and risen the next day.
- Dough: In the bowl of a stand mixer fitted with a hook attachment combine starter, flour, water, yeast and salt. Knead together for 10 minutes. The dough will be very sticky – this is normal.
- Once the dough has been kneaded, transfer it to a well greased bowl. Cover with plastic wrap or a clean kitchen towel and let rest for 30 minutes.
- Once the dough has rested, grease your hands and stretch and fold each side of the dough to the opposing side, about 4 stretches and folds.
- Recover with plastic wrap and let rest for another 30 minutes.
- Repeat the resting and folding process another 3 times, for a total of 2 hours of rest time and 4 stretches. After the last stretch, let the dough rest for another 30 minutes.
- Once rested, turn the dough out onto a clean, lightly floured surface. Press the dough out into a rough square. This does not have to be perfect. Cut the square in half to make 2 loaves.
- Grease a baking sheet with baking spray, then transfer the loaves onto the sheet, spacing them about 3" apart. Let the loaves rise for 30 minutes.
- While the loaves are rising for the final time, preheat the oven to 350°F. Place a baking sheet filled with water into the bottom rack of the oven. This will create steam while the oven is preheating.
- Once the dough has risen, spray well with water, then quickly place into the oven to not let too much steam escape.
- Bake for 30 minutes, until golden and baked through. Once baked, remove from the oven and place onto a wire cooling rack. Allow the loaves to cool down before slicing.
⭐️ Tried this recipe? Leave a comment and rating! It only takes a minute and helps support our family-run blog. ❤️
Notes
- Counter. Place the cooled bread in a paper bag and store it for up to 3 days. To keep it fresh for longer, store it in an airtight container away from the sun for up to 5 days.
- Fridge. Pop it into an airtight container and refrigerate it for up to a week. Set it on the counter for 10-15 minutes before serving so it’s not cold or dense.
- Freezer. Wrap the fully cooled loaves with plastic wrap and then in aluminum foil. Place them in a freezer-friendly bag or container. Freeze for up to 3 months. Thaw them overnight in the fridge or over the counter for 2-4 hours.
Nutrition
Categories:
Post may contain affiliate links. Read my disclosure policy.


