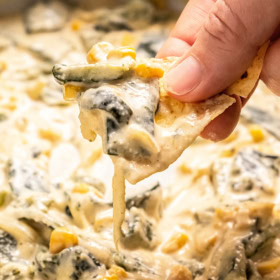
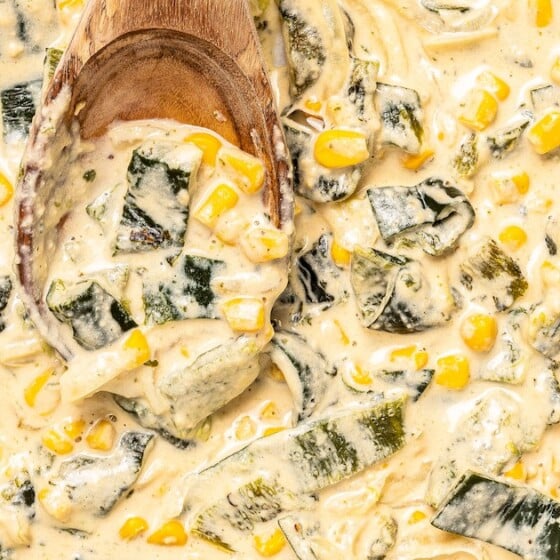
Packed with easy cheats, these authentic rajas are loaded with corn, onion, and cheese for an ultra creamy bite. Served with chips or warm tortillas, they go from an appetizer to the main course in seconds.
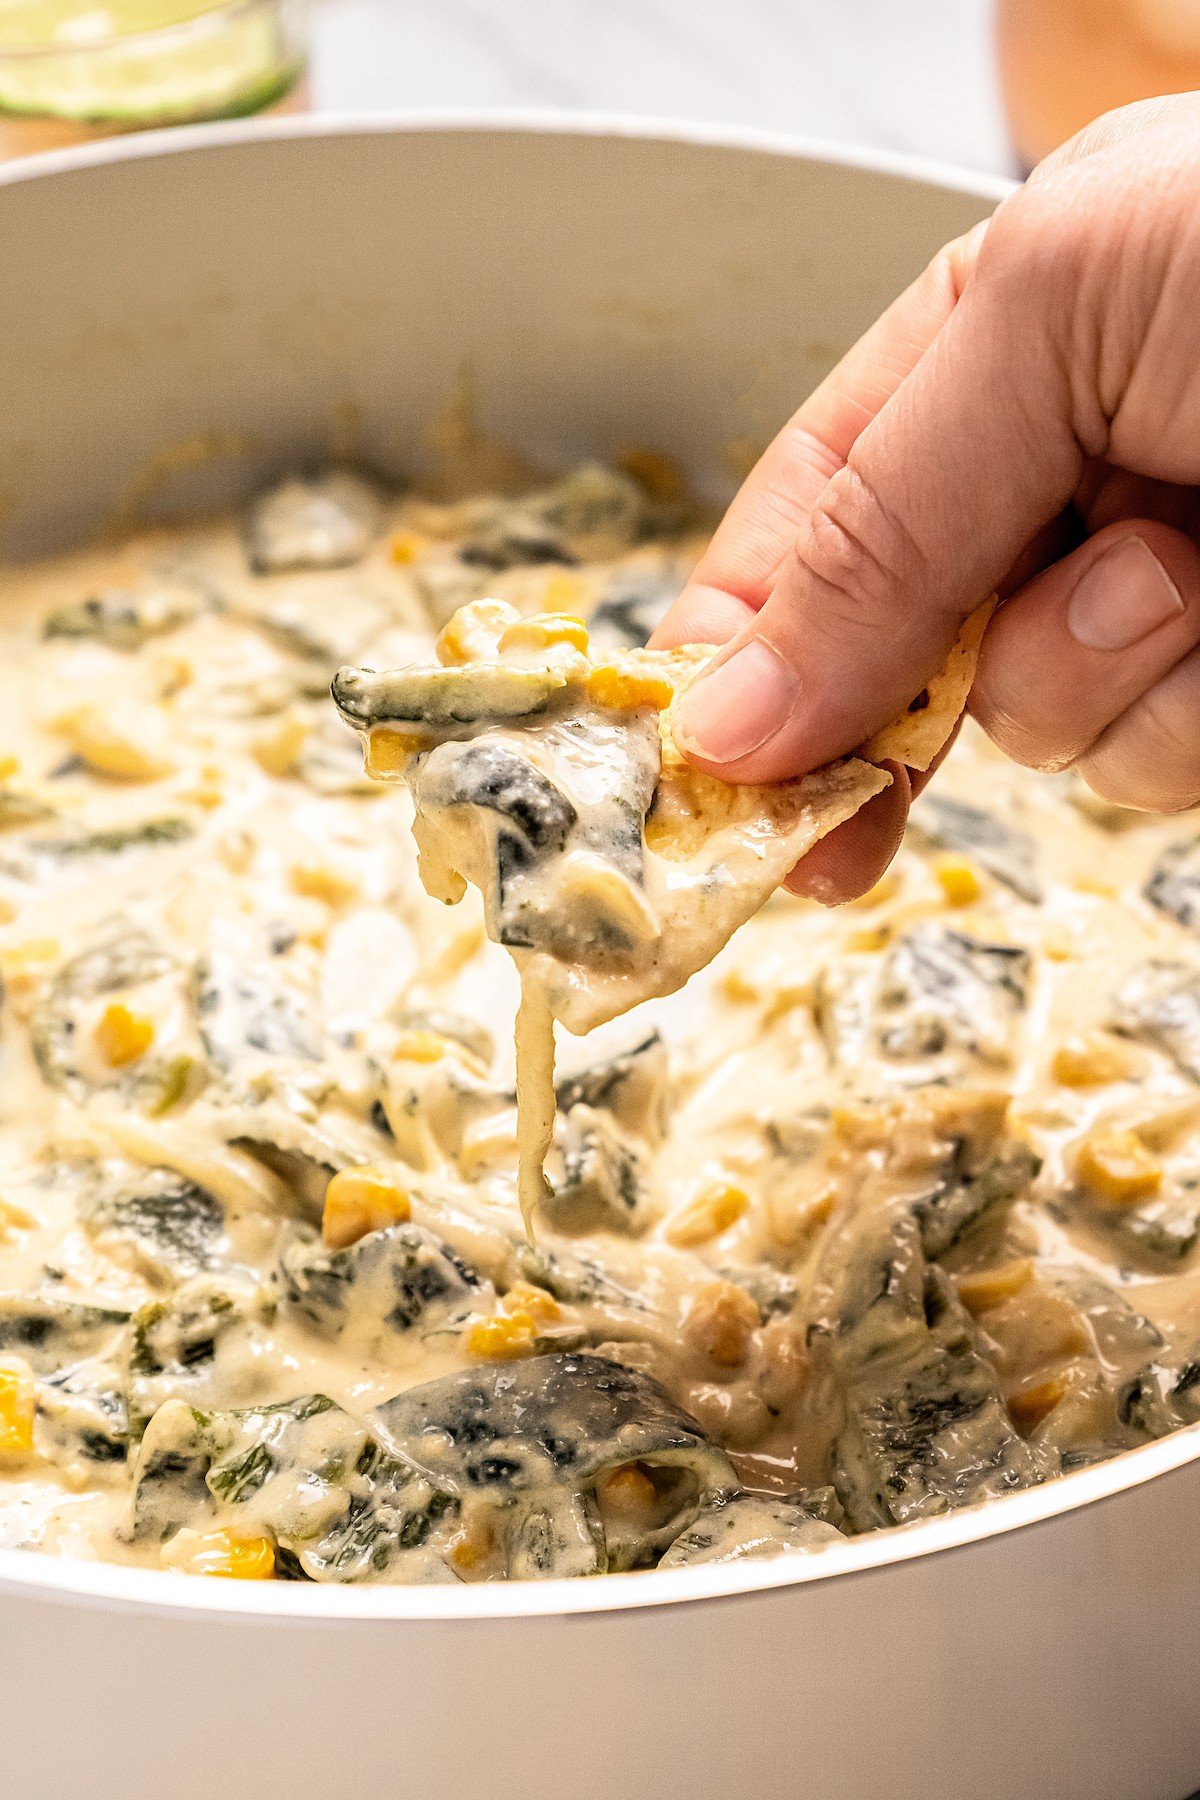
What Are Rajas?
“Rajas” has two meanings; one refers to sliced poblanos or jalapeños, while the other refers to an actual dish, Rajas con Crema, consisting of sliced poblanos in a cream-based sauce. This recipe talks about the latter version, so that’s the one I’ll explain more about.
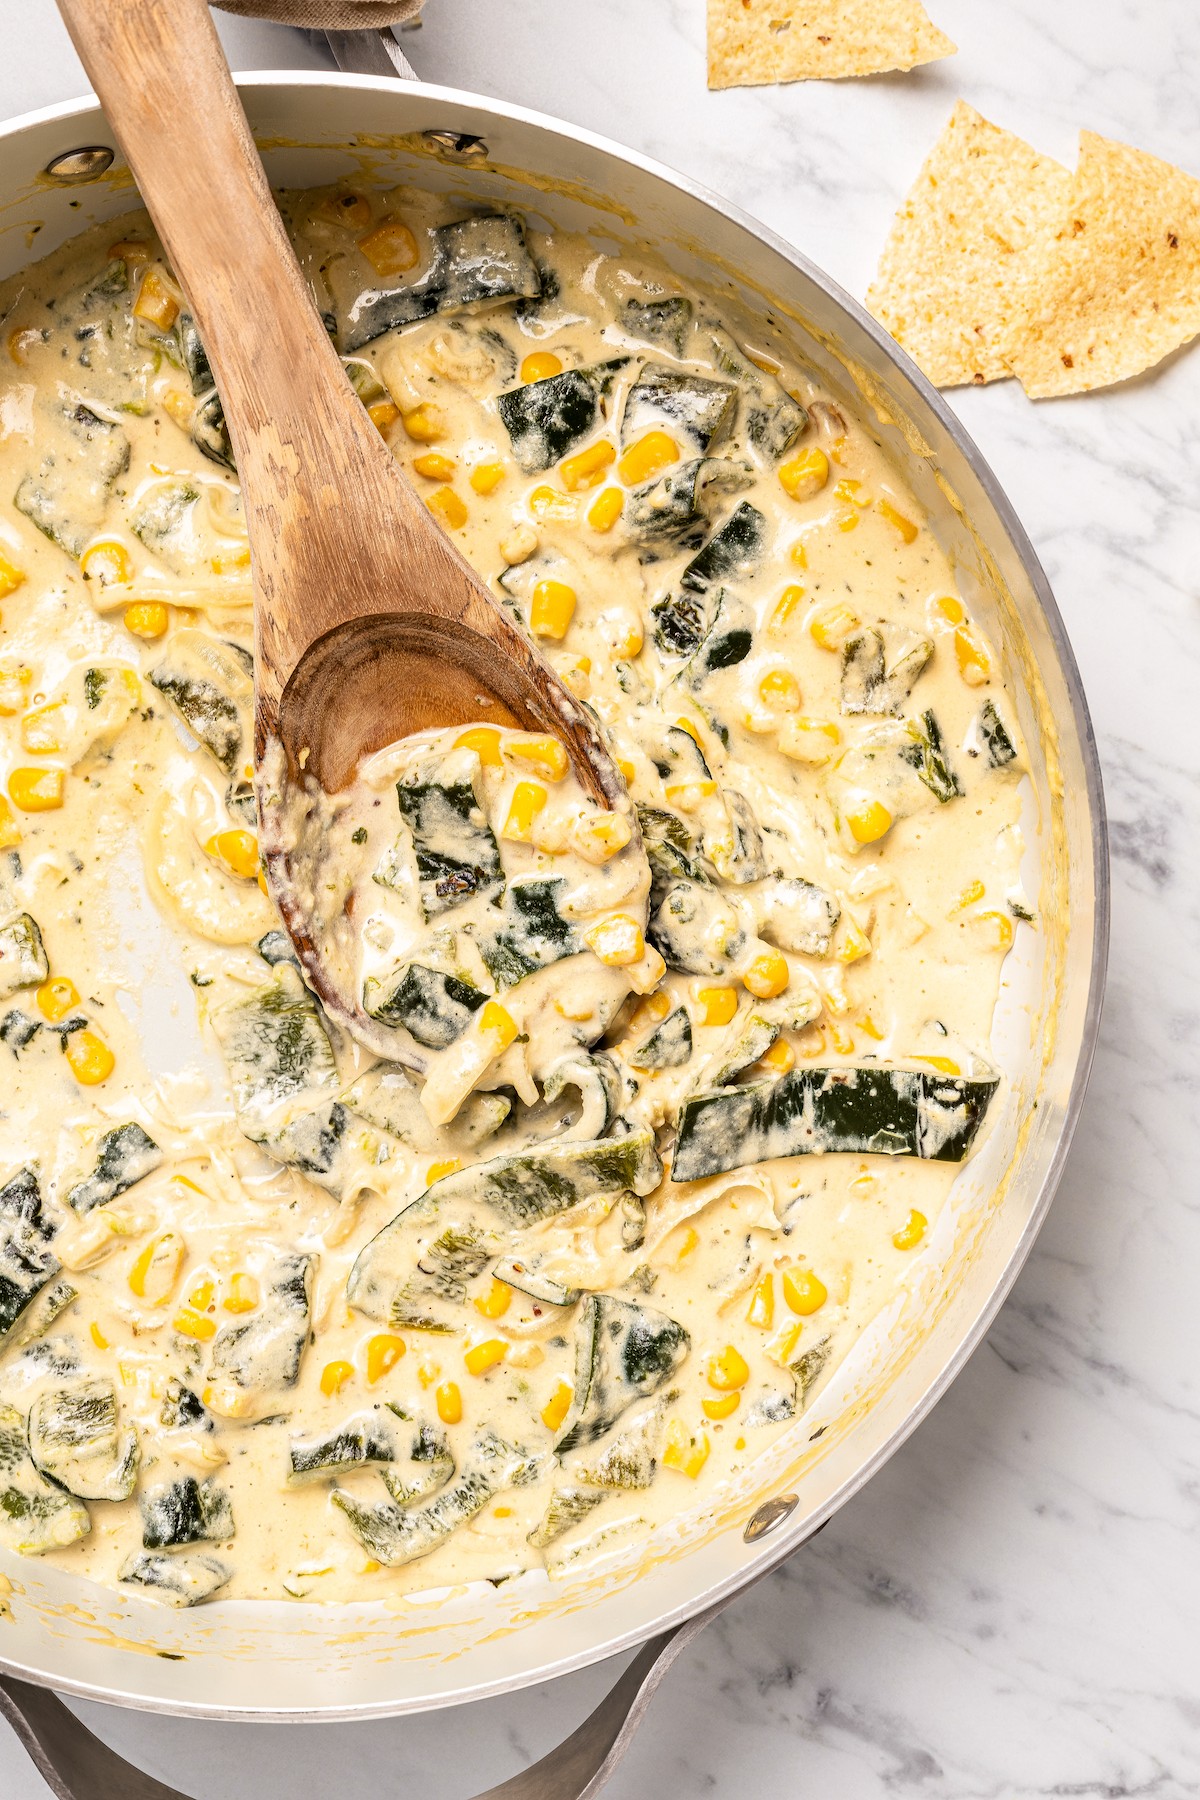
Rajas are made with poblanos and corn simmered in evaporated milk until nice and thickened. You can also add cheese and/or thinly sliced onions for extra flavor. They’re served on their own for breakfast or lunch, but are also popularly eaten in the form of tacos and burritos.
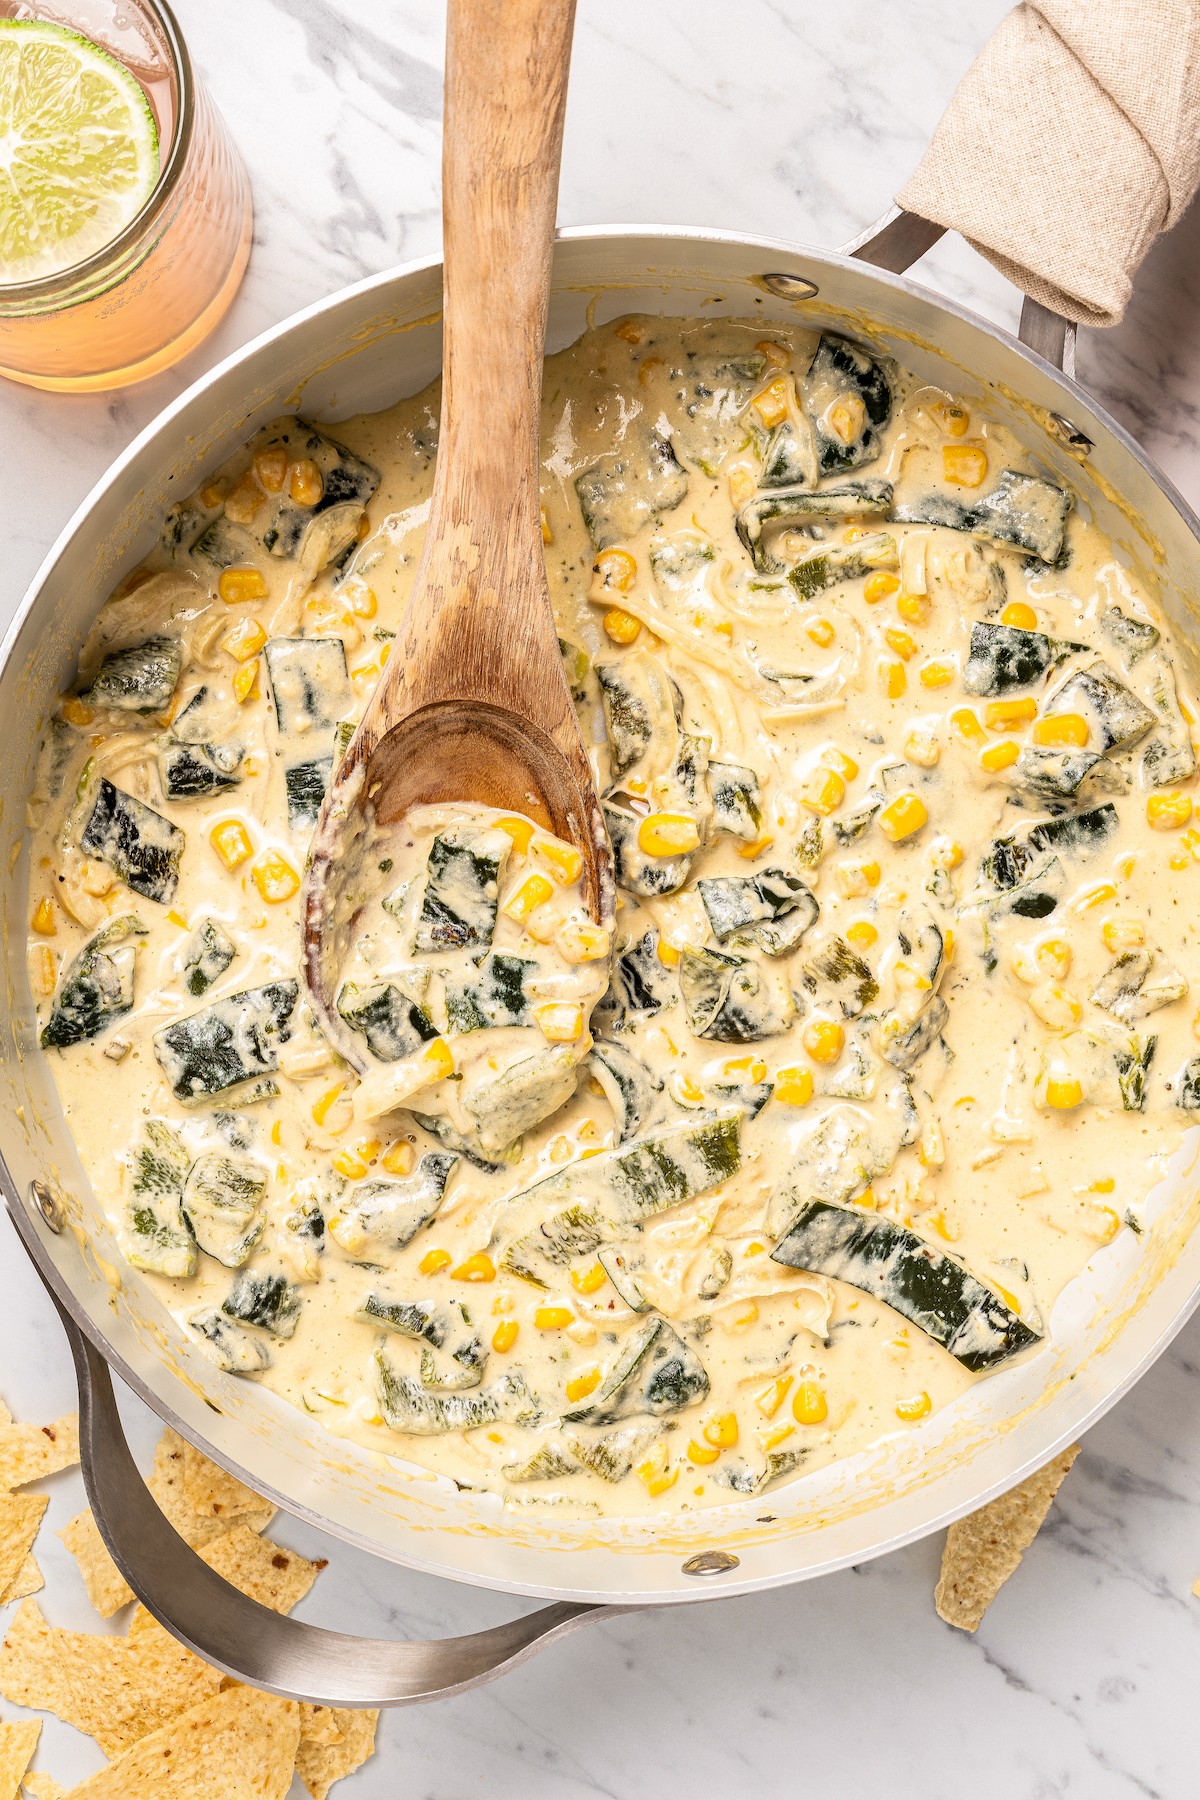
Why You’ll Love This Poblano Pepper Recipe
This dish comes together quickly to save any last-minute weekday lunch, but here are more reasons to love it:
- Easy. Made with a combination of fresh and frozen ingredients for convenience, these rajas are a super easy stove-top appetizer and/or lunch.
- Authentic. Just like truly authentic Mexican recipes, this one keeps things simple but super flavorful. There’s no need for unnecessary ingredients to make these rajas amazing.
- Pantry-friendly. If you can get a hold of poblanos, the rest of the ingredients are a combination of things you probably always keep in your fridge and pantry.
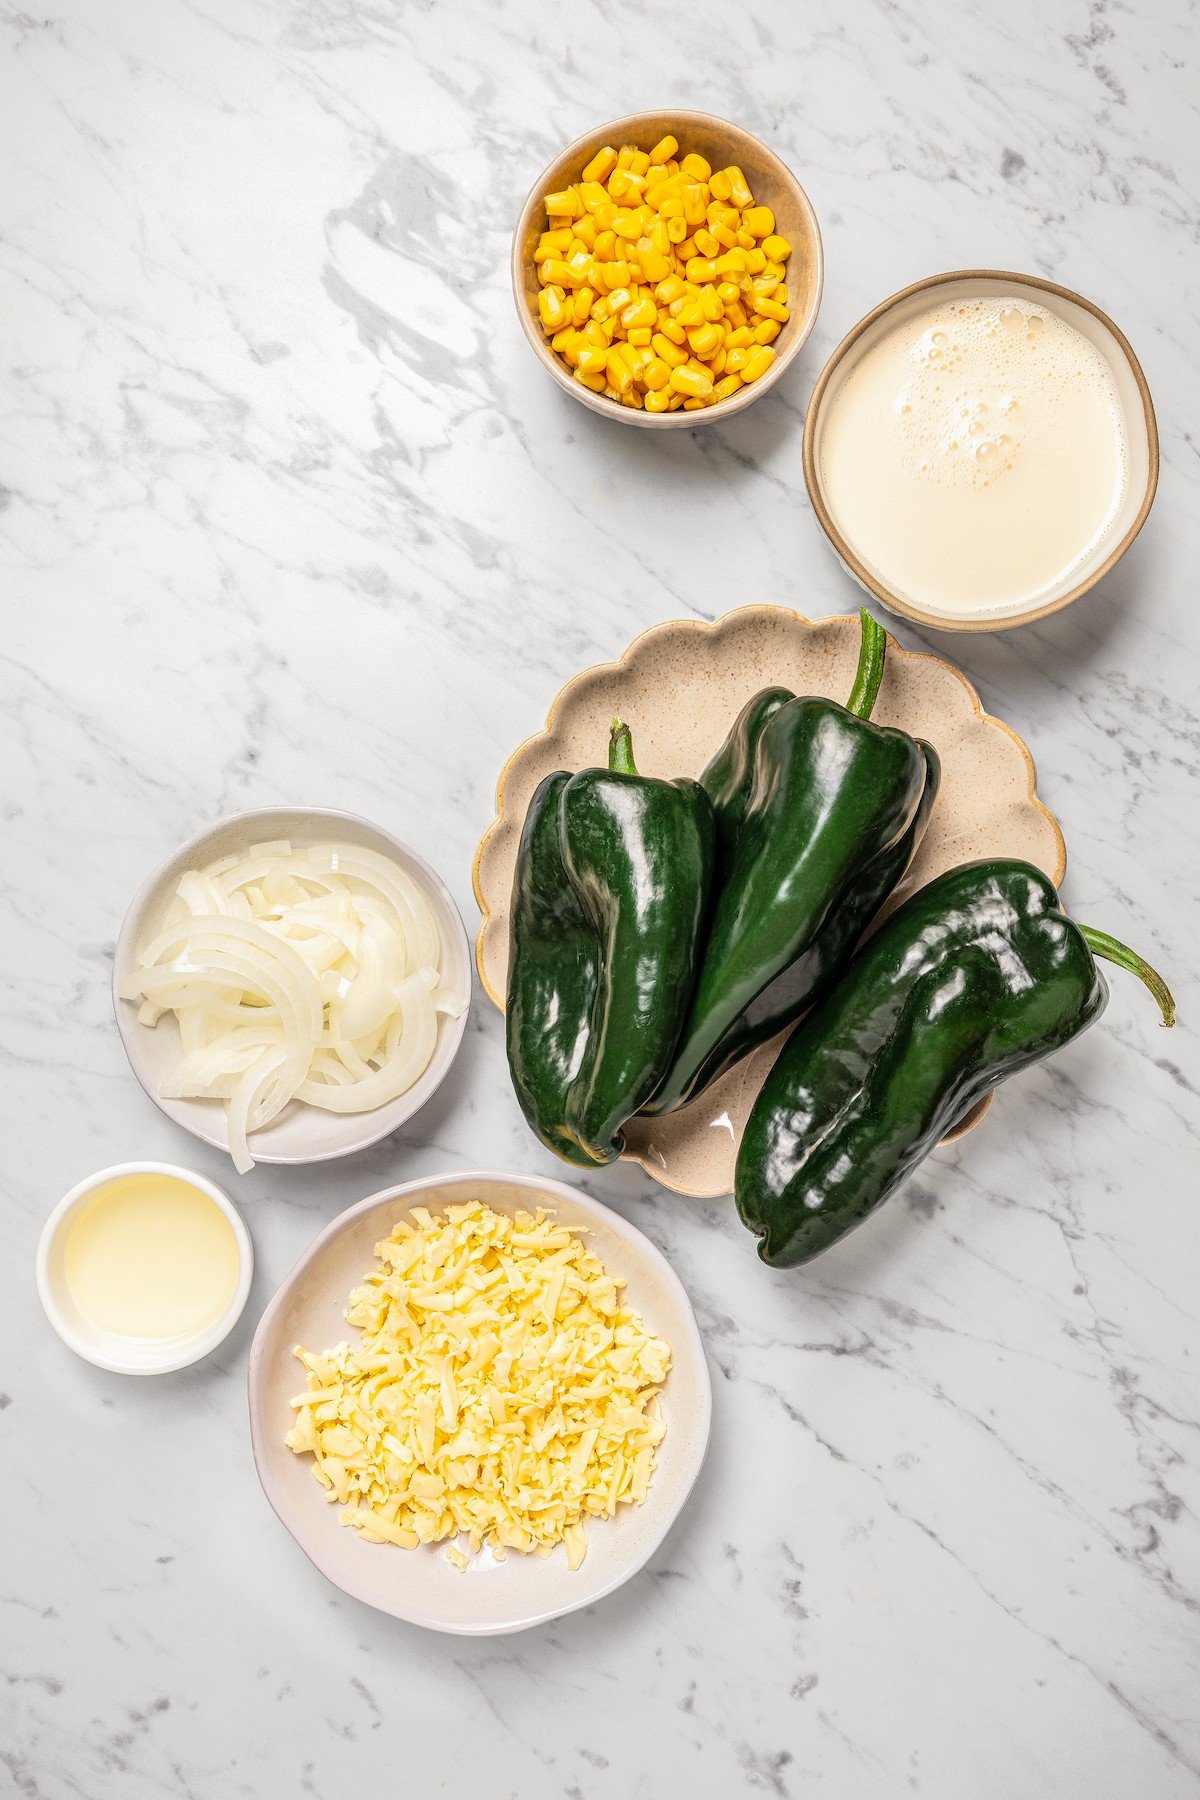
What’s in This Poblano Rajas Recipe?
There’s no doubt that poblanos are the star ingredient in this recipe. Check the recipe card at the bottom of the post for full ingredient amounts.
- Poblano Peppers – There’s no substitute for these.
- Vegetable Oil – Corn and canola oil are good alternatives. No olive oil.
- White Onion – Yellow onion works too. You can also leave it out.
- Yellow Corn – Canned, fresh, or frozen. If using frozen, make sure it’s fully thawed and drained.
- Evaporated Milk – Feel free to use half & half instead.
- Chihuahua Cheese
- Salt and Pepper
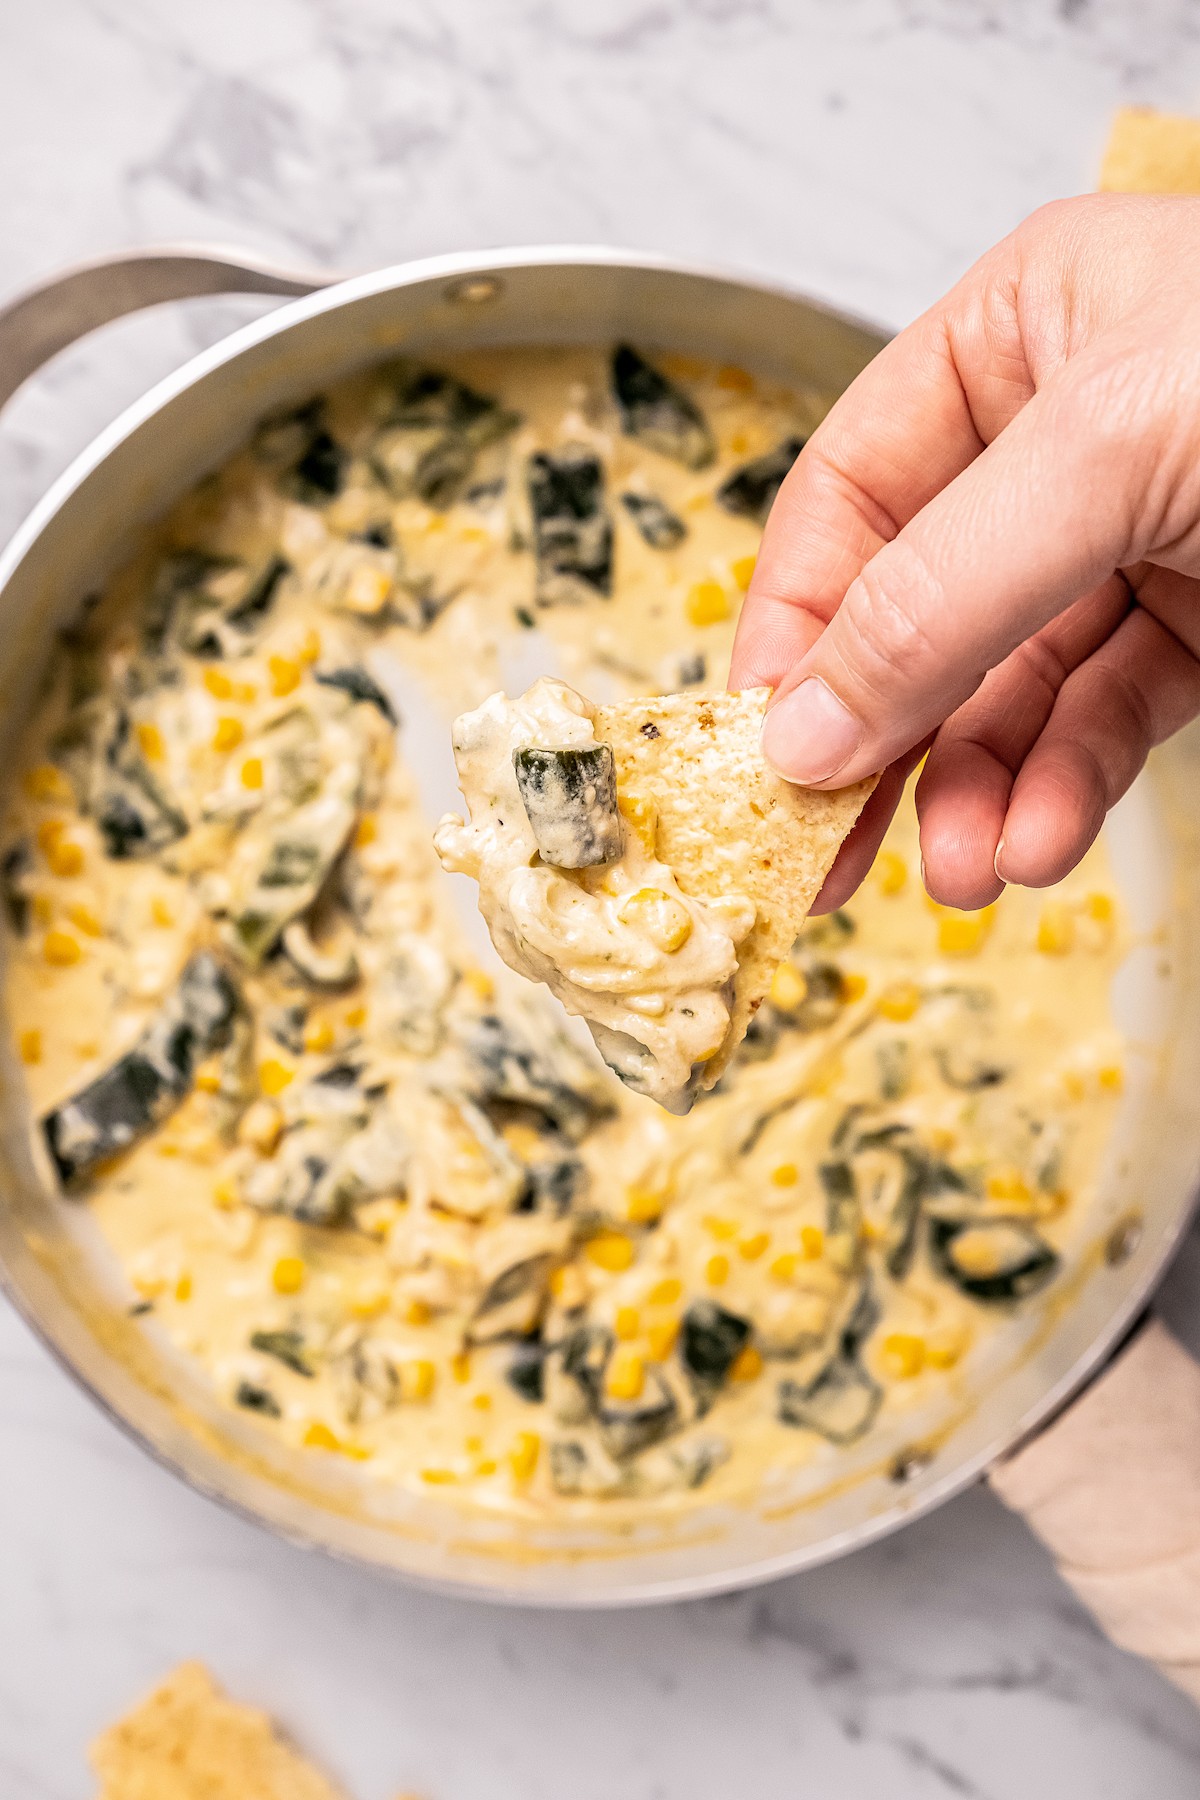
Tips for Success
Cutting corners doesn’t mean less flavor when it comes to rajas, so don’t be afraid to make your life a little easier.
- Buy frozen peppers. Look for frozen poblanos (whole or sliced) in the frozen aisle at Mexican supermarkets. They’ll save you lots of prep time if you can find them!
- Buy charred peppers. Mexican grocery stores also tend to carry freshly charred veggies like salsas, poblanos, and nopales. They’re staples in Mexican cuisine so that you can get cooking immediately once you get home.
- Use white corn. Don’t worry if you’re out of yellow corn. White corn works too, just make sure it’s not for making pozole— that’s a different kind of corn.
- Swap the cheese. Any melty cheese works wonderfully with this recipe!
- Open the window. Charred poblanos can sometimes cause a burning sensation in the eyes, so open the windows as you can to encourage air flow.
Want to save this recipe?
What to Serve with Rajas con Crema
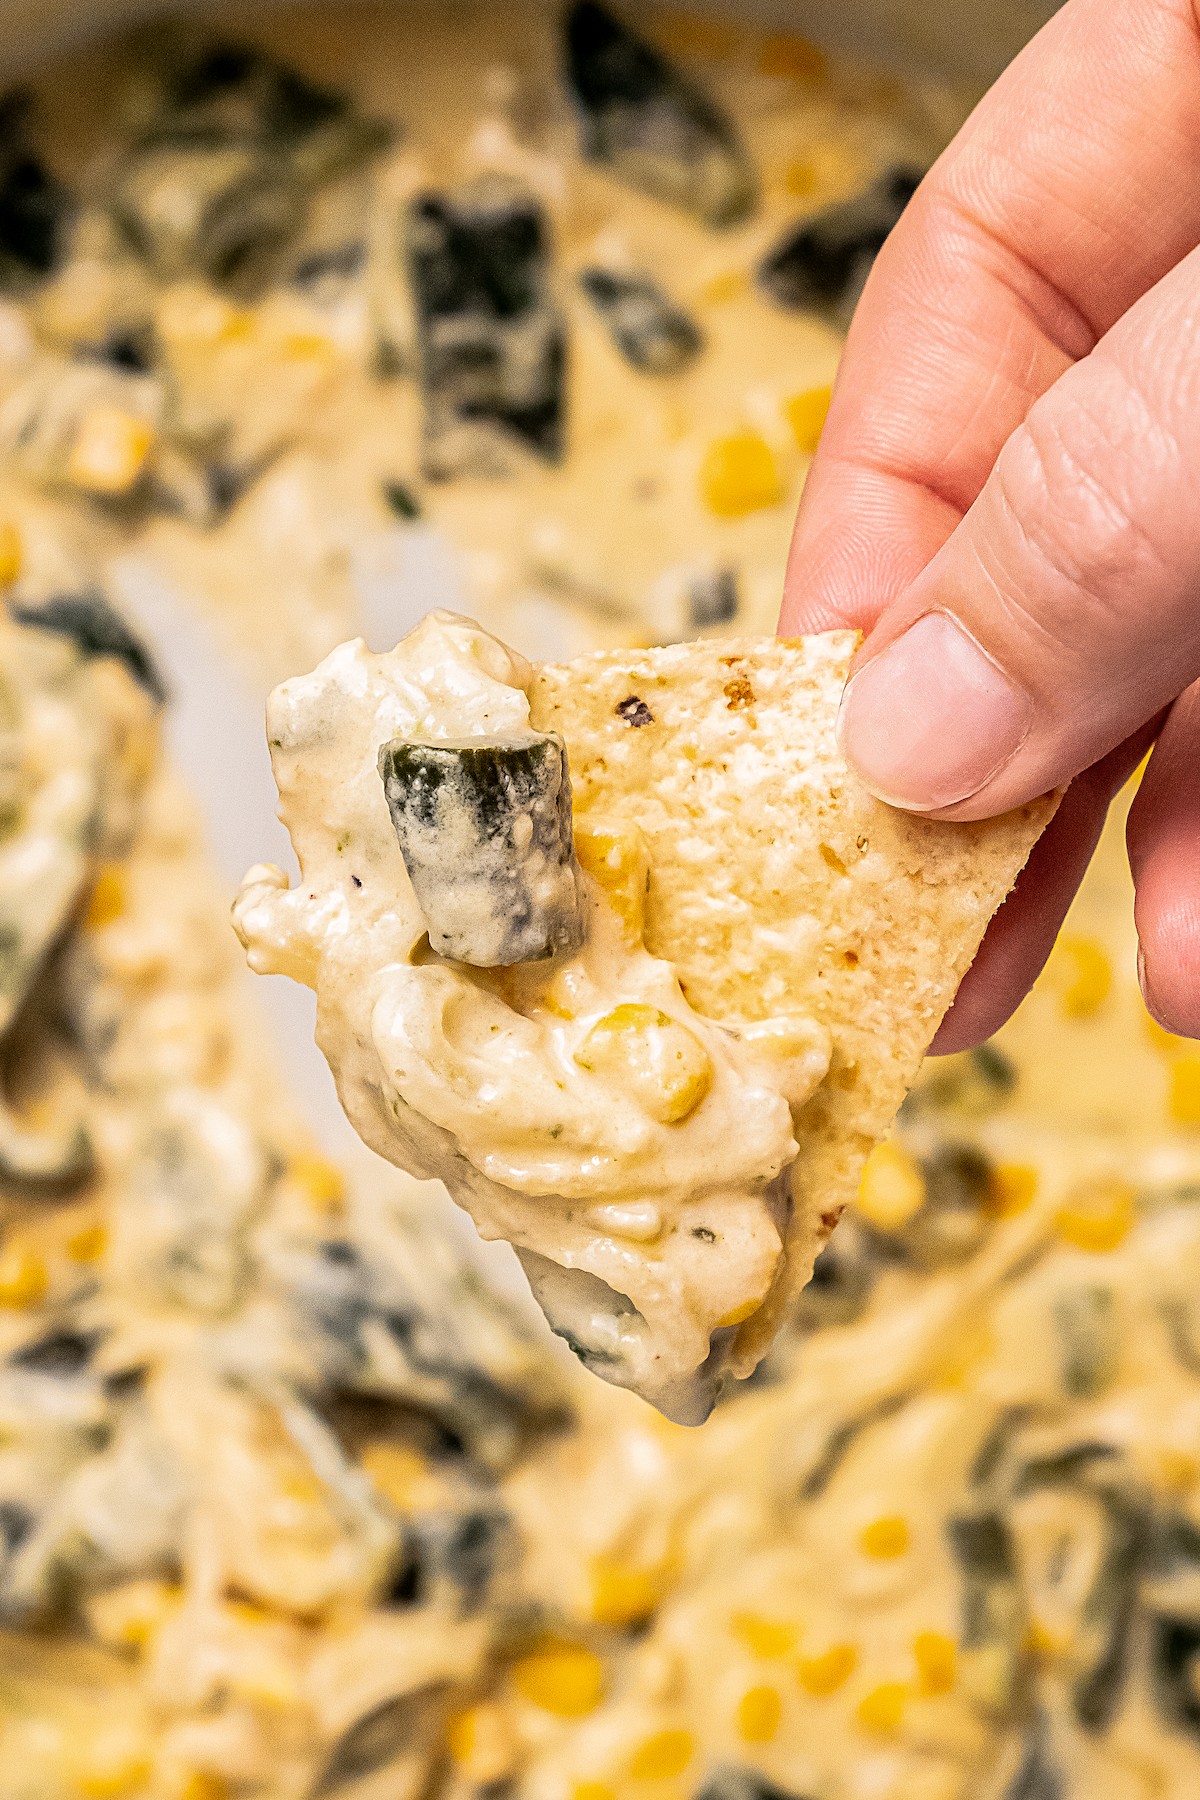
These rajas are great with Tortilla Chips for a crunchy bite. If you’re not into chips, enjoy this dish with Mexican Bolillos. Rajas con Crema are also amazing (and traditional) when served with Flour Tortillas or Corn Tortillas for burritos, tacos, and quesadillas. If you’d like to serve them as a main, add a bit of Mexican Rice and Refried Beans on the side.
How to Store & Reheat Leftovers
Once fully cooled, refrigerate leftover rajas in an airtight container for up to 5 days. Throw them out immediately if they taste bitter or sour.
To reheat, pop them into the microwave for up to a minute or until warm. You can also heat them in a pan, stirring occasionally, for 5-7 minutes over medium-low heat.
Can I Freeze Rajas con Crema?
Unfortunately, no. Cream and cheese-based dishes like rajas don’t freeze well because the sauce will separate. What you can freeze are the charred and peeled poblanos (whole or sliced).
Place them in a parchment lined baking tray and freeze them for 1 hour. Transfer them to a freezer-friendly bag or container and freeze for up to 6 months. Thaw the chiles in the fridge or at room temperature and then cook the rajas as usual.
More Mexican Recipes
- Chilaquiles Rojos
- Flank Steak Tacos
- Camarones Empanizados
- Elote
- Pozole Rojo
- Chile Rellenos in Cream Sauce
- Salpicon de Res
- Capirotada (Mexican Bread Pudding)
Rajas
Ingredients
- 3 medium poblano peppers
- 1 tablespoon vegetable oil
- ½ small white onion, thinly sliced
- ¾ cup canned yellow corn, rinsed and drained
- 1 cup evaporated milk
- ⅔ cup shredded Chihuahua cheese
- Salt and pepper, to taste
Want to save this recipe?
Instructions
- Place 1 poblano pepper on the stove per burner. This way they will have enough space to char evenly. Set the heat to medium and let them char for 4-5 minutes on each side or until blackened all over. Remove them from the heat.
- Place the poblanos in a plastic bag and seal it or tie it closed. Let them steam in the bag for 15 to 20 minutes. The longer, the better but don't let them cool fully either.
- Remove them from the bag and use your thumbs to carefully rub against the blackened poblano skin to peel them under cold running water. Remove as much of the blackened bits as possible. Don't worry if the peppers break a little bit.
- Place the peeled poblanos on a cutting board. Use a knife to make a lengthwise slit down the center. Remove the seeds and stems from the poblanos. Then slice them into 1/2" thick strips. You can slice them thinner or thicker too, it's up to you.
- Heat a large pan over medium heat. Add the vegetable oil and let it heat for another minute. Add the onion and let it cool for 5-6 minutes or until soft and fragrant. Don't forget to stir occasionally. Don't worry if the onion browns a little bit.
- Add the sliced poblanos and yellow corn into the pan. Stir to combine and let everything cook for another 3-4 minutes.
- Add the milk and cheese to the poblano mixture and stir well. Season with salt and pepper to taste.
- Stir occasionally. Allow the mixture to simmer for 15-20 minutes or until the milk has thickened slightly and the cheese has melted. It shouldn't be too liquid-y.
- Remove from the heat and serve immediately so that the cheese is still melty and the sauce doesn't seize.
⭐️ Tried this recipe? Leave a comment and rating! It only takes a minute and helps support our family-run blog. ❤️
Notes
Nutrition
Categories:
Post may contain affiliate links. Read my disclosure policy.


Taste close to what my Dad used to make for us. He did char roast the Serranos/Jalapenos, removing the black skin adding butter not oil. Used sweet Spanish Onion or Vidalia. So glad to find your recipe, brings back so many happy memories, He would make homemade chips as well. Love it and thanks so much for sharing.
This recipe was delicious and pretty easy! Thanks for sharing it!