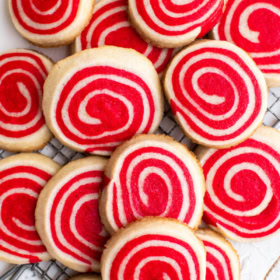
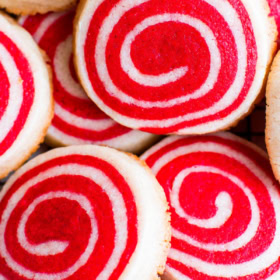
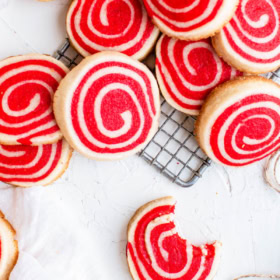
Jazz up your classic sugar cookies by turning them into Christmas Pinwheel Cookies! With their festive red and white spirals, these sugar cookies are sure to be the stars of your cookie tray.
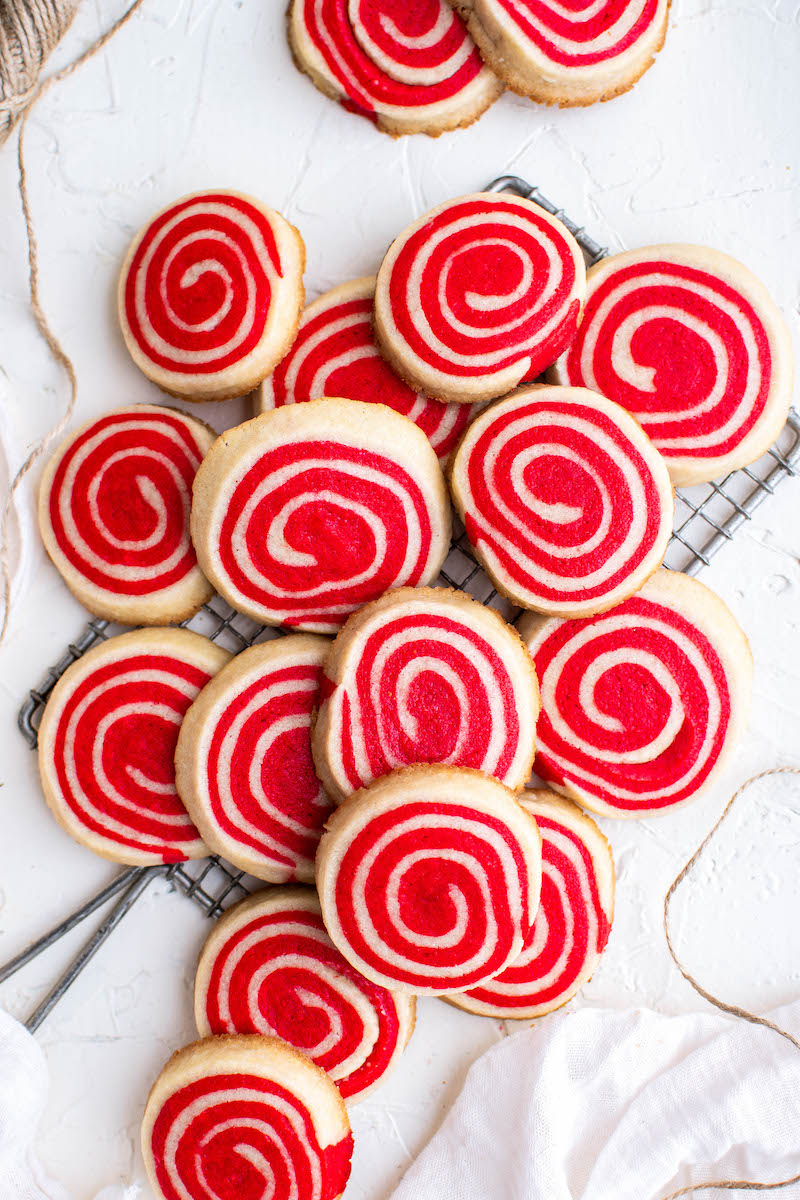
These Pinwheel Cookies are quickly climbing the ranks of my all-time-favorite Christmas cookie list. Just look at those red spirals! I can’t think of anything that says ‘holiday spirit,’ better than these colorful cookies.
I know you may not want to desert your classic sugar cookie recipe; Christmas is a time for traditions, after all. However, there’s no rule that says you can’t have two kinds of sugar cookies on your cookie tray. In fact, I highly recommend that you do! Twice the fun, you know?

Pinwheel Cookies are essentially sugar cookies, but before you pop the cookies in the oven to bake, you divide the dough into two halves and dye one half or both halves into different colors.
Then you roll the two sections into a log, slice it up into rounds, bake them and voilà! Beautiful, pinwheel Christmas cookies!

Ingredients
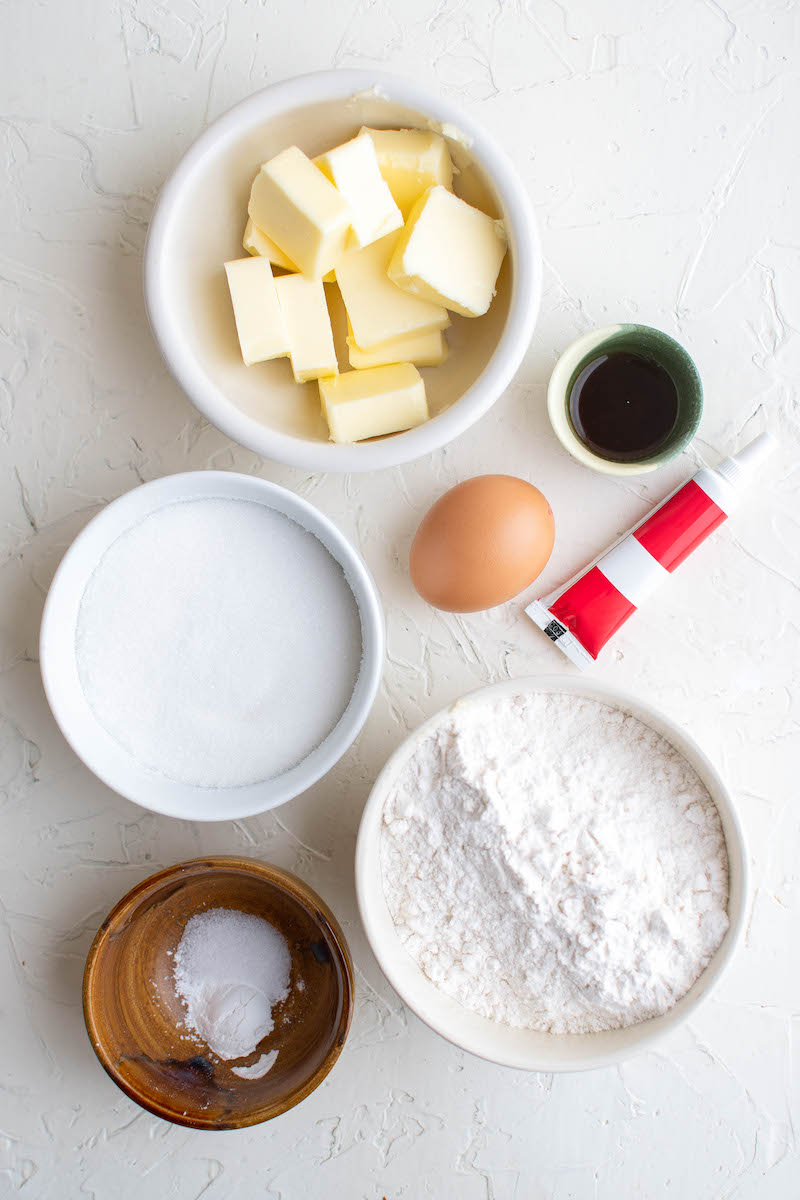
Let’s get started on mixing together that Christmas cheer! Here’s what you’ll need to make these cookies:
- All-Purpose Flour
- Baking Powder
- Salt
- Unsalted Butter: let butter soften before using.
- Granulated Sugar
- An Egg: let it come to room temperature before you start.
- Vanilla Extract
- *Red Food Coloring: adjust the amount for less/more pigmented dough.
*You could also use green, or any other colors you like to make these cookies for some other occasion.
These Pinwheel Cookies come together in 12 simple steps. If you’ve got kids (or kids at heart) that love to bake, get them in on the action!
Mix Dry Ingredients: In a medium sized bowl, whisk together flour, baking powder and salt. Set aside.
Cream Butter: In a large bowl, cream the butter and sugar together until light and fluffy. Beat in the egg and vanilla extract, until well combined.

Mix in Flour: Add flour mixture to butter mixture and beat until just combined. Separate the dough into two bowls.
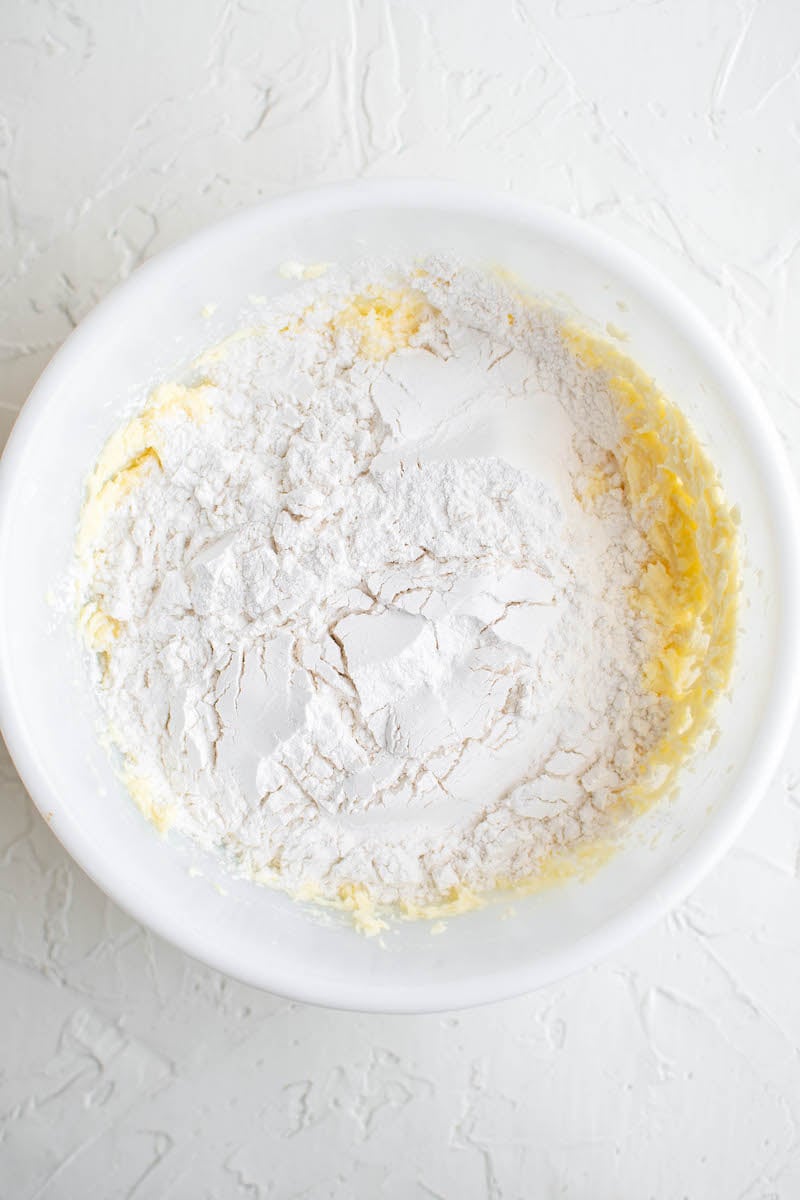
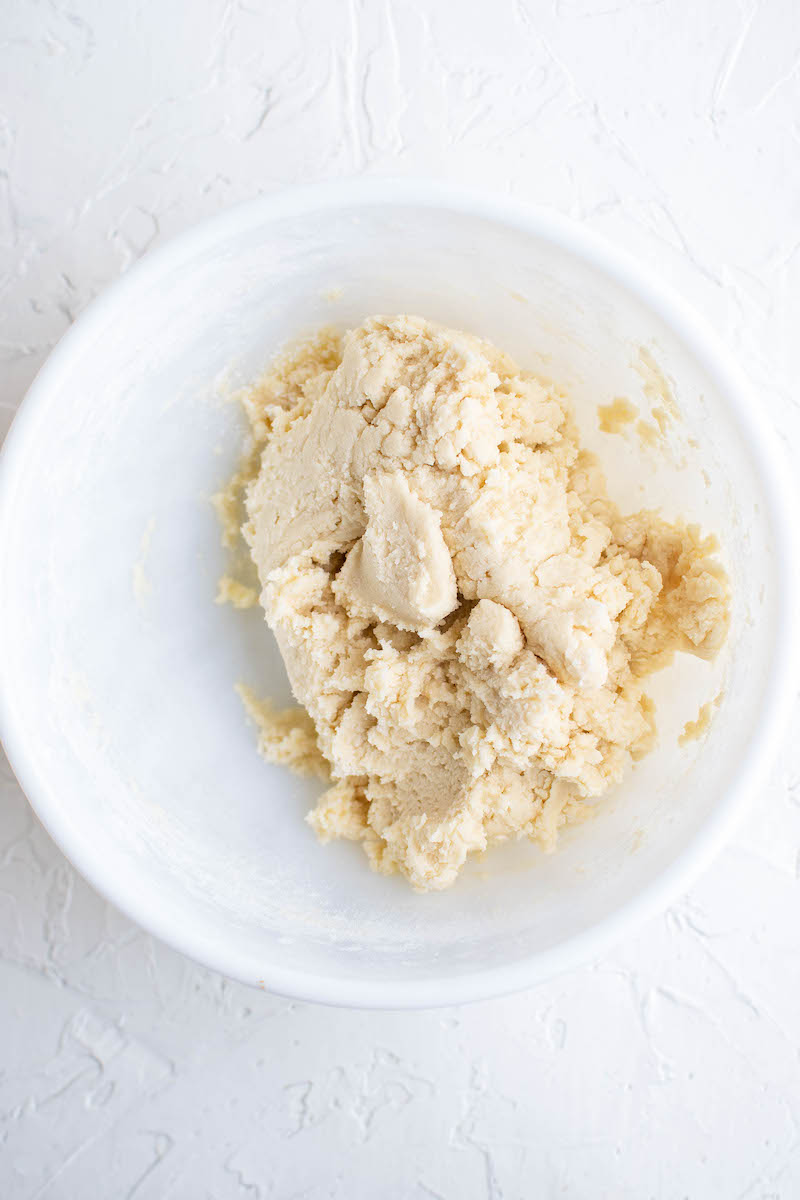
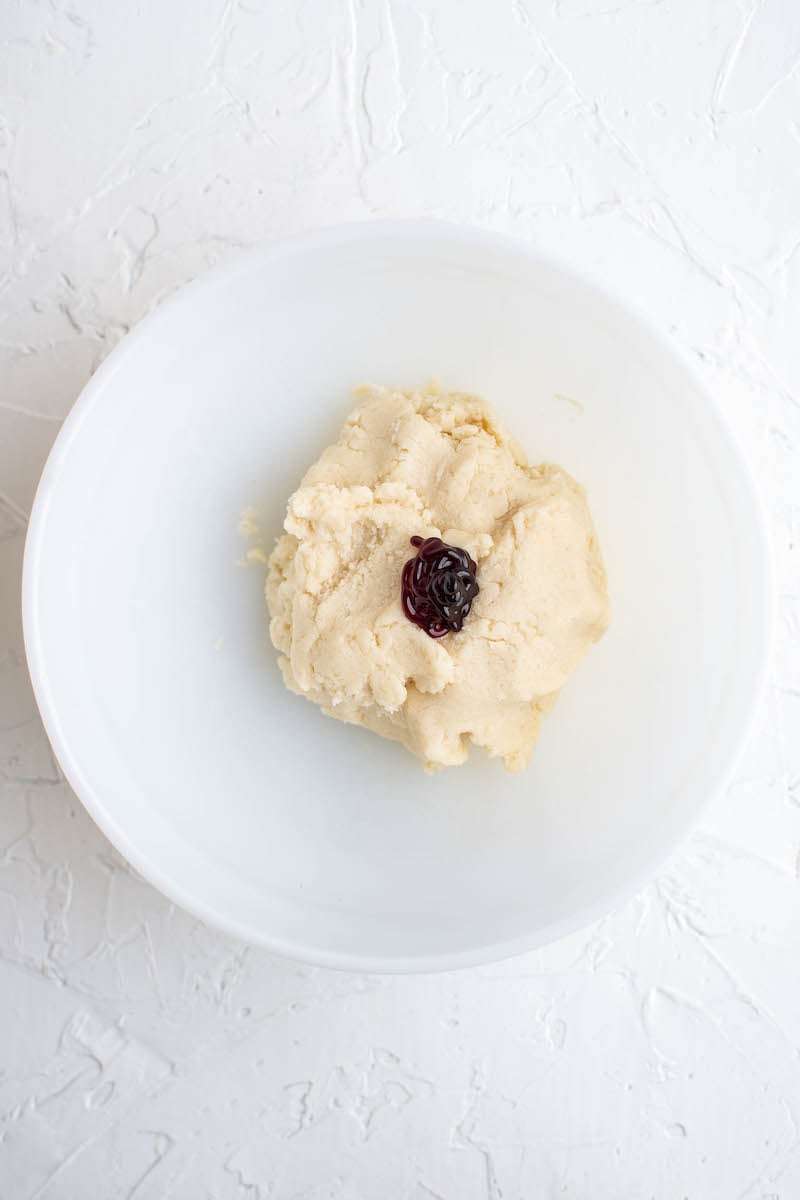
Add Food Coloring: Add the red food coloring into one of the doughs, stirring until color is evenly spread throughout the dough.
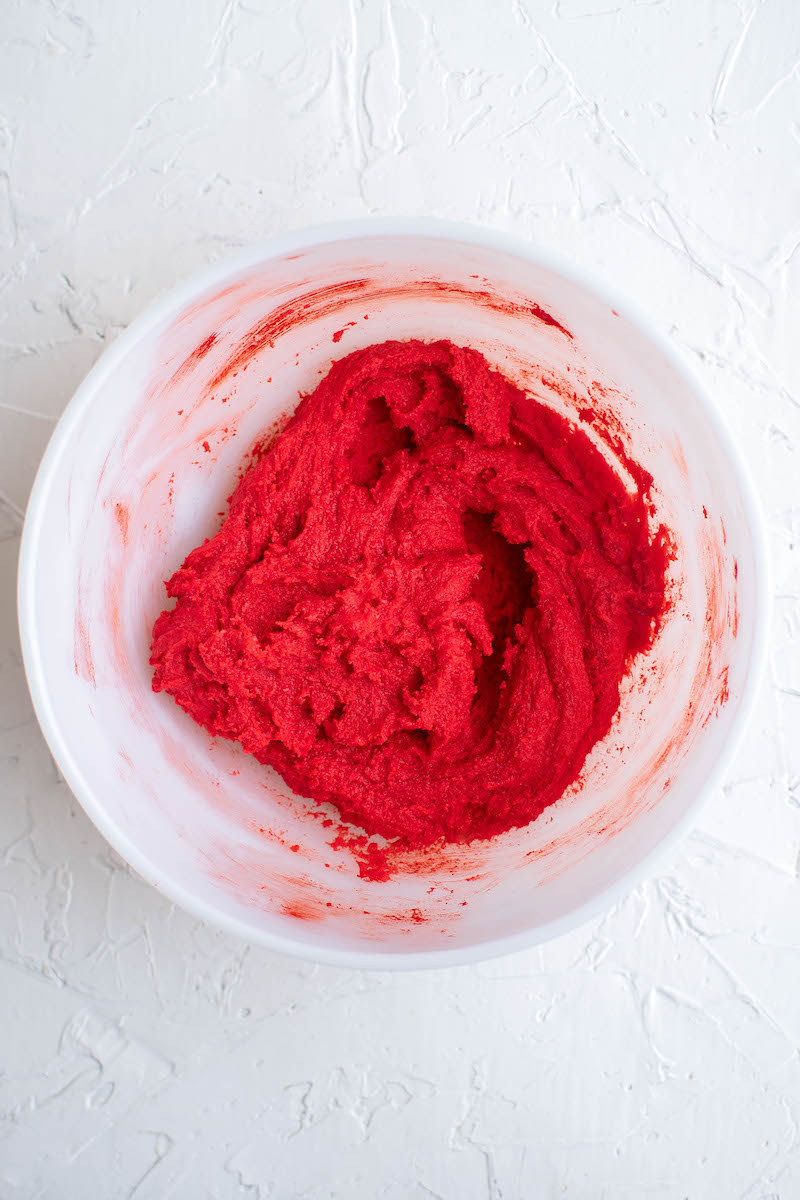
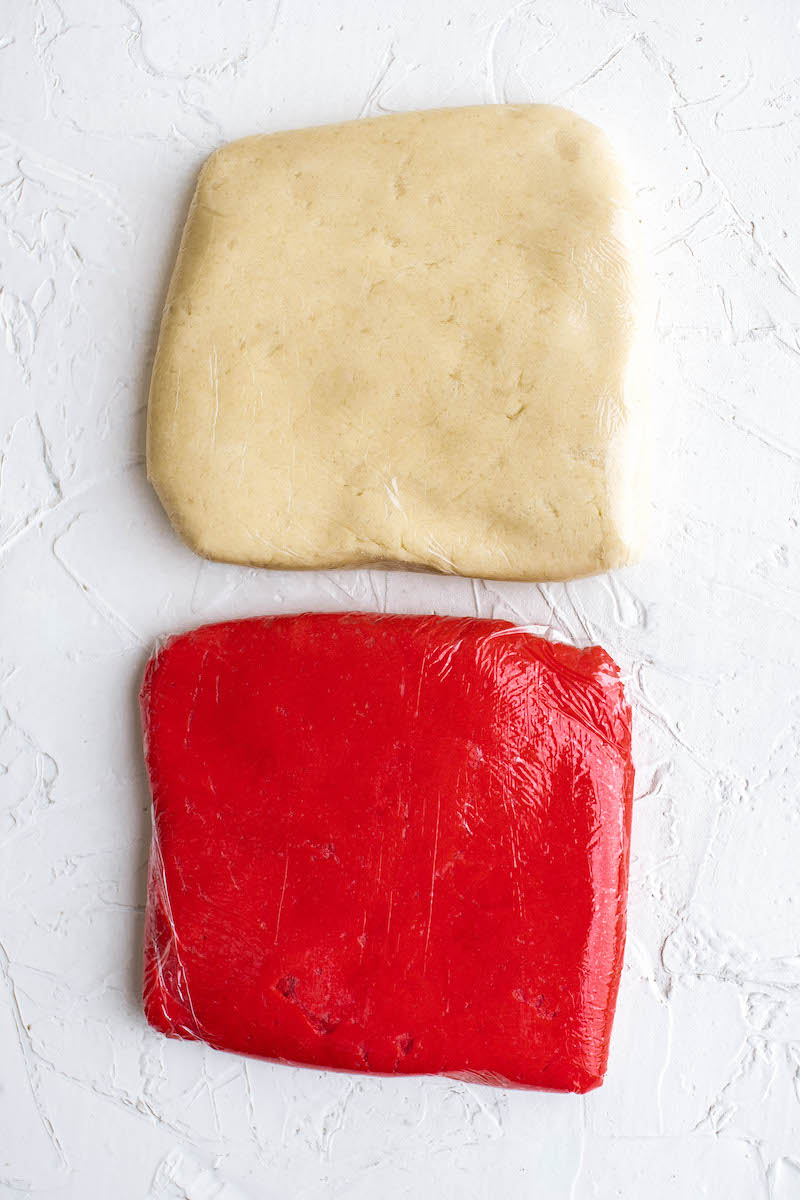
Chill Dough: Lay out a large sheet of cling wrap and add the red dough to the center. Press it out into a disk. Cover and seal and do the same with the plain dough. Chill in a fridge for 2 hours or up to 48 hours.
Roll Dough into Squares: Lay out two sheets of parchment paper then remove the two disks of dough from the fridge.
Unwrap the plain dough and roll it out on one piece of the parchment paper into approximately a 12×12 inch square and about ½ inch thick. Then do the same with the red dough on the other sheet of parchment paper.
Want to save this recipe?
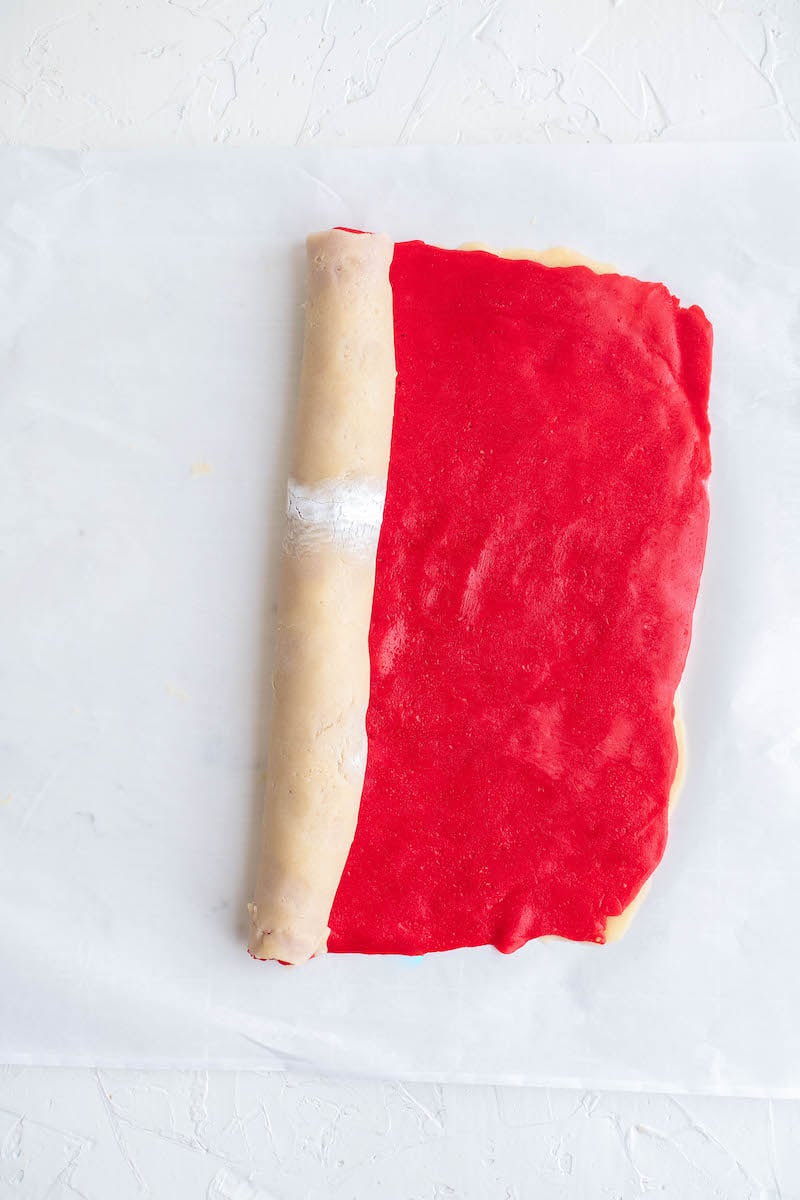
Roll Dough into a Log: Line up the red dough on top of the plain dough and press it lightly into the plain dough. Remove the parchment paper from the red dough and tightly roll the dough up.
Chill Rolled Dough: Lay out another sheet of cling wrap or reuse one of the other sheets and transfer the rolled dough onto it. Seal it and chill again for two hours.
Preheat Oven: Ten minutes before removing the dough from the fridge, preheat oven to 350° Line two baking sheets with parchment paper.


Slice into Cookies: Remove the dough from the fridge and unwrap it. Then slice the dough into ½ inch thick slices.
Bake: Place cookies on the prepared pans, leaving a little room for spreading and bake for 8-10 minutes, or until the sides on the bottom just start to turn a light golden brown.
Let Cool: Remove the pan from the oven and let the cookies cool for 5 minutes before removing them and letting them cool completely on a cooling rack.

Tips for Success
Pretty easy, right? Even so, here are some tips that will make baking these cookies a breeze.
- Dividing the Dough: If you aren’t comfortable with eye-balling the two disks of dough, you can use a kitchen scale to make sure the amounts are equal.
- Chill the Log of Dough: Refrigerating the dough for a little bit makes it easier for the cookies to keep their circular shape while you’re slicing.
- Flavor the Dough: Peppermint extract would definitely add some festive flavor! You can also try almond extract.
- Customize the Cookies: Adding some red or green sprinkles around the edges always looks gorgeous as well!
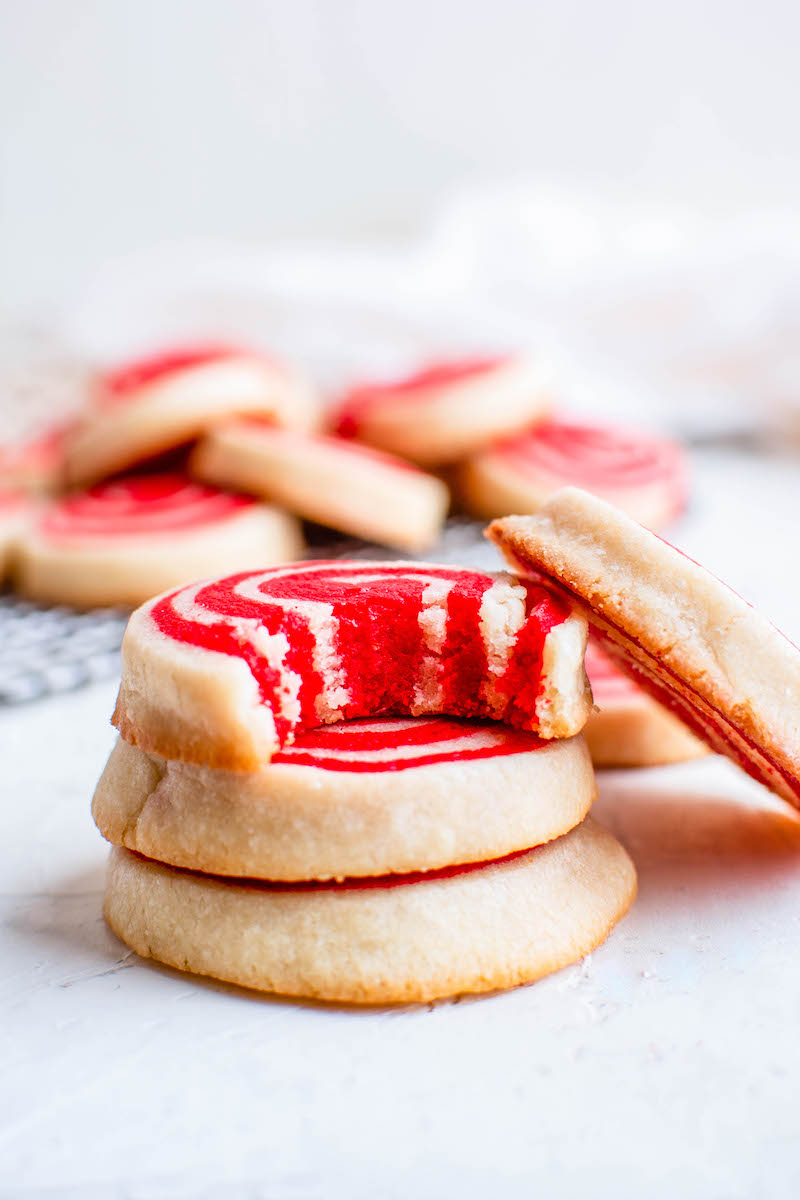
These cookies can be stored for up to one week in an airtight container. You can also freeze them in an airtight container for 2-3 months.
Can I freeze these cookies?
I recommend freezing the dough more than the cookies. You can always freeze the cookies, but they are honestly best baked fresh. Freezing just the dough in a couple layers of plastic wrap is also possible, if you want to wait on baking these cookies.
I freeze the dough after rolling the two doughs together into a log. Then tightly wrap the dough in Saran Wrap and then place them in a freezer friendly ziplock bag. Thaw dough before baking according to recipe directions!
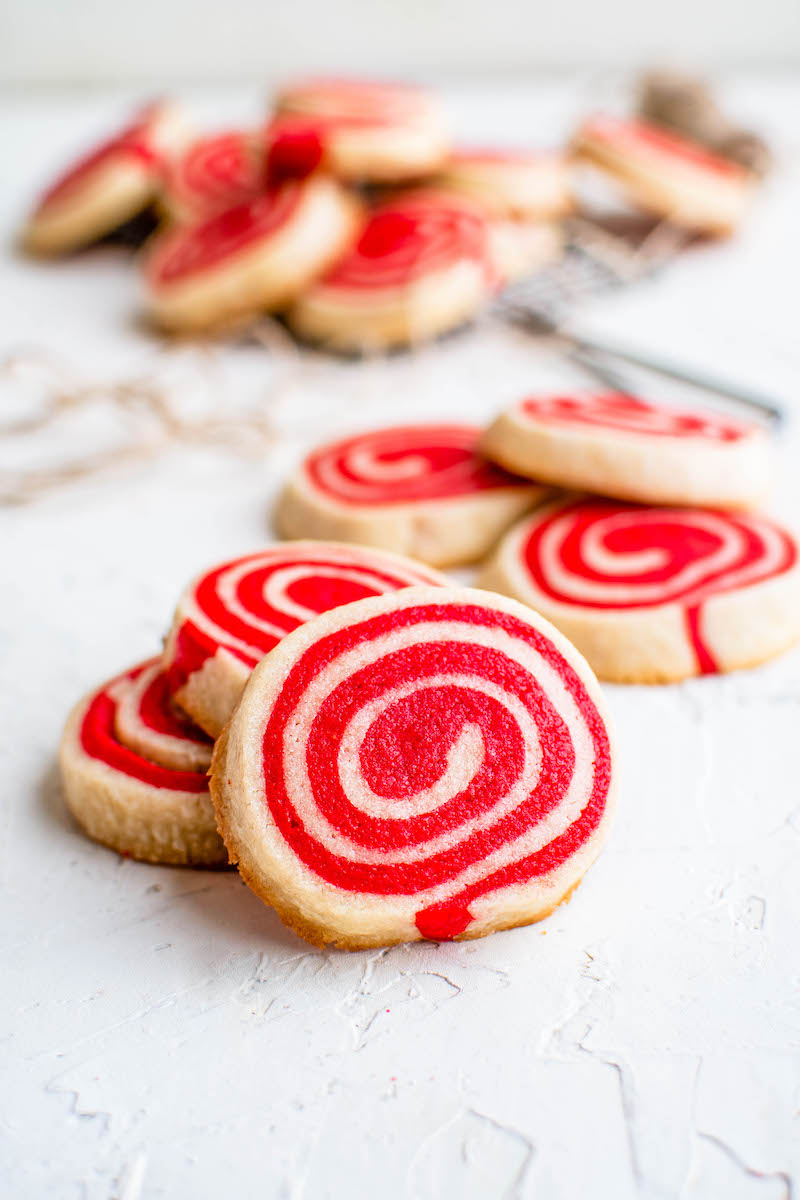
These adorable and easy Pinwheel Cookies are perfect for Christmas cookie trays! They have a classic sugar cookie taste, but with a festive appearance. Keep them red and white like candy canes, or go all out with green and red pinwheels. Either way, they will be one of the first cookies to disappear!
Please leave a review in the comments below with photos if you try this recipe. I love to see what you are baking up! Happy Holidays!
Ingredients
- 1 ¾ cup of all-purpose flour
- ½ teaspoon baking powder
- ¼ teaspoon salt
- 10 tablespoons unsalted butter, softened
- ¾ cup granulated sugar
- 1 large egg, room temperature
- 1 ½ teaspoon of vanilla extract
- 1-2 teaspoons red food coloring, depending on how pigmented you like your dough
Want to save this recipe?
Instructions
- In a medium sized bowl, whisk together flour, baking powder and salt. Set aside.
- In a large bowl, cream the butter and sugar together until light and fluffy. Beat in the egg and vanilla extract, until well combined.
- Add flour mixture to butter mixture and beat until just combined. Separate the dough into two bowls.
- Add the red food coloring into one of the doughs, stirring until color is evenly spread throughout the dough.
- Lay out a large sheet of cling wrap and add the red dough to the center. Press it out into a disk. Cover and seal and do the same with the plain dough. Chill in a fridge for 2 hours or up to 48 hours.
- Lay out two sheets of parchment paper then remove the two disks of dough from the fridge. Unwrap the plain dough and roll it out on one piece of the parchment paper into approximately a 12×12 inch square and about ½ inch thick. Then do the same with the red dough on the other sheet of parchment paper.
- Line up the red dough on top of the plain dough and press it lightly into the plain dough. Remove the parchment paper from the red dough and tightly roll the dough up.
- Lay out another sheet of cling wrap or reuse one of the other sheets and transfer the rolled dough onto it. Seal it and chill again for two hours.
- Ten minutes before removing the dough from the fridge, preheat oven to 350°F. Line two baking sheets with parchment paper.
- Remove the dough from the fridge and unwrap it. Then slice the dough into ½ inch thick slices.
- Place cookies on the prepared pans, leaving a little room for spreading and bake for 8-10 minutes, or until the sides on the bottom just start to turn a light golden brown.
- Remove the pan from the oven and let the cookies cool for 5 minutes before removing them and letting them cool completely on a cooling rack.
⭐️ Tried this recipe? Leave a comment and rating! It only takes a minute and helps support our family-run blog. ❤️
Notes
Nutrition
Categories:
MORE CHRISTMAS COOKIES TO TRY
Searching for more Christmas cookie recipes? Check out some of these!
- Red and Green M&M Christmas Cookies
- Chewy Peanut Butter Cookies
- Salted Caramel Cookies
- Gingerdoodle Cookies
Post may contain affiliate links. Read my disclosure policy.

