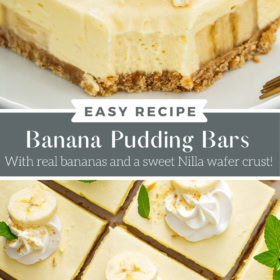

Before the summer’s over, you simply MUST make these sweet, creamy Banana Pudding Bars! They’ve got everything you love about silky banana pudding, all in one sliceable bar. This is a no-bake recipe that I just can’t get enough of lately!


“Obsessed with how easy these were to toss together! They were all the elements of banana pudding in sliceable bars. This is definitely a new summer staple in my house! LOVED how fluffy the actual pudding layer turned out.” — Haley, busy mom of two and passionate home cook and baker.
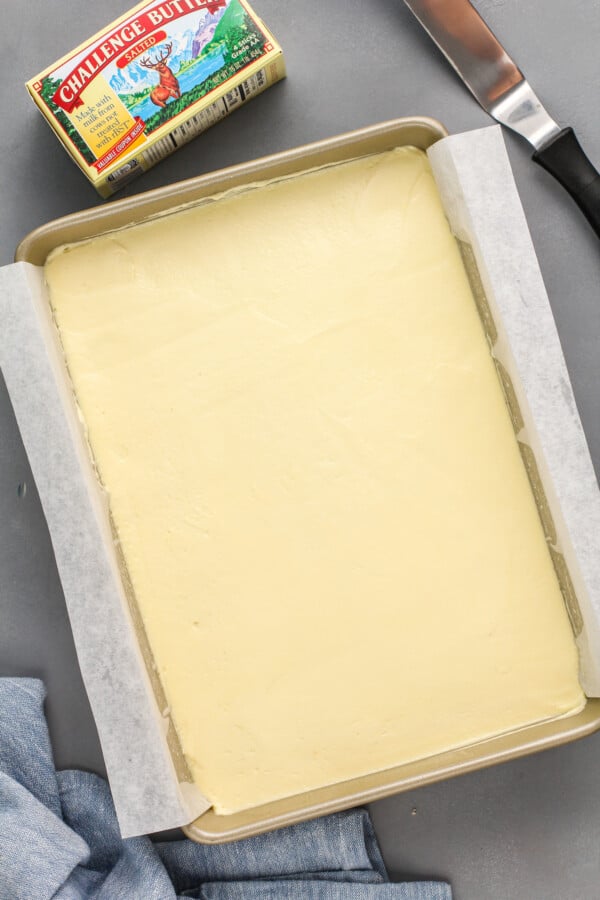
These creamy Banana Pudding Bars are light and refreshing, perfect for hot summer days as they are made without the oven! Just layer them together and pop them into the fridge to chill for later.
The silky banana pudding is delicious, but I think I might love the vanilla wafer crust the most! It’s made with melted butter and finely crushed vanilla wafers, creating a sweet and salty crust that’s truly divine.
When that buttery, flavorful crust is topped with the creamy banana pudding, it becomes a dessert sent straight from heaven! Well, if heaven was my refrigerator… But you get the idea!

Key Ingredients
Below you will find helpful notes and substitutions for a few key ingredients for these banana pudding bars. Visit the printable recipe card below for the full ingredient list and amounts.
- Instant Pudding: It’s very important that you double check that your pudding (no matter which flavor!) is the instant kind and not the heat and serve version. If you do not get the instant pudding, the bars will not set up.
- Banana Pudding vs Vanilla Pudding: You can use either, but I personally like the flavor best of vanilla pudding with real banana slices. I find banana pudding to taste a little artificial, so I prefer to use vanilla pudding with fresh bananas for the banana flavor.
- Nilla Wafers: These serve as the base of your crust and will need to be crushed very finely. If you don’t happen to have Nilla wafers on hand, you can also graham crackers. However, I highly recommend using Nilla Wafers for the overall flavor to taste like the classic banana pudding.
- Cream Cheese: Use a full fat softened cream cheese.
- Whole Milk: Make sure it’s nice and cold!
- Cool Whip: It should be thawed if previously frozen. Or you are welcome to make homemade whipped cream and use it instead!
- Bananas: Slice the medium bananas into 3/4-inch thick coins.

Tips for Making Banana Pudding Bars
Honestly, these Banana Pudding Bars are a win simple for just how stress-free they are! Just like my banana pudding lasagna recipe, you just have to prep and layer everything together and the refrigerator will do the rest. Below are a few helpful tips – visit the printable recipe card for the full directions!

Making the crust: The key to a sturdy, sliceable bottom is achieving the right butter-to-cookie balance. Crush your Nilla Wafers until they’re almost a fine powder, a few chunks are ok, then add just enough melted butter so the mix holds its shape when squeezed in your hand.
Press it firmly and evenly into the pan, using a flat-bottomed measuring glass or ramekin can help you pack it tightly. This creates a solid foundation that won’t crumble when you slice into the bars.
Keep the bananas fresh: To avoid brown spots, layer your banana coins quickly and top them immediately with the pudding mixture. To ensure your bananas don’t brown, you can lightly coat the banana slices with lemon juice. You won’t taste the lemon, but it slows oxidation.
Chill and slice: A full 2 to 3 hour chill (or ideally overnight) is essential – not just for texture but for clean slicing. When it’s time to cut, lift out the slabs using the parchment sling, and run your knife under hot water between cuts. Wipe and reheat the knife as needed… This prevents pudding buildup on the blade, giving you smooth, professional-looking edges.

How long will banana pudding bars stay fresh?
These Banana Pudding Bars are a wonderful make ahead dessert. I like to make them the day before and garnish them before serving so they taste and look perfect!
In an airtight container in the refrigerator, these sweet bars will stay fresh for up to 3 days. Although they’re still tasty on day 3, I recommend serving these banana bars within the first 24 hours of making them for the freshest results! Over time, the fresh bananas will start to turn brown.
Banana Pudding Bars
Ingredients
- 1 (11 oz) box vanilla wafers, crushed very fine
- ½ cup (1 stick) butter, melted
- 4 oz cream cheese, softened
- 1 (5.1 oz) box instant pudding, banana cream or vanilla flavored
- 1 ¾ cups whole milk, cold
- 1 teaspoon vanilla extract
- 8 oz cool whip, thawed
- 3 medium bananas, sliced into 3/4-inch thick coins
Want to save this recipe?
Instructions
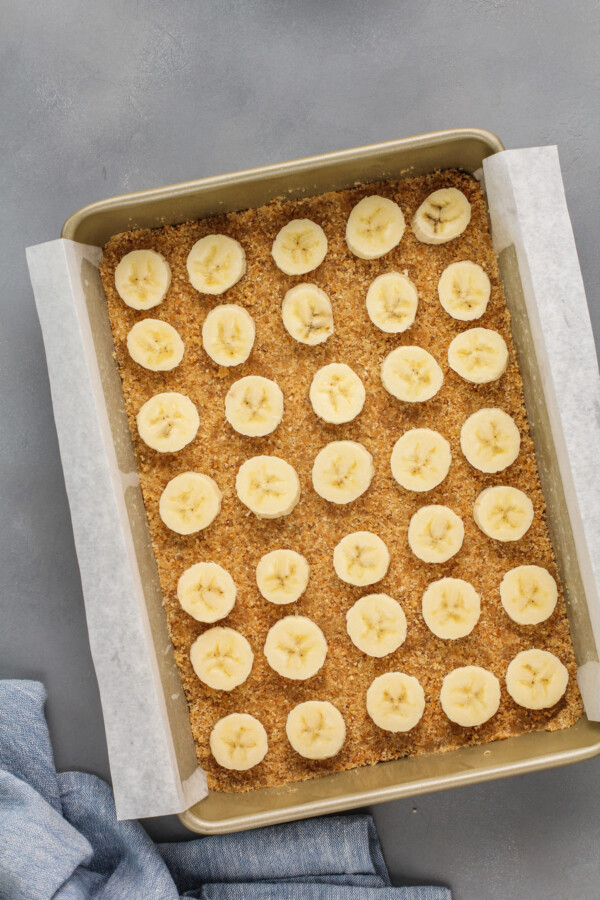
- Line a 9×13-inch baking pan with parchment paper sling that hangs off of two sides.
- In a large bowl, stir together crushed vanilla wafers and butter until well combined. The mixture should hold it’s shape in your hand when you squeeze it. Pour the crust mixture into the prepared pan and press very firmly into an even layer in the bottom of the pan. Evenly spread sliced bananas on top of the crust layer.
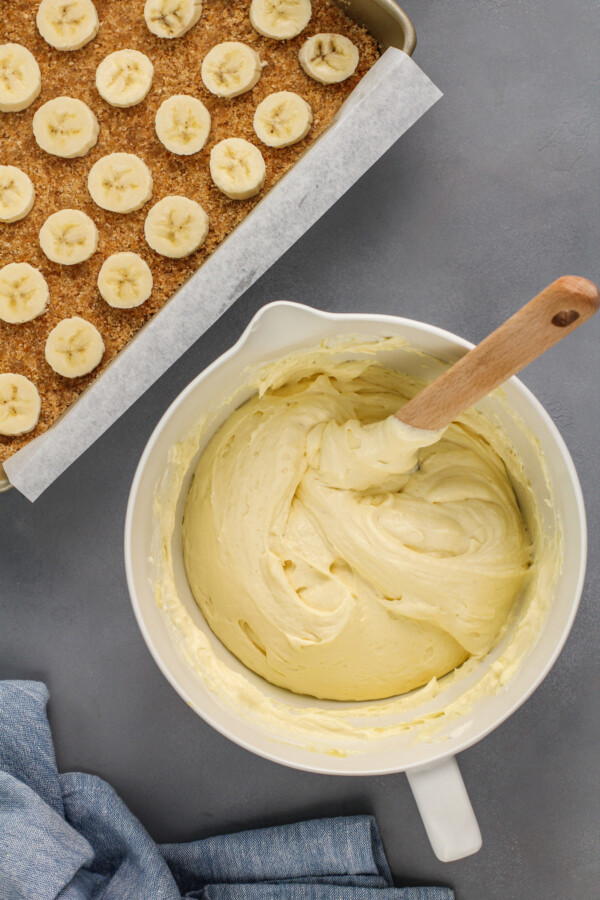
- In a large bowl using a hand mixer, beat cream cheese until light and fluffy, about 2 minutes. Set aside.
- In a medium bowl, whisk to combine the dry pudding mixture, milk and vanilla until smooth. Slowly pour the pudding mixture into the beaten cream cheese, beating constantly, until all pudding mixture is incorporated and mixture is smooth. Let pudding mixture sit for 5 minutes to thicken up, then fold in cool whip, until well combined.
- Pour pudding mixture on top of banana slices and smooth the top with a spatula as needed. Cover bars with foil or saran wrap and store in the refrigerator for 2-3 hours (or overnight).
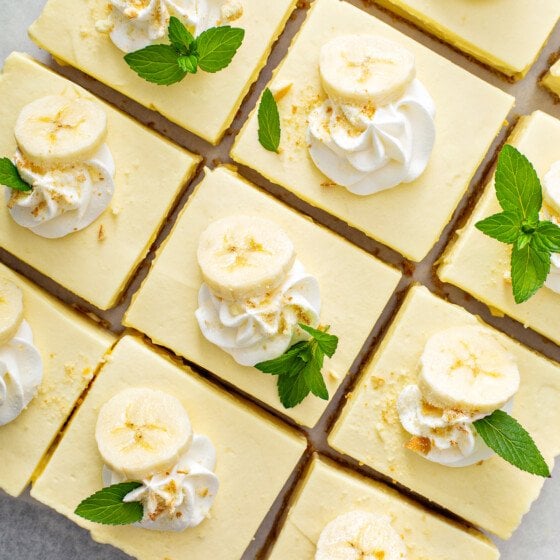
- When ready to serve, take the bars out of the refrigerator and carefully lift the parchment paper sides out and set on a cutting board. Using a large knife, slice the bars into squares. To keep your slices clean/neat: run your knife under hot water in between slicing and wipe off with a towel.
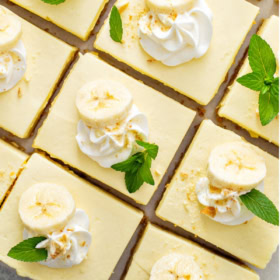
- For garnish, you can top each bar with more cool whip, banana slices and/or mint sprigs.
⭐️ Tried this recipe? Leave a comment and rating! It only takes a minute and helps support our family-run blog. ❤️
Notes
Video
Nutrition
Categories:
More Easy No-Bake Desserts To Try
- If you prefer from scratch, try this homemade banana pudding or old-fashioned banana pudding with meringue on top!
- This easy banana pudding cake or no-churn banana pudding ice cream are perfect all summer long.
- This no-bake cherry cheesecake is super simple to make on hot days.
- Get your chocolate and peanut butter fix with this Reese’s peanut butter pie!
- Craving something warm but don’t want to try on the oven? Arroz con leche is the answer!
Post may contain affiliate links. Read my disclosure policy.

Would it be possible to blend – almost liquefy- bananas and combine it w/the pudding? Or would it turn brown if not eaten right away?
It will likely brown with the bananas mixed in. It may not, but it would be a risk!
Yes, you can use 8 ounces whipped cream in place of the cool whip!
I am wondering if it is possible to make 1/2 the recipe for a smaller group? Would you just be able to use 1/2 the amounts of the ingredients?
Hi Melissa! Yes you can make a half batch, I would recommend using a 9×9 pan if making a half batch. 🙂