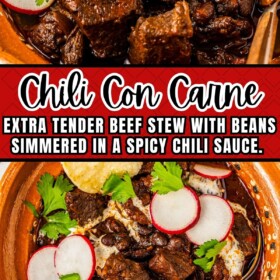
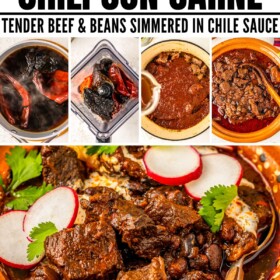
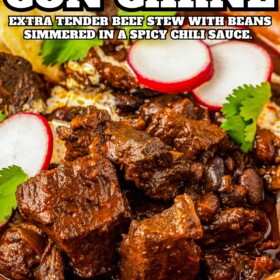
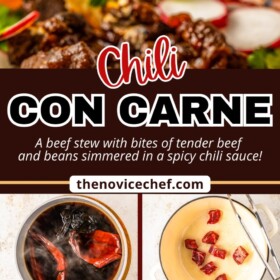
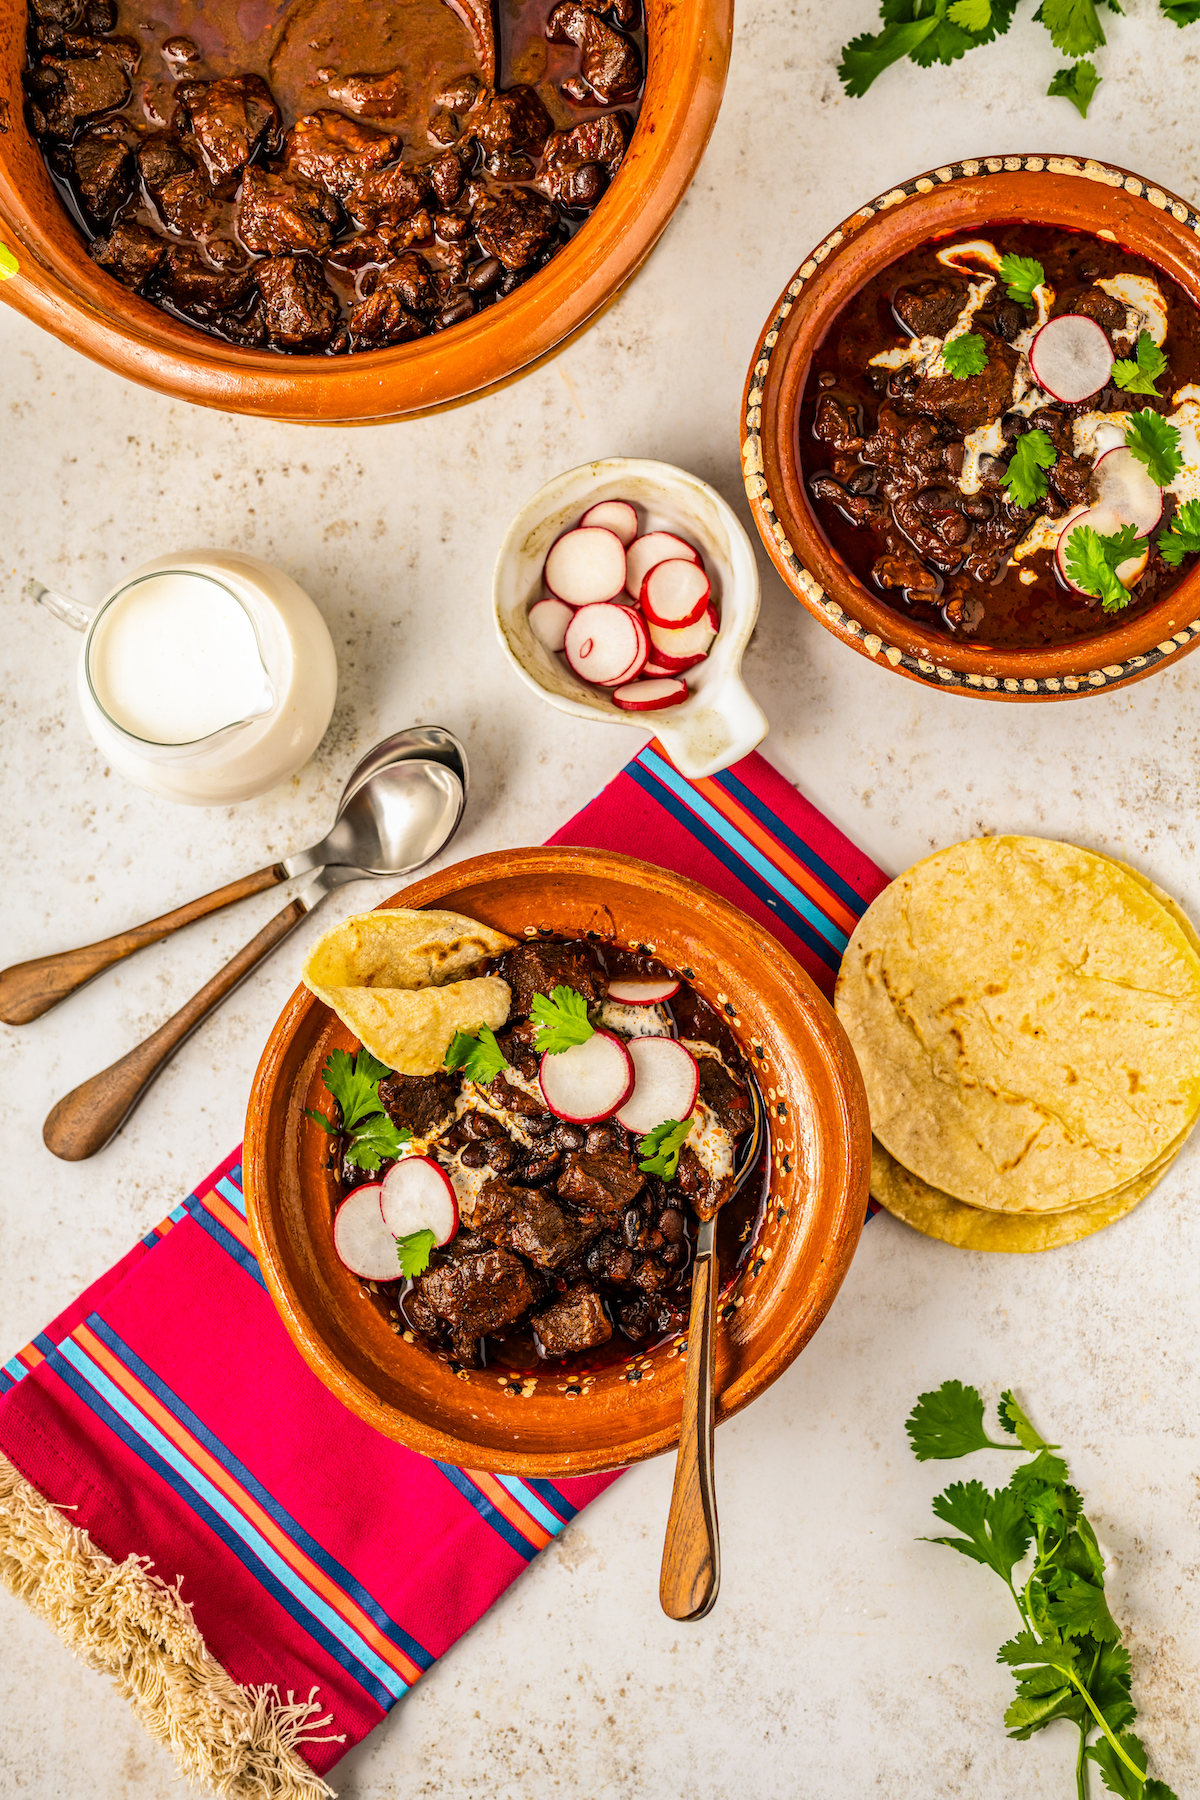
Chili Con Carne, meaning “chili with meat”, is a mouthwatering beef stew with bites of tender beef and beans simmered in a spicy chili sauce. When served with all your favorite toppings, this savory, hearty meal is sure to be a favorite in your home!
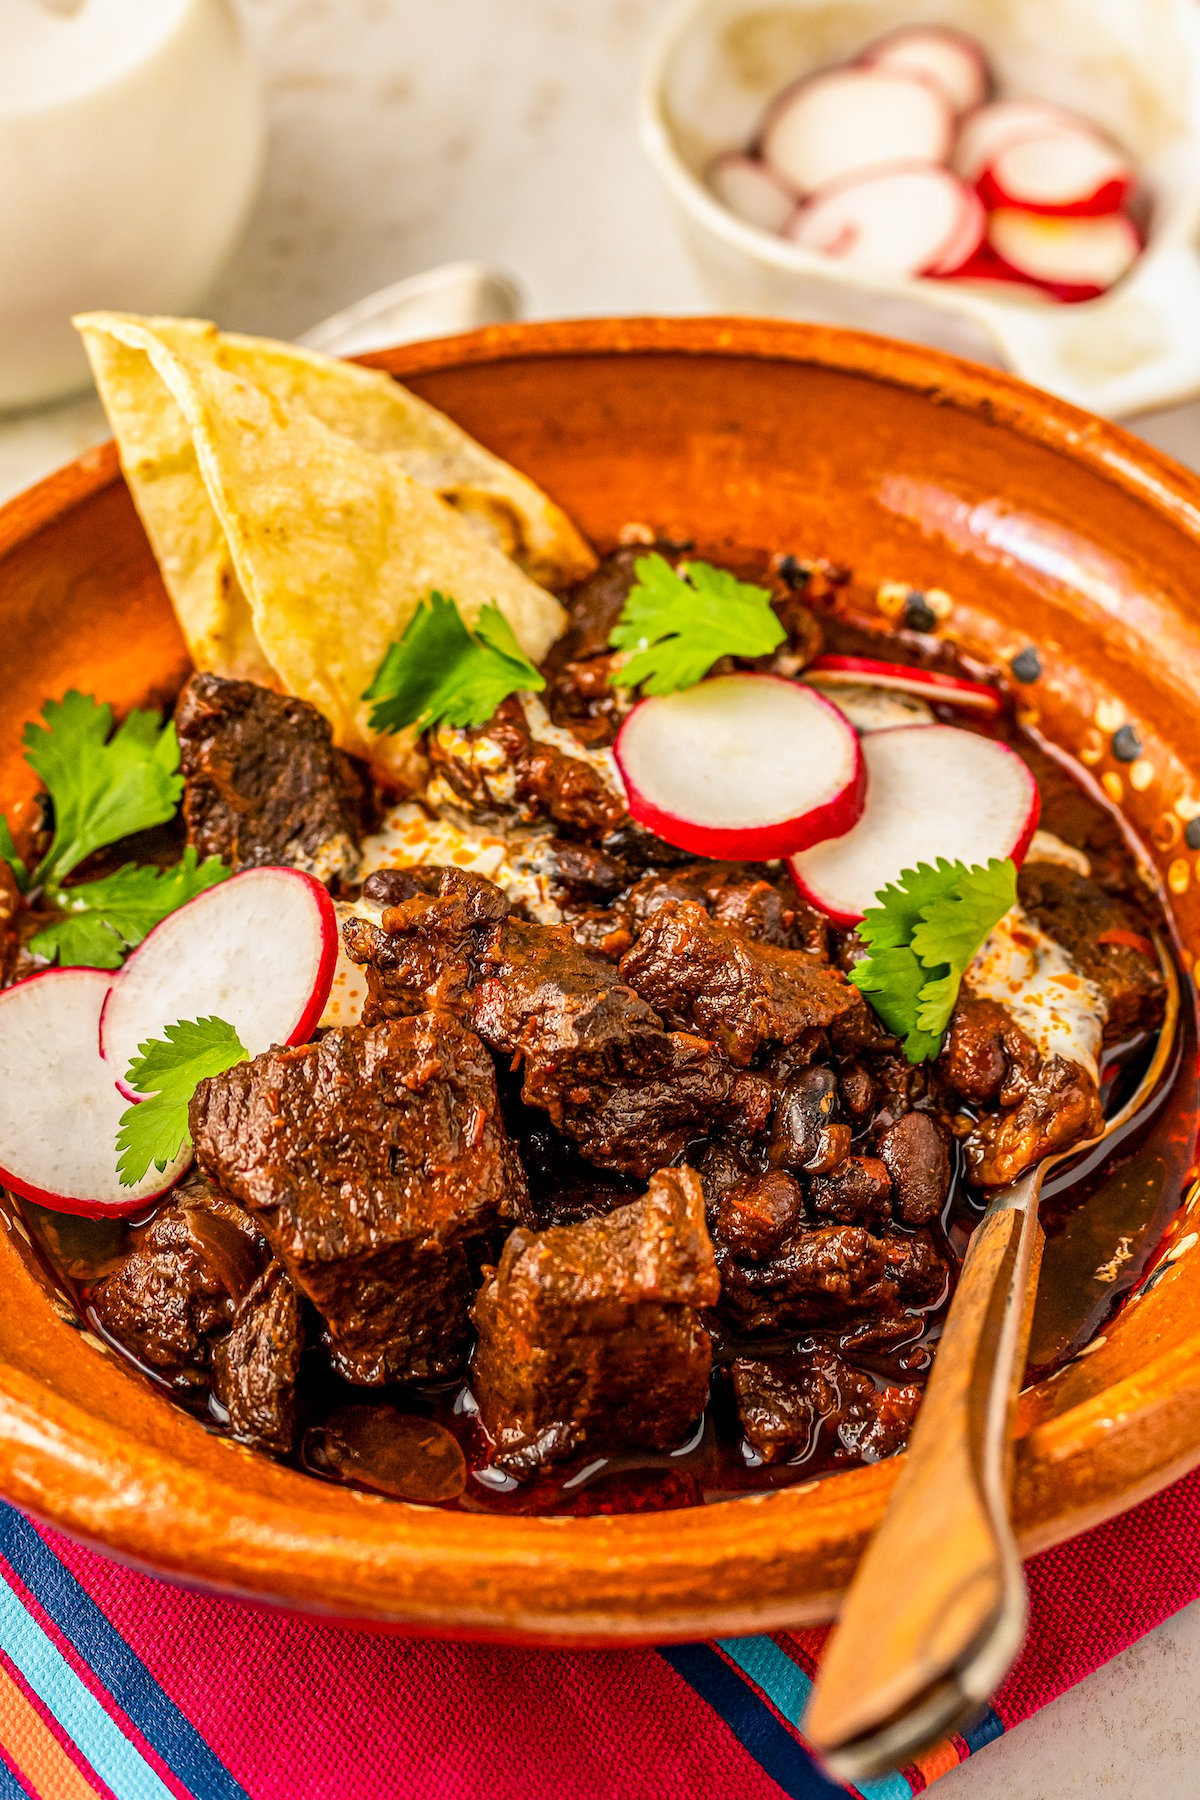
Table of Contents
- Why You’ll Love This Chili Con Carne
- What Is the Difference Between Chili and Chili Con Carne?
- The Ingredients You’ll Need
- How to Make Chili Con Carne
- Tips for Success
- What to Serve with Chili Con Carne
- How to Store and Reheat Leftover Chili
- Does Chili Con Carne Freeze Well?
- More Hearty Chili Recipes
- Get the Recipe
Why You’ll Love This Chili Con Carne
You won’t be able to resist this time-tested recipe – it’s got a lot going for it! Here are just a few of the reasons you’ll love it.
- Bold and Tasty: With meaty chuck roast, savory spices, chiles, and more, this recipe is packed with rich flavor.
- Satisfying: Some dinners leave you plundering in the fridge an hour later, but not this one! It’s a big, meaty dinner that will stick to your ribs.
- Comforting: Chili Con Carne is especially perfect in cold weather, because it’s a thick, hearty stew-like dish that really warms you up.
- Easy: Even if you’re not an experienced cook, no worries – this dish is super easy to whip up. The hardest part is waiting for it to simmer on the stove and become tender while the delicious smell tempts you!
What Is the Difference Between Chili and Chili Con Carne?
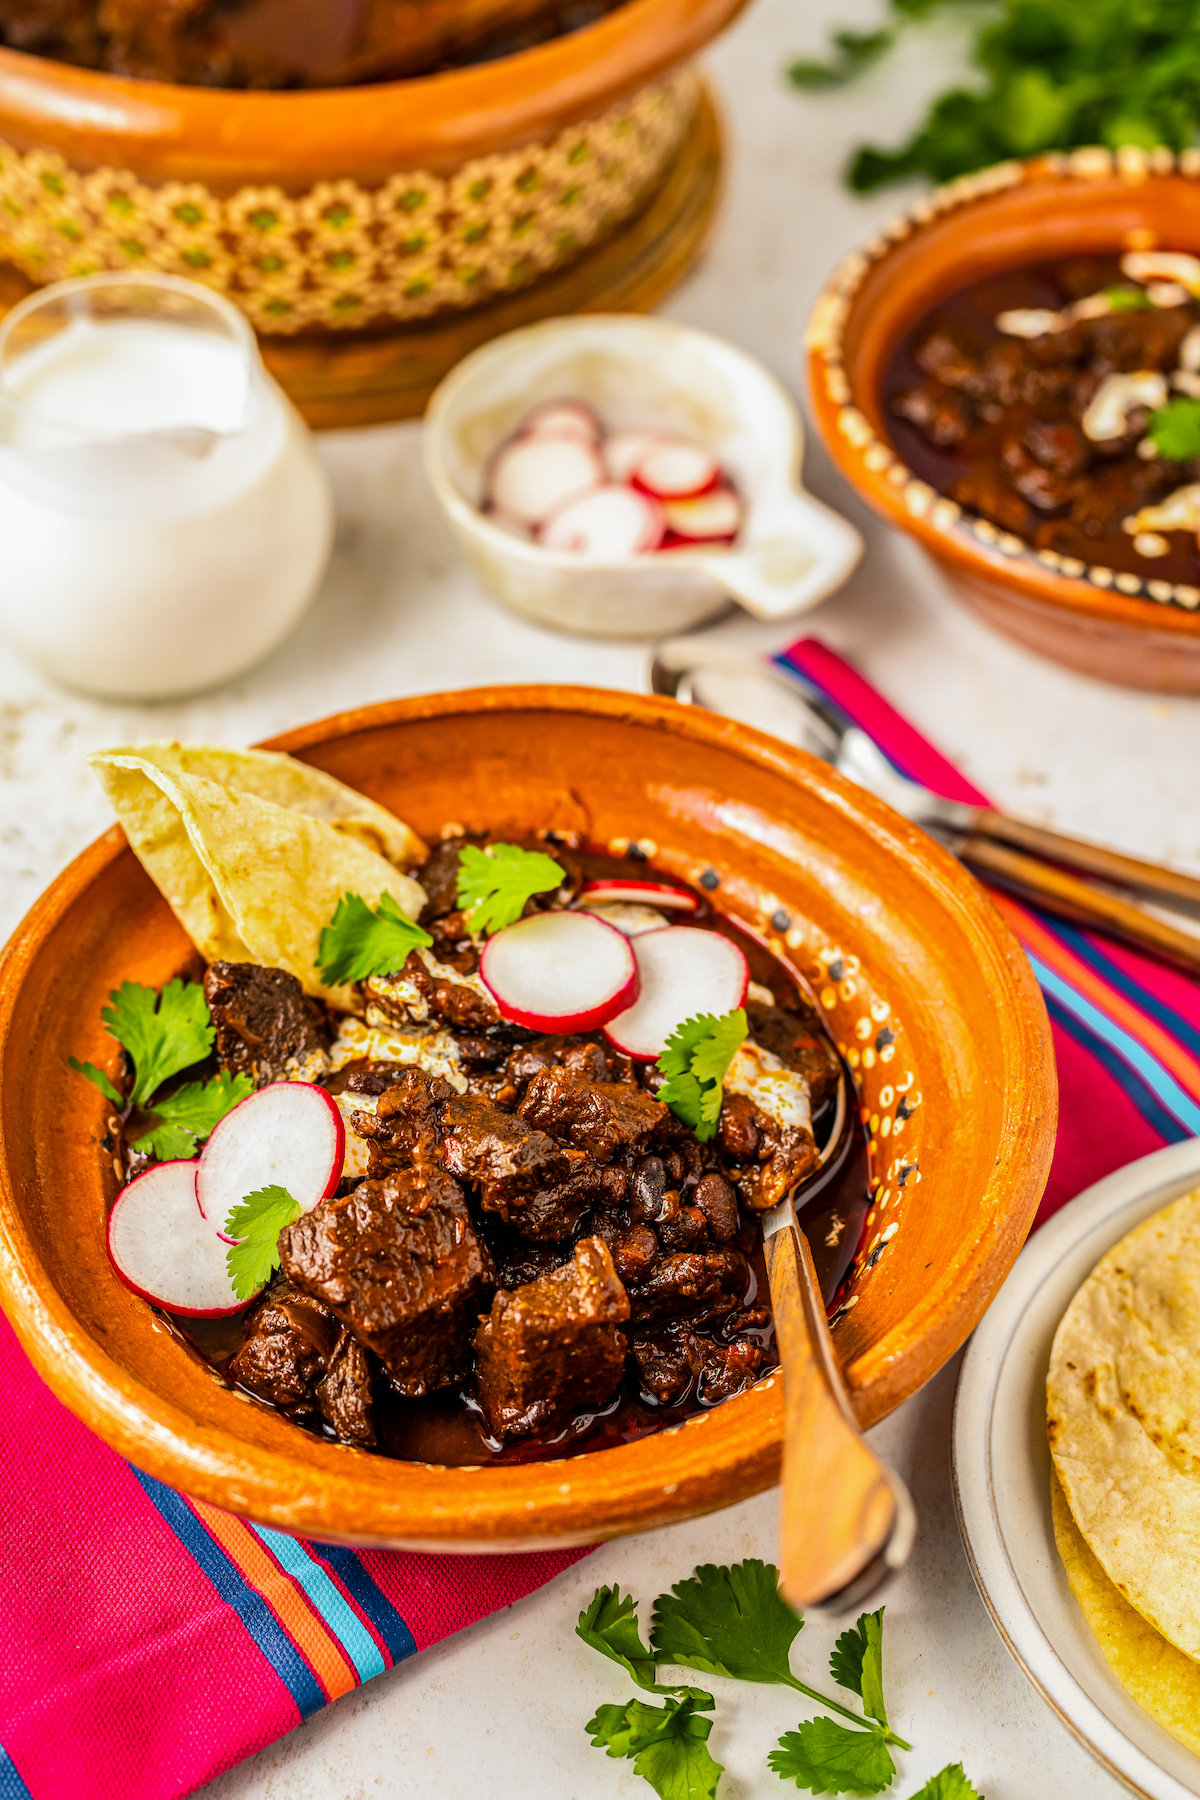
There are lots of different types of chili – but in general, chili is a spicy, thick soup or stew, made in a Mexican or Tex-Mex style. Chili con carne definitely fits that description. So what makes it different from other chili recipes, like Texas Chili or Homemade Keto Chili?
The key is in the word “carne.” That’s Spanish for meat, and this chili is exceptionally meaty. Rather than being made with shredded chicken or cooked ground beef, it’s made with chunks of beef roast, which cook down and become ultra-tender and flavorful during a long, slow cooking time. I use chuck roast, but you could use whatever low-and-slow-cooking beef roast you like.
If you love beef filled chili recipes as much as I do, you should also check out this Carne Adovada, Chili Colorado, Chunky Beef Chili and Slow Cooker Chili!
The Ingredients You’ll Need
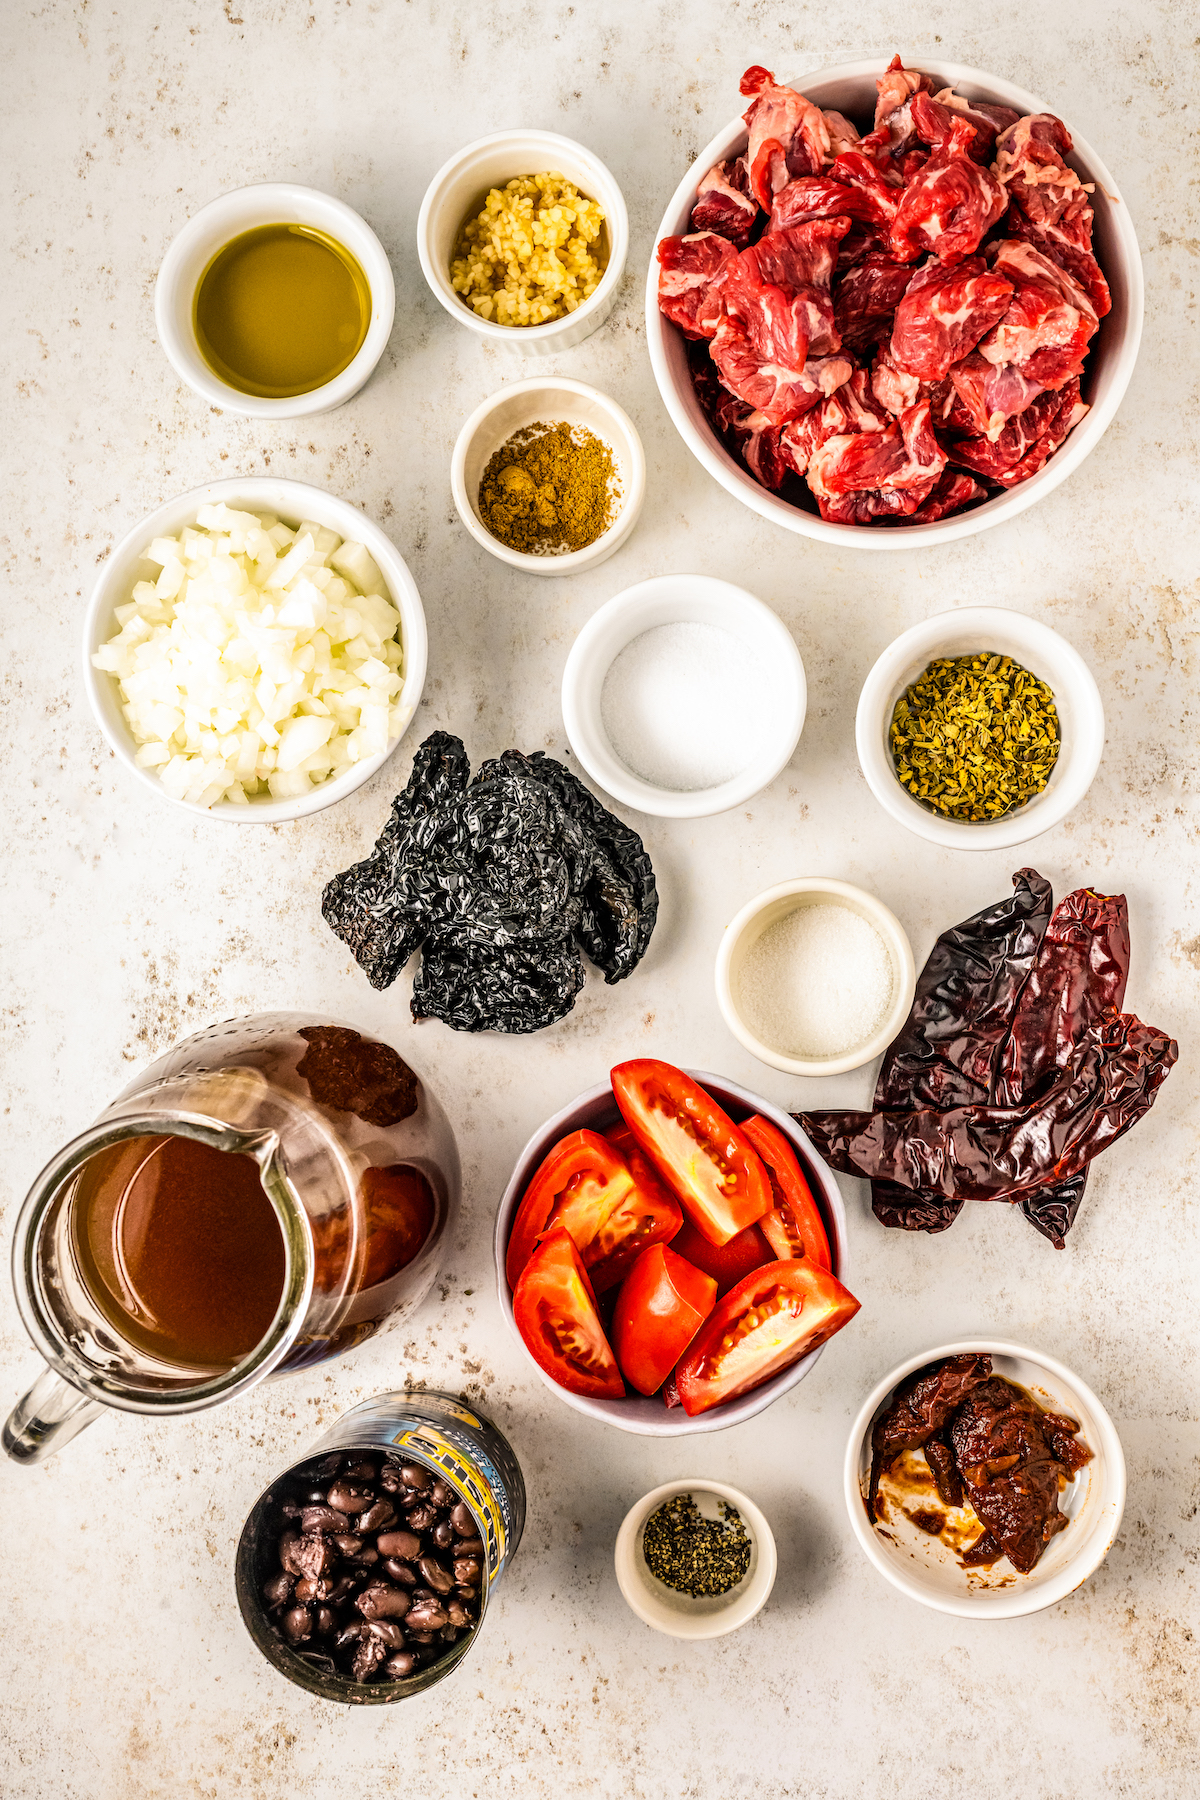
So what will you need to make your own homemade chili con carne? Let’s take a look. This bold recipe calls for plenty of big, bold ingredients. For ingredient amounts and full detailed directions, scroll to the printable recipe card at the bottom of this post.
For the Chili:
- Ancho Chiles: Stem and seeds removed.
- Guajillo Chiles: Stem and seeds removed.
- Oil: Or lard, whichever you like.
- Chuck Roast: Cut into bite-sized chunks.
- Onion: A large, white onion, diced.
- Garlic: Minced, fresh garlic is my favorite, but you could also use dried garlic.
- Broth: Beef broth is my go-to, but you could certainly use chicken broth if that’s what you have.
- Tomatoes: Roma tomatoes are my preference. They’re extra “meaty” and they’re usually easy to find. But you can use any tomatoes, cut into bite-sized pieces.
- Chipotles: Canned chipotles in adobo sauce.
- Mexican Oregano: If you can’t find this, marjoram is similar and can be substituted.
- Salt and Pepper
- Cumin: Essential for that earthy, savory chili taste.
- Sugar: Optional, but a spoonful of sugar cuts the acidity in the chili.
- Beans: Black beans or pinto beans, drained and rinsed.
Optional Toppings:
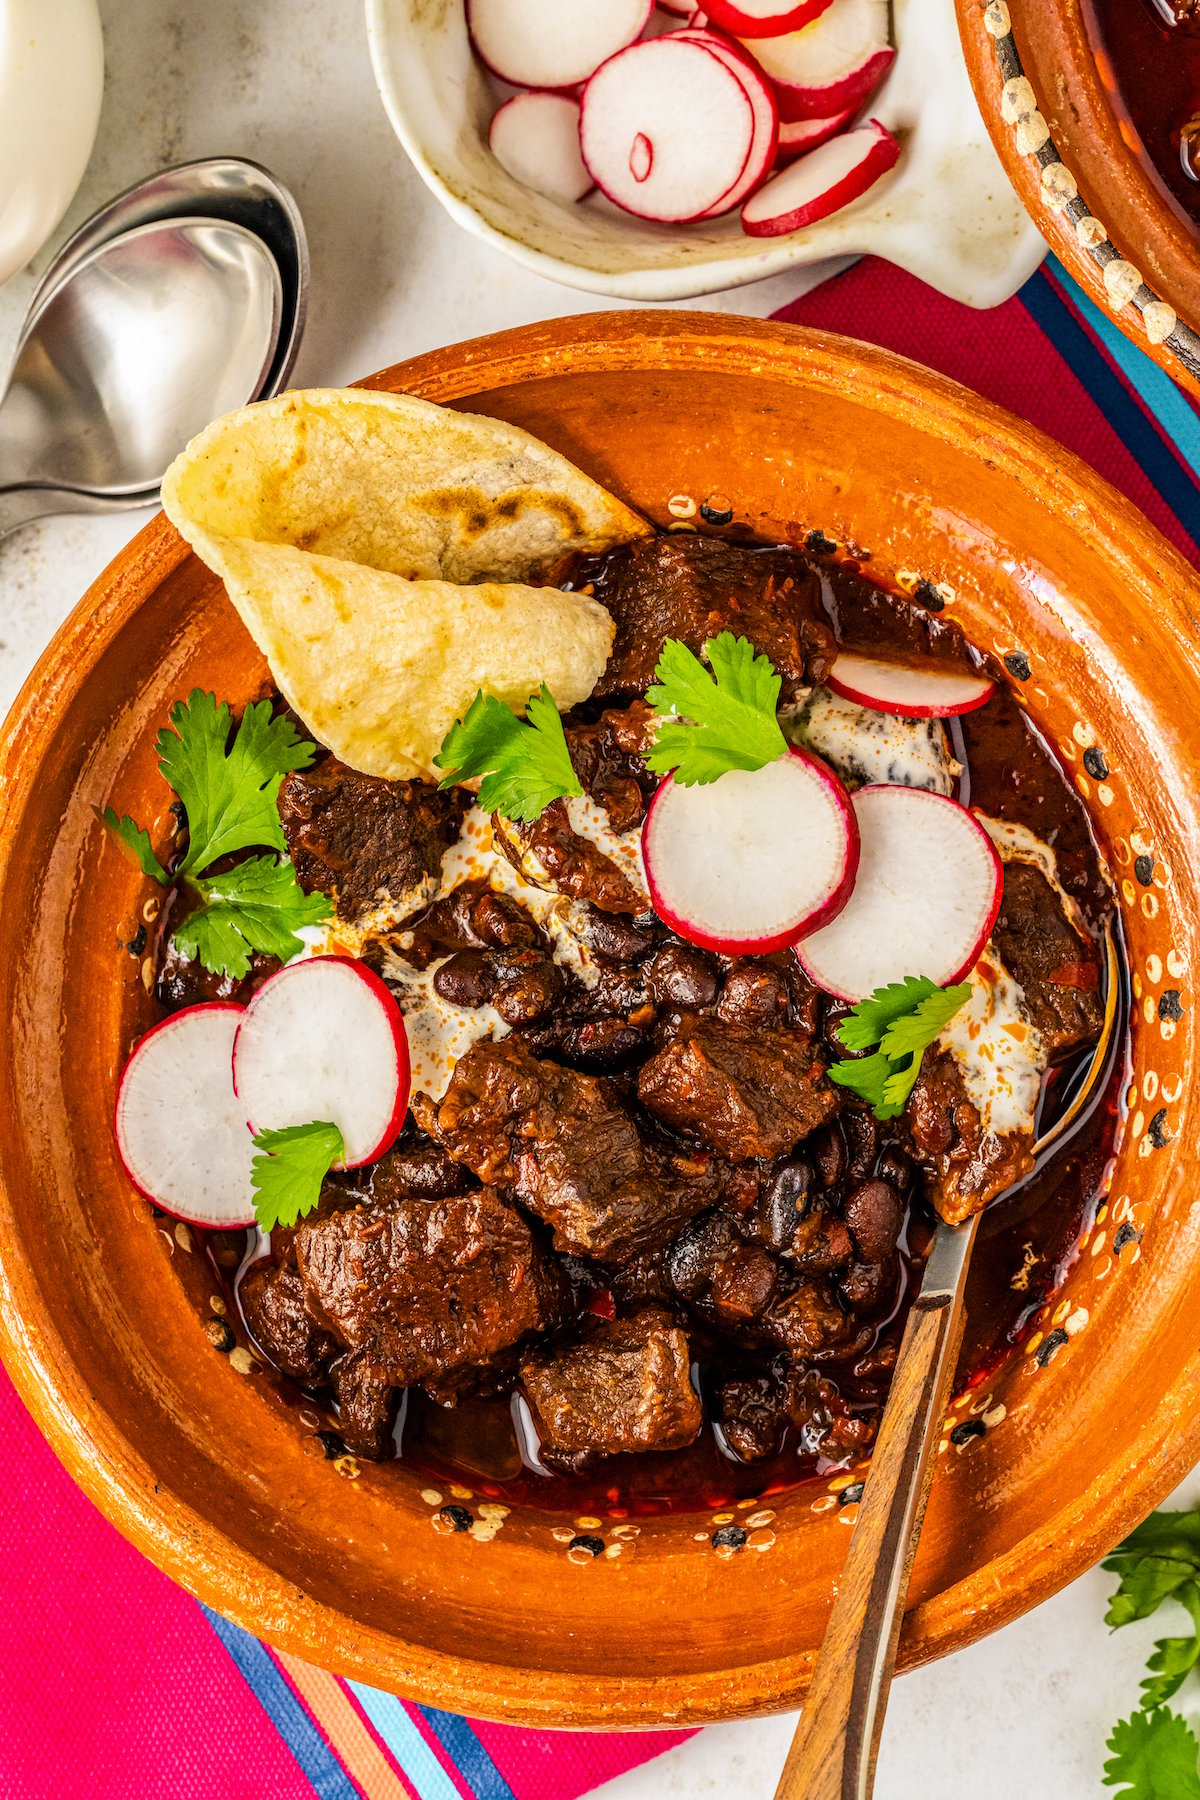
- Crema: Mexican crema is perfect here, but sour cream would also be great.
- Cilantro: If you don’t care for cilantro, feel free to use parsley instead.
- Radishes: These add a nice, pungent note.
- Cheese: Shredded or a crumbled Mexican cheese.
- Onion: Any color, diced.
How to Make Chili Con Carne
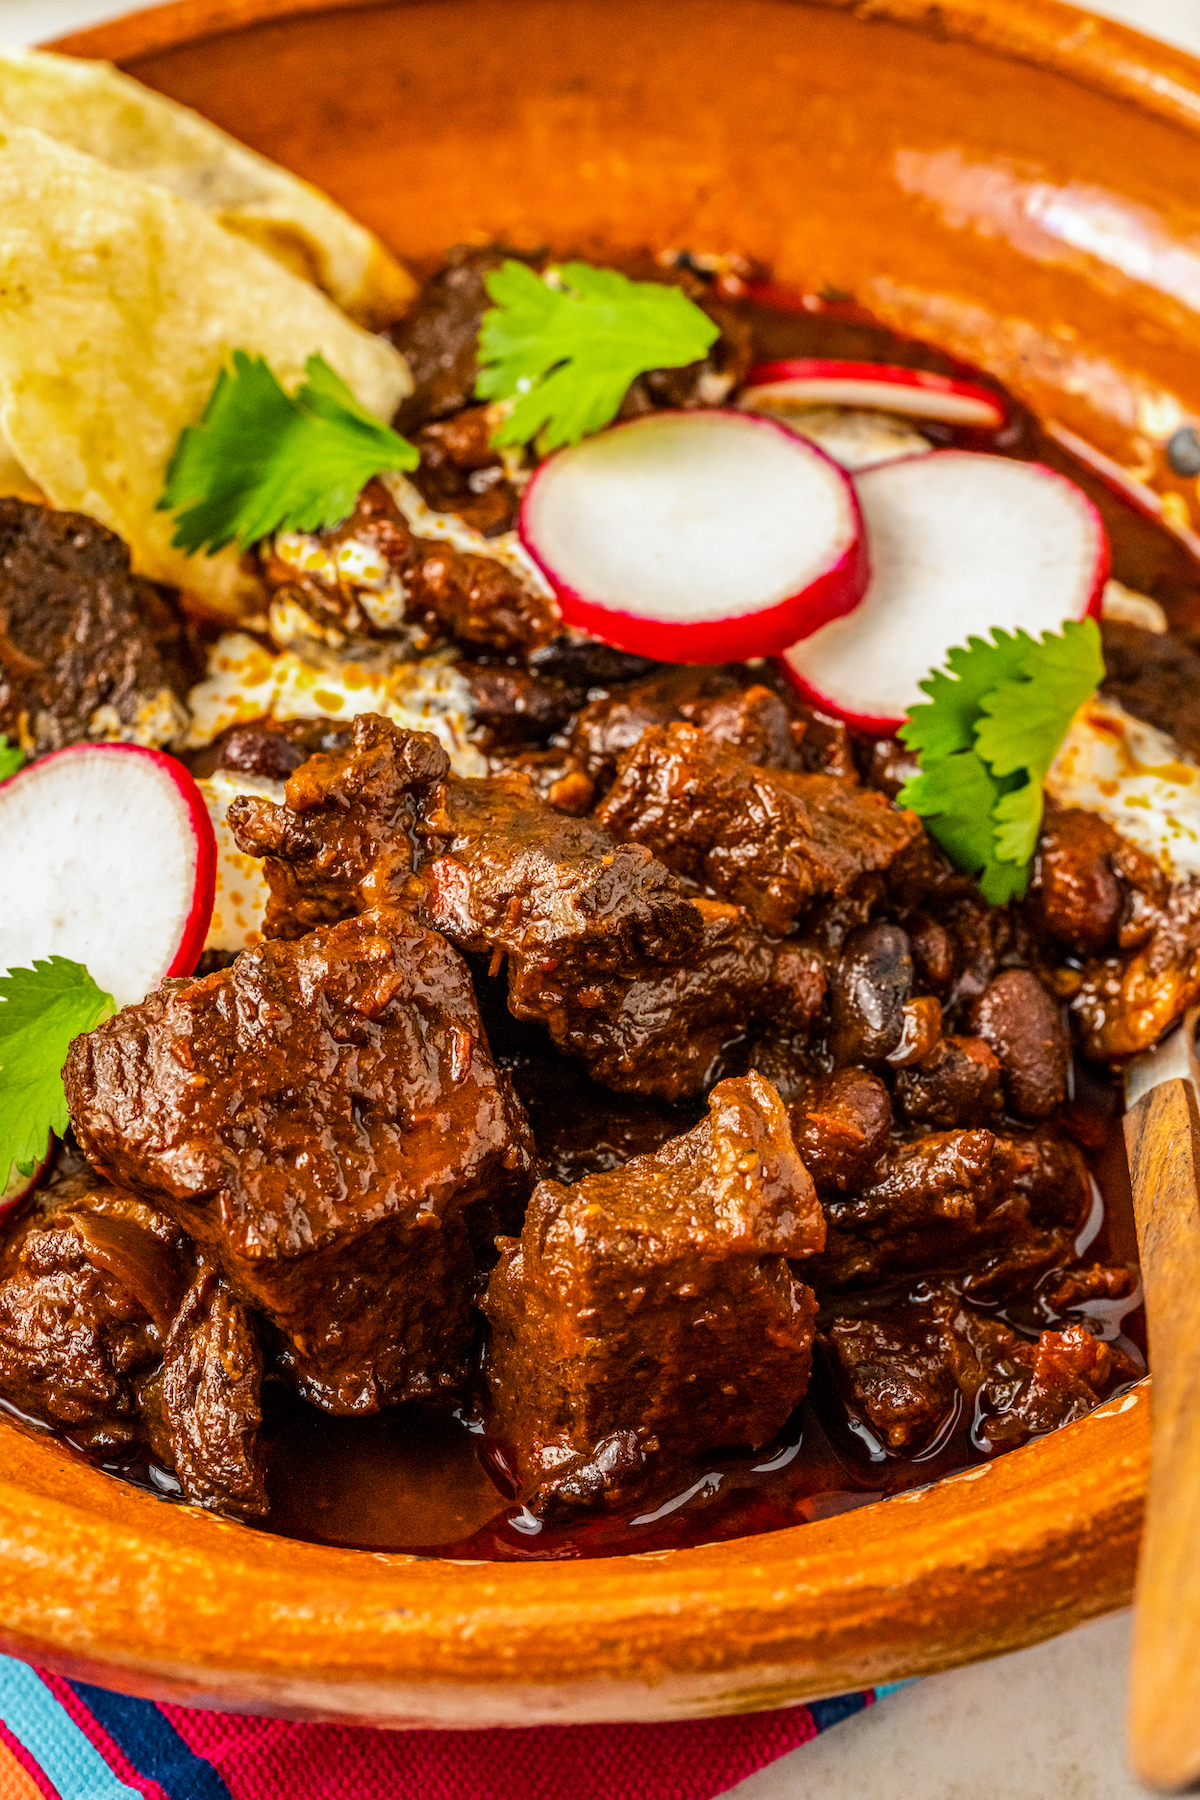
Let’s talk about the cooking method. This recipe is easy to make, but it does include a few steps. I recommend reading over the instructions once or twice before you get going, so you will know what to expect ahead of time.
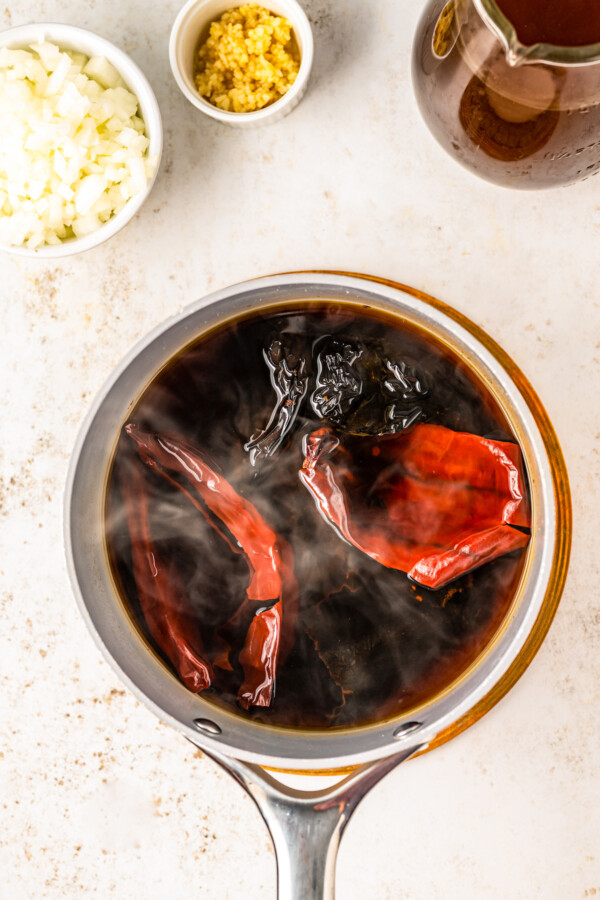
- Soak the Chilis. Bring some water to a boil, and then add the chilis. Cook those for 5 minutes, and then take them off the heat and let them soak for about 20 minutes.
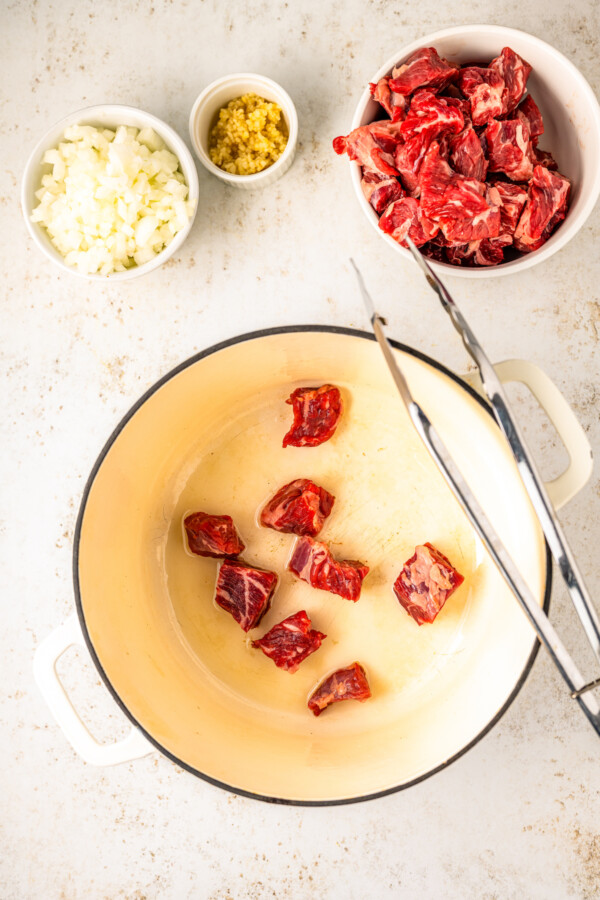
- Brown the Meat, and then Cook the Garlic and Onion. In the meantime, brown the meat on all sides, working in batches as needed. Once the meat is browned, cook the onion and garlic for a few minutes.
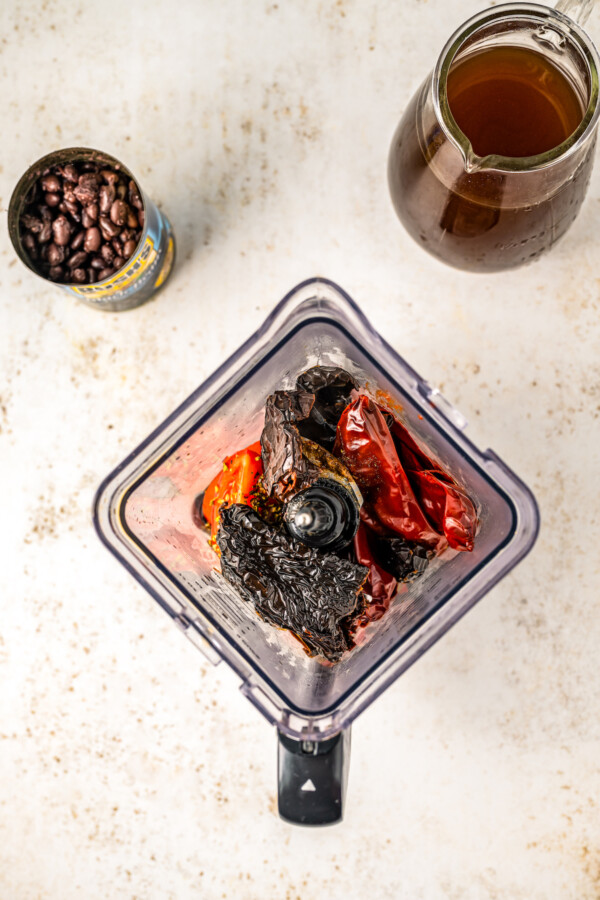
- Blend the Chili Sauce Ingredients. Place the chilis, half the cooked onion and garlic, a cup of beef broth, the tomatoes, the chipotles, and the seasonings in a blender and puree them.
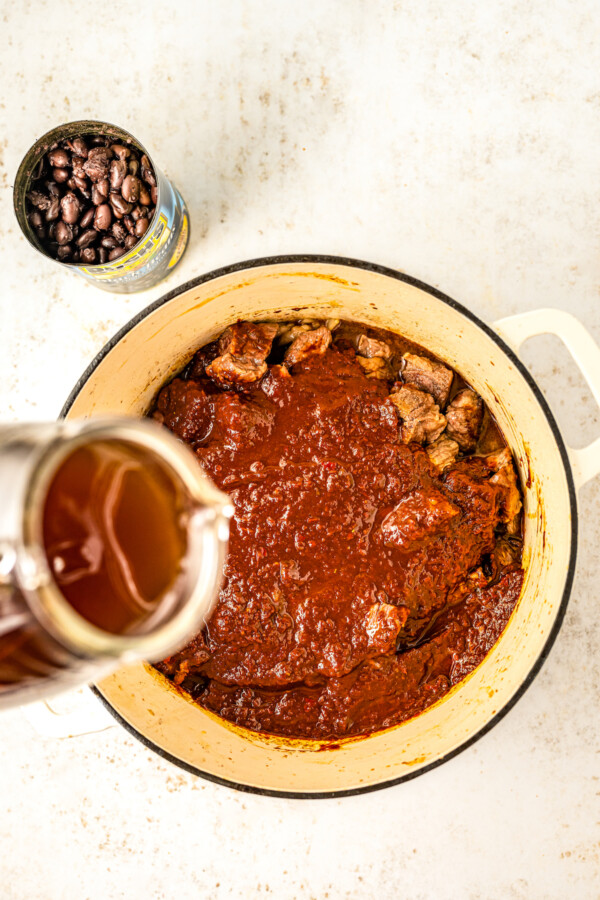
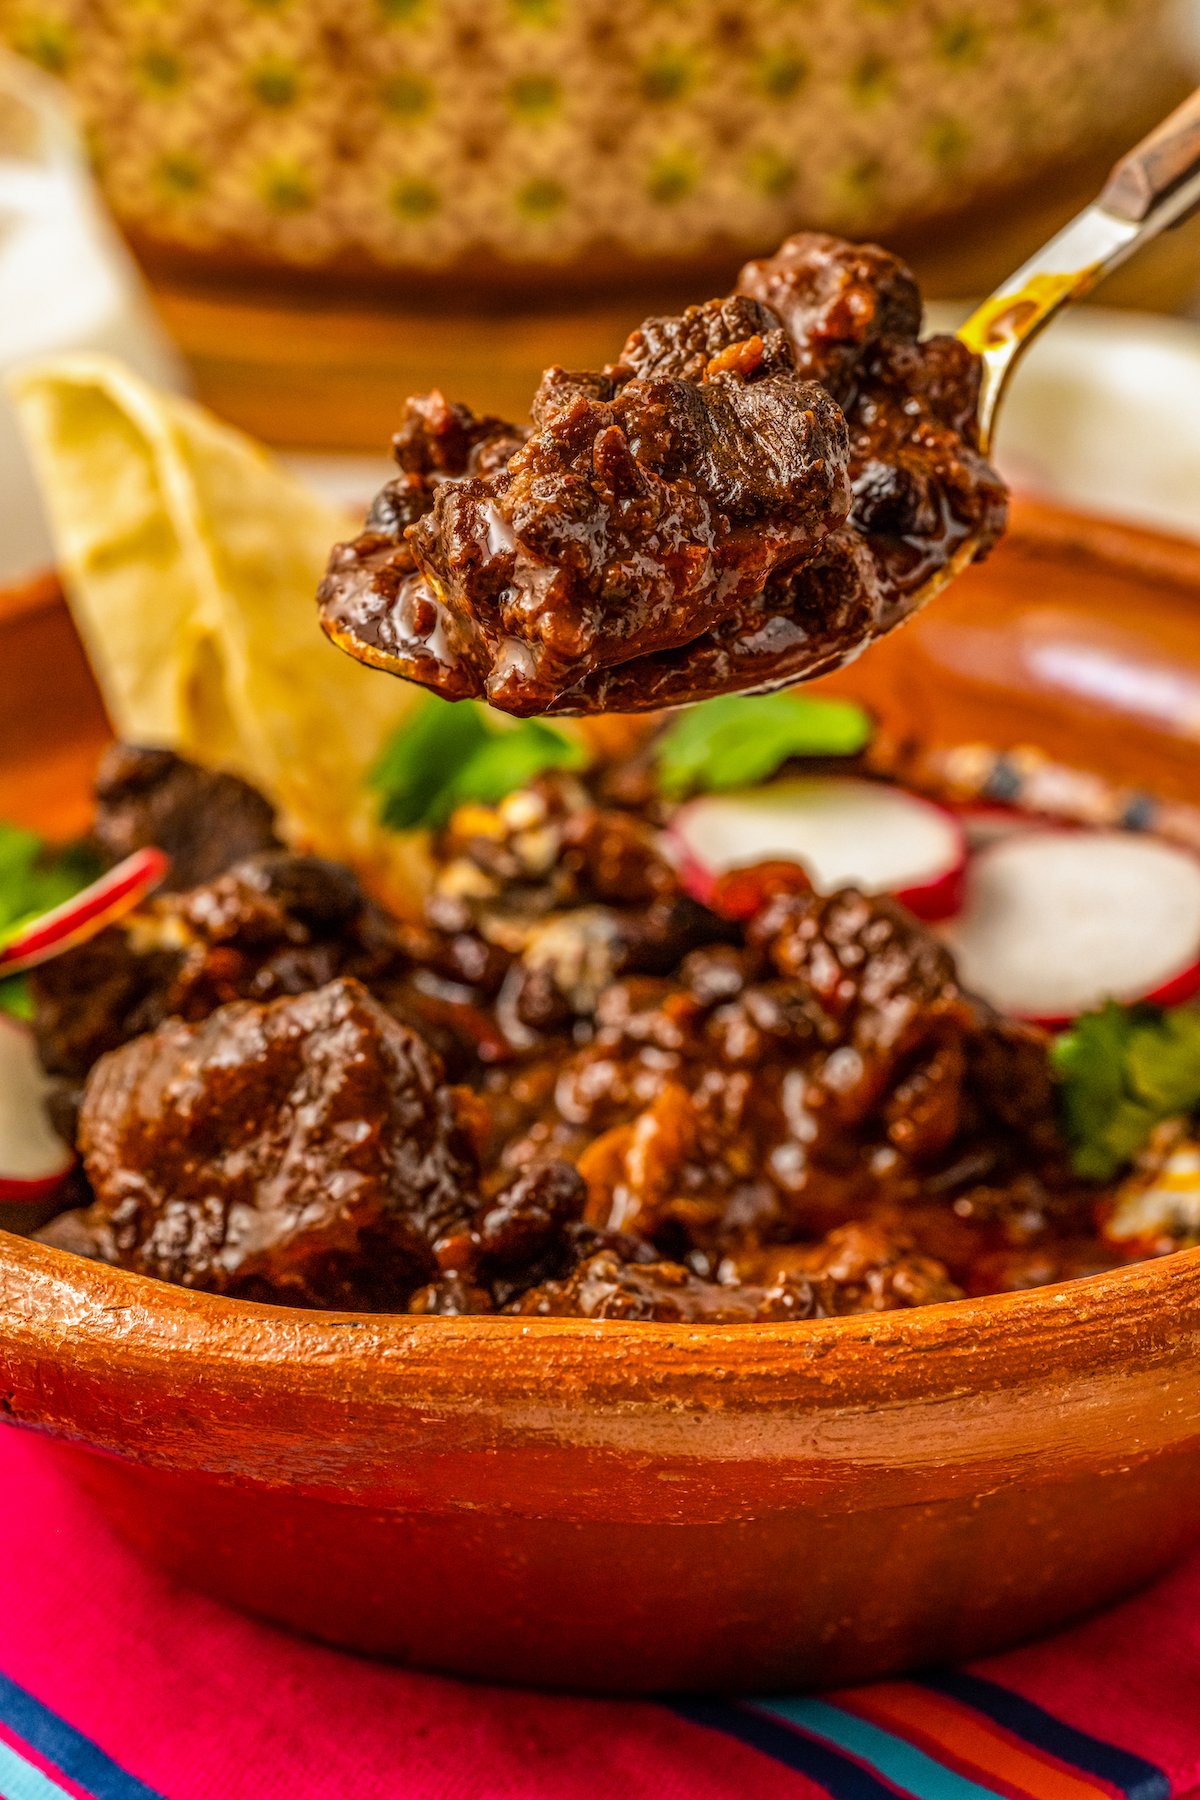
- Simmer Everything. Simmer the browned beef and sauce, along with the rest of the broth, for one hour. Then add the beans, and simmer for another 20 – 30 minutes, or until the chili is thick and the meat is tender.
- Enjoy! Serve your homemade chili con carne with all of your favorite toppings!
Want to save this recipe?
Tips for Success
While this dish can be made many ways, including a little more Tex-Mex style, we love using ancho and guajillo chiles to give it a richer, truly Mexican flavor. Here are a few tips for making this chili con carne:
- Excess Fat: Some chuck roasts are fattier than others. If yours is extra-fatty, you can trim some of it away, but don’t go overboard – the fat will melt during the cooking process, adding lots of flavor and tenderness.
- Browning the Meat: Browning the chunks of beef adds a hearty flavor to the chili, so don’t skip it! Make sure you cook them a few pieces at a time, so the meat browns rather than steaming.
- Roasted Chilis: If you wish to roast the chilis, you can toast them in a hot pan for a couple minutes, or you can roast them on a baking pan in the oven. Be careful not to burn the chilis, or they will make the chili bitter. Also make sure there is good ventilation when roasting chilis! The steam and/or smoke can cause irritation to your throat.
- Sugar: The added sugar in this recipe is simply to cut the acidity – it won’t make the chili sweet.
- Slow Cooker Option: Instead of letting everything simmer on the stove, you can transfer everything (beef, sauce and beans) to a crockpot, and let it cook on high for 3 to 4 hours or low for 6 to 8 hours, until tender.
- Less Spicy: If you are worried about how spicy your chili will be, cut back on the chipotles in adobo sauce. The other chilis are more mild and smoky, the real heat come from the canned chipotles in adobo sauce.
What to Serve with Chili Con Carne
You can serve all of your favorite toppings and sides with this satisfying chili con carne. From baked potatoes to tortillas to salad, it’s hard to go wrong. Need some ideas? These recipes would be perfect:
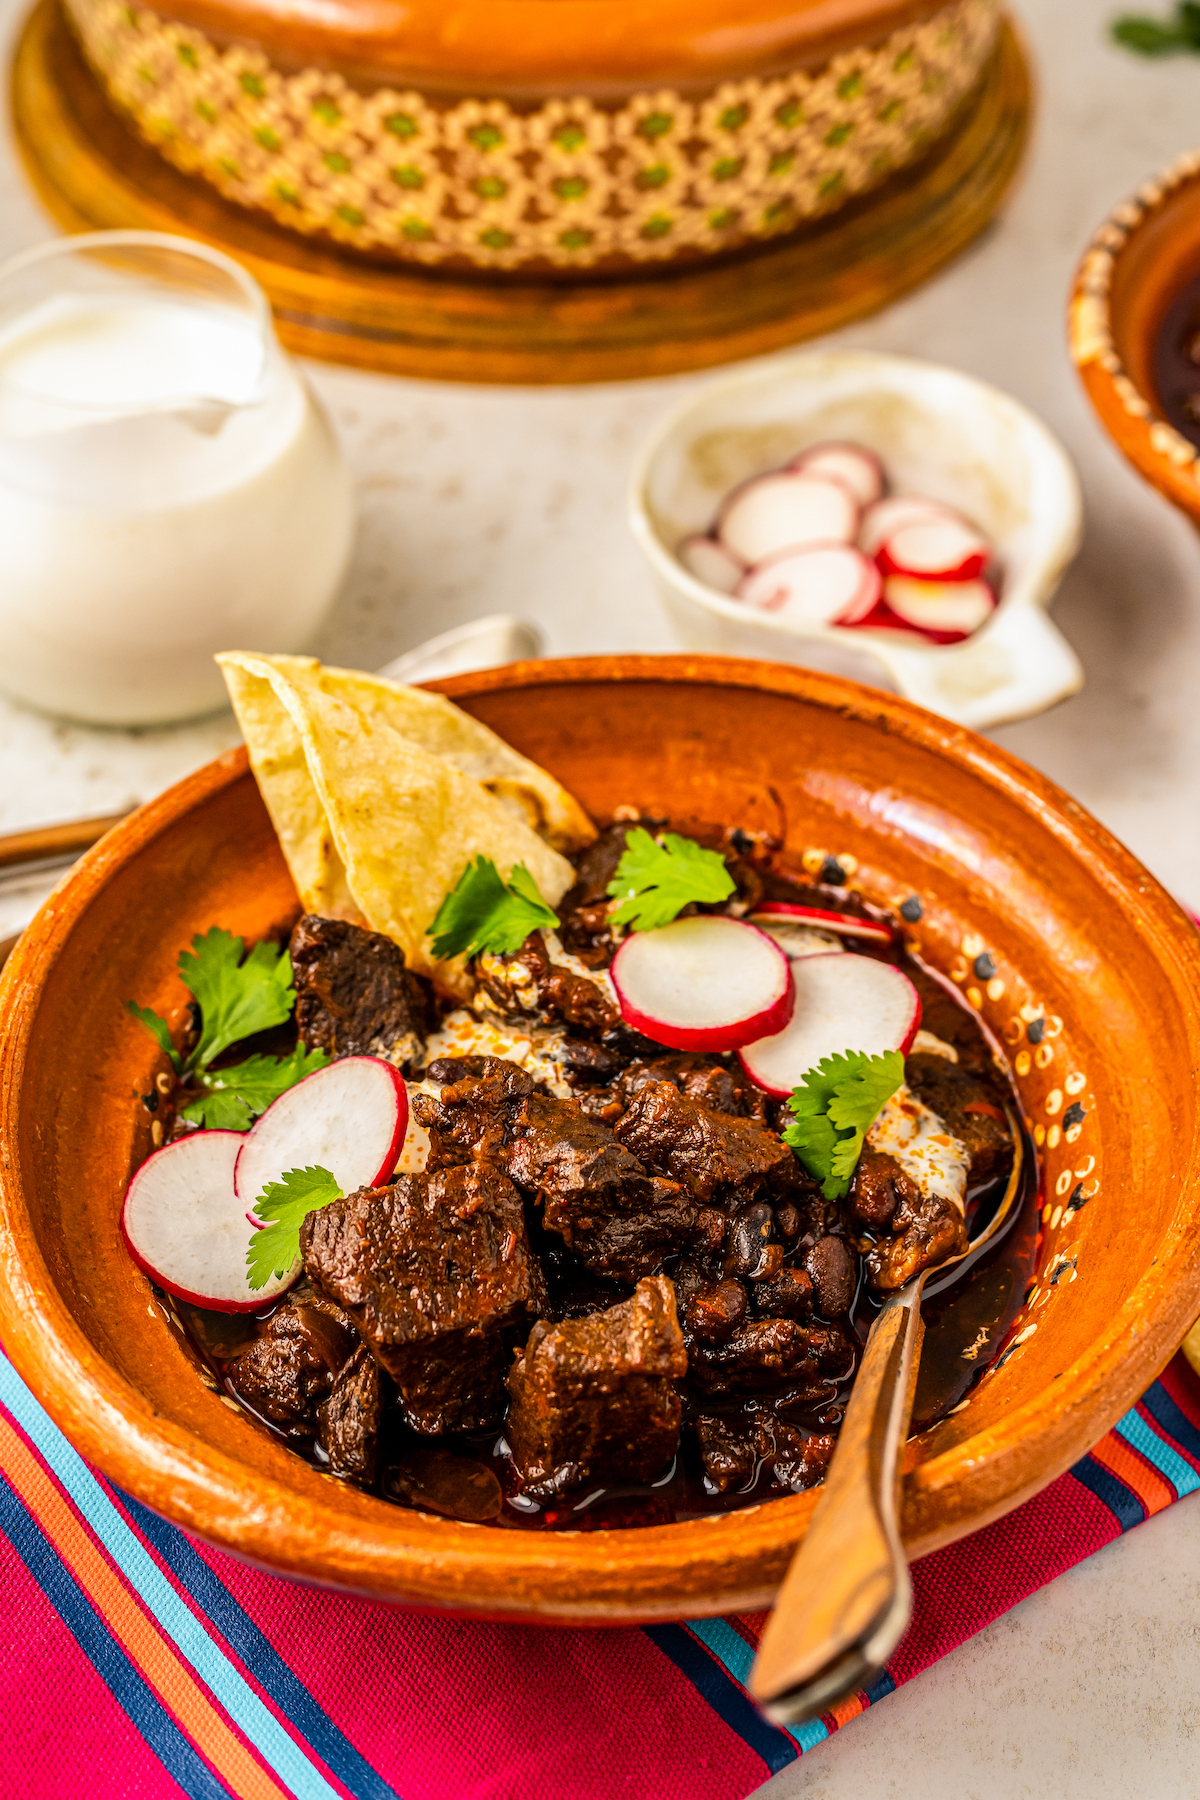
- Tortillas: Homemade Flour Tortillas and Homemade Corn Tortillas are both great options to serve with chili. Make sure to warm them up first!
- Baked Potatoes: Nothing like meat and potatoes for a hearty meal! This recipe truly makes The Best Baked Potatoes ever.
- Guacamole: Crispy chips, meaty chili, and Authentic Guacamole make a fiesta-worthy dinner your whole family will devour.
How to Store and Reheat Leftover Chili
Storing this chili is super easy. Just take any leftovers and place them in airtight containers, and then store the chili in the refrigerator for up to 5 days. It gets even more flavorful overnight!
To reheat, you can microwave the desired amount, or you can heat it on the stove over medium-low heat until warmed through.
Does Chili Con Carne Freeze Well?
Definitely! You can freeze this chili con carne for another time, and in fact, it’s actually a great dish to double so that you can freeze a batch for an easy freezer meal. If you freeze it, make sure to cool it down first, package it in an airtight container or zip-top bag, and mark it with the date.
Frozen chili con carne will keep well in the freezer for up to 3 months. For best results, transfer frozen chili to the fridge to thaw for 24 hours before you want to serve it.
More Hearty Chili Recipes
- Colorado Green Chili
- Slow Cooker White Chicken Chili
- Hot Dog Chili
- Best Classic Chili
- Chili Cheese Fries
- Homemade Chili Seasoning
Chili Con Carne
Ingredients
- 5 Ancho chiles, stem and seeds removed
- 3 Guajillo chiles, stem and seeds removed
- 3 tablespoons oil, or lard
- 2 lbs chuck roast, cut into bite-sized chunks
- 1 large white onion, diced
- 3 cloves garlic, minced
- 4 cups beef broth, divided
- 3 roma tomatoes, quartered
- 2 chipotles in adobo sauce
- 1 tablespoon Mexican oregano
- 1 tablespoon salt
- 1 teaspoon cumin
- 1 teaspoon granulated sugar, optional
- ½ teaspoon black pepper
- 2 (15 oz) cans black beans or pinto beans, drained and rinsed
Optional Toppings:
- Mexican Crema, or Sour Cream
- Cilantro
- Radishes
- Shredded Cheese
- Onion
Want to save this recipe?
Instructions
- Heat a saucepan of water until boiling, then place the chilis in the hot water. Boil for 5 minutes, then remove from the heat. Place a bowl or plate on the chilis to hold them down in the water. Soak the chilis for 20 minutes.
- While the chiles soak, heat the oil in a large heavy-bottomed pan, then add a few cubes of meat to the hot pan. Brown on all sides, then remove from the pan. Repeat until all the meat has been browned.
- Once all the meat has been browned, add the onion and garlic and cook for three minutes.
- Spoon the chilis from the water and place them in a blender or food processor. Add half the cooked onion/garlic mixture, 1 cup of beef broth, tomatoes, chipotles, oregano, salt, cumin, sugar and pepper. Blend until smooth.
- Add the meat to the pan and pour the sauce into the pan. Add the remaining broth to the pan and stir. Simmer over medium-low heat for an hour.
- Add the beans to the pan and simmer for another 20 to 30 minutes, until the sauce has cooked down and thickened and meat is fork tender.
- Serve with your favorite toppings!
Notes
Nutrition
Categories:
Post may contain affiliate links. Read my disclosure policy.

