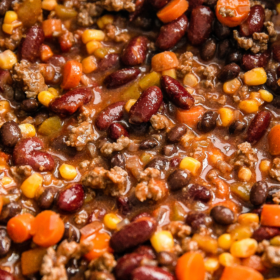
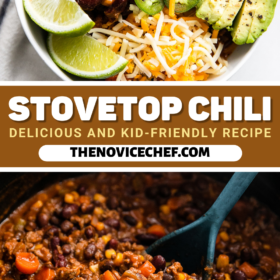
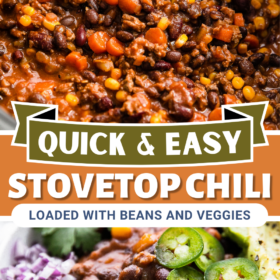
This easy ground beef chili recipe is filled with veggies, beans and just the right amount of spice. Rich and hearty, it’s simple to make and the flavor gets even better when extras are reheated later.

If you’re looking for a simple ground beef chili that delivers a rich, slow-simmered meal without too much prep work, this is it! A classic, balanced recipe that’s not too spicy.
Why You’ll Love This Classic Ground Beef Chili
- Easy: Simply brown the meat, saute the veggies for a few minutes, then add everything else to your pot and simmer until done. Bonus: this chili will make your home smell amazing while it cooks.
- Hearty: This is a “stick to your ribs” kind of meal ideal for chilly evenings! (Get it? “Chilly” evenings?)
- Flavorful: Every bite is full of flavor thanks to the combination of spices, veggies and hearty beef.
- Makes great leftovers! One of my favorite things about this recipe is how easy it is to make in advance. The flavors are even better the next day, so sometimes I’ll bag a batch of this chili on Sunday and serve it for dinner during the week.
p.s. If you love having beef in your chili, you might also like my chunky beef chili made with both ground meat and stew meat.

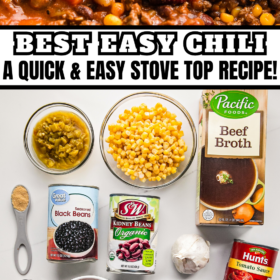
What You’ll Need
So what’s in this ground beef chili? A bit of all the good stuff: meat, veggies, tomato sauce, spices… yum. Let’s take a quick look at what you’ll need. Don’t forget to scroll down to the recipe card for a printable list.
- Ground Beef: I like to use lean ground beef, but you can use whichever you have on hand.
- Onion: To add color and flavor to the chili, use a red onion! Of course, white, yellow, and sweet onions will also work.
- Carrots
- Diced Green Chiles: Canned chiles are convenient to use and add a punch of flavor.
- Tomato Sauce and Tomato Paste: Using both gives the chili extra body and complexity.
- Beans: You will need two cans of beans. I use black beans and kidney beans. Rinse and drain them before using.
- Corn: Frozen is fine – fresh or canned would also be great.
- Beef Broth: Chicken or vegetable broth would also work. In a pinch you can use water, but I recommend broth for better flavor.
- Chili Seasoning: Try this homemade chili seasoning, or use your favorite store-bought brand.
- Brown Sugar: This is optional, but it’s helpful for balancing the tartness of the tomato sauce.
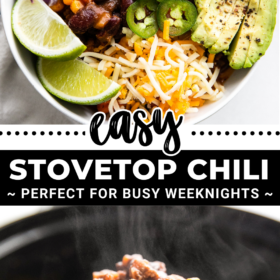
- Toppings: Sour cream, cilantro, tortilla chips, diced red onion, avocado, shredded cheese… and now I’m hungry.

How to Make Ground Beef Chili
Making this ground beef chili recipe only requires a few simple steps and it all comes together in one pot (yay, easy cleanup!). Here’s how to do it:


- Cook the ground beef. Set a large, heavy-bottomed soup pot or Dutch oven over medium heat. Give it a spray with some cooking spray or oil – you don’t want too much. Then brown the beef in the pot, breaking it up as you go. If there’s excess fat, drain that off.
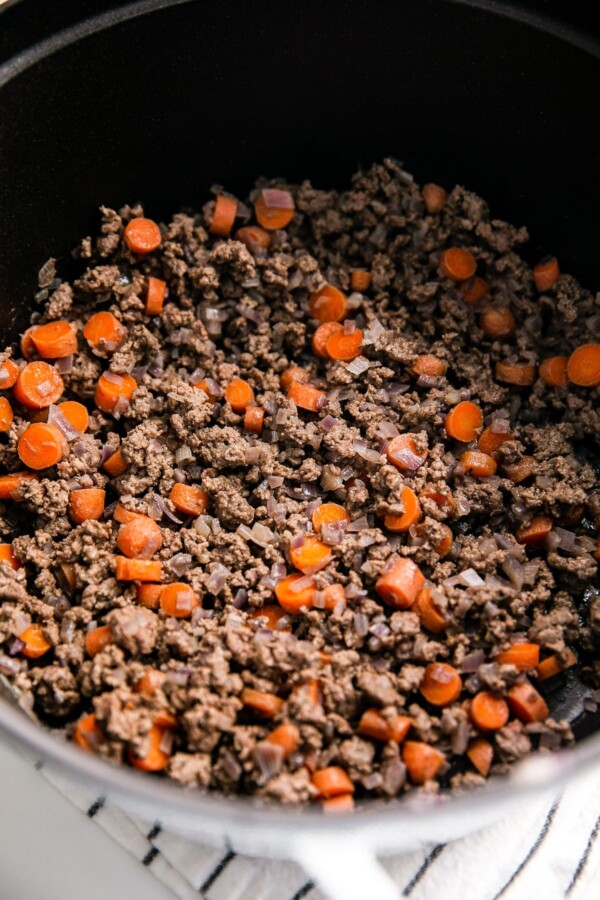
- Add veggies. Throw in the onions and carrots. Let those cook for about five minutes, to soften up.


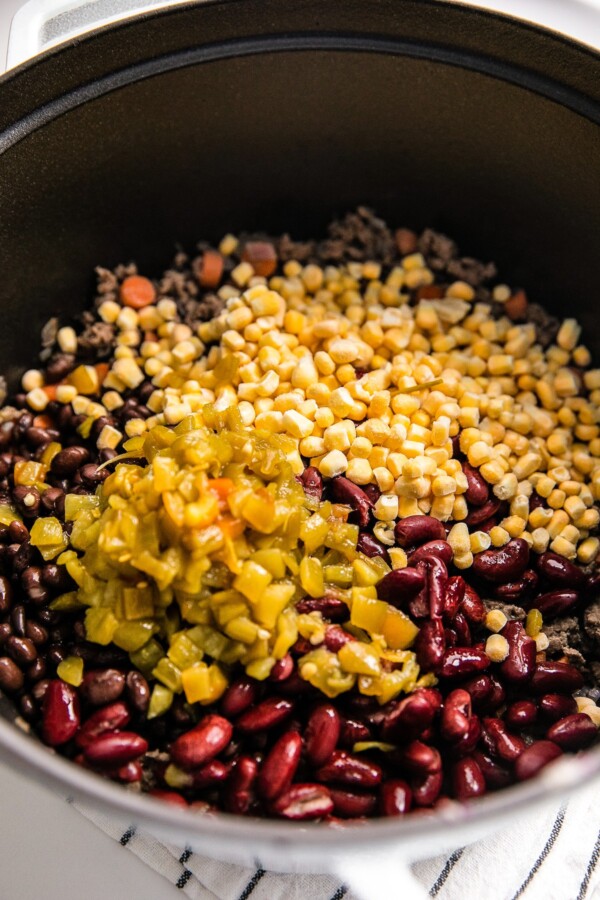
- Add the remaining ingredients. Add in your green chiles, tomato sauce, tomato paste, black beans, kidney beans, corn, beef broth, mild chili seasoning, and brown sugar. Stir the chili well.
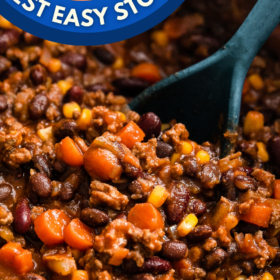
- Bring to a boil, then simmer. Bring the chili to a boil, and then turn it down so that it simmers gently. Let it simmer away for half an hour to an hour.
- Enjoy! Ladle it into bowls and serve it up with your favorite sides and toppings.

Ingredient Notes and Substitutions
But wait, there’s more! Here are few of my tips and notes to help you make the best beef chili every time:
- What kind of beef to use: I used a 93/7 extra lean ground beef and chose not to drain off any extra fat because there wasn’t much to drain off. If you are using anything under 90/10, I would recommend draining.
- Can I use ground turkey? Yes, you can absolutely use ground turkey in this chili recipe.
- Chiles: Want to up the heat? In addition to (or instead of) the diced green chiles, add a seeded, diced jalapeño. If you want it extra spicy, leave the seeds in, or use a serrano pepper instead.
- Beans: Just about any variety of plain canned beans will work in this chili recipe, so use your favorite kind or any canned beans you have on hand.
- Want more veggies? I like the sweetness of carrots in this recipe, but you could easily use other vegetables, too. Corn, squash, bell peppers, celery, and sweet potatoes are all tasty options!
- Can I add beer? Beer can add a great depth of flavor to a chili. If you would like to use beer, replace half of the beef broth with your beer of choice.

Side Dishes and Toppings
I like to serve chili straight up, with Mexican-style toppings like the ones listed in the What You’ll Need section above. You could also try one or more of these tasty sides:
- Cornbread: Everyone loves this simple Sweet Cornbread, fresh and warm, right out of the skillet. If you aren’t a cornbread fan, try Beer Bread!
- Sweet Potatoes: Pro tip number one: Chili over baked sweet potatoes is to die for. Pro tip number two: Air Fryer Sweet Potatoes are super easy to make! You’re welcome!
- Salad: A crisp salad makes a nice addition to the menu, such as a green salad or even a fruit salad.
How to Store and Reheat the Leftovers
- Fridge: Store any leftover chili in an airtight container, in the fridge, for up to 5 days. Leftover toppings should be stored separately.
- To reheat: Place the desired portion in a saucepan over medium-low heat and stir occasionally until heated through.
- Freezer: To freeze, just cool down the chili and then pack it into your favorite freezer bags or freezer containers. Freeze it for up to 3 months. Thaw it out overnight in your refrigerator before reheating.
More Easy Chili Recipes
- Slow Cooker Chili
- Colorado Green Chili (Chili Verde)
- Taco Ranch Chicken Chili
- Creamy White Chili
- Slow Cooker White Chicken Chili
- Homemade Keto Chili
- Chunky Beef Chili (with two types of beef)
Ground Beef Chili Recipe
Ingredients
- 1 lb lean ground beef
- 1 cup diced red onion, about 1/2 a large onion
- 1 cup diced carrot
- 4 oz can diced mild green chiles
- 8 oz can tomato sauce
- 3 oz tomato paste
- 1 15.5 oz can black beans, rinsed and drained
- 1 15.5 oz can kidney beans, rinsed and drained
- 1 cup frozen corn
- 2 cups beef broth
- 1 batch homemade chili seasoning, or 1 oz packet chili seasoning
- 1 teaspoon brown sugar, optional
Optional Toppings:
- Sour Cream
- Cilantro
- Tortilla Chips
- Red Onion
- Avocado
- Shredded Cheese
Want to save this recipe?
Instructions
- Spray a large heavy-bottomed pot or Dutch oven with cooking spray and place over medium heat. Add the ground beef, breaking apart the meat as it browns. Drain off excess fat if desired and place back into pot.
- Add the onion and carrot and cook another 5 minutes, to slightly soften the vegetables.
- Add in the green chiles, tomato sauce, tomato paste, black beans, kidney beans, corn, beef broth, mild chili seasoning, and brown sugar. Stir well. Bring to boil, then reduce to simmer, stirring occasionally.
- Cook for 30 to 60 minutes at a gentle simmer. Chili is done when all veggies are soft and chili is flavorful and thick. It will thicken (reduce down) as it cooks. The longer you cook it, the more the flavors will develop.
- Serve with any desired toppings!
⭐️ Tried this recipe? Leave a comment and rating! It only takes a minute and helps support our family-run blog. ❤️
Notes
- Storage: Store any leftover chili in an airtight container, in the fridge, for up to 5 days. Leftover toppings should be stored separately.
- Reheating: To reheat, place the desired portion in a saucepan over medium-low heat and stir occasionally until heated through.
Nutrition
Categories:
Post may contain affiliate links. Read my disclosure policy.
