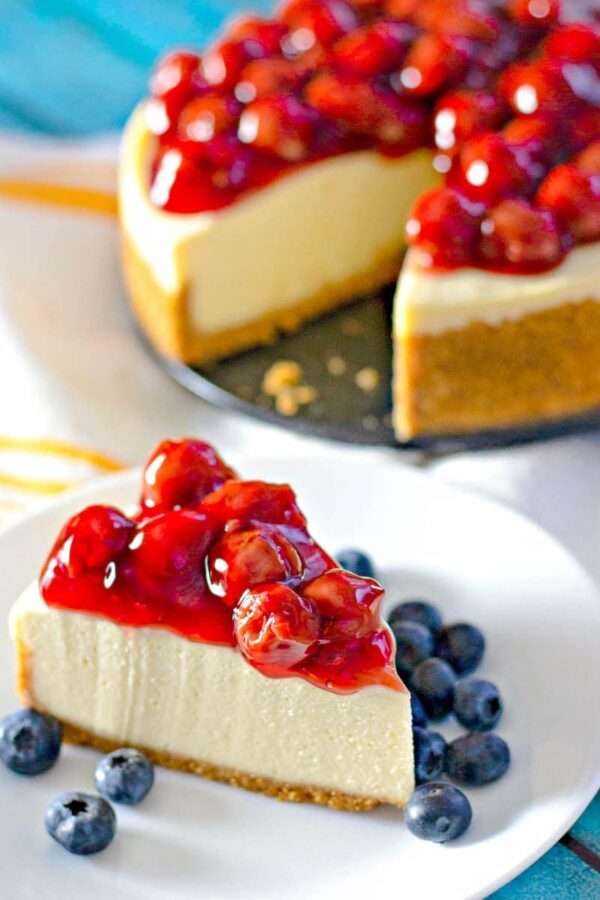
Looking for an easy and delicious cheesecake recipe? Try this Instant Pot Cheesecake! It’s the quickest way to a creamy cheesecake. Top it with cherry pie filling, fresh berries, or chocolate sauce!

Want to save this recipe?
Table of Contents
- My Go To Instant Pot Cheesecake Recipe
- Why Make Cheesecake in an Instant Pot?
- Recipe Ingredients
- How to Make Instant Pot Cheesecake
- Tips for the Best Instant Pot Cheesecake
- How to Make Cherry Cheesecake Topping
- Topping Variation Ideas
- How to Remove Cheesecake from the Pan
- How to Store Cheesecake
- Get the Recipe
- Looking for more Instant Pot recipes?
My Go To Instant Pot Cheesecake Recipe
You can make a cheesecake in your Instant Pot?!? What-now? I knew the Instant Pot was magical but this, this sounds like voodoo or something. It can’t be true, right? What’s the catch?
The catch is… THERE ISN’T ONE! This is the coolest and easiest way to make perfect cheesecake, every time. It’s deliciously creamy, with perfect texture and oh so easy to make.
If you don’t believe me, you’re just going to have to try it yourself in your own Instant Pot. You can thank me later.

Why Make Cheesecake in an Instant Pot?
Well, you saw the name, right? It’s an instant pot, so clearly we’ll be saving lots of time. With heating up and pressure release, the entire cook time will come out to about 50 minutes.
Between pre baking the crust and then baking the cheesecake, a traditionally baked cheesecake can take anywhere from an hour to 90 minutes.
Plus, with the Instant Pot, there is no need to mess around with tricky water baths or any other sworn cheesecake trick. You also won’t have to deal with a pesky crack in the top that can happen while baking!
So in other words, why make cheesecake in an Instant Pot? Because it’s so easy it’s kinda irresistible. I’m always a sucker for an easy and delicious dessert.
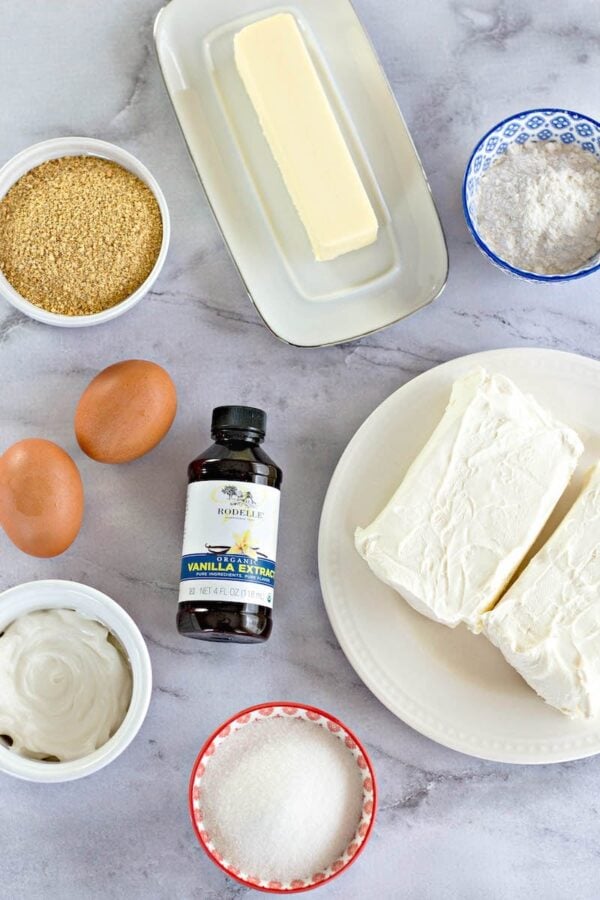
Recipe Ingredients
For this recipe, we first need to make the crust. Here’s what we’ll need for that:
- graham cracker crumbs
- granulated sugar
- melted butter
Then to make our smooth, creamy cheesecake, you’ll need:
- softened cream cheese
- granulated sugar
- eggs
- vanilla extract
- sour cream
- all-purpose flour
How to Make Instant Pot Cheesecake
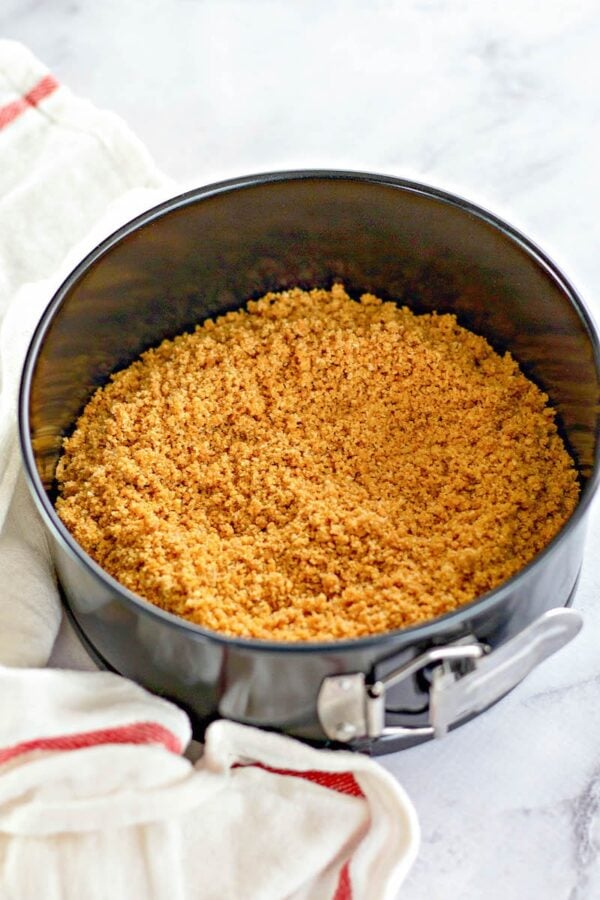
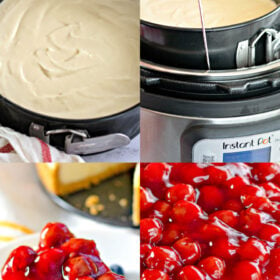
1. Prep the crust: In a medium mixing bowl, combine the three crust ingredients. Pour the mixture into a 7-inch Instant Pot springform pan. Use a measuring cup or flat bottom glass to press the mixture on the bottom of the pan and about ½ way up the sides. Set it aside.
2. Combine cheesecake batter: In a large mixing bowl, beat the cream cheese and ½ a cup of sugar together with an electric mixer until it’s well combined. Add the eggs and vanilla extract, then beat just until combined. Be sure to avoid over mixing the cheesecake batter.
3. Add and mix: Next, add the sour cream and flour and mix just until combined.
4. Add the batter to the crust: Pour the cheesecake batter evenly into the springform pan over the prepared crust.
5. Set: Set the stainless-steel insert into your Instant Pot. Add 1 ½ cups of water to the bottom of the Instant Pot. Carefully lower the cheesecake down into the Instant Pot and set on the stainless-steel insert. The water should not be deep enough to reach the bottom of the springform pan.
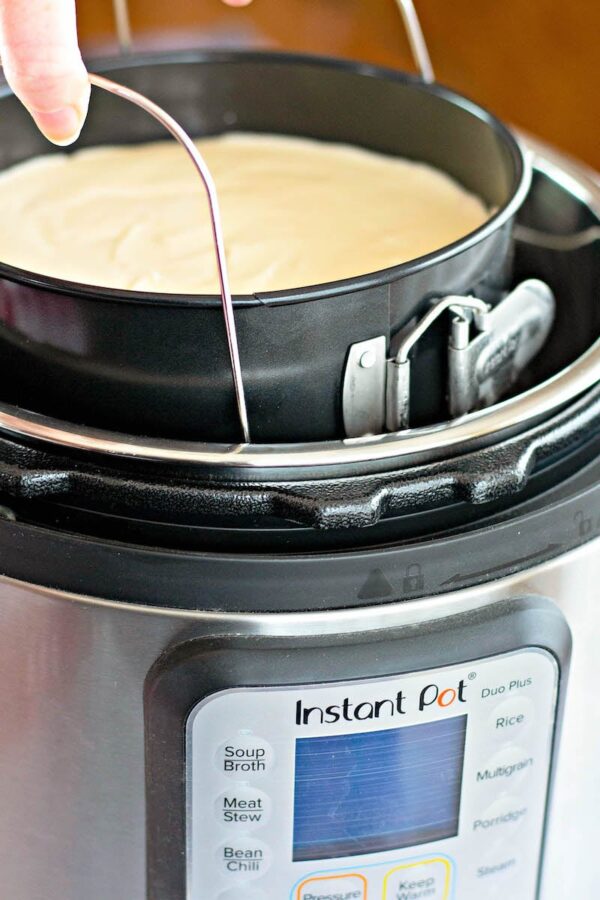
6. Cook: Close the lid of your Instant Pot and be sure the valve is set to “sealing.” Set to “high pressure” and manually adjust the cook time to 30 minutes. The Instant Pot will heat up and then cook the cheesecake for 30 minutes, then allow the pressure to release naturally. When the pressure valve has dropped, carefully open the lid of your Instant Pot and lift the cheesecake out. If any condensation has formed on the top of the cheesecake, very gently blot it away with a paper towel.
7. Release: Run a knife around the edge of the cheesecake to release it from the sides of the pan.
8. Chill and set: Refrigerate the cheesecake for 3-4 hours, or overnight until fully chilled.
9. Serve: Remove the side of the springform pan, then slice and serve the cheesecake with the topping of your choice.
Tips for the Best Instant Pot Cheesecake
This cake is creamy perfection, but follow these simple steps to really wow your taste testers:
- Using room temperature ingredients is best. This will allow them to combine more easily and minimize your chance of over mixing the filling.
- When using my Instant Pot, I like to have two seals – one for my savory dishes and one for my sweets. This helps me to ensure my cheesecake doesn’t come out with the smell or taste of that pot roast I made last night.
- The sour cream and the flour are both very important to achieve the ideal cheesecake texture we want. Don’t substitute or skip either.
- If you’re looking for an easy and less messy way to cut your cheesecake, consider using your cheese wire or an unflavored piece of dental floss.
- A springform pan is a must for this recipe. As a result, no substitution will work well. I used this springform pan for the instant pot from amazon (affiliate link).
How to Make Cherry Cheesecake Topping
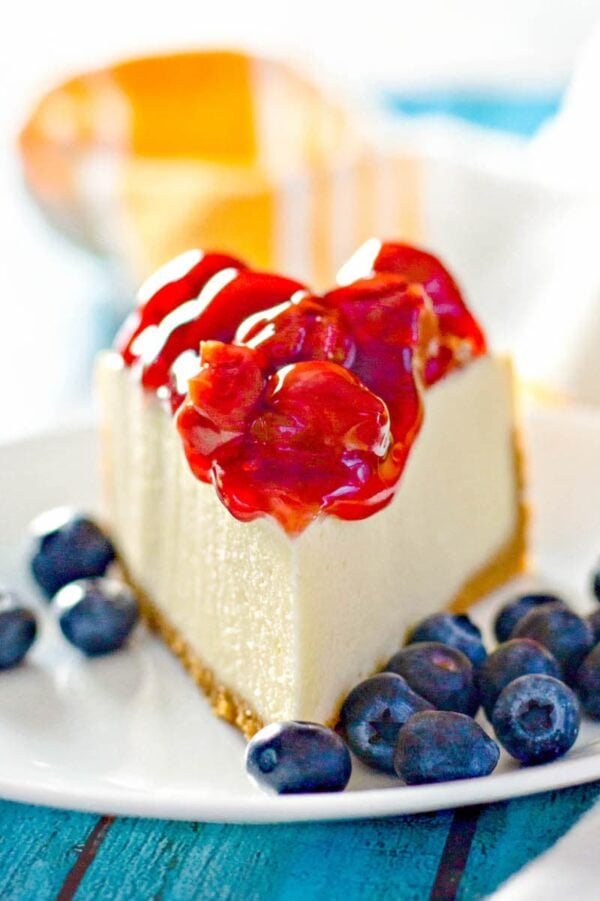
Do you want to know my secret to the best cherry cheesecake topping? You won’t even believe it – it’s so…. Easy! Ready? Open a can of cherry pie filling and pour it right on top of that cheesecake. That’s it!
You open the can and you spoon the cherry pie filling on top of your cheesecake starting in the center and working your way out. You, my friend, now have a cherry cheesecake!
Topping Variation Ideas
Plain cheesecake has a great smooth flavor, but ya know what always makes cheesecake better? The toppings! My favorite has got to be a classic cherry cheesecake (but you already know that). The options are endless.
You can choose any of the following optional yummy toppings to go on your cheesecake:
- cherry pie filling
- fresh berries
- chocolate sauce
- caramel sauce
- whipped cream
- crushed pineapple
- cookie crumbles
How to Remove Cheesecake from the Pan
To remove my cheesecake from the pan you’re going to want to run a knife between the crust and the side of the spring form pan before you even place it in the fridge to set. After allowing the cake to set in the fridge for 3-4 hours (or overnight), you can release your spring form pan and it should come right off with no problems.
How to Store Cheesecake
Cheesecake is certainly one baked good that will absolutely need to be stored in the refrigerator. All of the cream cheese, sour cream, and egg definitely need to stay chilled. Plus, the refrigerator helps it to keep the ideal texture. Cover it with saran wrap or foil. This cheesecake will stay nicely in your refrigerator for 4 to 5 days.
Easy Instant Pot Cheesecake
Ingredients
Crust:
- 1 cup graham cracker crumbs
- 1 tablespoon granulated sugar
- ½ cup butter, melted
Cheesecake:
- 16 ounces 2 packages cream cheese, softened
- ½ cup granulated sugar
- 2 large eggs
- 1 teaspoon vanilla extract
- ¼ cup sour cream
- 3 tablespoons all-purpose flour
Topping of choice:
- cherry pie filling, fresh berries, chocolate sauce, caramel sauce, whipped cream, etc.
Want to save this recipe?
Instructions
- In a medium mixing bowl, combine the three crust ingredients. Pour the mixture into a 7-inch Instant Pot springform pan. Use a measuring cup or flat bottom glass to press the mixture on the bottom of the pan and about ½ way up the sides; set aside.
- In a large mixing bowl, beat the cream cheese and ½ cup sugar together with an electric mixer until well combined. Add the eggs and vanilla extract, then beat just until combined. Be sure to avoid over mixing the cheesecake batter.
- Add the sour cream and flour and mix just until combined. Pour the cheesecake batter evenly into the springform pan over the prepared crust.
- Set the stainless-steel insert into your Instant Pot. Add 1 ½ cups of water to the bottom of the Instant Pot. Carefully lower the cheesecake down into the Instant Pot and set on the stainless-steel insert. The water should not be deep enough to reach the bottom of the springform pan.
- Close the lid of your Instant Pot and be sure the valve is set to “sealing.” Set to “high pressure” and manually adjust the cook time to 30 minutes. The Instant Pot will heat up and then cook the cheesecake for 30 minutes, then allow the pressure to release naturally.
- When the pressure valve has dropped, carefully open the lid of your Instant Pot and lift the cheesecake out. If any condensation has formed on the top of the cheesecake, very gently blot it away with a paper towel.
- Run a knife around the edge of the cheesecake to release it from the sides of the pan.
- Refrigerate the cheesecake for 3-4 hours, or overnight until fully chilled.
- Remove the side of the springform pan, then slice and serve the cheesecake with the topping of your choice.
Video
Nutrition
Categories:
Looking for more Instant Pot recipes?
Post may contain affiliate links. Read my disclosure policy.




I really love cheesecake but the one I want to make is a Chocolate Cheesecake. Do you have a receipe for one?
Hi Nancy, I am working on testing one still, but no I do not know!
Is it ok to put it directly in the refrigerator that warm?
Hi Aimee! I would recommend letting it cool on the counter and then moving it to the fridge when it’s no longer warm to the touch. It would be safe for the cheesecake to move to the fridge while still warm, but that will raise the temperature in your fridge and can make your other foods not be kept at the correct temperature…giving them a chance to spoil. Hope this helps!
Does the springform pan rest on the trivet insert? Or does it go directly into the instant pot on top of the water?
Hi Alyse! Yes, you add the water, then the trivet and then set the springform pan on top of the trivet!
I no longer make cheese cake in the oven!! I can make this in the morning and its ready at dinnertime. And it’s so good! Now I wanna make some bread or muffins in my Insta Pot…lol
Made this last night. Why would edge of the filling taste like pasta / flour? I have only used IP to make chicken wings so far, haven’t made any pasta in it so I don’t think it’s carryover flavor from seal.
Delicious. First I made the crust in the food processor but cut the butter to 1/4 C. Then I wiped out the food processor and made the cheesecake batter. I didn’t have sour cream but I did have homemade vanilla yogurt. The final result is wonderful. Creamy. I refrigerated the cake over night. And, I had a slice for breakfast. This recipe will be my ‘go to’ from now on when it comes to cheesecake.