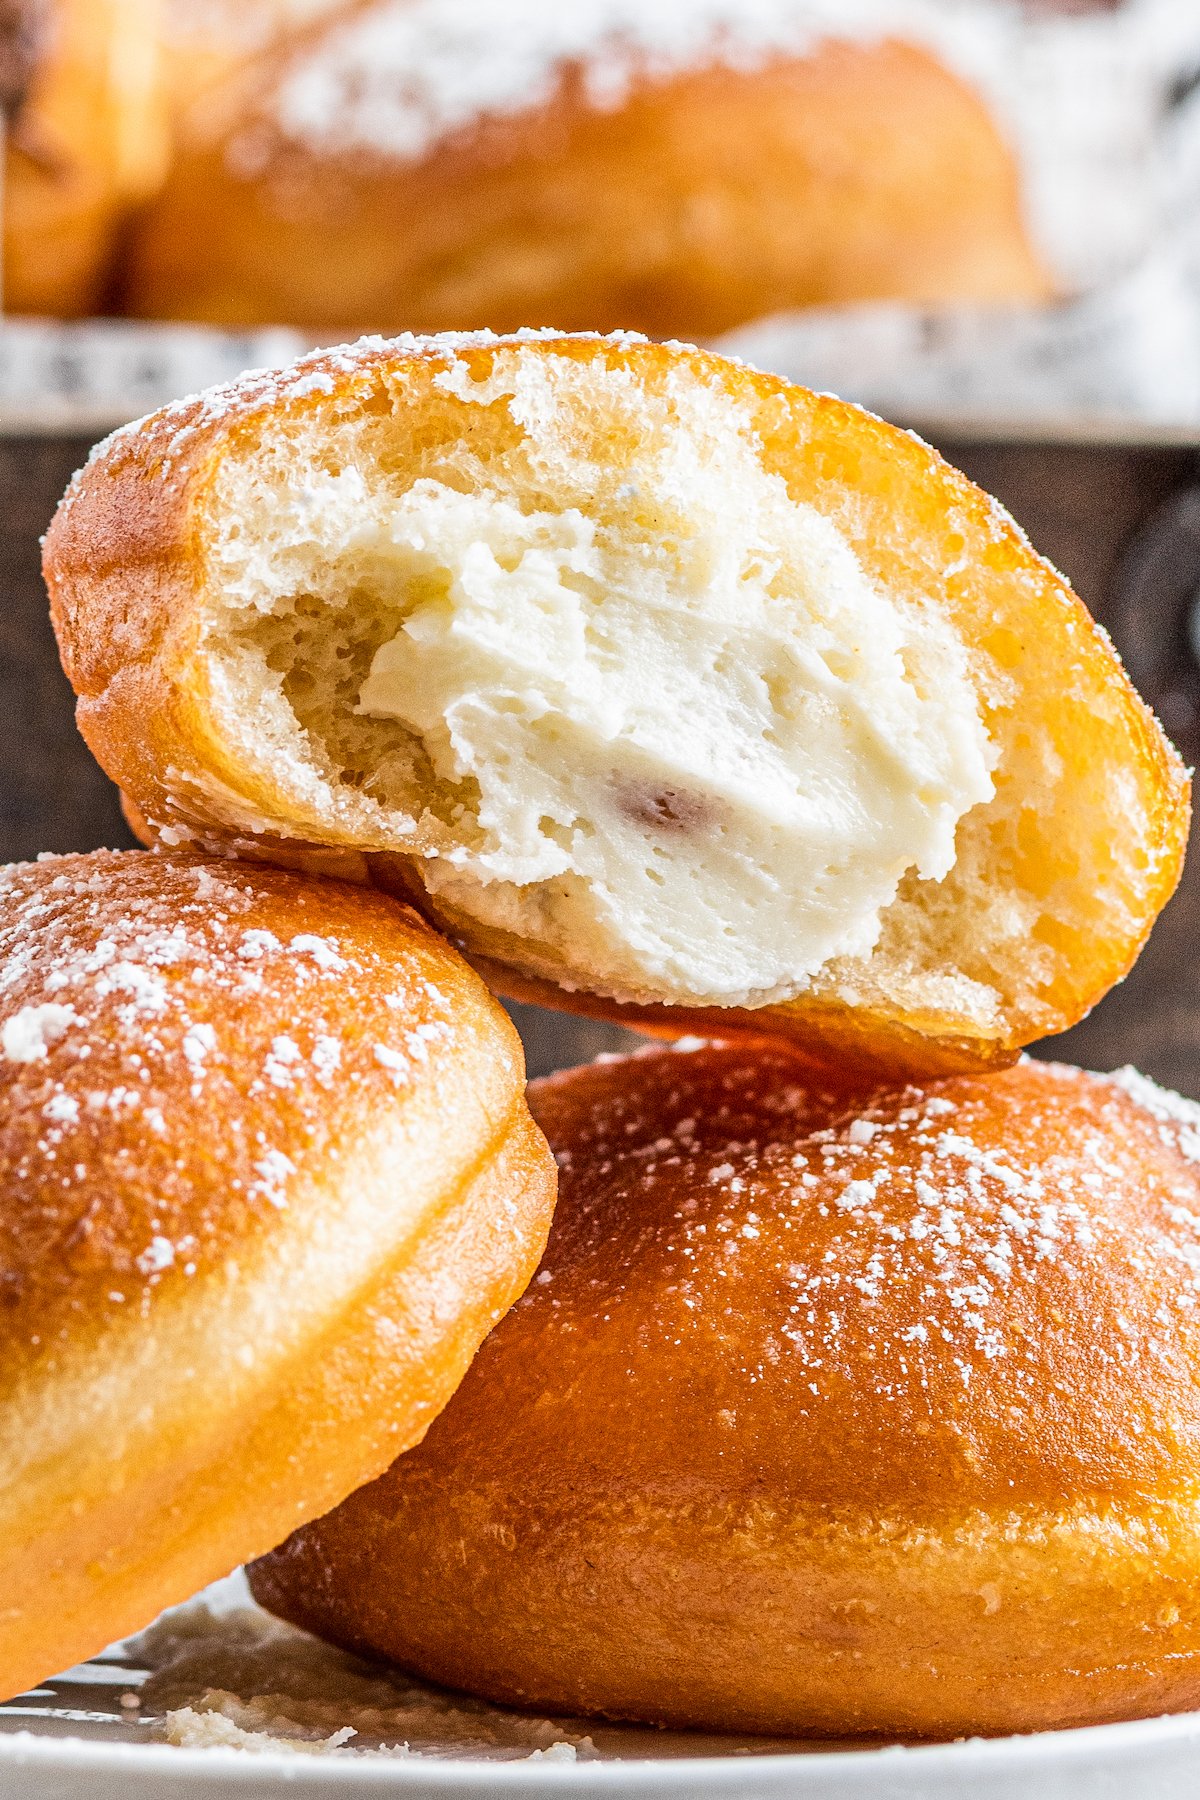
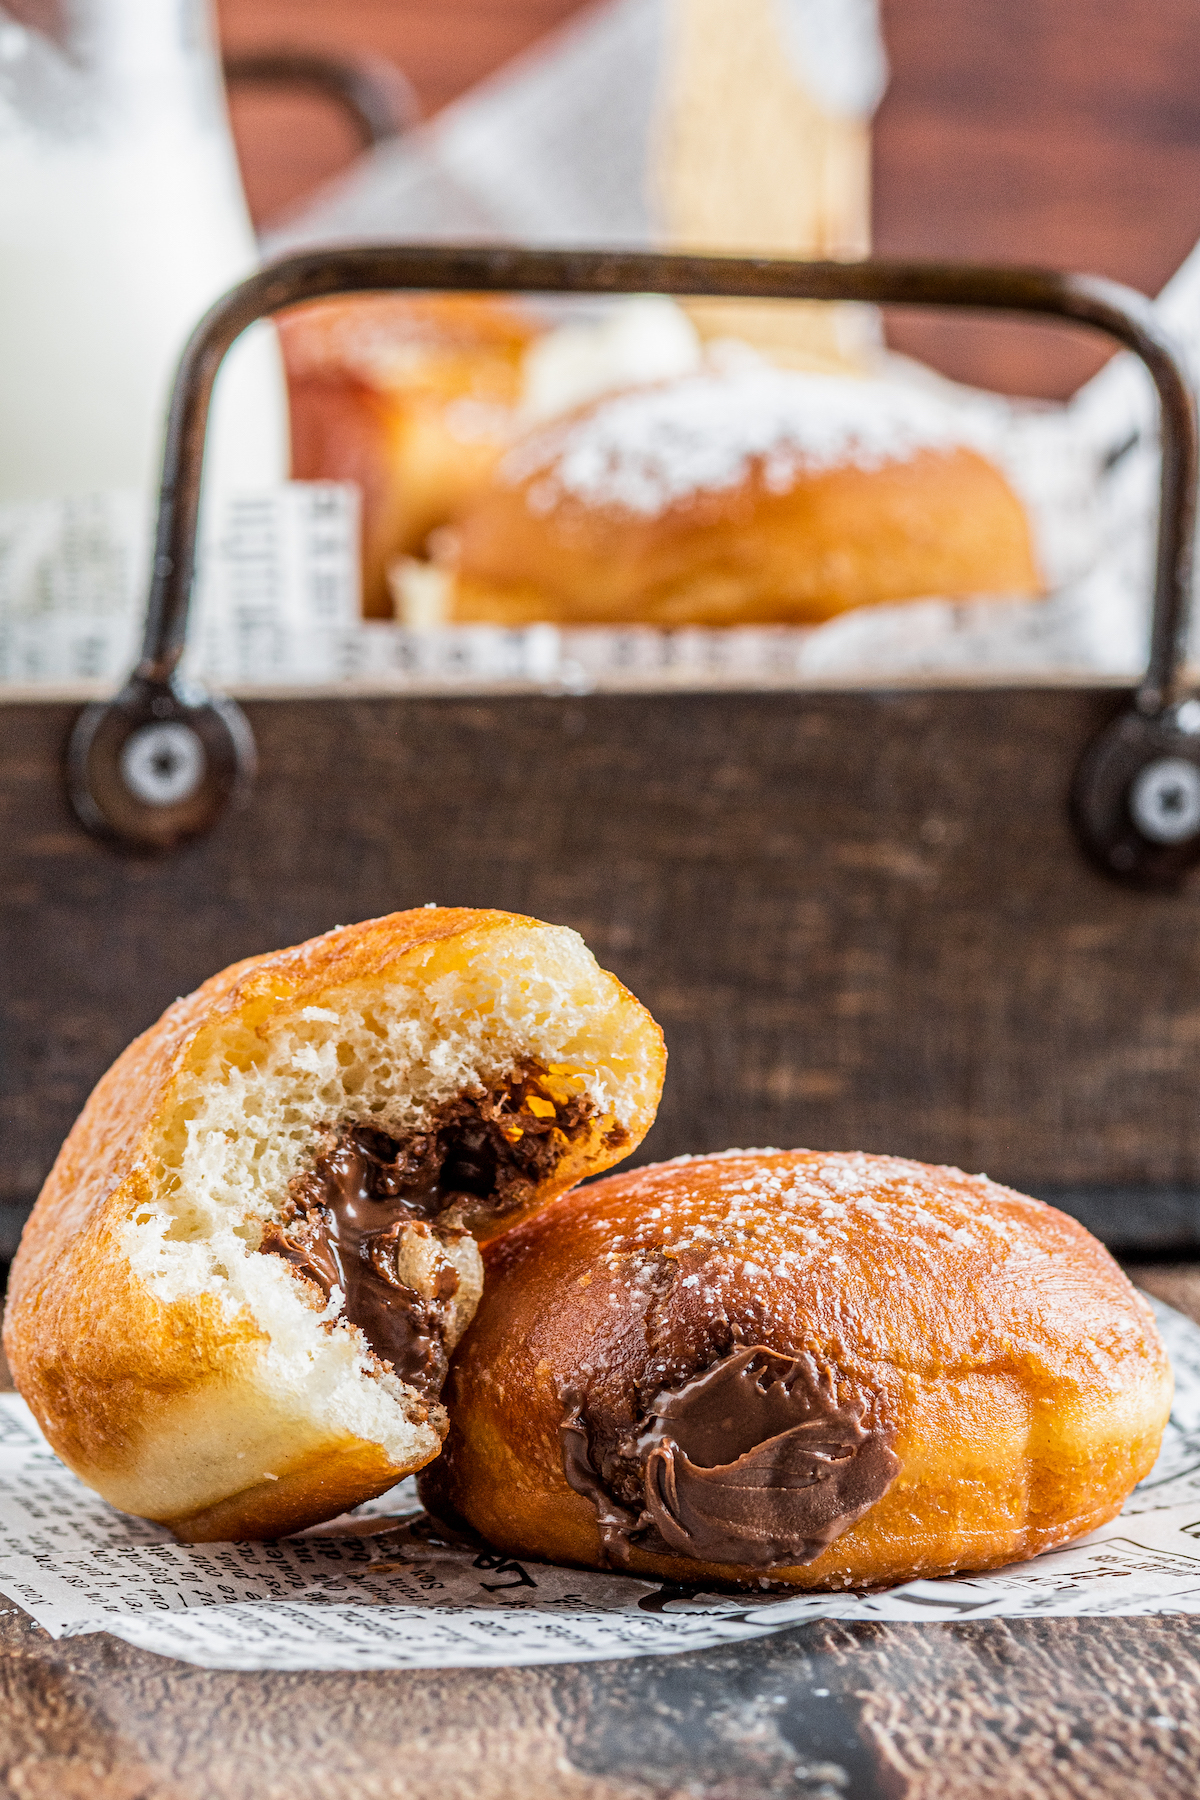
Made from scratch, these easy Homemade Filled Donuts are made with an old-fashioned enriched dough that’s lightly sweet, fluffy, and pillowy. With three choices of filling – cheesecake, jelly, Nutella, oh my! – there’s something for everyone.
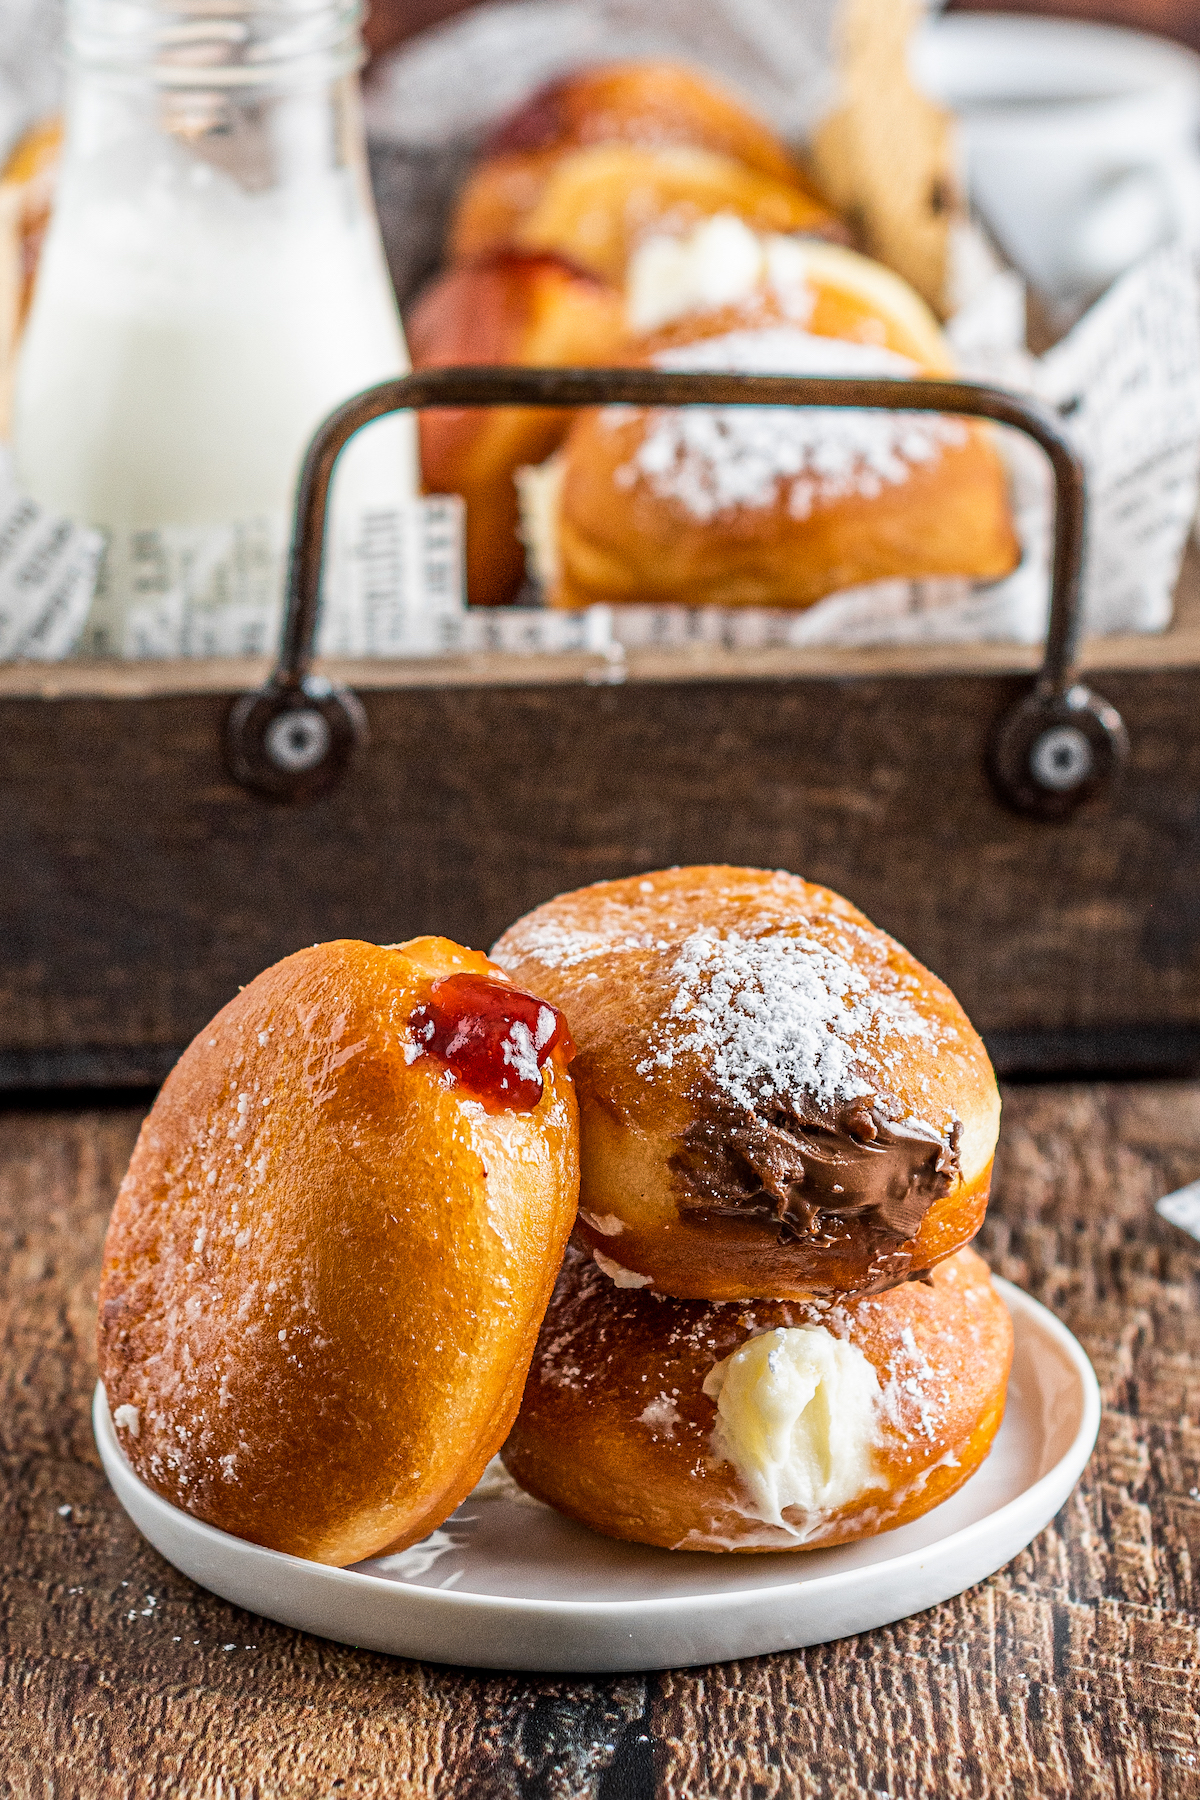
Table of Contents
Old-Fashioned Filled Donuts from Scratch, 3 Ways!
Filled donuts are one of my favorite indulgences. They are just so, so good. And because they do take a little time and work to make, just like my homemade honey bun recipe, they’re a wonderful way to show your family how much you love them! At the same time, homemade filled donuts are a fairly simple treat to make. All you have to do is make a soft, enriched dough, cut it into circles, and lightly fry them on each side before piping in some filling. You don’t need to know any fancy techniques or use any special equipment.
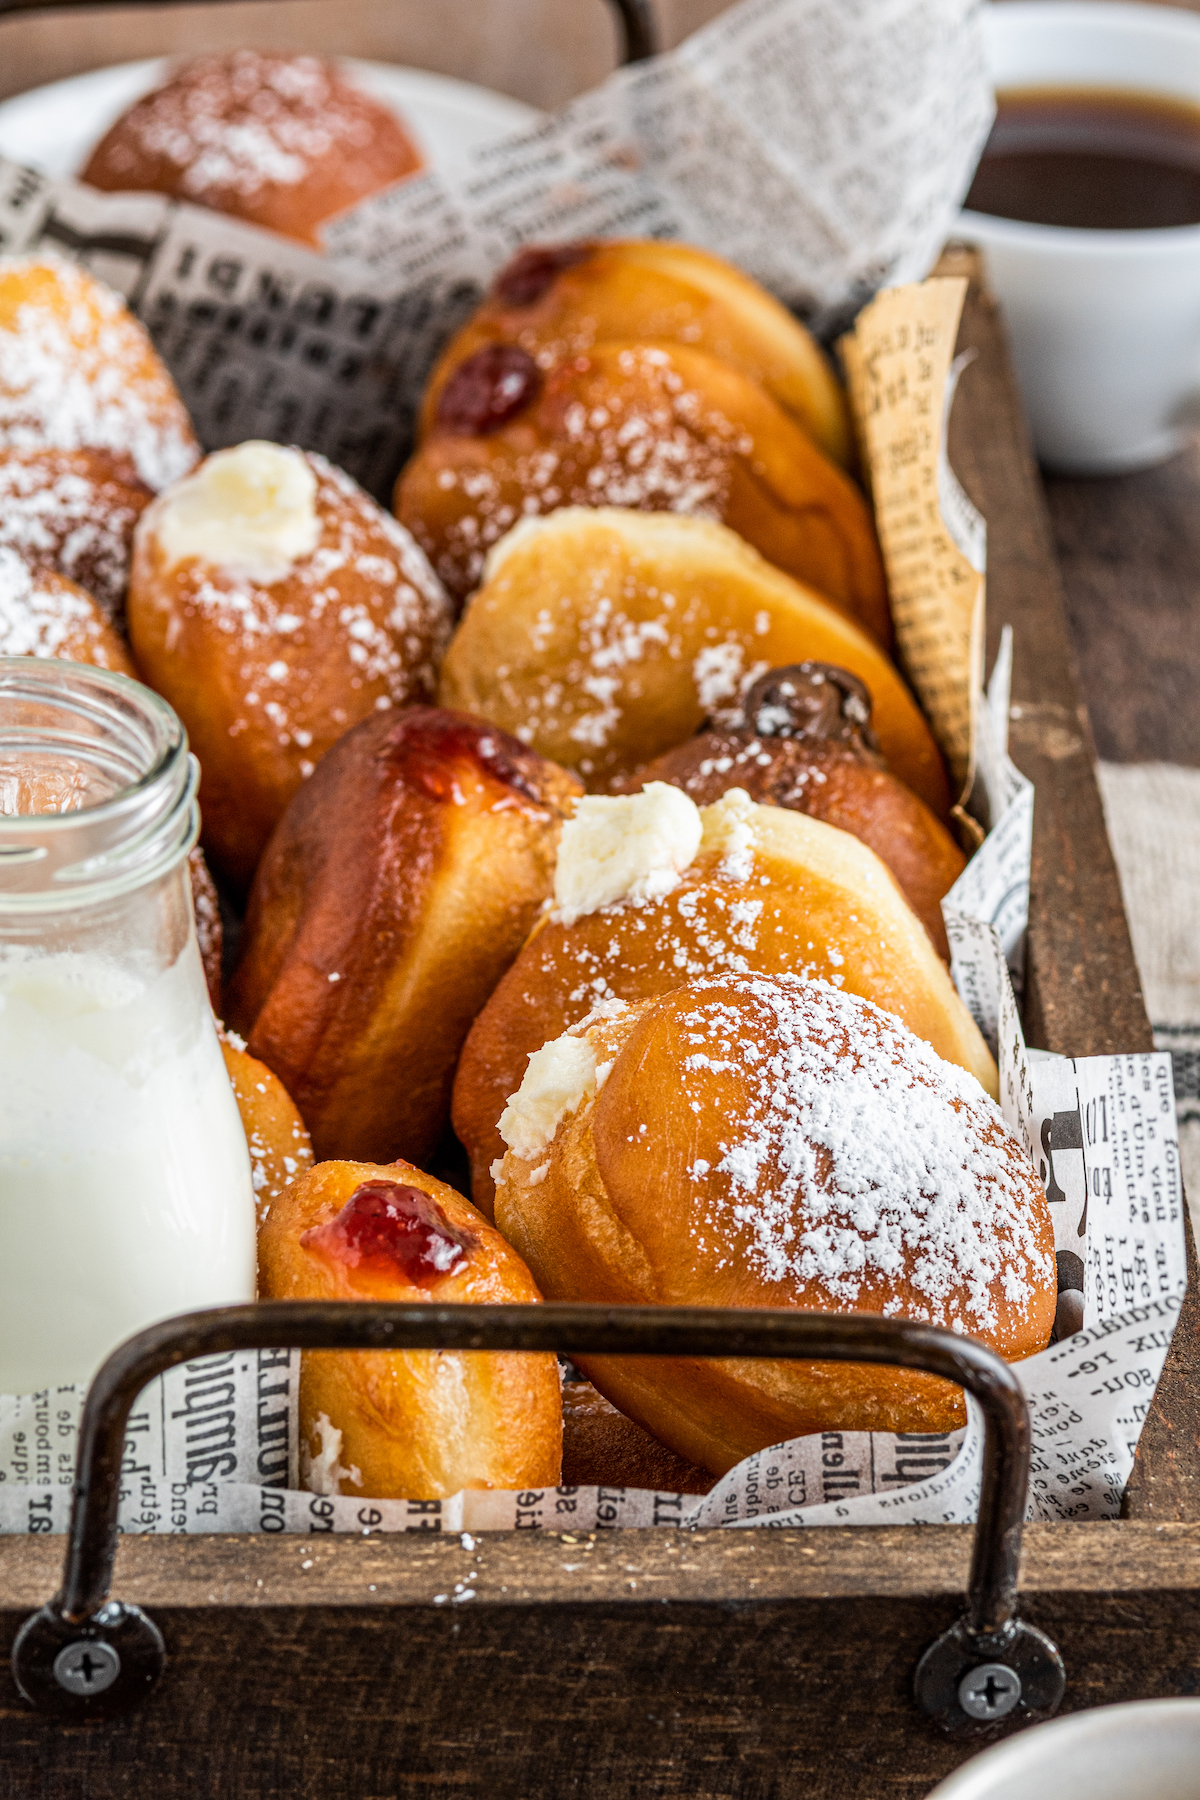
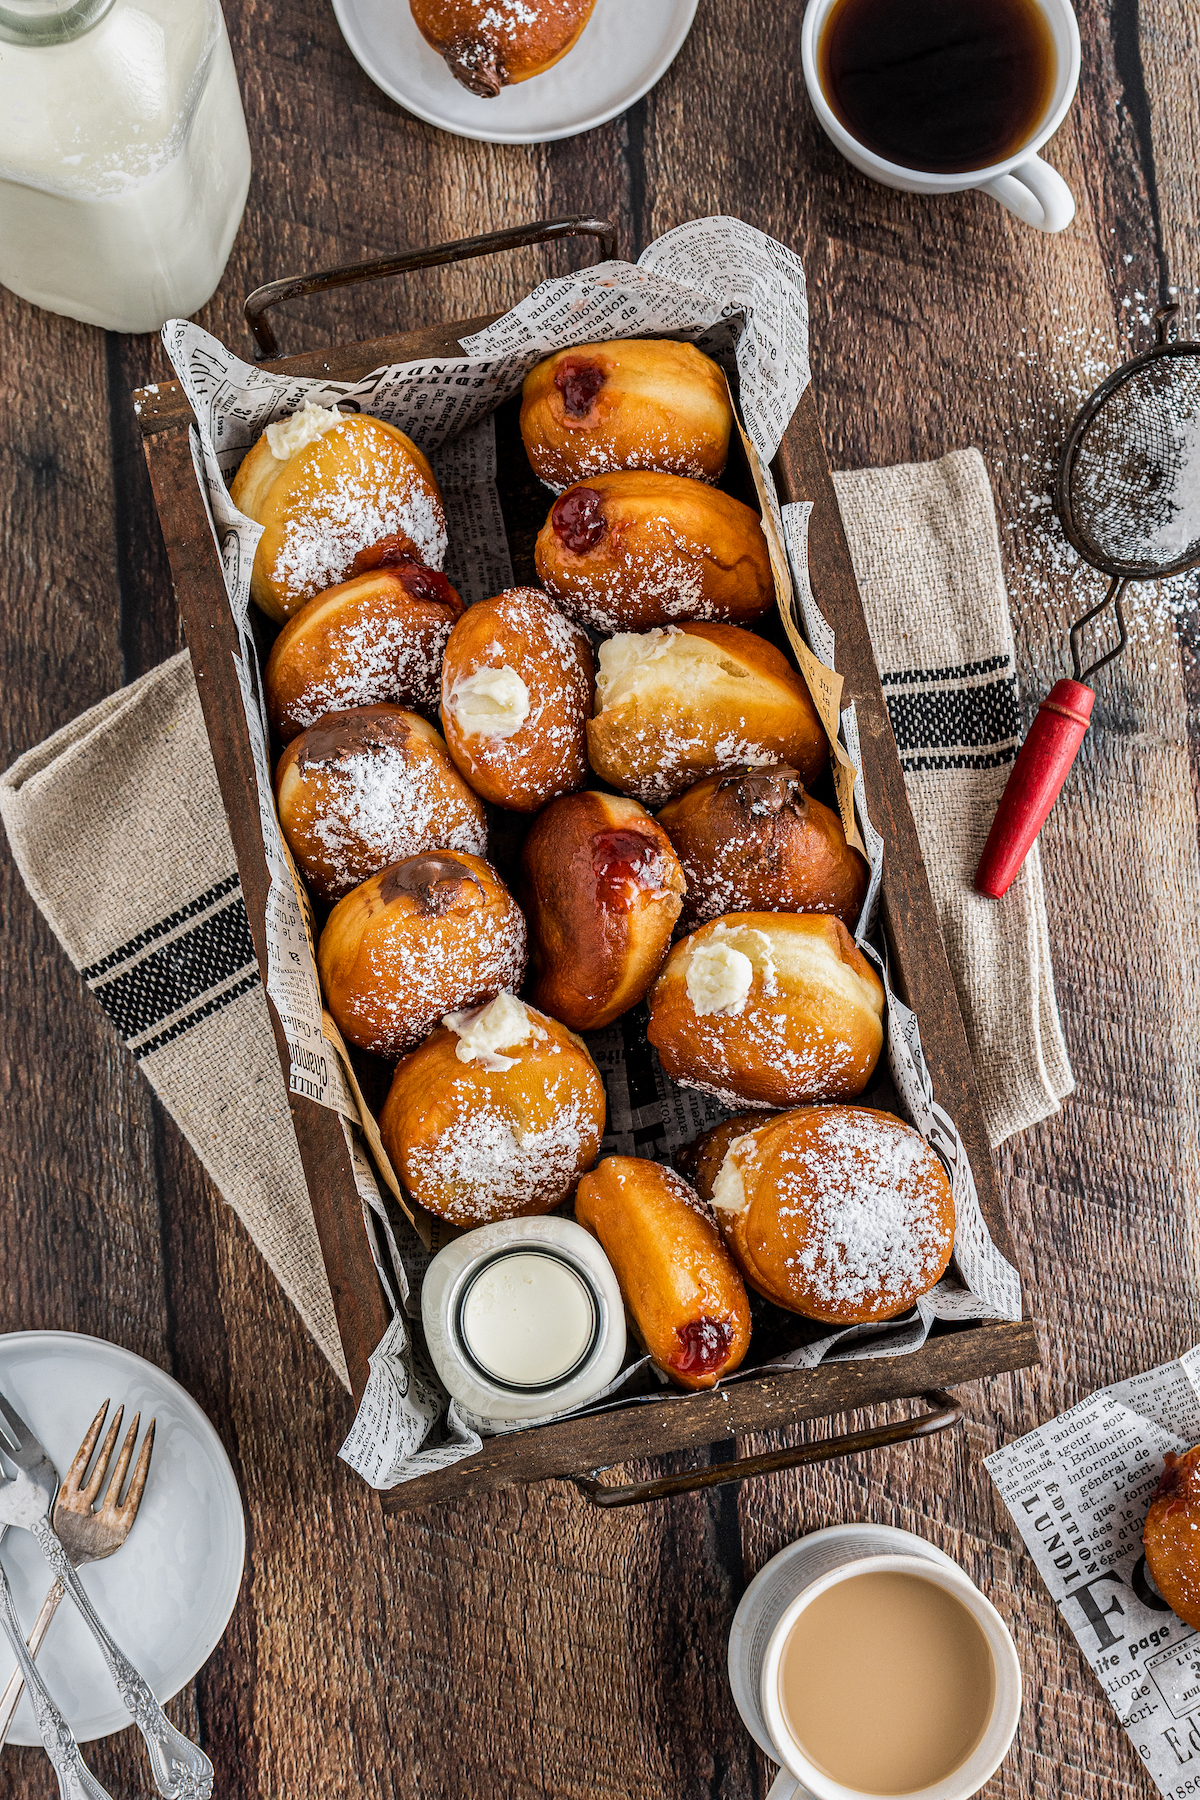
For these donuts, I like to use a variety of fillings. There’s something so festive and fun about a platter or tray of donuts with different fillings, isn’t there? Everyone can choose their favorite… or have one of each! I won’t tell.
Only one of the fillings for this recipe is homemade—my easy no-bake cheesecake filling. The recipe is included below. It’s so light, fluffy, and sweet! In addition to cheesecake, you can fill some of your donuts with jelly, and some with Nutella. Talk about yummy!
If you don’t have time for yeast dough, try my quick donut hole recipe or easy air fryer donuts!
These Sweet Filled Donuts Are…
- Easy to Make
- Light and Pillowy
- Flavorful
- Sweet
- Versatile
- Best Served Warm
- Freezer-Friendly and Reheat-Friendly
What Ingredients Do You Need to Make Donuts?
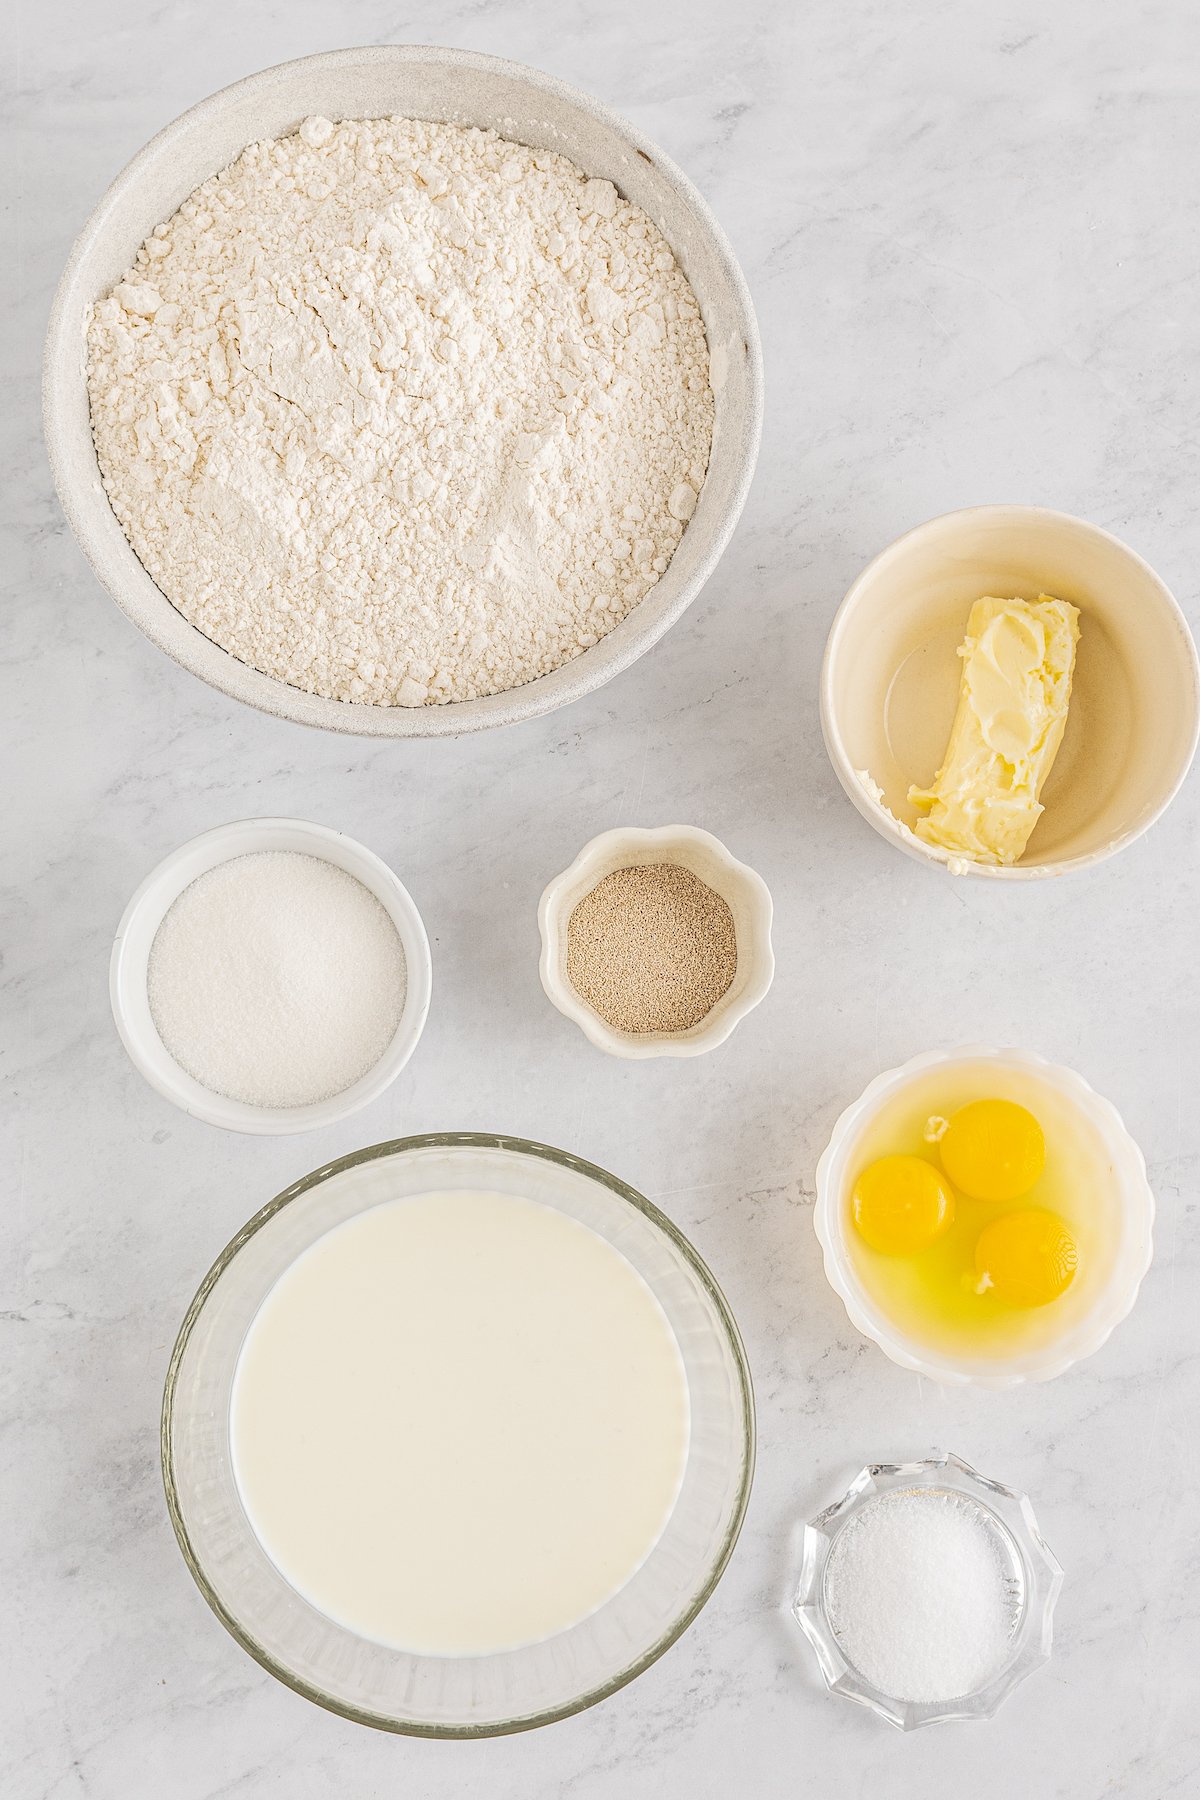
The basic dough for donuts is a simple enriched yeast dough, made with ingredients you probably already have in your fridge and pantry. The cream cheese filling is easy, too!
For the Dough
- Milk: Whole milk gives a good result here. You could also use 2% milk if you prefer. Either way, it should be warm (about at body temperature), but not hot.
- Sugar: Granulated sugar is fine. Just a little bit to sweeten the dough slightly.
- Yeast: Either rapid rise (instant yeast) or active dry yeast will work.
- Eggs: Eggs add flavor and richness to the dough, making it extra indulgent!
- Flour: For this recipe, I recommend using all-purpose flour. Baking yeasted items with gluten-free flour is possible, but the recipe usually needs to be changed in important ways to get the best result.
- Salt
- Butter: You can use salted or unsalted butter. If you use salted butter, you may want to reduce the added salt in the recipe. Have the butter at room temperature before using it.
- Oil: To fry the donuts, you’ll need enough vegetable oil to cover the bottom of your cooking pot by a couple of inches, at least.
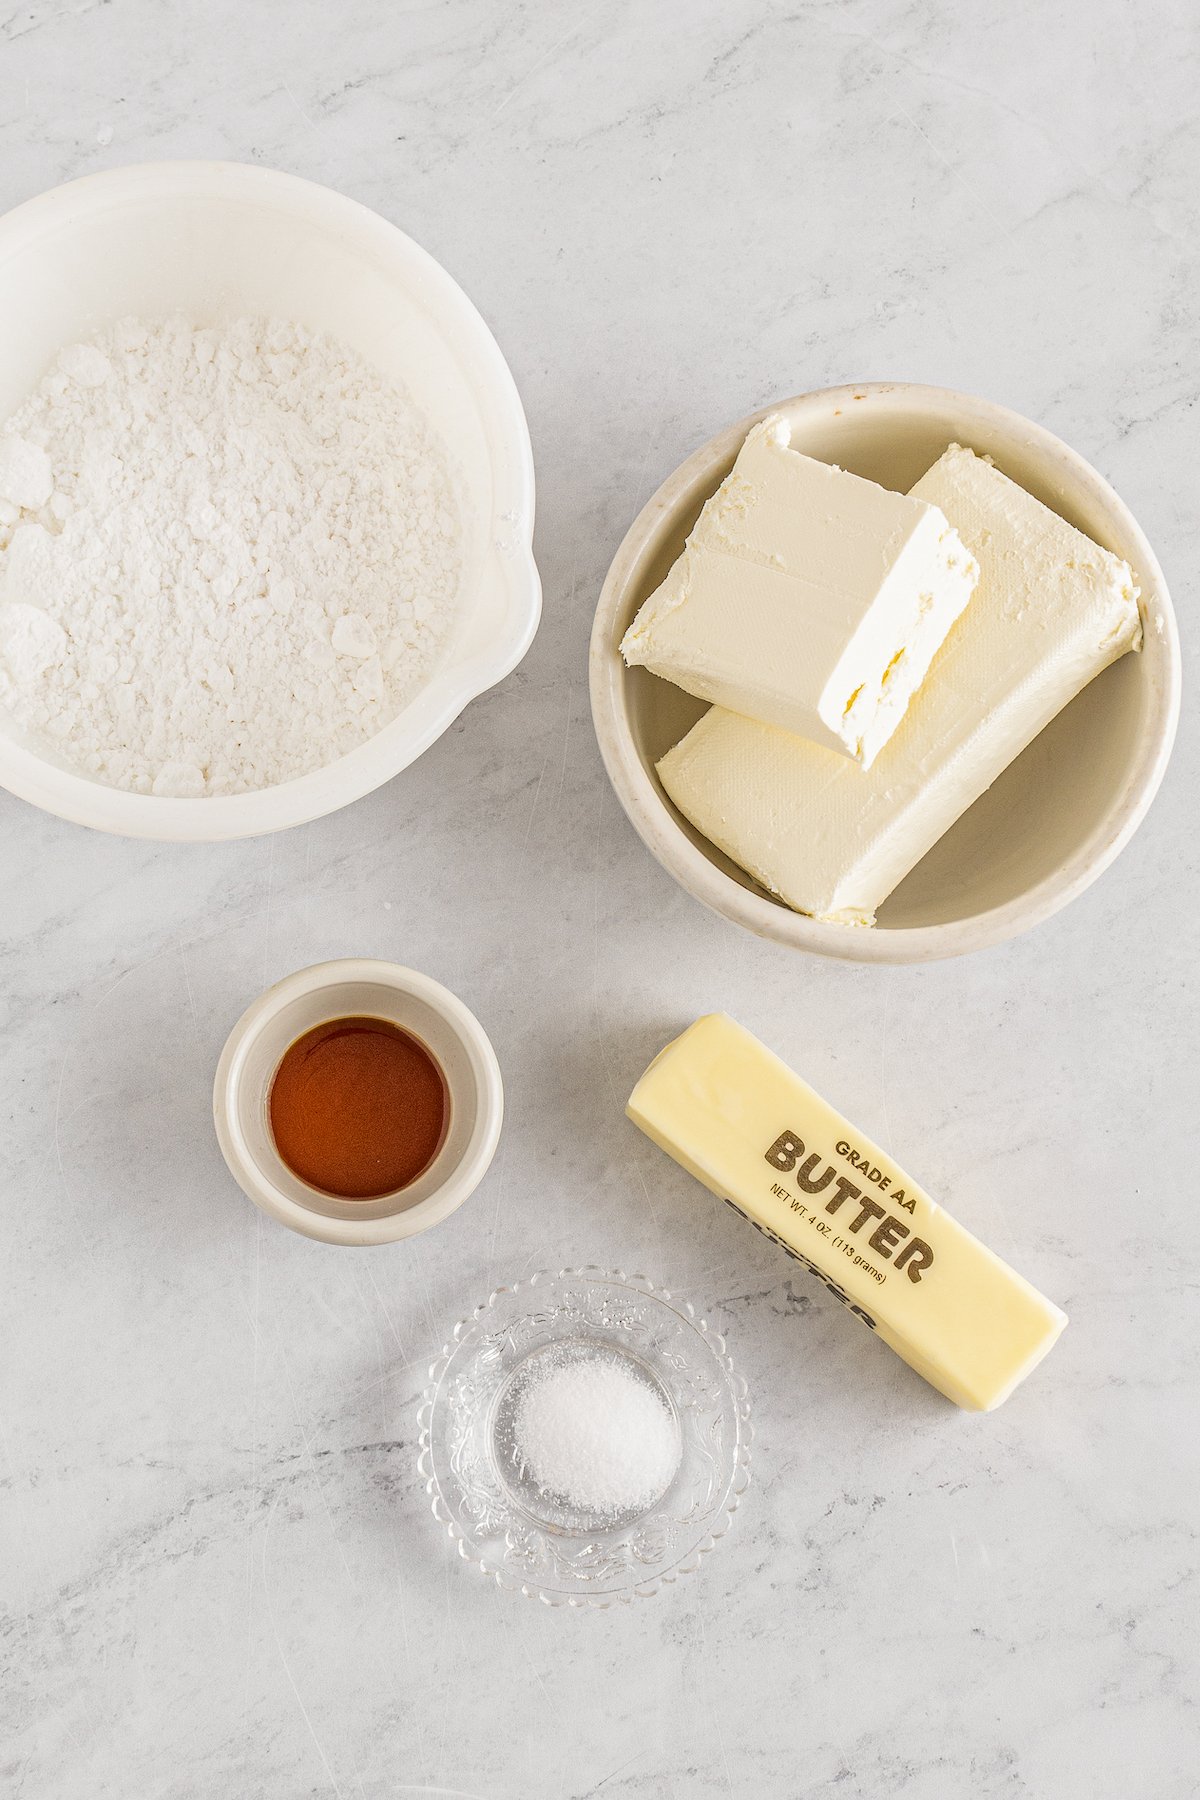
For the Cheesecake Filling
- Cream Cheese: Soften the cream cheese before using.
- Powdered Sugar: To make the filling sweet, light, and fluffy.
- Butter: Again, salted or unsalted is fine; just reduce the added salt if necessary. Soften the butter to room temperature.
- Vanilla: Pure vanilla extract gives the best flavor.
- Salt
Additional Ingredients:
- Jelly: You can use any jelly or jam that you like! Raspberry jam is very popular, and so is strawberry. Most commercial donuts don’t use seeded jelly or jam, but you can if you like – this Chia Cherry Jam is a personal favorite. If you want to strain out the seeds, that’s fine too.
- Nutella: For an easy (and addictive!) chocolate filling, I like to use Nutella. If you want, up the ante with this Homemade Nutella!
- Powdered Sugar: For dusting on the finished donuts.
How to Make Filled Donuts from Scratch
Although this is an easy, standard recipe for donuts, there are a lot of steps! I recommend reading through the recipe a couple of times before starting to make them, so there aren’t any surprises as you go!
Make the Dough
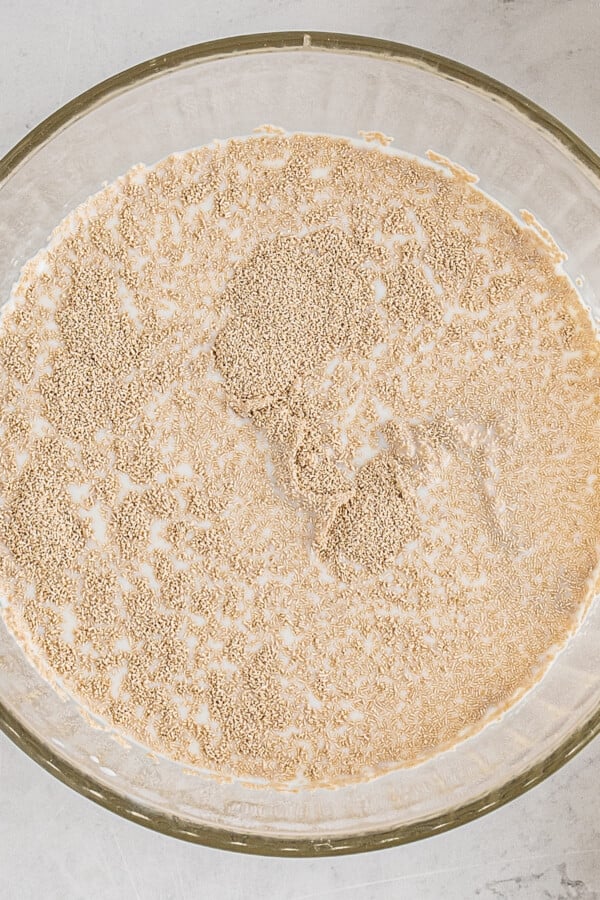
- Combine the Wet Ingredients. A stand mixer makes mixing and kneading the dough so easy. First, in the bowl of your stand mixer, combine the warm milk, sugar, and yeast. Let these ingredients stand for about 5 minutes to proof (bubble and froth). Once the yeast mixture is proofed, mix in the eggs and the egg yolk.
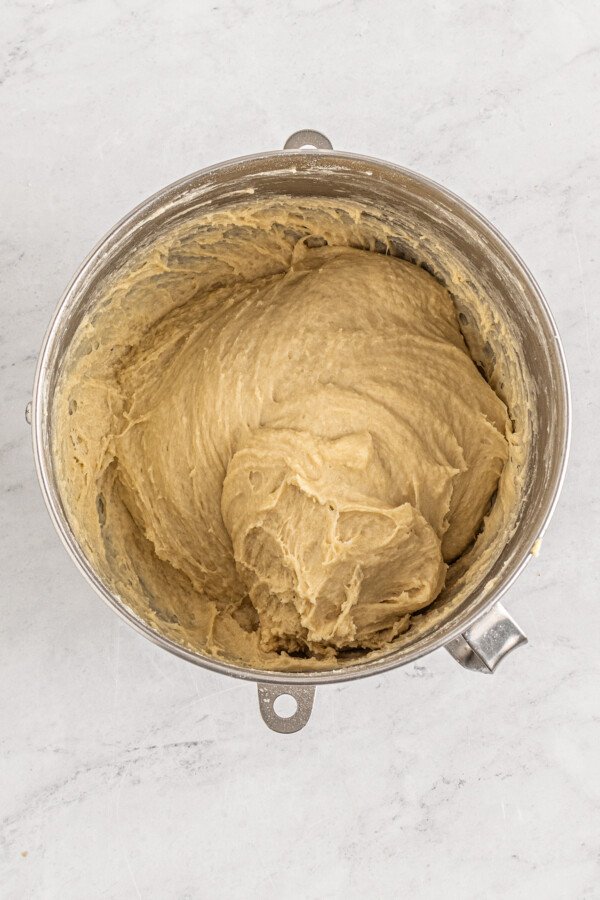
- Add the Dry Ingredients. Next, add in the flour and the salt, mixing just until the mixture starts to form a shaggy dough.
- Knead in the Butter. Use a dough hook to knead the dough for 2 minutes, to fully incorporate the flour. Then add the butter to the bowl, and let the mixer knead the dough for 6 more minutes. The dough should be smooth and elastic.
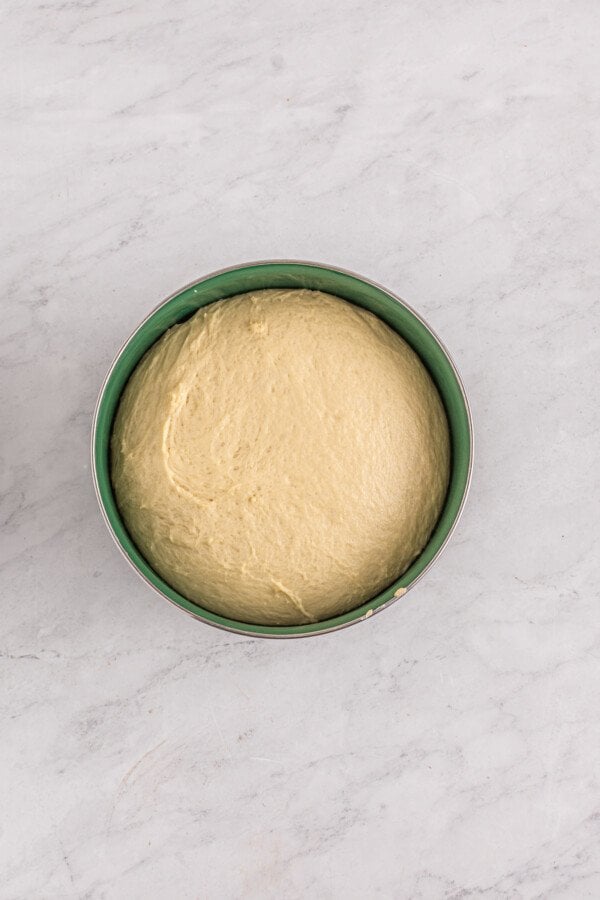
- First Rise. Roll the kneaded dough into a ball, and place it in a large, greased or oiled bowl to rise. Cover it with a clean kitchen towel or some plastic wrap, and set it aside in a warm place for one hour, or until the dough is doubled in size.
Want to save this recipe?
Shape the Donuts
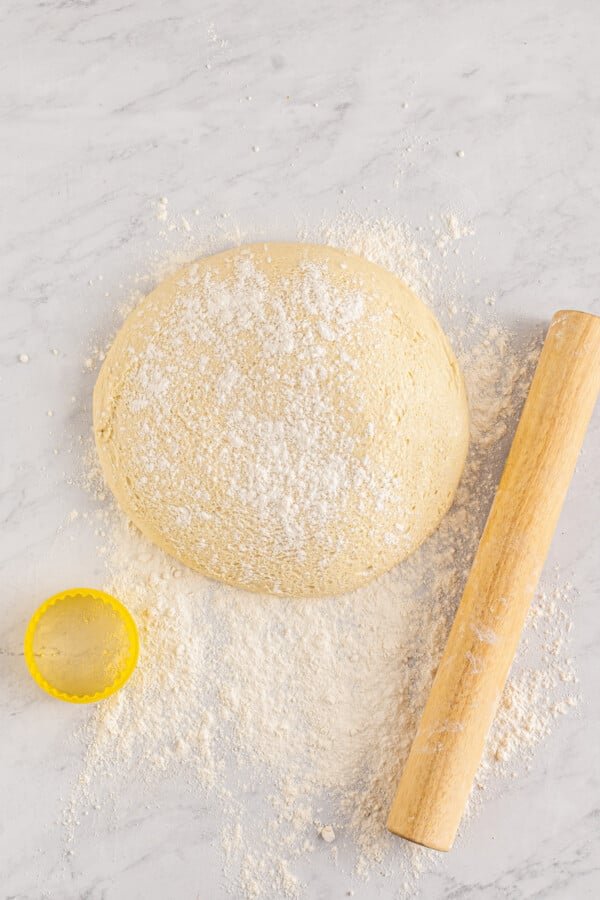
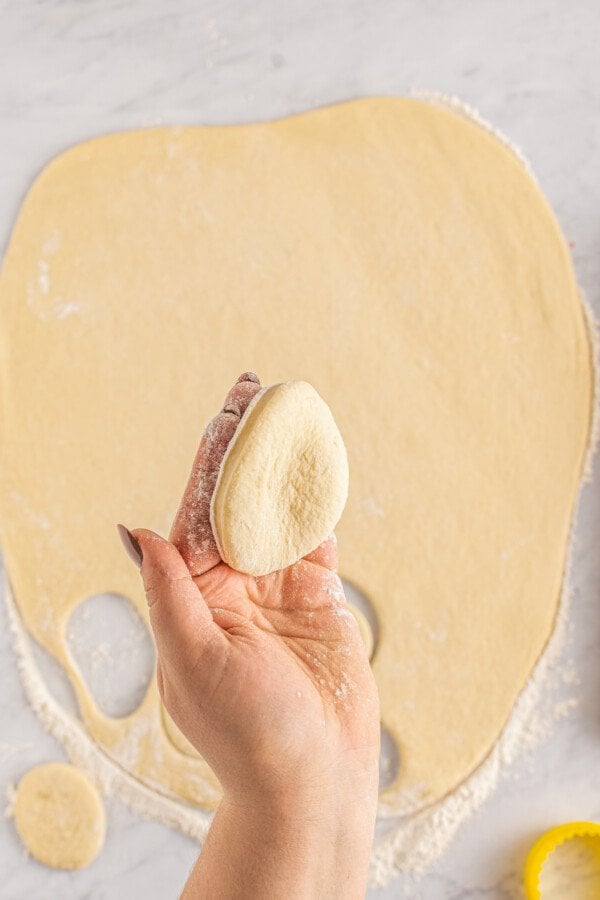
- Cut Out the Donuts. When the dough has risen, turn it out onto a well-floured surface. Roll it out into a large circle, about ¼ inch thick. Cut out donuts using a two (or three) inch biscuit cutter or cookie cutter. You don’t want donuts with holes, because we are going to fill them. Roll the remaining scraps of dough into a ball again, roll it out, and cut out more donuts. Do this until you have used all the dough.
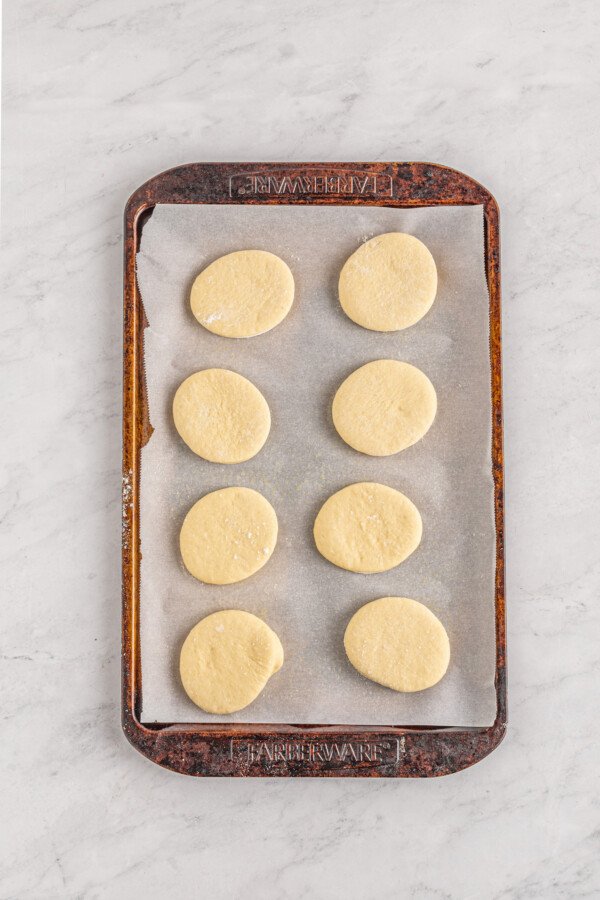
- Second Rise. Carefully transfer the donuts onto the prepared baking sheet, leaving at least 1 inch between them for rising and expanding. Cover the donuts with a clean kitchen towel, and let them rise for an hour, or until doubled in size.
Fry the Donuts
- Heat the Oil. When the donuts only have about ten minutes of rising time to go, start heating the oil. Place a large, heavy-bottomed pot over medium heat and add the oil. Clip a kitchen thermometer to the side of the pot, just inside the oil, and heat the oil to 350°F.
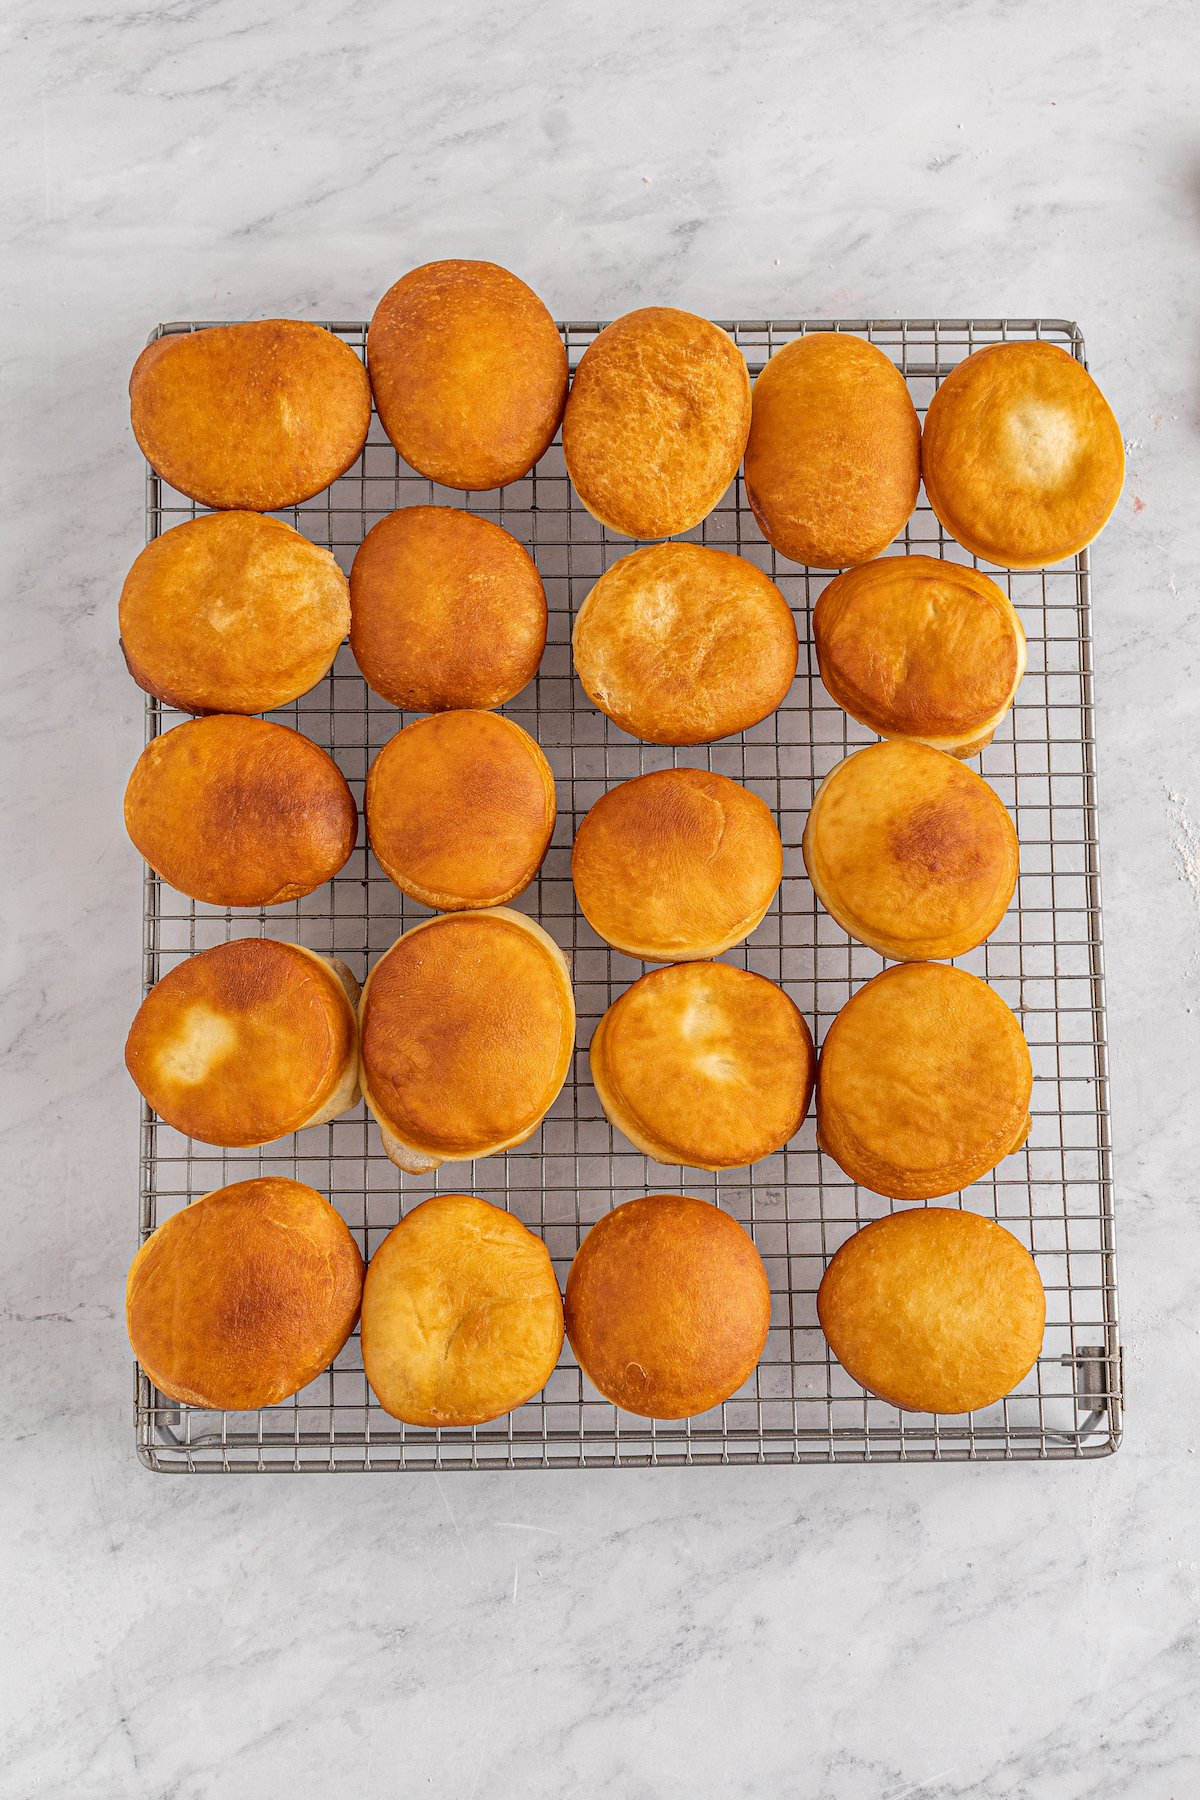
- Fry the Donuts. Line a baking sheet with paper towels, and arrange a cooling rack over it. Place this cooling rack near your frying area. When the oil is hot, carefully place the donuts, just two or three at a time, into the hot oil. DO NOT drop the donuts in, or the hot oil will splash. Lay them into the oil with tongs or some other clean, dry utensil. Fry the donuts for one or two minutes per side.
Fill the Donuts
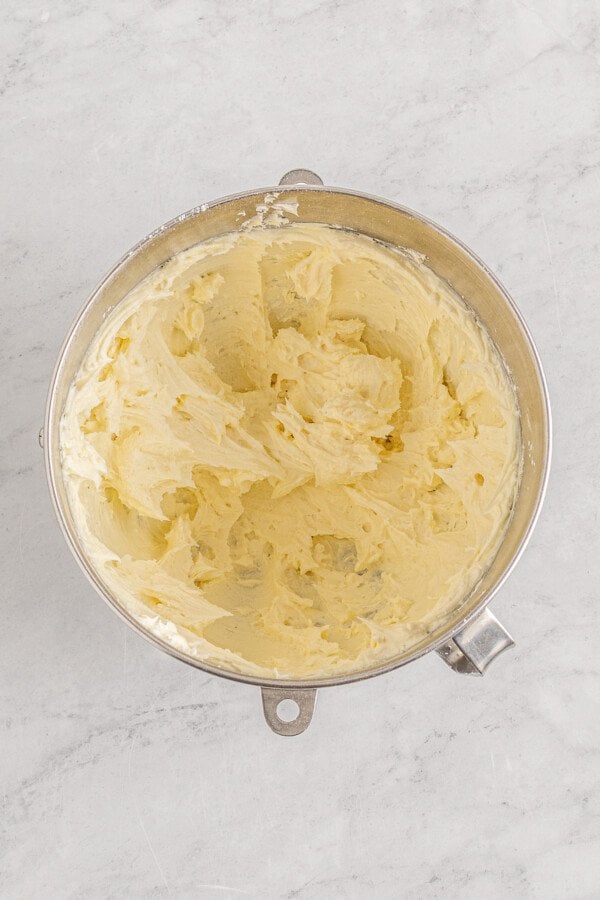
- Cool the Donuts and Prepare the Fillings. When the donuts are done, drain them on the cooling rack. Make the cheesecake filling by adding all of the ingredients to the bowl of a stand mixer. Using the paddle attachment, beat the filling on high speed for a couple of minutes, until smooth and fluffy. Spoon this filling into a piping bag fitted with a round piping tip. Fill another piping bag with the jelly of your choice, and one with Nutella as well.
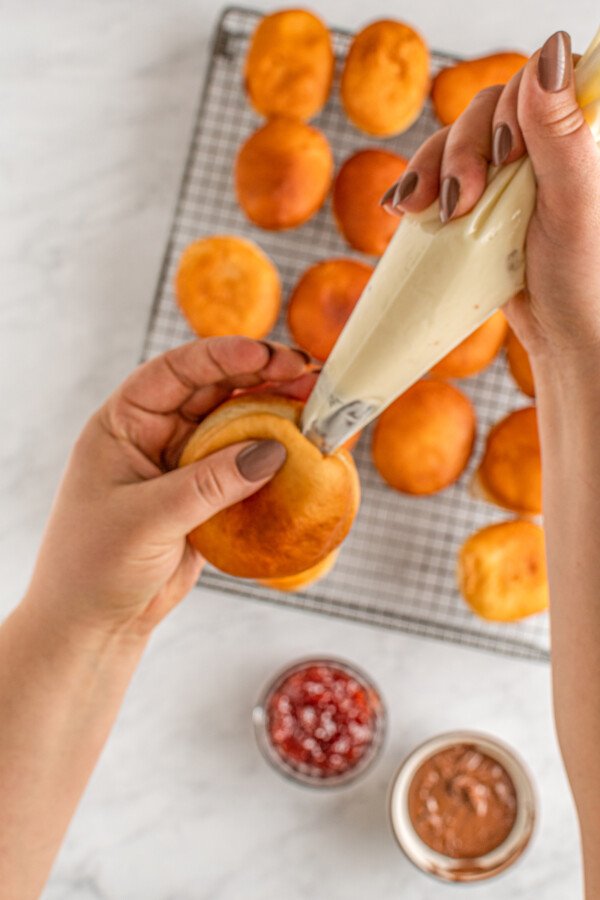
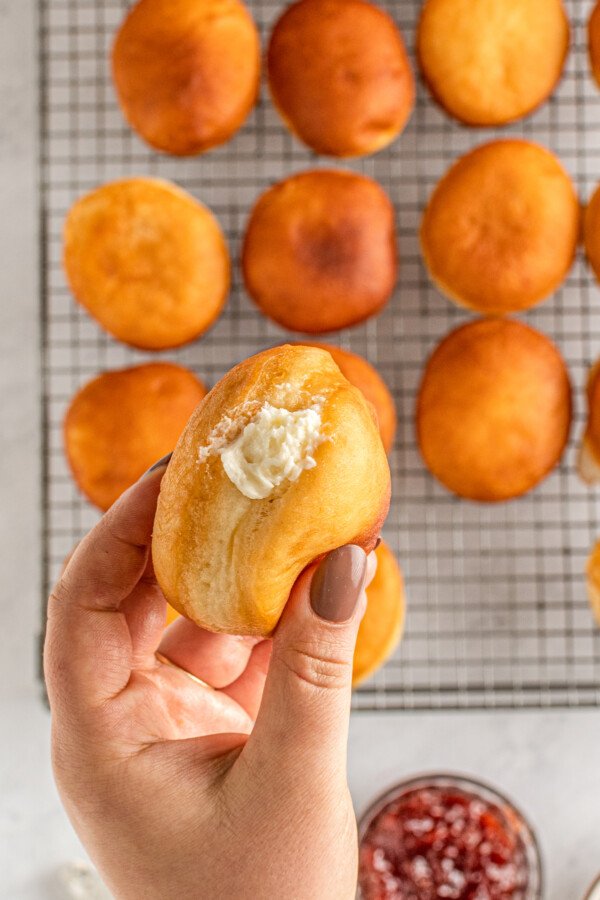
- Fill the Donuts. To fill a donut, insert the piping tip into the side of the donut, and gently squeeze or press the piping bag to fill the donut. The filling will push the piping tip out of the donut, once it is full. Using this technique, fill all of the donuts with cheesecake filling, jelly, and Nutella. Dust them with powdered sugar, and serve immediately.
- Enjoy!
My Top Tips for Perfect Filled Donuts
So there you have it! Classic homemade donuts with three types of delicious filling. They’re easy to make, and are such a special treat. If you’re interested in trying them yourself, have a look at these helpful tips for making donuts safely and correctly!
- Read the Recipe Carefully: This recipe isn’t difficult, but there are a lot of steps, so I really recommend reading it completely and carefully before starting. That way, you’ll know what to expect as you work your way through the steps from beginning to end.
- Don’t Kill the Yeast: If your yeast doesn’t froth at the beginning, it may be dead, or the milk may have been too hot. Begin again with a fresh packet of yeast. A trick to knowing if the milk is too hot is to test it with a clean pinkie finger. If you can’t leave your pinkie halfway in the milk for at least 5 to 8 seconds, it’s too hot and will kill the yeast.
- Raise Them Right: If you let the donuts rise too long, they’ll collapse. Too short, and they won’t have a light, fluffy texture. So how do you know when the dough has risen enough? Properly risen dough will not bounce back, or collapse, when you give it a press with your finger. Instead, the dough will hold up, but a little indentation will remain where you pressed it.
- Use a Heavy-Bottomed Pot. When frying, it’s best to use a heavy-bottomed cooking vessel. Unlike thinner cookware, a good heavy-bottomed pot, Dutch oven, or even cast-iron skillet will distribute heat more evenly, helping to prevent hot spots and burning.
- Discard Grease Properly: Never pour hot oil down the sink, or discard hot oil at all. Just take it off of the heat carefully, and allow it to cool. From there, you can dispose of it safely without risk of burning.
- Handle Hot Donuts with Care: If possible, set up your cooling rack close to your cooking surface (but not too close!). You don’t want to have to carry hot donuts from the cooking pot to the table, or anything like that, in case you drop one or spatter hot grease. Always keep children safely away from hot oil, and do not serve the donuts or put them within reach until they have cooled down enough to handle safely.
- Watch the Temperature: Be sure to keep an eye on your oil temperature! Never leave a pot of hot oil unattended, and do not let it overheat. Overheated oil can catch on fire.
Yummy Donut Variations
You can customize this recipe in a lot of ways! With donuts, the sky is really the limit. Here are some of my favorite donut flavor ideas:
- Lemon: Lemon curd makes a lovely donut filling! Top lemon donuts with homemade glaze or powdered sugar.
- Chocolate: Chocolate Buttercream Frosting also makes a fabulous donut filling.
- Classic Glazed: Cut out donuts with holes (save the donut holes and fry those, too!) and dunk the finished donuts in glaze. Yum!
- Cinnamon Sugar: You can also cut out donuts with holes, fry them, and immediately dip them in a plate of cinnamon sugar to coat.
Storing and Making Ahead Instructions
When it comes to storing donuts, there are two ways to do it: filled, and unfilled. Here’s how to store them, either way.
- For filled donuts, I recommend storing in the refrigerator, in airtight containers or food storage bags. They will keep safely for up to 2 days.
- For unfilled donuts, store at room temperature, again in airtight containers or bags, for up to 2 days. You can also flash-freeze unfilled donuts in a single layer for 4 hours, before packing into freezer bags and freezing for up to 2 months.
- To make ahead, thaw the donuts (if previously frozen) at room temperature. Then reheat the donuts in the microwave for 10 seconds, before filling and topping as desired.
Homemade Filled Donuts
Ingredients
For the Dough
- 2 cups warm whole milk
- ½ cup, plus 2 tablespoons, granulated sugar
- 1 ½ tablespoons active dry yeast
- 2 large eggs, plus one egg yolk
- 6 ⅔ cups all-purpose flour
- 2 teaspoons salt
- 6 tablespoons butter, at room temperature
- 3 cups vegetable oil, for frying
For the Cream Cheese Filling
- 12 ounces cream cheese
- 1 ½ cups powdered sugar
- ½ cup 1 stick butter
- 1 teaspoon vanilla
- ½ teaspoon salt
Additional Ingredients
- ½ cup jelly
- ½ cup Nutella, or Homemade Nutella
- Powdered sugar, for dusting
Want to save this recipe?
Instructions
- In the bowl of a stand mixer, mix the warm milk, 2 tablespoons sugar, and yeast. Let stand for 5 minutes to proof. Once the yeast mixture is frothy, mix in the eggs.
- Next, add in the remaining 1/2 cup sugar, flour, and salt. Mix just until the flour is somewhat incorporated, and starts to form a dough.
- Use a dough hook to knead the dough for 2 minutes, to fully incorporate the flour. Add in the butter, and let the mixer knead the dough for 6 minutes.
- Once the dough is kneaded, roll it into a ball and place it in a large, greased bowl. Cover with a clean kitchen towel or plastic wrap, and set it aside to rise in a warm place for one hour, or until doubled in size.
- When the dough has risen, turn it out onto a well-floured surface. Line a baking sheet with parchment, and set aside.
- Using a rolling pin, roll out the dough into a large disc about ¼ inch thick. Use a 2 or 3 inch biscuit cutter to cut whole donuts from the dough. Carefully transfer the donuts onto the prepared baking sheet, leaving at least 1 inch between them for rising. Roll the remaining scraps of dough back into a ball, and roll again to a ¼ inch thickness. Cut out as many donuts as possible, and repeat until all of the dough is used.
- Cover the donuts with a clean kitchen towel, and let rise for 1 hour or until doubled in size.
- When the donuts only have about 10 minutes left of rise time, start heating the oil. Place the oil into a stock pot or Dutch oven, and place over medium heat with a kitchen thermometer clipped to the side of the pot, just inside the oil. Heat the oil to 350°F, and watch it carefully to keep it as close to 350°F as possible during the cooking process. Line a baking sheet with paper towels, and arrange a cooling rack over it.
- Once the donuts have risen and the oil is hot, carefully place 2 – 3 donuts at a time into the hot oil, and fry them for 1 – 2 minutes per side. When they are done, place them on the prepared cooling rack.
- Make the cheesecake filling by adding all of the ingredients to the bowl of a stand mixer, fitted with a paddle attachment. Beat the ingredients on high speed for 2 minutes, or until a smooth, fluffy filling has formed. Spoon the filling into a piping bag fitted with a round piping tip.
- Fill the donuts: Press the piping tip into the side of a donut, and gently press the piping bag to fill the donut. The filling will push the piping tip out of the donut when it is full.
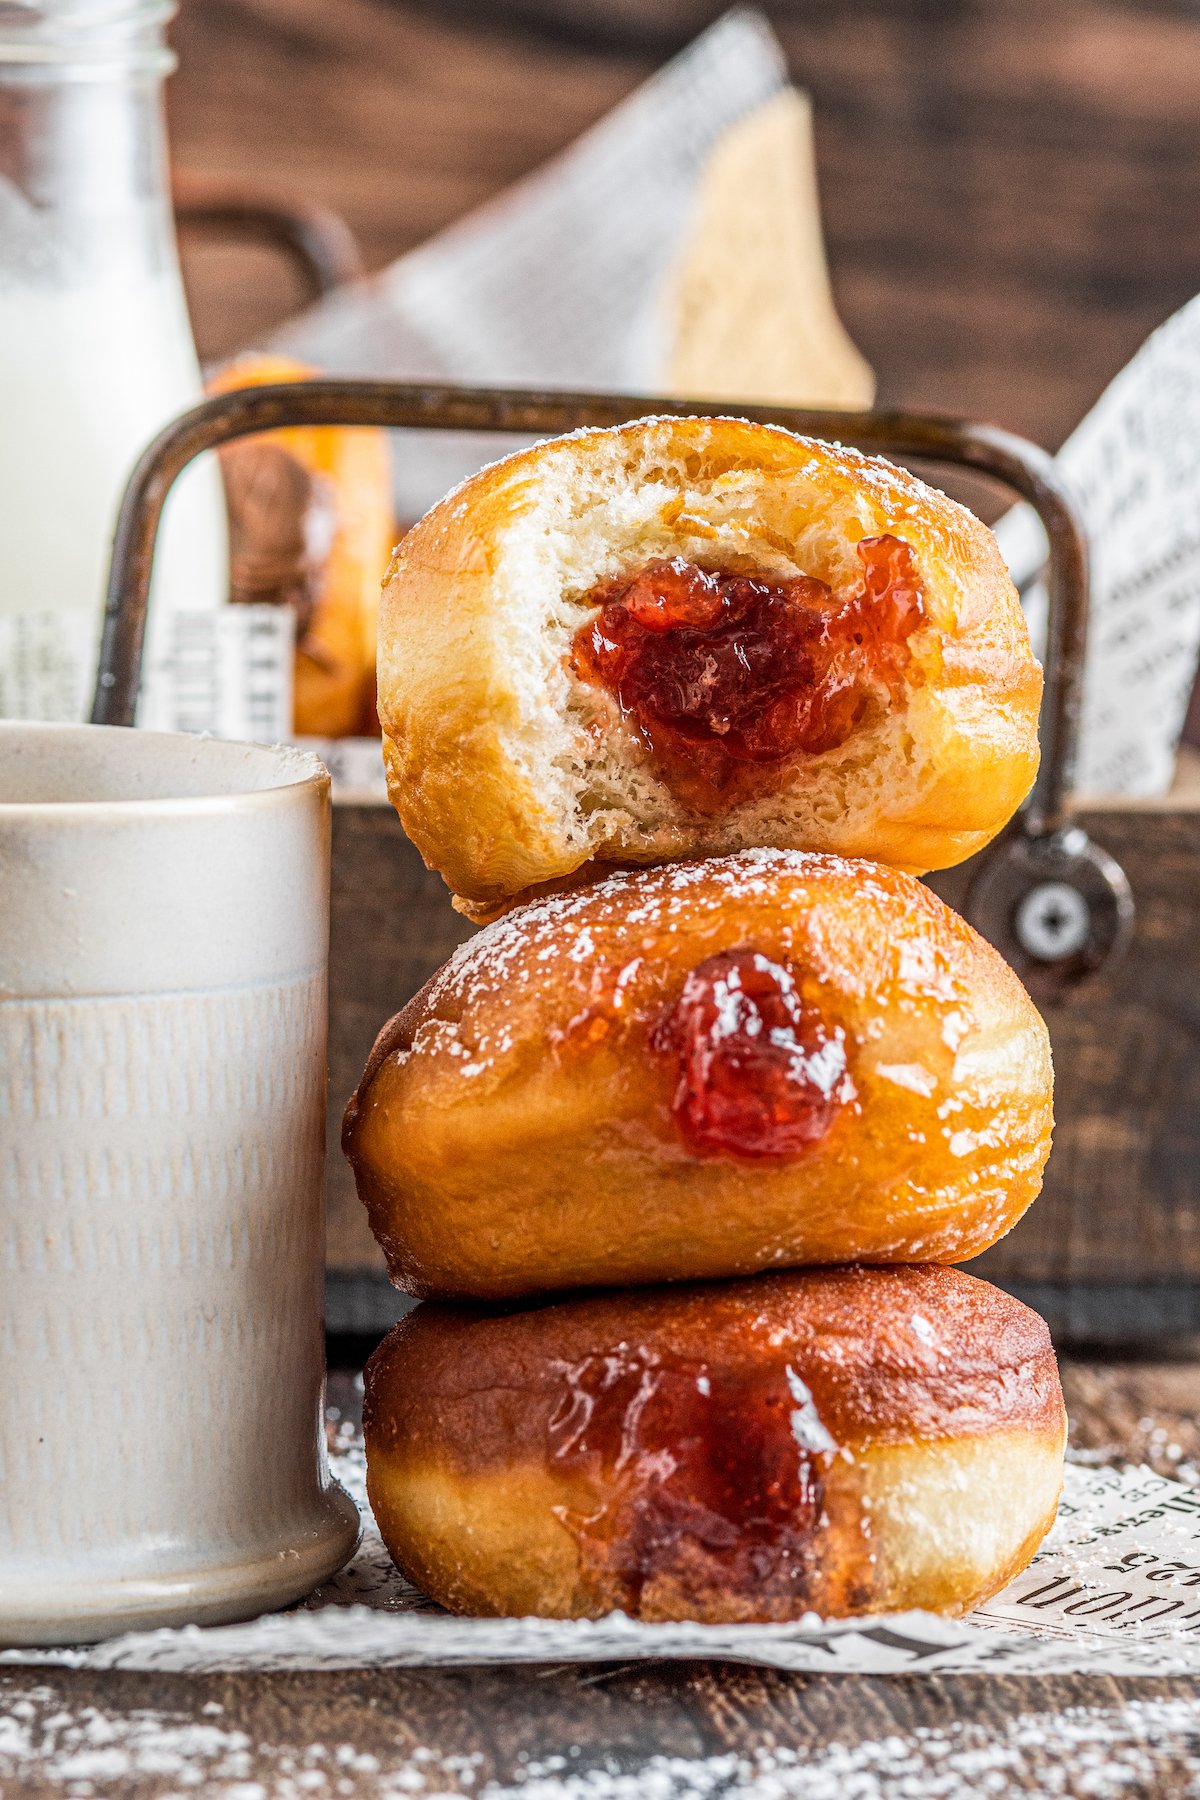
- Fill the donuts with cheesecake filling, the jelly of your choice, and Nutella. Dust with powdered sugar, and serve immediately.
⭐️ Tried this recipe? Leave a comment and rating! It only takes a minute and helps support our family-run blog. ❤️
Notes
- For filled donuts, I recommend storing in the refrigerator, in airtight containers or food storage bags. They will keep safely for up to 2 days.
- For unfilled donuts, store at room temperature, again in airtight containers or bags, for up to 2 days. You can also flash-freeze unfilled donuts in a single layer for 4 hours, before packing into freezer bags and freezing for up to 2 months.
- To make ahead, thaw the donuts (if previously frozen) at room temperature. Then reheat the donuts in the microwave for 10 seconds, before filling and topping as desired.
Nutrition
Categories:
More Old-Fashioned Treats
- Arroz Con Leche (Spanish Rice Pudding)
- Vanilla Bean Pound Cake
- Old Fashioned Christmas Pinwheel Cookies
- Old Fashioned Apple Dumplings
- Copycat Lofthouse Cookies
- Dutch Apple Pie
- Homemade Butter Mints
- Old Fashioned Coconut Cream Pie
Post may contain affiliate links. Read my disclosure policy.






These are delicious! Recipe was really easy. Going to fill with homemade custard.
These are delicious!! My favorite filling is blueberry pie filling. Just make sure your round tip is large enough for the blueberries to pipe through. (Ask my how I know, lol!!)
I have never liked hazelnuts, hence I can’t stand Nutella. So I made the following chocolate filling. One tub of CoolWhip, one packet of instant chocolate pudding, 1/4 milk, 1/4-1/2 tsp of vanilla. Fold it all together until mixed well and no longer grainy. Deelish!!
1