
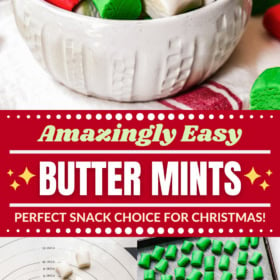
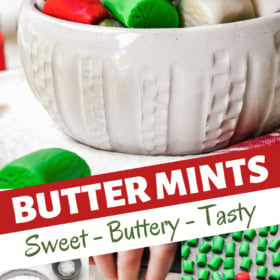
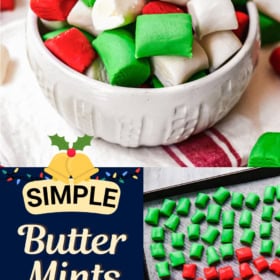
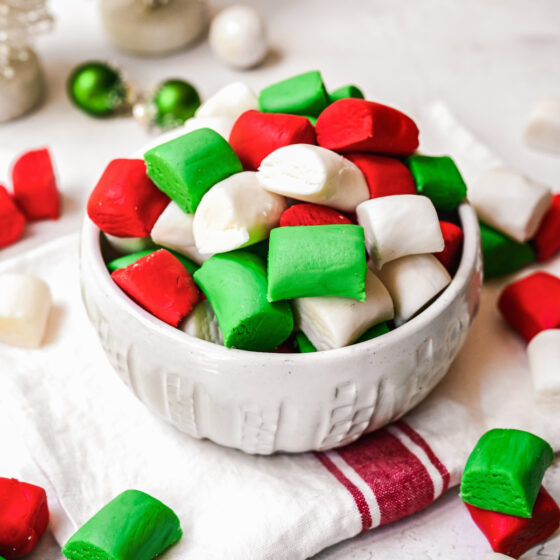
Old-fashioned Butter Mints are crisp and firm on the outside and buttery-smooth on the inside. The sweet vanilla mint flavor makes them a must-have Southern specialty for holidays, showers, and parties.

Real, Old-Fashioned Butter Mints Are So Easy to Make!
Do you enjoy butter mints? These sweet little candies are super yummy, and they are so simple to make at home – no need to buy them at the store! Plus, when you make them yourself, you can tweak the ingredients to suit your taste. With real butter, powdered sugar, and peppermint extract, they’re smooth and icing-like on the inside, with a gentle peppermint oomph that cuts the sweetness.
If you are planning a baby shower, wondering what special items to prep for the holidays, or just want an old-fashioned treat to keep on hand, give these a try! They store really well, and are pretty to look at, too.

What Are Butter Mints Made Of?
The ingredients here are so simple, you almost don’t need a recipe! Let’s take a look at the list in detail (you can also scroll to the recipe card at the bottom of this post, for amounts and nutrition info).
- Butter: I always use unsalted butter in this recipe.
- Powdered Sugar: As with frosting, the powdered sugar adds sweetness and also gives the mixture its silky texture.
- Half and Half: Or heavy cream, to thin the mint mixture out to the right consistency.
- Extracts: Using both peppermint extract and vanilla extract gives the butter mints an irresistible minty taste, while still feeling like a dessert or treat.
- Salt: Just a pinch. If you’re using salted butter, you will probably want to leave this out.
- Food Coloring: This is optional. Without it, the mints will be a pale cream or yellow color, which is very pretty. With food coloring, you can make almost any shade you like, from bold Christmas colors like I’ve done here, to gentle pastels that are perfect for weddings, Easter celebrations, etc.

What’s the Difference Between Peppermint Oil and Peppermint Extract?
If you are wondering what the difference is between peppermint essential oil and peppermint extract, they are actually very similar. The difference is that peppermint extract is less powerful, and contains some alcohol as well as the oil from the peppermint plant. Peppermint oil is pure oil, and is about four times the strength of extract.

Let’s Make Butter Mints!
This process is super easy, and honestly it’s pretty fun! It’s a good recipe to share with littles, who can help roll the “ropes” of butter mint dough and cut the little pieces (with supervision, of course).
- Prep Your Baking Sheets and Sugar. First, you’ll want to prep a rimmed baking sheet or two with parchment paper. We won’t be baking these, of course – the butter would melt everywhere! But it is helpful to have a big, clean baking sheet ready to set your mints on as you go. Next, sift the powdered sugar to remove any lumps.
- Beat the Butter and Sugar Together. In the bowl of a stand mixer, beat your unsalted butter for several minutes, until it’s nice and fluffy. Turn the speed to low, and add the sifted sugar a little at a time, until it’s fully mixed in.


- Add the Half and Half, Extracts, and Salt. Now you can pour in the small amount of half and half, along with your peppermint and vanilla extracts and the pinch of salt. Beat on low until the dough comes together in a ball. If it doesn’t want to come together, it’s probably a little bit dry. In that case, just sprinkle in a teaspoon of half and half at a time and keep mixing, until a ball forms.
- Add the Food Coloring (Optional). If you’re using food coloring, this is one of the fun parts! Separate the dough into 3 roughly equal portions. Add your food coloring to each portion, and mix well to incorporate. Scrape the colored dough together and wrap in plastic wrap, so that it stays soft. Butter mint dough hardens quickly when exposed to air!


- Shape the Mints. Unwrap a portion of your dough, and break off a piece to work with. Wrap the remaining dough again to keep it soft. On a clean work surface, roll your working piece into a rope about ¾ of an inch thick. Cut the rope into short pieces, about ¾ inch long. Place each one on your baking sheet as you go.


- Dry the Mints. After you have rolled and cut all of your mints, leave them to dry. This takes longer than you might think – it’s good to leave them out overnight. If you need to cover them, cover them loosely with a piece of parchment, tenting the parchment a bit so the air can still circulate. They should be dry and hard on the outside by the next day, but still creamy and soft inside.
- Enjoy!

Tips and Variations
This simple recipe is a favorite for a reason, and I really hope you give it a try – it might just become one of your family’s favorite treats. Be sure to check out this list of helpful tips, too!
- Flavor Options: If you don’t want mint-flavored candies, you can leave out the mint and just use vanilla extract. This will make a delightfully sweet little candy that everyone will crave! You can also add other extracts like lemon or rum, to make different flavors. Some extracts are more powerful than others, so you may need to adjust the amounts.
- Shapes: Feel free to cut or roll your mints into different shapes. You could round the ends, make little balls, or even use tiny cutters to make more complicated shapes. Just be sure to keep the mints on the small side, or they won’t dry properly and may fall apart.
- Planning: Don’t forget that it takes time to roll and cut all of the mints, and it takes a long time for them to dry. Because of this, you will probably want to make this recipe a day or more in advance.

Storage Guidelines
Butter mints will keep for up to a month in an airtight container, making them a perfect make-ahead recipe!
Can I Freeze Butter Mints?
Sure! If you want to store butter mints for a longer time, just place the container in your freezer. (Again, make sure to use an airtight container. A freezer bag works too!) They should stay good for several months. Let them thaw to room temperature before you serve them.
Homemade Butter Mints
Ingredients
- ¾ cup unsalted butter, at room temperature
- 6 cups powdered sugar
- 1 ½ tablespoons half and half, or heavy cream
- 1 teaspoon peppermint extract
- ½ teaspoon vanilla extract
- Pinch of salt
- 2 – 3 drops food coloring, optional
Want to save this recipe?
Instructions
- Line a rimmed baking sheet with parchment paper, and set aside. Sift the powdered sugar into a large mixing bowl, and set aside.
- In the bowl of a stand mixer, beat the butter until light and fluffy, about 2 – 3 minutes. Slowly add the sifted powdered sugar on low speed, in batches, until fully incorporated.
- Add the half and half, peppermint extract, vanilla extract, and salt to the mixture, beating on low speed until well-combined and the dough comes together in a ball. (If your dough is not coming together, add an additional teaspoon or so of half an half to bring it together.)
- If coloring the mints, divide the dough into 3 equal portions. Add a few drops of food coloring to each portion and mix well until fully incorporated.
- Wrap two of the portions in plastic wrap and set aside. This dough hardens quickly when exposed to air, and you want to keep it pliable.
- Working on a nonstick surface, break off a piece of the unwrapped dough portion. Roll into a rope about ¾ inch in diameter. Slice into small pieces, ½ inch to ¾ inch long.
- Transfer the cut pieces of dough to a baking sheet, and continue rolling and cutting the remaining dough.
- Leave the butter mints out at room temperature to dry overnight. They should be dry and hard on the outside, but smooth and creamy on the inside.
⭐️ Tried this recipe? Leave a comment and rating! It only takes a minute and helps support our family-run blog. ❤️
Notes
Video
Nutrition
Categories:
More Easy Christmas Recipes
- Reindeer food is a sparkly, simple Christmas craft that the kids LOVE!
- Peppermint meringues are dipped in dark chocolate for the best contrast of flavors.
- Chewy soft rum caramels are my favorite Christmas candy – perfect for gifting!
- Cinnamon sugar toffee is downright addictive.
Post may contain affiliate links. Read my disclosure policy.
