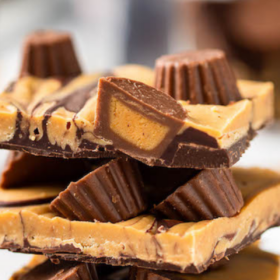
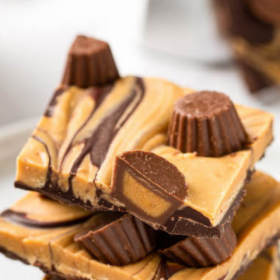
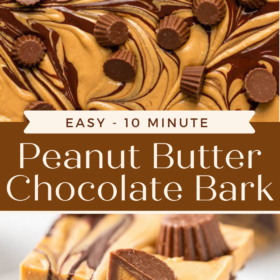
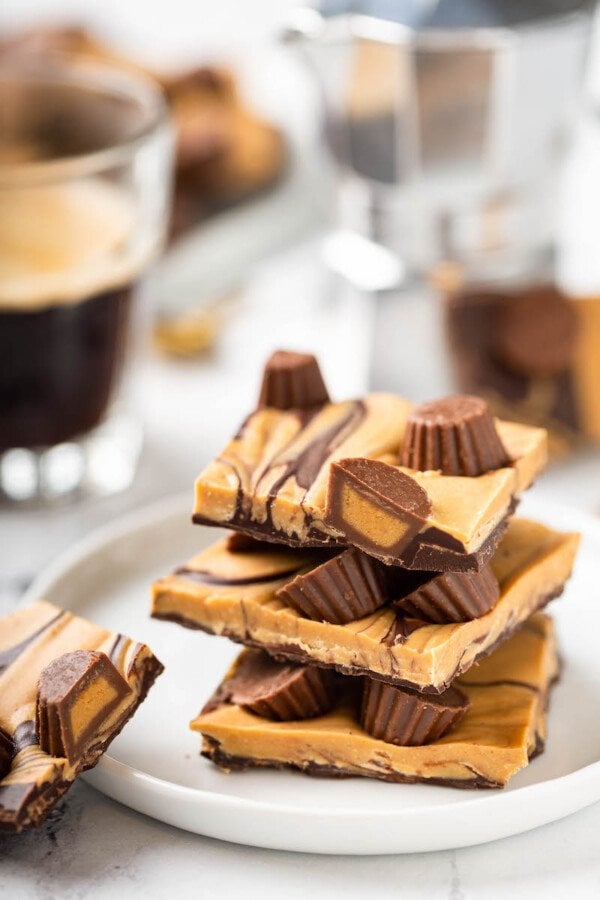
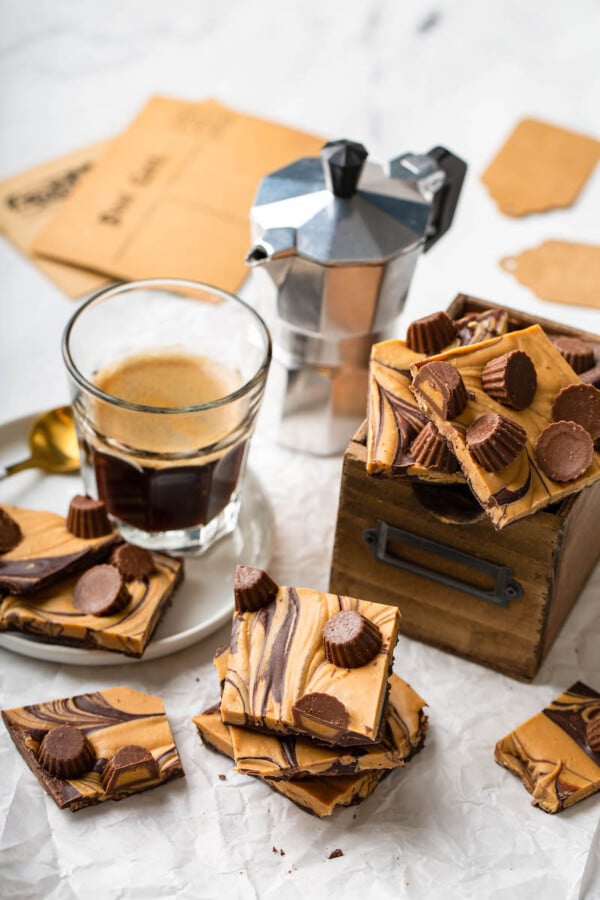
Dark chocolate is swirled with creamy peanut butter and topped with everyone’s favorite mini peanut butter cups to create this easy Chocolate Peanut Butter Bark! This bark makes a great edible gift and only takes 10 minutes to make!
Want to save this recipe?
Chocolate Peanut Butter Bark
Bark is one of my favorite treats, and chocolate and peanut butter is one of my favorite sweet flavor combinations. So, what’s a food blogger to do? Create the BEST chocolate peanut butter bark, of course.
So, what makes it the best? I’ve always been a big fan of candy, and I love incorporating my favorite candies into my recipes. Adding mini peanut butter cups to this recipe makes it 20 times more delicious than ever before.
We start with dark chocolate, but of course you could also use milk or white chocolate if you prefer. Then we swirl in some sweet and creamy peanut butter and top it with everyone’s favorite mini peanut butter cups!
Easy Edible Gift!
This Chocolate Peanut Butter Bark makes a perfect edible gift for the holidays! It takes only a few minutes to whip together and looks absolutely gorgeous, but even better it tastes delicious!
I usually wrap it in a little parchment paper and place it in one of those Christmas candy tins. This helps it stay fresh the longest in a nice airtight container!
How long will it stay fresh?
In an airtight container in the fridge, this bark will stay fresh anywhere from 2-4 weeks!
The candy topping lasts longer than toppings like pretzels, which tend to get stale pretty quickly. If you’d rather keep it at room temperature, you can keep it in an airtight container for up to 1 week.
Ingredients
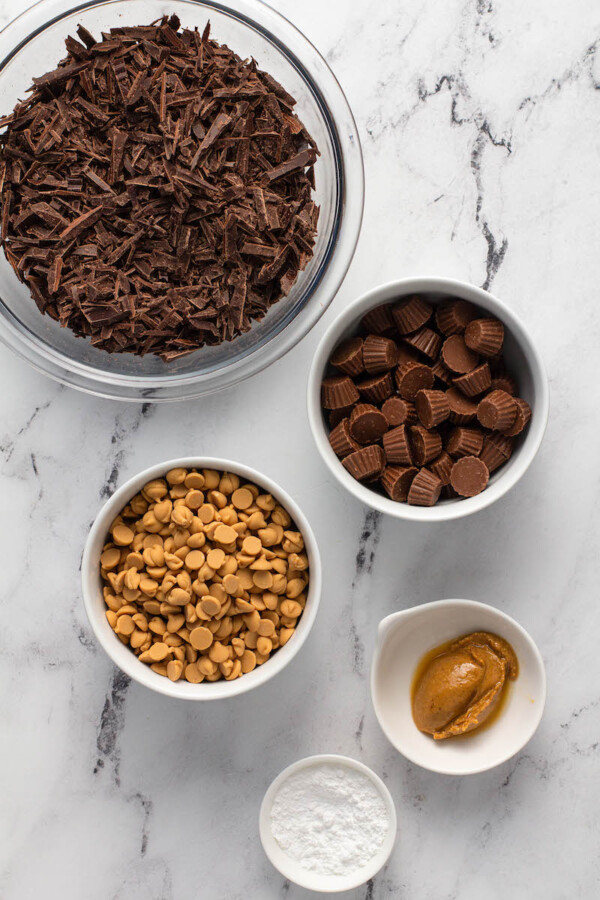
If I don’t have you sold already, listen up – this bark only takes 5 simple ingredients!
- Dark Chocolate
- Peanut Butter Chips
- Creamy Peanut Butter
- Powdered Sugar
- Mini Peanut Butter Cups
I usually love having my kids bake with me. With this recipe, however, I have to watch them like a hawk. They all try to sneak pieces of candy!
How to make Chocolate Peanut Butter Bark:
You only need 30 minutes out of your day to make this delectable dessert. The best part? It’s no bake!
Prepare the baking sheet. Line a large baking sheet with parchment paper or a silicone baking mat. Set aside.
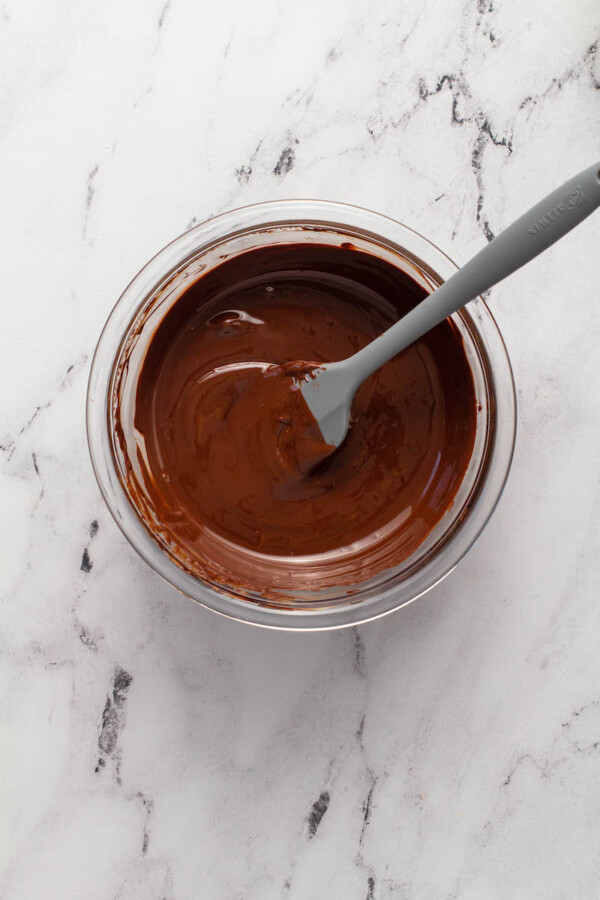
Melt the chocolate. Use a microwave safe bowl to melt the chocolate for about 45 seconds in the microwave. Stir the chocolate every 30 seconds. Do NOT skip this step! If you let the chocolate heat up too long without stirring, it will burn. Once it’s melted and totally smooth, set aside.
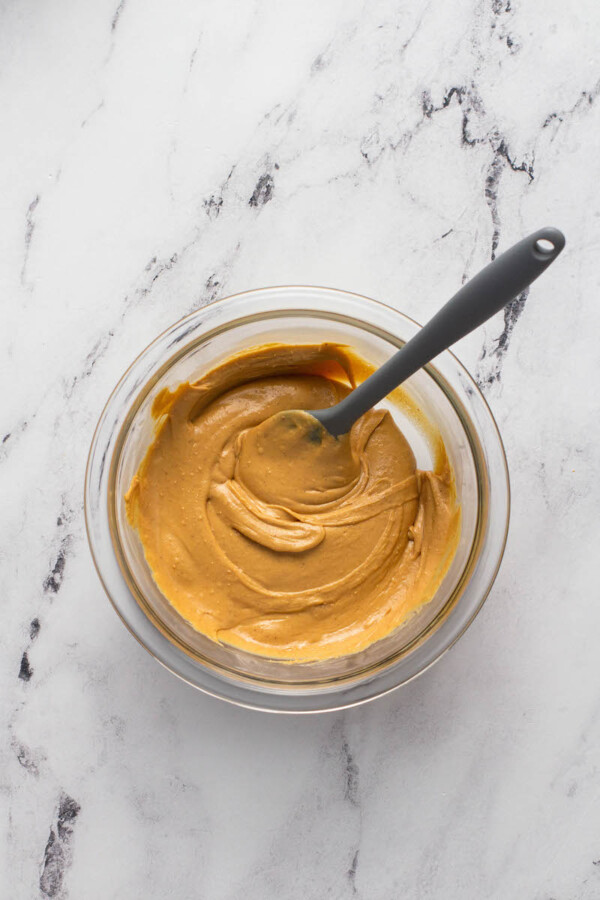
Combine the remaining ingredients. Combine the peanut butter chips and peanut butter in a small, microwave safe bowl. Melt in the microwave for 30 seconds at a time, stirring at each interval, until completely smooth and melted. Then, whisk in the powdered sugar.
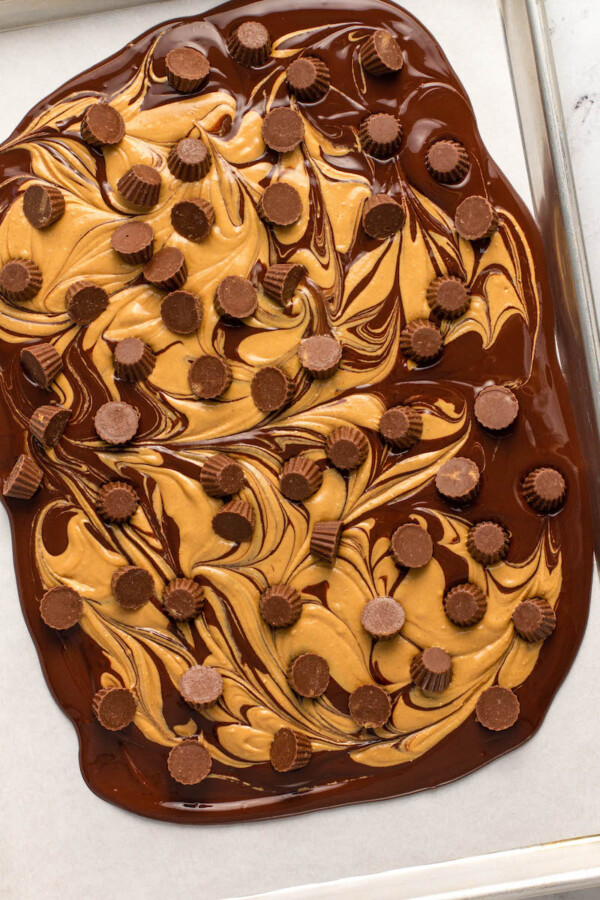
Pour the mixtures. Pour the melted chocolate onto a prepared baking sheet, spreading with a rubber spatula into a smooth layer. Then, drizzle the peanut butter mixture on top of the chocolate and drag a toothpick or knife through the two layers to form swirls. Sprinkle the top with mini peanut butter cups.
Cool. Allow the bark to set completely. You can speed up this process by popping it into the refrigerator for about 20 minutes. Once hardened, break it into pieces as large or as small as you want.
What should I serve this bark with?
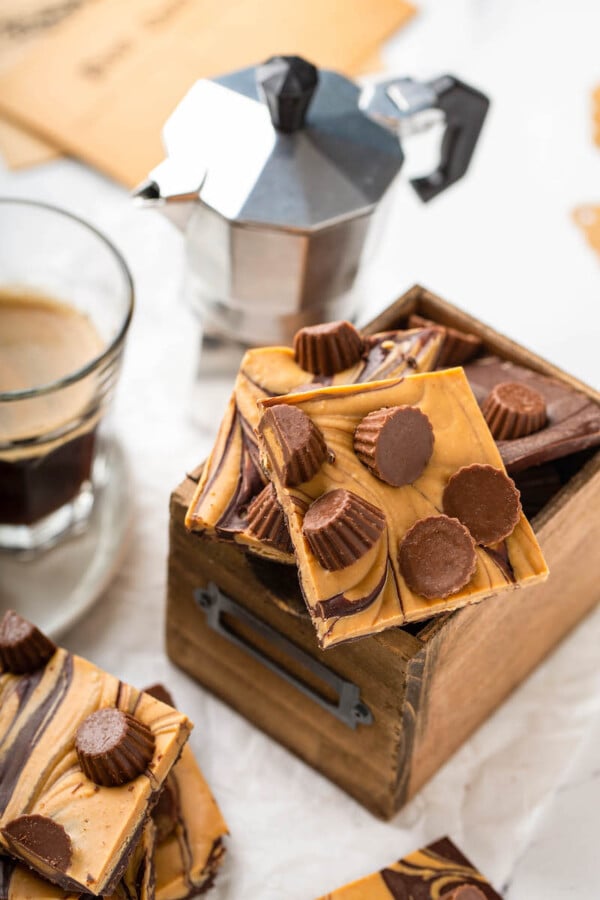
Ever since Jorge had a few pieces with his favorite espresso, he’s been begging me to make more! Of course, this bark is just as tasty all on its own, too.
If you’re enjoying this bark at home, you HAVE to try it with a cup of coffee. The flavors compliment each other in a truly magical way.
Looking for more homemade candy recipes?
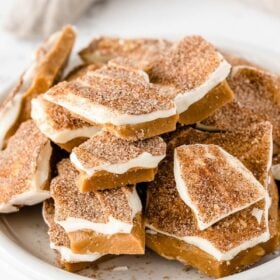
- Cinnamon Sugar Toffee
- Pecan Caramel Bars
- Reindeer Poop
- Almond Joy Truffles
- Pecan Christmas Crack
- Ritz Reese’s Cup Sandwiches
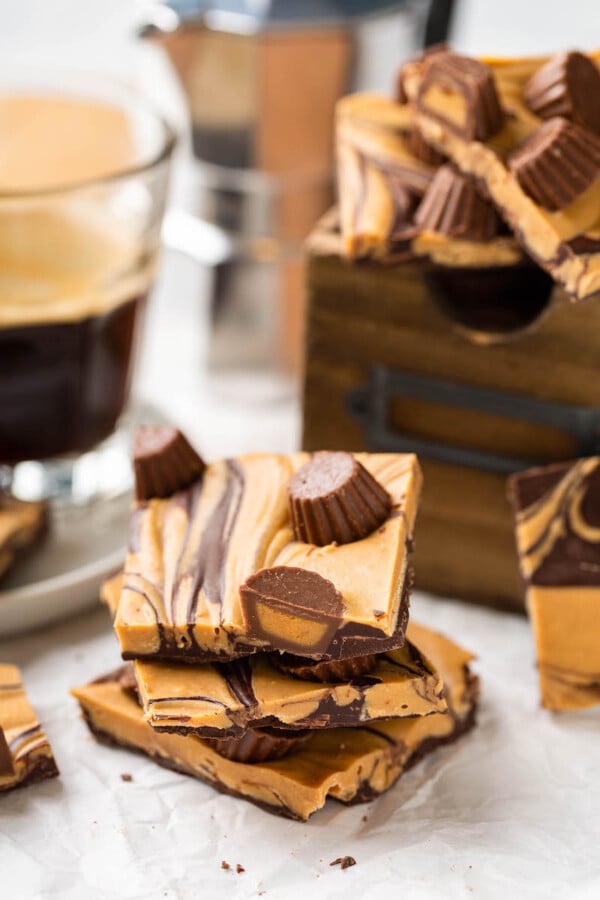
Try making this easy Chocolate Peanut Butter Bark for fun, as a present, or as a Christmas treat. After trying a piece of this bark, you’ll see why my family and I are so obsessed! I think next time I make a batch, I’ll double up on the ingredients. That way, I can actually get more than one piece!
Head on over to Dixie Crystals to get the full recipe I developed for them by clicking the button below:
Post may contain affiliate links. Read my disclosure policy.

