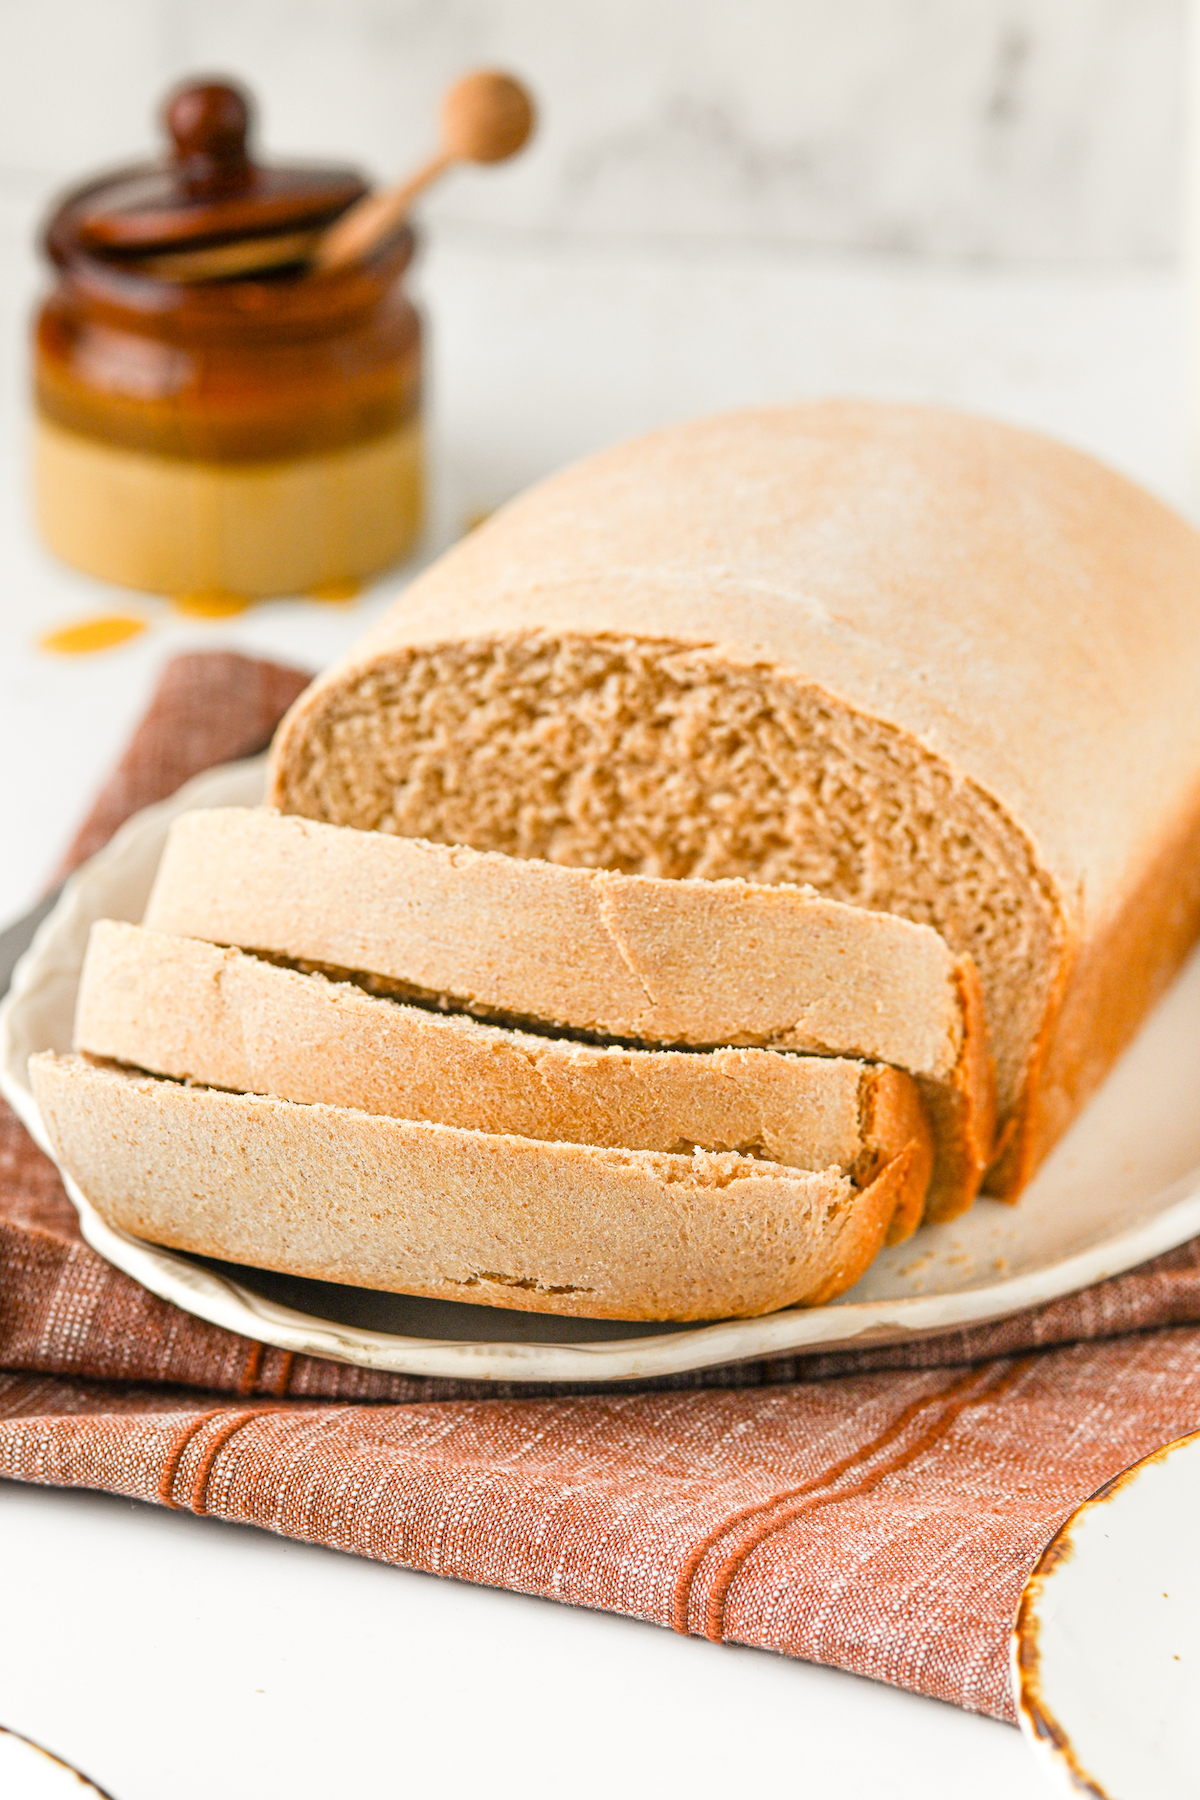
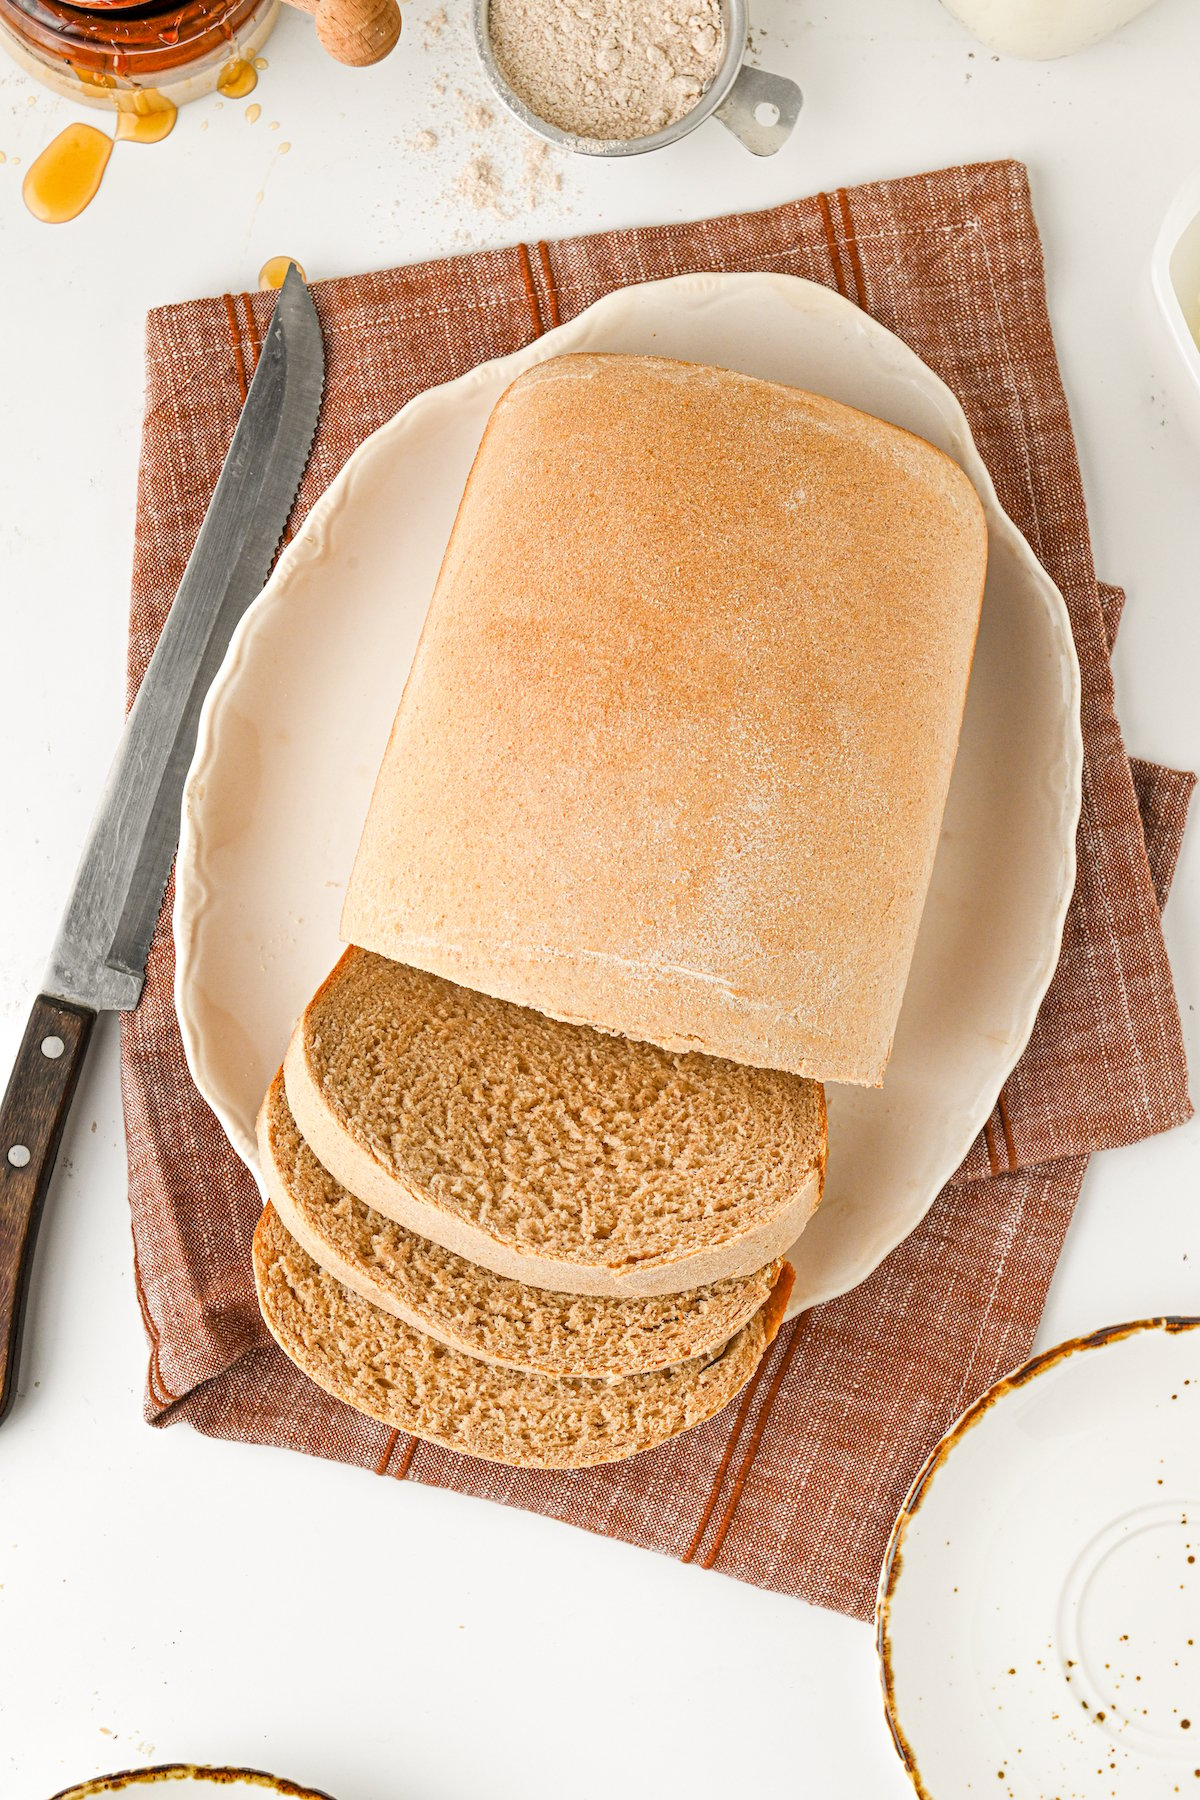
Soft, tender, fluffy Honey Wheat Bread is baked to a lovely golden brown, with a nice crisp crust. This bread is wonderful as a snack, breakfast, side dish, and more!
Want to save this recipe?
What You’ll Love About This Honey Wheat Bread Recipe
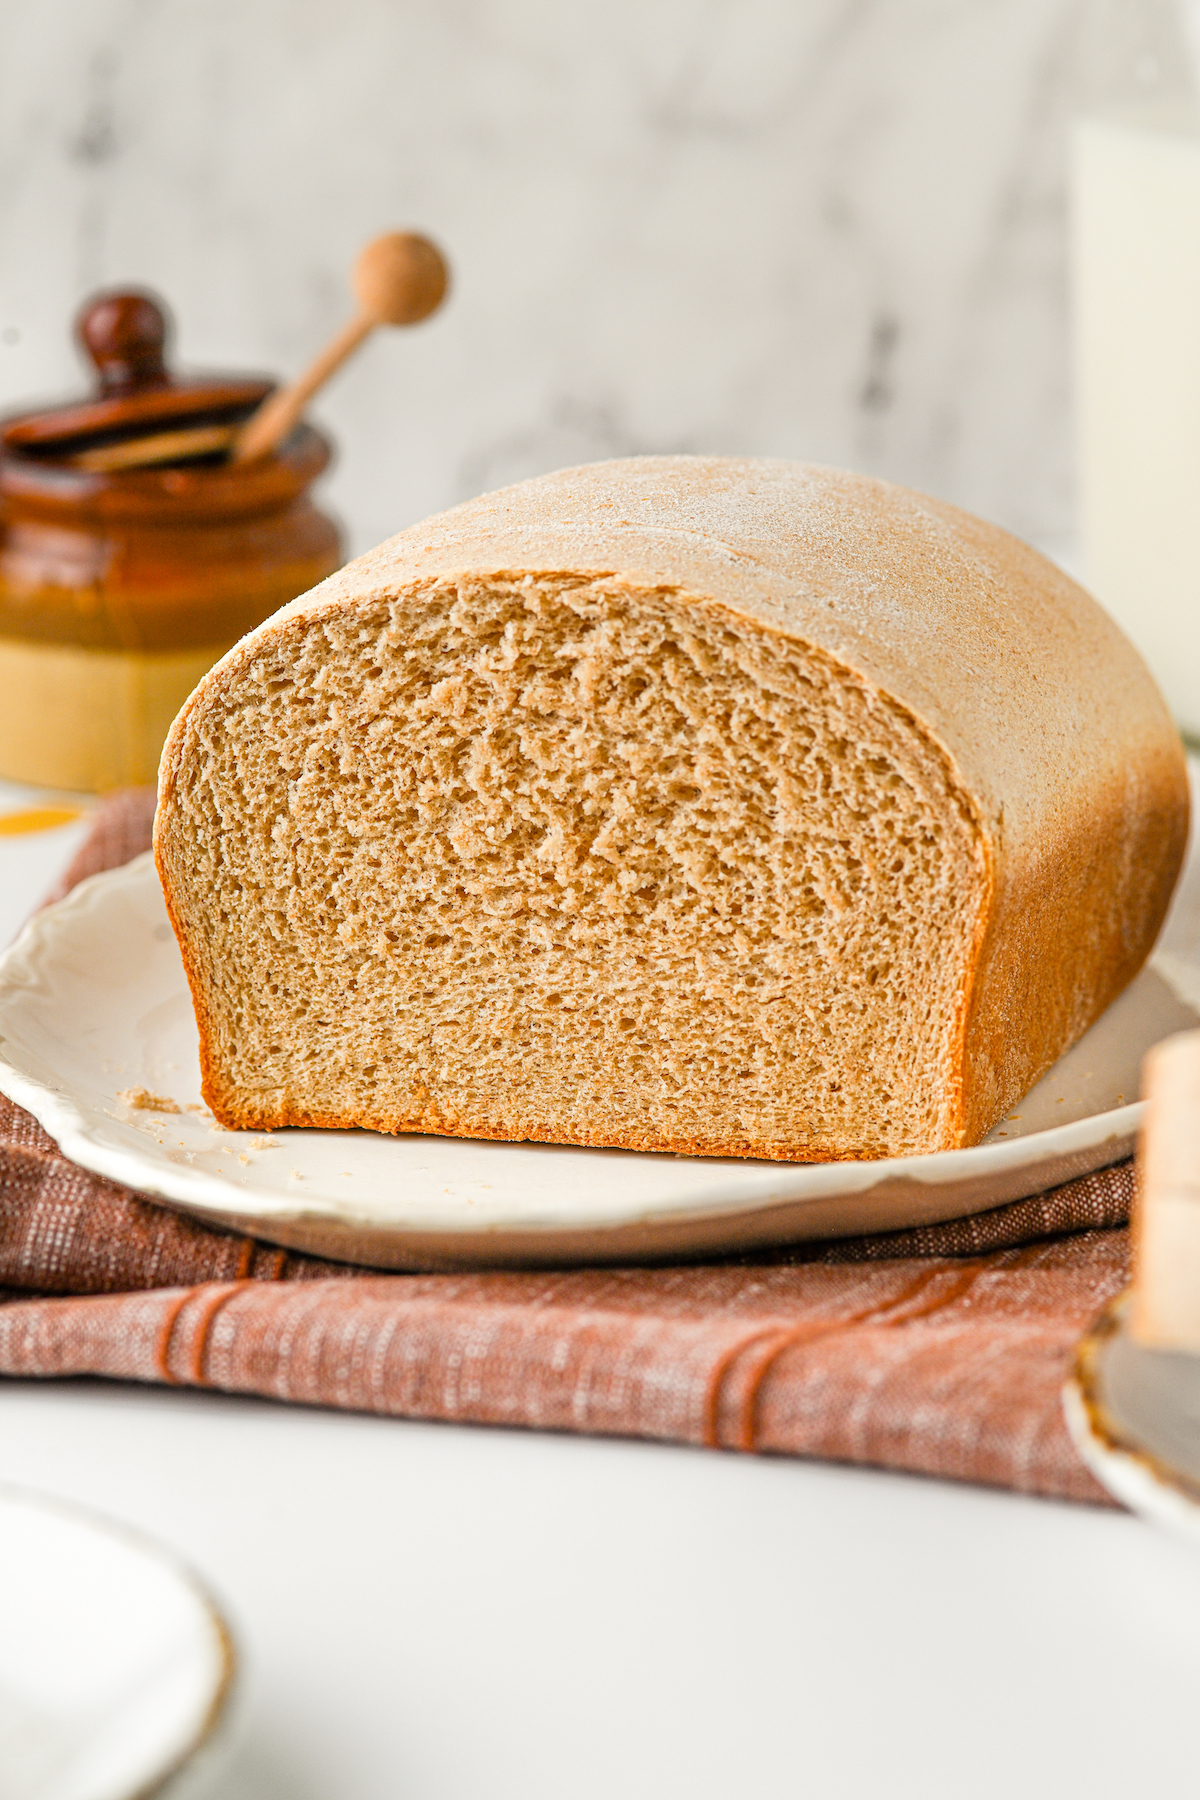
- Flavor: This honey wheat bread has a wholesome, slightly sweet, and nutty flavor, which gives it a special depth and coziness.
- Nutrition: Whole wheat flour provides more nutrients and fiber compared to refined flour, making it a great option for baking! And using natural honey for sweetening reduces the need for processed sugar.
- Texture: Using honey helps retain moisture in the bread, resulting in a soft, tender crumb.
- Versatility: You can use this honey wheat bread for sandwiches, toast, and as a side dish.
If you love homemade bread with a little sweetness, make sure to check out my favorite homemade cinnamon swirl bread, this sweet and tender Puerto Rican Mallorca bread, quick and easy buttery beer bread, or this easy cinnamon bread made with store bought frozen bread dough.
What Is Honey Wheat Bread Made Of?
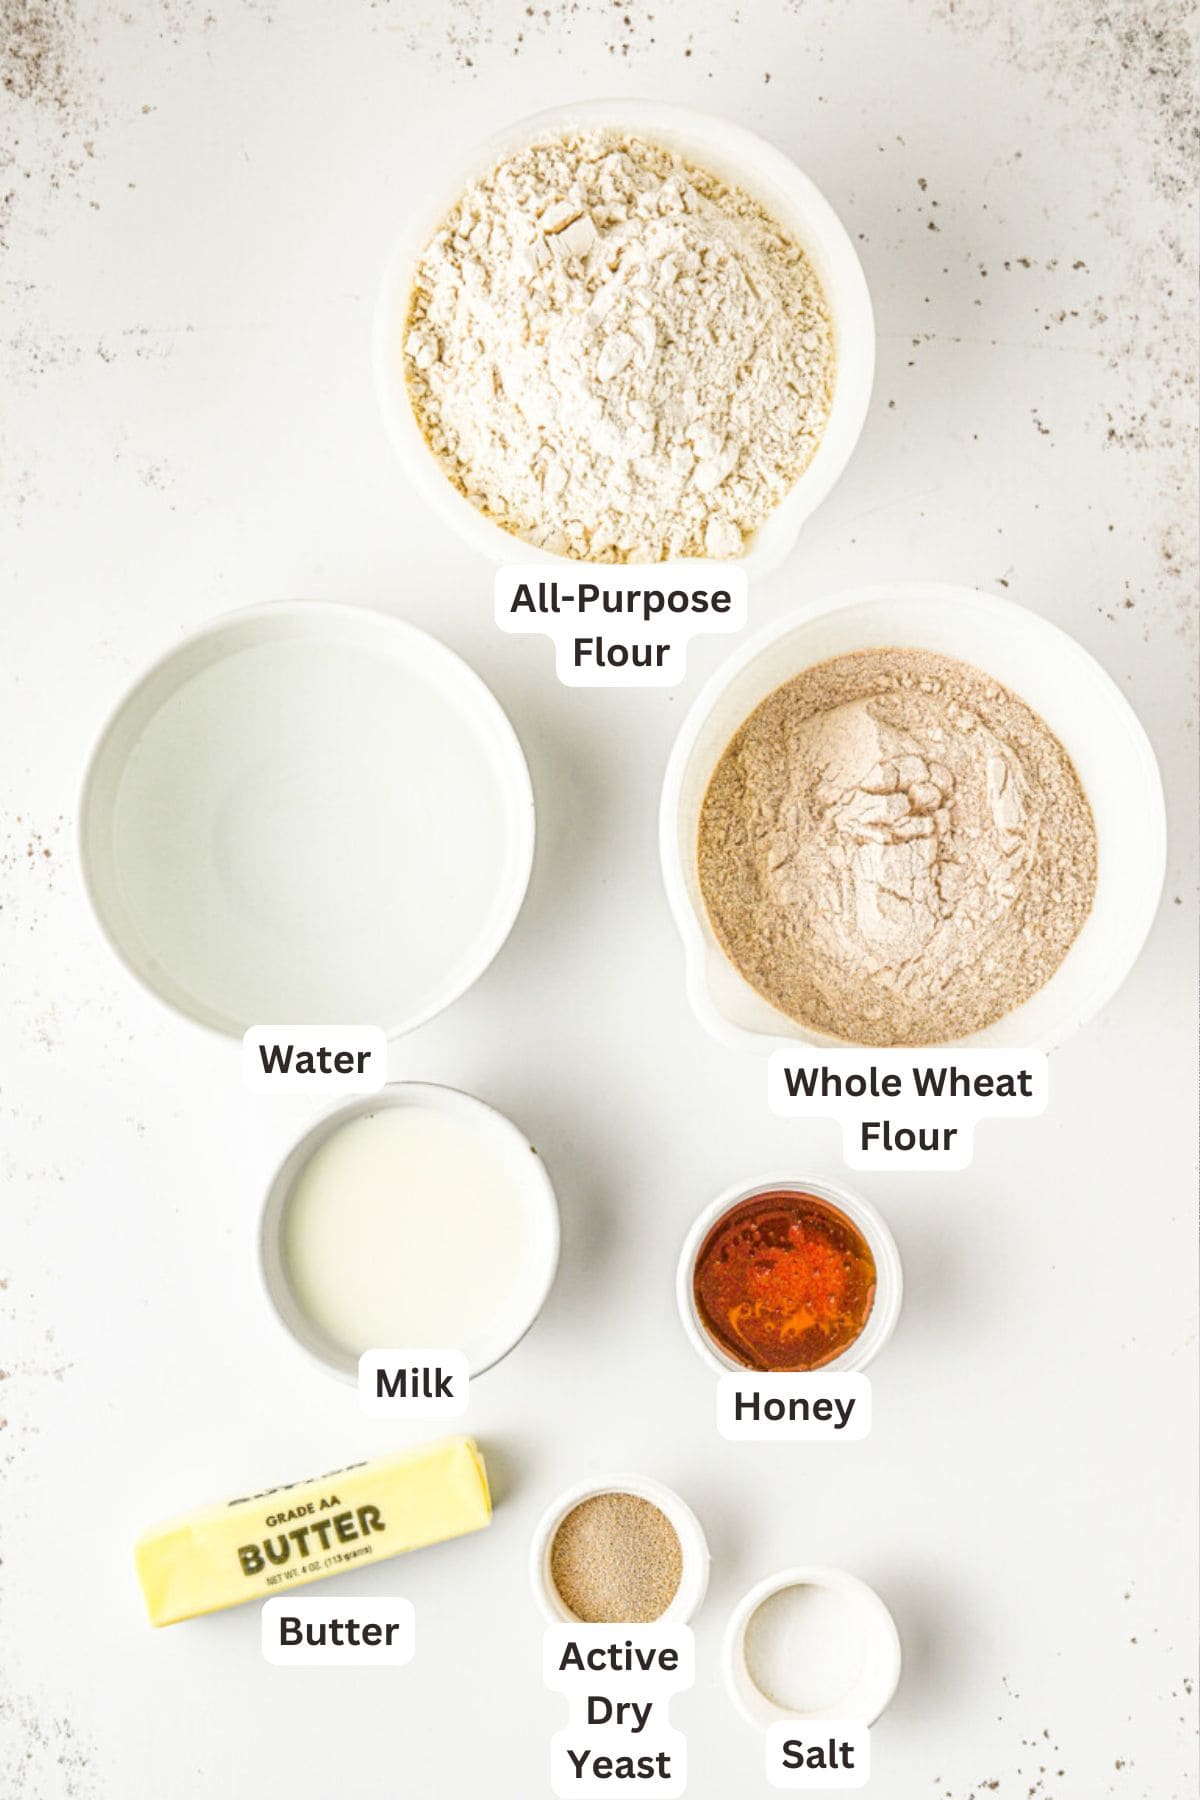
So what will you need to make this honey wheat bread? Just a few basic pantry staples. Here’s the list:
- Water and Milk: To dissolve and activate the yeast, these should be warm (not hot).
- Yeast: Regular active dry yeast is fine.
- Honey: Some for activating the yeast, and more for the dough.
- Flour: For the best texture, you’ll need both whole wheat flour and regular all-purpose flour. This recipe uses slightly more whole wheat flour than all-purpose.
- Butter: Softened to room temperature.
- Salt
How to Make Honey Wheat Bread
If you’re familiar with bread baking, you’ll recognize these steps right away. It’s a simple process: knead, rise, shape, rise, and bake.
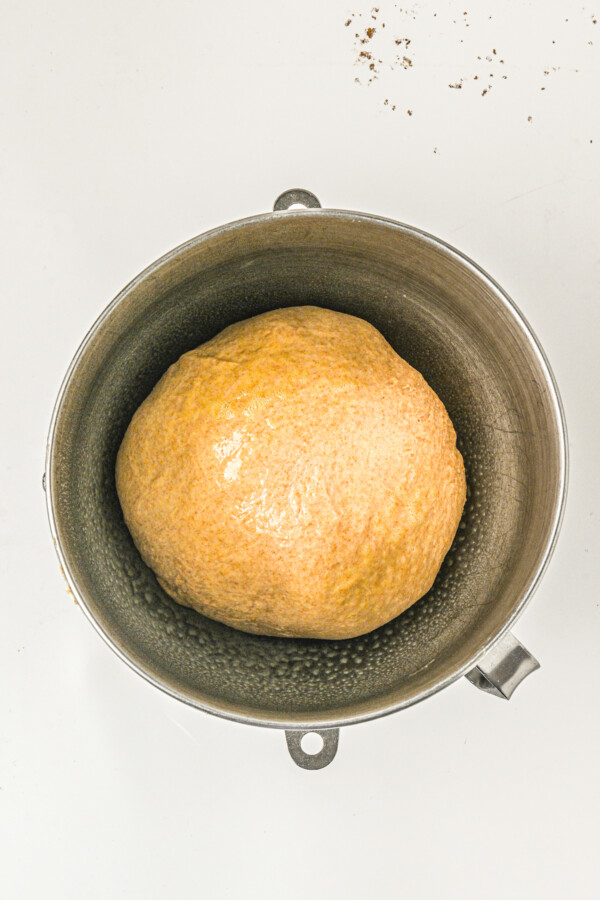
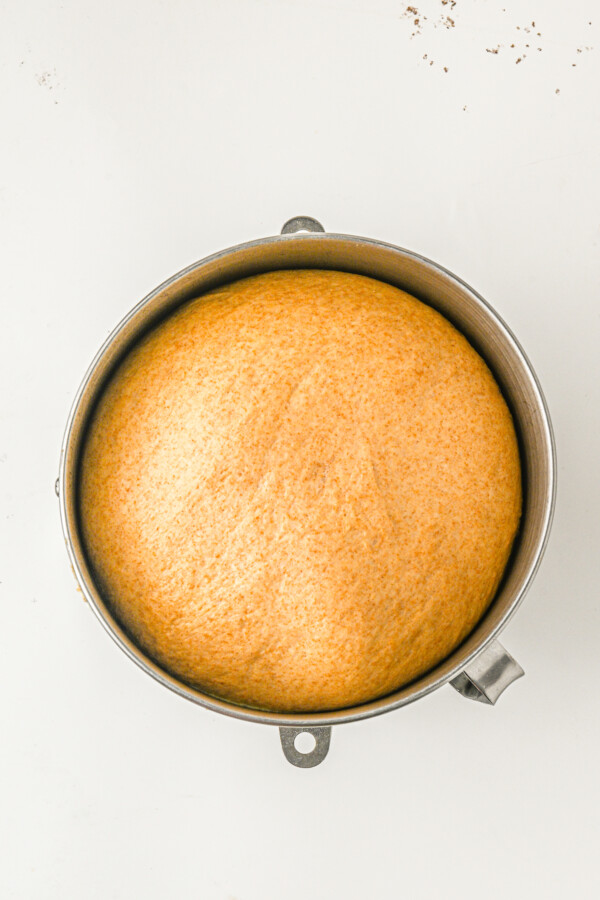
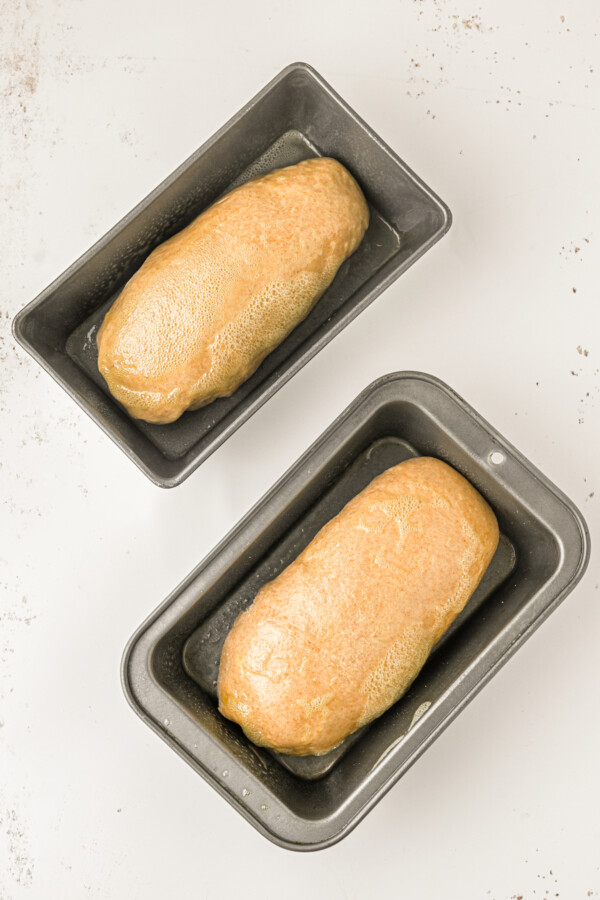
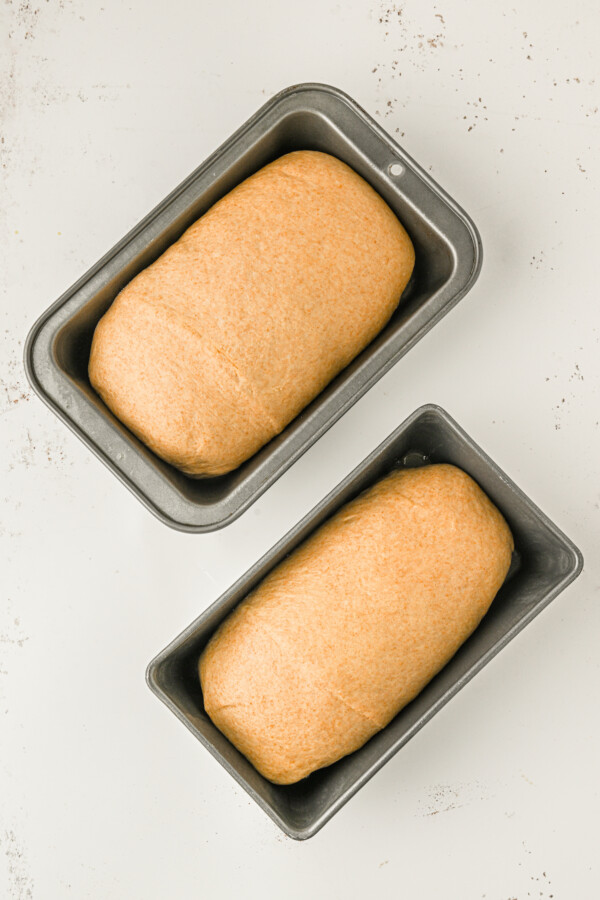
- Make the Dough. Prove the yeast in the water and milk with a little honey. Then mix in the rest of the ingredients, and knead into a smooth dough.
- First Rise. Place the kneaded dough in a greased bowl, cover it, and let it rise until doubled.
- Shape the Loaves. Split the dough in half, and shape each into a loaf. Put them into greased loaf pans.
- Second Rise. Let the loaves rise until puffy.
- Bake! Bake the risen loaves for about 40 minutes, or until done. Cool completely before slicing and serving.

Helpful Tips
I love getting tips and tricks for my baking recipes, don’t you? A few helpful tips can make all the difference. These are the most important things I’ve learned about baking honey wheat bread.
- Room Temperature Butter: It is best to use room temperature butter for this recipe, as it will be able to be worked into the dough smoothly. The butter should be soft enough to be easily pliable, but still firm enough to hold its shape. For best results, set the butter out on the counter about an hour before making this bread.
- Water and Milk Temperature: When working with yeast-based recipes such as this one, it’s important to make sure you are using the correct temperature of water/milk. If the liquids are too hot, they will kill the yeast. Too cold, and the yeast won’t be able to activate, resulting in a dough that will not be able to properly rise. The ideal temperature is between 105°F – 110°F.
- Rising Times: Depending on the temperature of your kitchen, you may need to let the dough rise for more or less time than instructed for the rise times. For the first rise, you want the dough to be doubled in size, but not much under or over. For the second rise, you are looking for nice puffy loaves.
Serving Suggestions
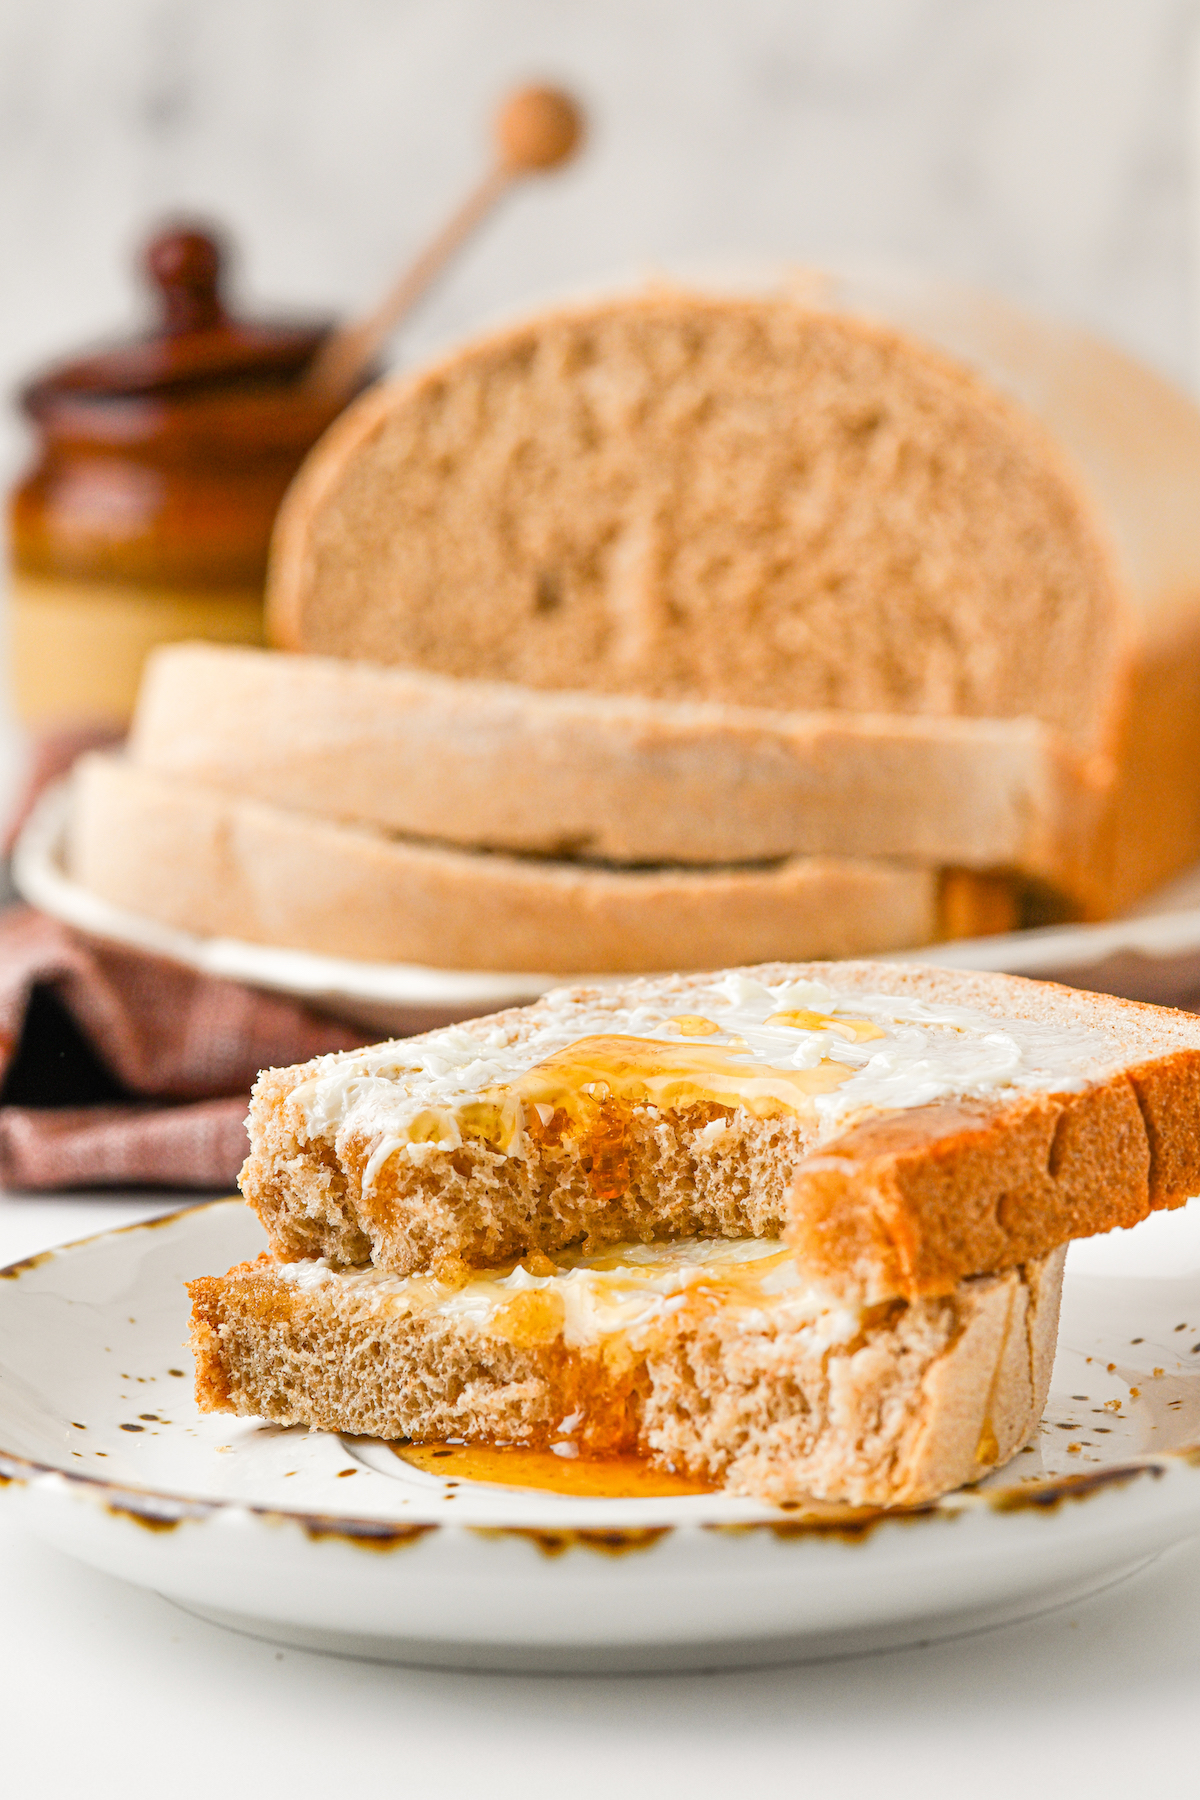
You can enjoy this bread with everything from a bowl of hot soup to a slathering of your favorite homemade jam. It’s so good with everything! These recipes are just perfect with homemade honey wheat bread.
- Vegetable Soup: This Instant Pot Vegetable Soup is wonderful in cold weather, and so easy to make. Serve it with bread and butter for a satisfying lunch or dinner.
- Homemade Jam: Any homemade jam is amazing on honey wheat bread (especially if there’s a little butter on there too, am I right?). One of our favorites is Chia Cherry Jam, which is gorgeous and easy to make. A little homemade Nutella or lemon curd would also be delicious spread on top!
- Eggs: Toast and eggs are a pretty standard breakfast in our house. Sometimes my kids make scrambled egg sandwiches with their eggs, toast, and a little bit of mayo or butter. This tutorial shows you How to Make Scrambled Eggs: 4 Ways. Doesn’t get easier than that!
Storing Honey Wheat Bread
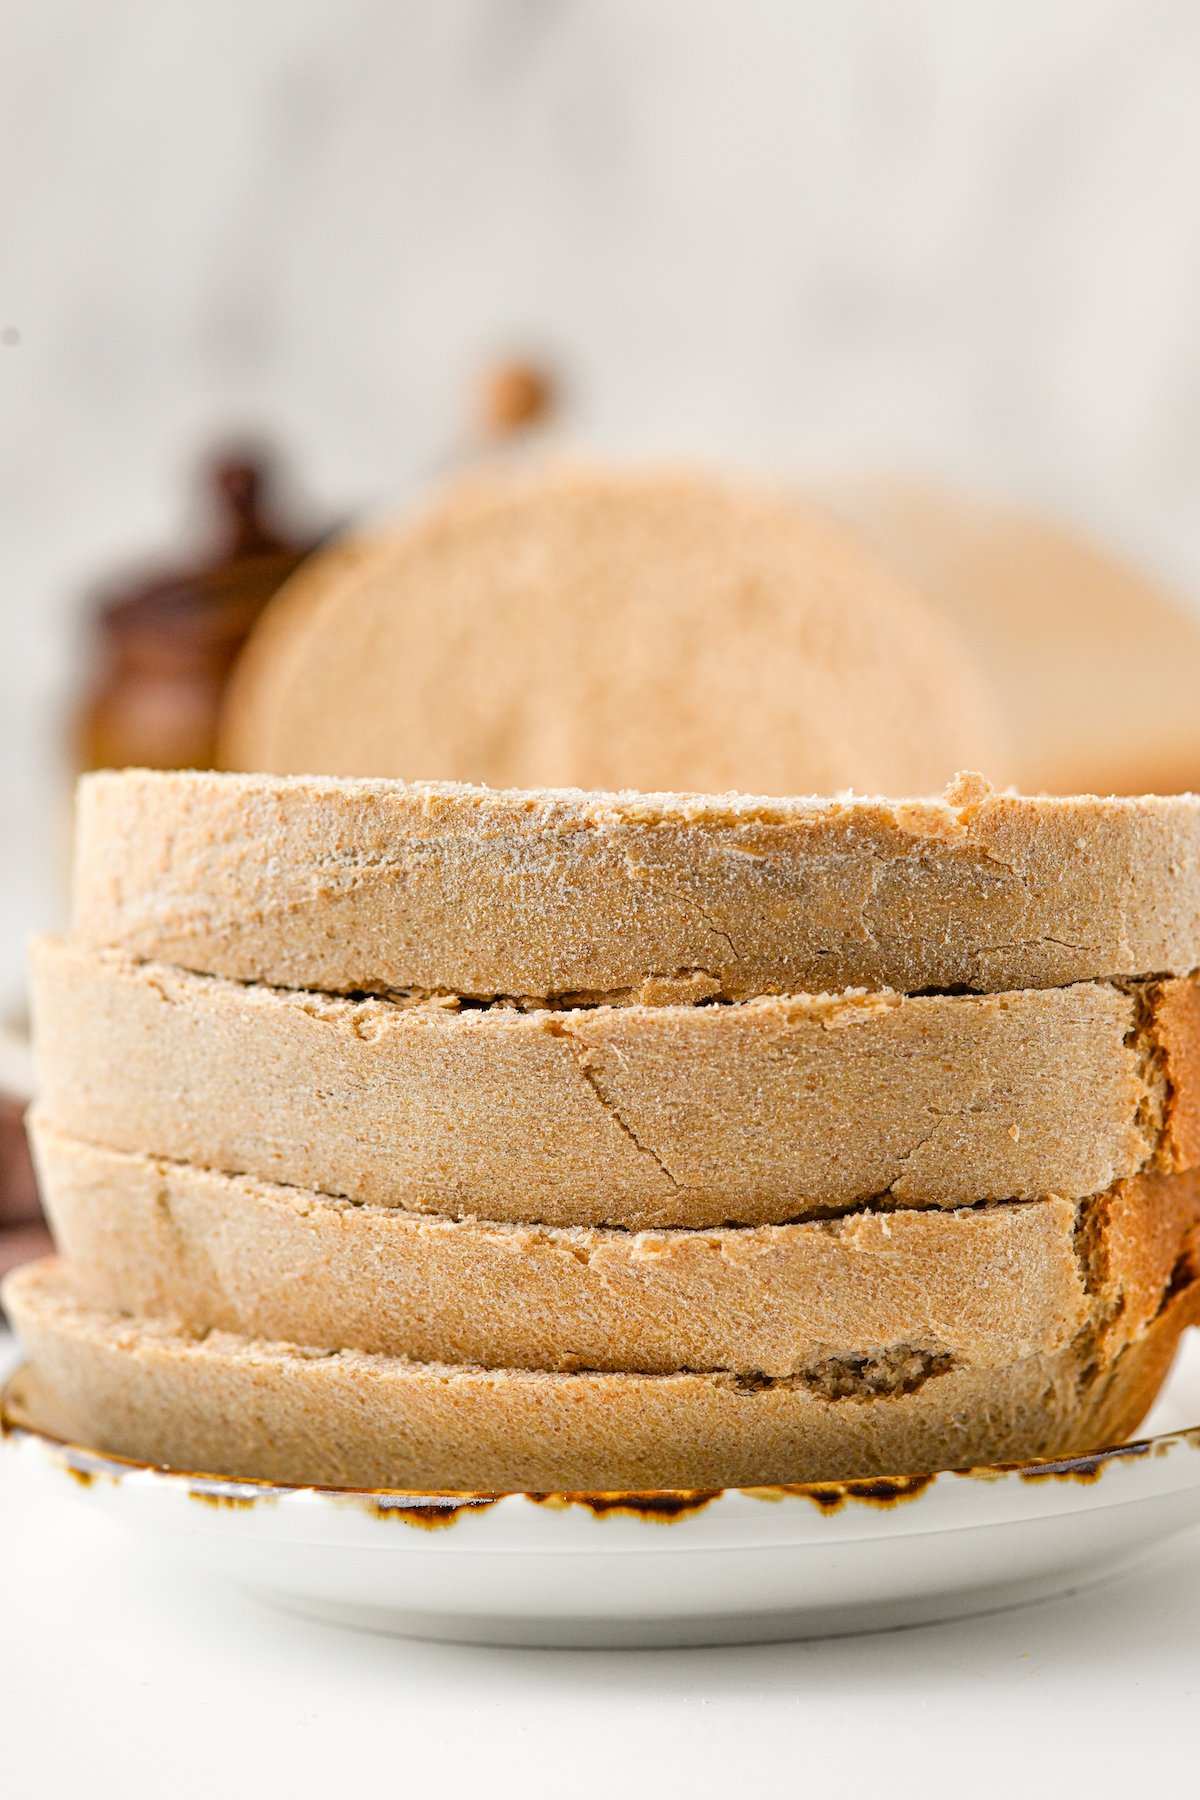
To store your homemade bread, wrap it in foil, in an airtight container, or in a ziplock bag, and store it at room temperature. It’s important to store your bread in something airtight to maintain the moisture in your bread. Honey wheat bread may be stored this way for up to 5 days.
During storage, the bread will lose the crisp outside and become softer as the moisture in the bread moves toward the surface. If you like the crisp edges, you can always toast it lightly before serving.
Can I Freeze This?
Sure! You can freeze honey wheat bread by cooling it completely and then sealing it in a double layer (such as a layer of foil followed by a zip-top bag, or a layer of plastic wrap followed by a layer of foil). Then mark it with the date, and freeze it for up to six months. Thaw to room temperature before slicing and serving.
More Homemade Bread Recipes
Honey Wheat Bread
Ingredients
- 1 ½ cup warm water
- ⅔ cup warm milk
- 1 ½ tablespoons active dry yeast
- ⅓ cup + 2 tablespoons honey, divided
- 2 ¾ cup whole wheat flour
- 2 teaspoons salt
- 2 cups all-purpose flour
- ½ cup salted butter, room temperature
Want to save this recipe?
Instructions
- In the bowl of a stand mixer, fitted with a whisk attachment, combine the warm water, warm milk, yeast and 2 teaspoons of honey. Lightly whisk together to combine, then let the mixture sit for 5 minutes until bubbly and frothy.
- Once the mixture has proofed, add in the remaining honey and whisk together. Swap the attachment to a dough hook, then add in the whole wheat flour and salt. Knead until combined.
- Add in the all purpose flour and knead on medium speed until the dough starts to come together. Add in the butter and knead for 6-8 minutes on medium speed, until a smooth, somewhat firm dough forms.
- Once the dough has been kneaded, remove it from the mixing bowl and roll it into a ball. Grease the mixing bowl well, then place the dough back inside. Cover with plastic wrap and let rise for 1 hour, until doubled in size.
- Once doubled in size, transfer the dough onto a clean, lightly floured surface. Split in 2, then roll each dough piece into a loaf shape and pinch the seams together. Place the loaves into well greased loaf pans, then let rise for about 30 minutes until puffy.
- Preheat the oven to 350°F.
- Once the loaves have risen, place them into the preheated oven on the center rack. Bake bread for 40 minutes, until baked through and golden on top. Once baked, remove from the oven and place onto a wire cooling rack to cool completely before slicing.
Notes
Nutrition
Categories:
Post may contain affiliate links. Read my disclosure policy.







Can you make this in a bread machine?
Hi Erika! I’m sorry, but I have never personally used a bread machine and am not sure. I know generally bread machines need to use rapid rise or bread machine yeast, so if you do try it, I’d recommend swapping the type of yeast.