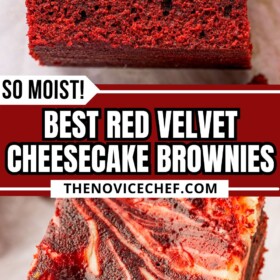
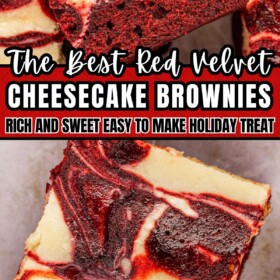
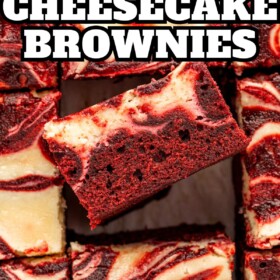
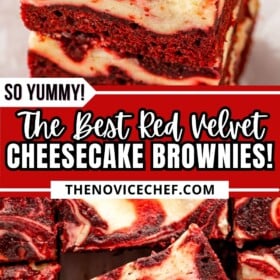
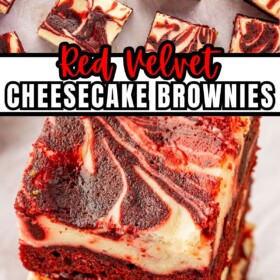

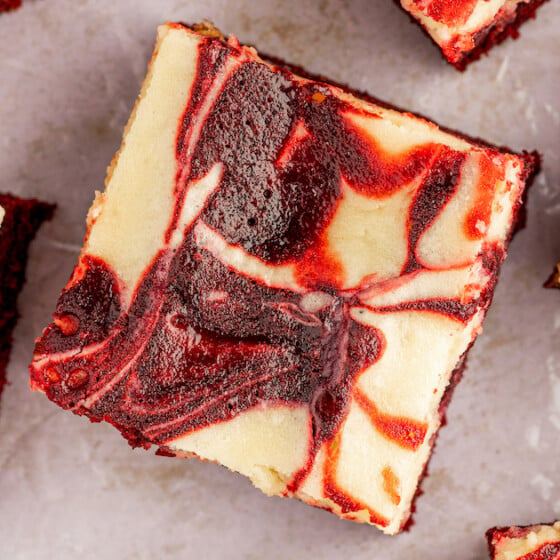
These fudgy red velvet cheesecake brownies are a combination of three of your favorite desserts: red velvet cake, cheesecake and brownies. Sweet and creamy cheesecake is swirled into moist red velvet brownies creating a stunning dessert perfect for Christmas or Valentine’s Day!

Why I Love This Cream Cheese Red Velvet Brownies Recipe
No one ever rejects brownies, red velvet, or cheesecake… and this recipe has all three! I originally made these brownies as a little Valentine’s Day treat for the kids. Since then, I’ve made them several more times because brownies this good shouldn’t be enjoyed only once a year! The best part is that these red velvet brownies with cream cheese swirls aren’t just scrumptious, they’re also picture perfect. Whip them up when you feel like showing off! Here’s why I have big heart eyes for them:
- Fudgy: Cream cheese, cocoa powder and butter create an irresistibly rich and fudgy texture.
- Sweet and Tangy: The combination of a cocoa-based red velvet brownie batter plus a tangy cream cheese mixture means the flavors are perfectly balanced.
- Simple To Make: Beat to combine the brownie batter and cheesecake batter and swirl them together and bake. While there are a few steps, each is quick and simple to do!
- Holidays: Red food coloring makes these festive and fudgy red velvet brownies an ideal dessert for Christmas and Valentine’s Day. Package them in a cute bag or box for a delightful little gift.
If you love red velvet desserts, make sure to try my impressive layered red velvet cake, easy red velvet crinkle cookies and decadent red velvet cupcakes.
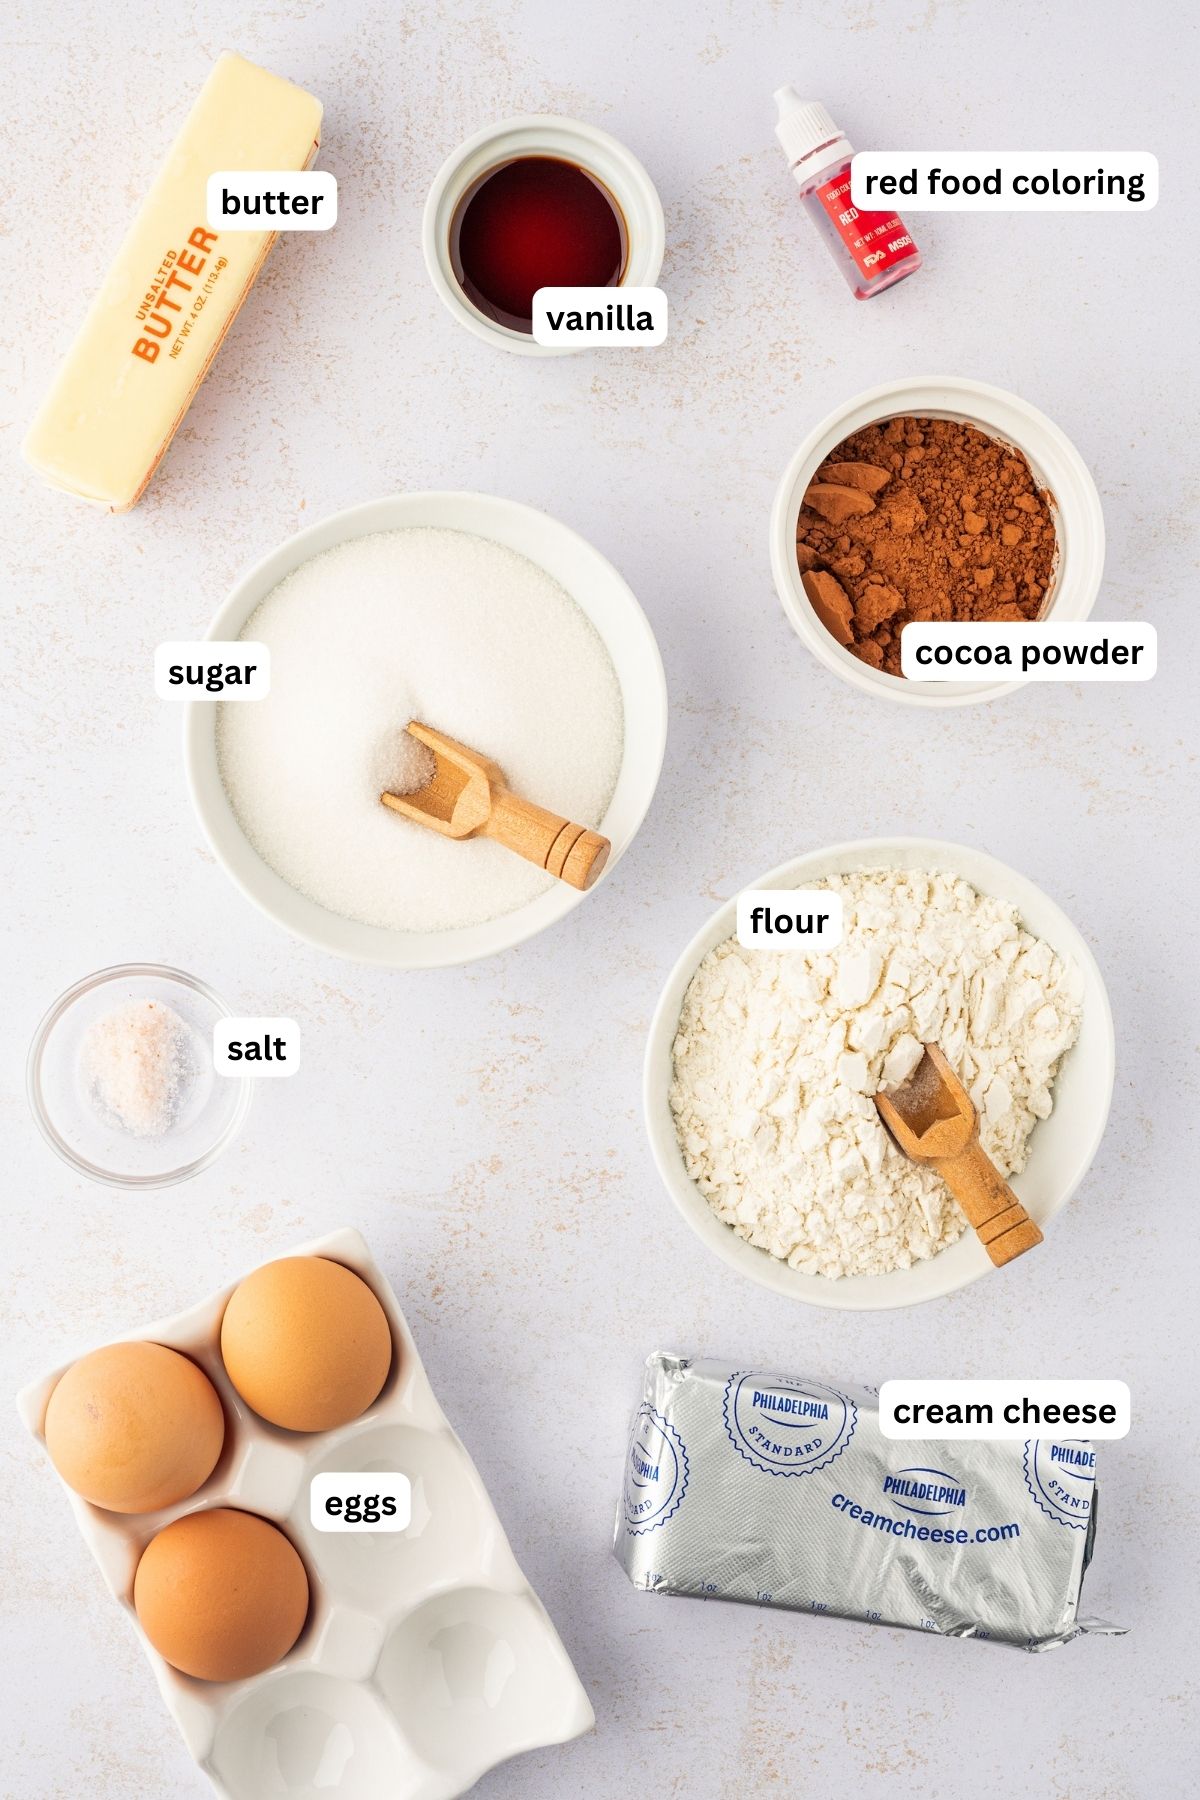
Key Ingredients
Red food coloring is a must for this red velvet brownie recipe or it’s will not have that signature red velvet look! Scroll down to the recipe card below for the full ingredient list and exact amounts!
- Flour: I use all-purpose flour. Avoid cake flours because it’ll make the brownies airier and cakey.
- Cocoa Powder: I used Dutch process cocoa powder for a darker and more intense chocolate flavor, but unsweetened cocoa powder will also work.
- Unsalted Butter: If you use salted butter, only add 1/4 teaspoon additional salt to the batter.
- Granulated Sugar: Light brown sugar works too for the brownies, but only use granulated sugar for the cheesecake filling.
- Red Gel Food Coloring: Liquid food coloring works too, but you’ll need to add 2 to 3 times more to get the same color intensity.
- Cream cheese: Full-fat or low-fat are okay, but full-fat will make them creamy.

How to Make Red Velvet Cheesecake Brownies
It’s just like making regular brownies, but you swirl of cheesecake on top before baking. Below is a quick recipe overview, but please scroll to the recipe card at the bottom of this post for full instructions.


- Dry Ingredients: Combine the flour, cocoa powder, and salt in a large bowl. Set aside.
- Wet Ingredients: Whisk the melted butter and sugar in a separate bowl, then add the eggs one at a time. Add the vanilla extract, food coloring, and dry ingredients. Mix well.
- Cheesecake Filling: Beat the cream cheese and egg in a bowl until smooth. Then add the sugar and vanilla, beating until creamy.
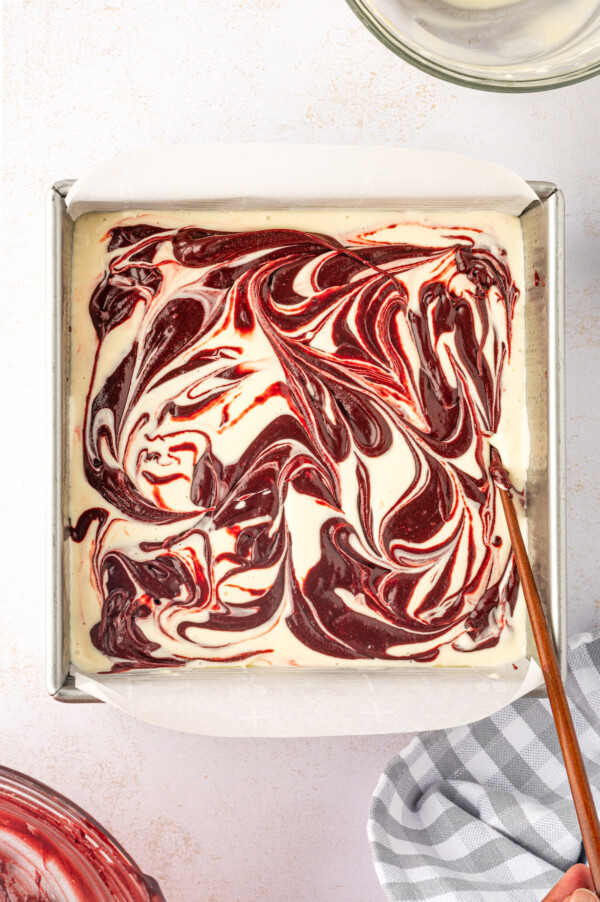

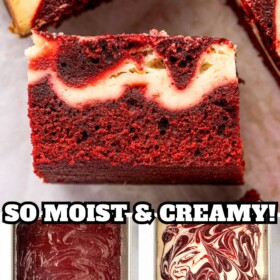
- Swirl: Pour the red velvet batter into the prepared baking pan with parchment paper, reserving ⅓ cup. Top batter with the cheesecake mixture. Then drop dollops of the reserved batter on top and create swirls using a toothpick or knife.
- Bake: Bake the brownies in a preheated oven until a toothpick inserted in the center comes out clean, or with a few crumbs. Remove from the oven and allow to cool completely, then slice and serve!

Chef’s Tips and Variations
- Festive shapes: Use cookie cutters to cut the cooled brownies into Christmas trees, santa hats, hearts, or your favorite shapes for different holidays.
- Baking pan: A non-stick 8×8 metal baking pan is your best bet at perfectly baked brownies. Glass pans take longer to heat up and will increase the baking time. The bottom usually ends up over cooked while the center is under cooked.
- Christmas colors: Add 1 to 2 drops of green food coloring into the cheesecake batter to make your brownies extra Christmas-y.
- Add-ins: Stir 1/2 cup of chopped pecans, chocolate chips, white chocolate chips, crushed peppermints, or even mini pretzels into the batter for extra flavor and texture. You can also sprinkle them on top before baking.
- Bang the tray: If the cheesecake layer is uneven when you pour it in, bang the baking pan against the counter 3 to 4 times to help the mixtures settle before baking.
- Cool the knife: Pop the knife into the freezer for 20 minutes before slicing. It helps make cleaner cuts. Dip the knife into ice water in between each cut. Another trick is to use a plastic disposable knife to make cleaner cuts.


Red Velvet Cheesecake Brownies
Ingredients
- ¾ cup all-purpose flour
- 3 tablespoons Dutch processed cocoa powder, or unsweetened cocoa powder
- ½ teaspoon salt
- ½ cup (1 stick) unsalted butter, melted
- ¾ cup granulated sugar
- 2 large eggs, room temperature
- 1 tablespoon vanilla extract
- 5-6 drops red gel food coloring
Cream Cheese:
- 8 oz cream cheese, room temperature
- 1 large egg, room temperature
- ¼ cup granulated sugar
- ½ teaspoon vanilla extract
Want to save this recipe?
Instructions
- Preheat the oven to 350°F. Grease an 8×8 square metal baking pan with cooking spray and line it with parchment paper. Set aside.
- In a medium bowl, combine the flour, cocoa powder, and salt. Mix well and set aside.
- Whisk to combine the melted butter and sugar for 1 minute. Add the eggs one at a time to the butter mixture, beating for 2 minutes until well combined. Next, add the vanilla extract and red food coloring.
- Add the dry ingredients and combine using a spatula until they are evenly incorporated. Set the red velvet batter aside.
- Prepare the cream cheese batter by beating the cream cheese and egg together until smooth. Add the sugar and vanilla, and beat for an additional minute until creamy.
- Pour the red velvet batter into the prepared pan, reserving ⅓ cup of the batter.
- Next, pour the cream cheese cake batter over the red velvet layer as evenly as you can. Then add the ⅓ cup reserved red velvet batter in dollops on top. Create beautiful swirls using a chopstick or toothpick.
- Bake the brownies for 30 to 35 minutes, or until the top looks shiny and a toothpick inserted in the center comes out with a few crumbs.
- Allow the red velvet cream cheese brownies to cool. Then cut into equal squares and serve.
⭐️ Tried this recipe? Leave a comment and rating! It only takes a minute and helps support our family-run blog. ❤️
Notes
Video
Nutrition
Categories:
More Brownie Recipes To Try
- Lemon Brownies – Chewy, glazed, and impossible to eat just one of.
- Homemade Brownies – These classic brownies are better than any box mix.
- Salted Caramel Brownies – Made in one bowl totally from scratch.
- Mint Brownies – My favorite way to dress up brownie mix.
Post may contain affiliate links. Read my disclosure policy.

Wow, these were delicious!
Must try these, they look absolutely delicious!
thank for sharing. so pretty..unique.. i will try
These are so pretty! And that balloon style presentation is too cute! I can’t wait to make these with my daughter. Pinning now:)
wonderful recipe. I really love it. Loved them.
Thanks For sharing amazing recipee
Thanks for sharing this food recipe like it
I made these for my boyfriend for valentines day this year! I cant wait to give them to him — they looked and smelled incredible! Thank you so much for the recipe — will definitely be back to try more!
CONGRATULATIONS YOUR BEAUTIFUL BLOG… VERY NICE!!!!
Excelent!!!! delicious
wow amazing brownies… yumy
These are all kinds of awesome!
simply delicious … congratulations for the blog
Nice Article! Thank´s for sharing this tips 😉
Great recipe, delicious
I loved it! Yours recipes are great and delicious!
Good recipe! Delicious!
hi, my batter was pretty liquid even though i put more flour; then I doubled red colouring doze and still got it brown due to cocoa; can you confirm the ingredients, what you actually mean with a cup? for me it is 220ml; thx for connfirming as really want to make it work 🙂
They taste so good!!
I used your recipe, but in addition to hearts I used templates of stars and clouds. They are delicious and very beautiful for the decoration of parties and receptions. I love the website recipes.