Perfect the art of Homemade Pie Crust with this easy recipe! Tender, flaky pie crust only requires a few pantry ingredients and about an hour in the kitchen. I’m sharing my tips to make the ultimate buttery crust to use with all your favorite pie recipes! It’s easier than you think.
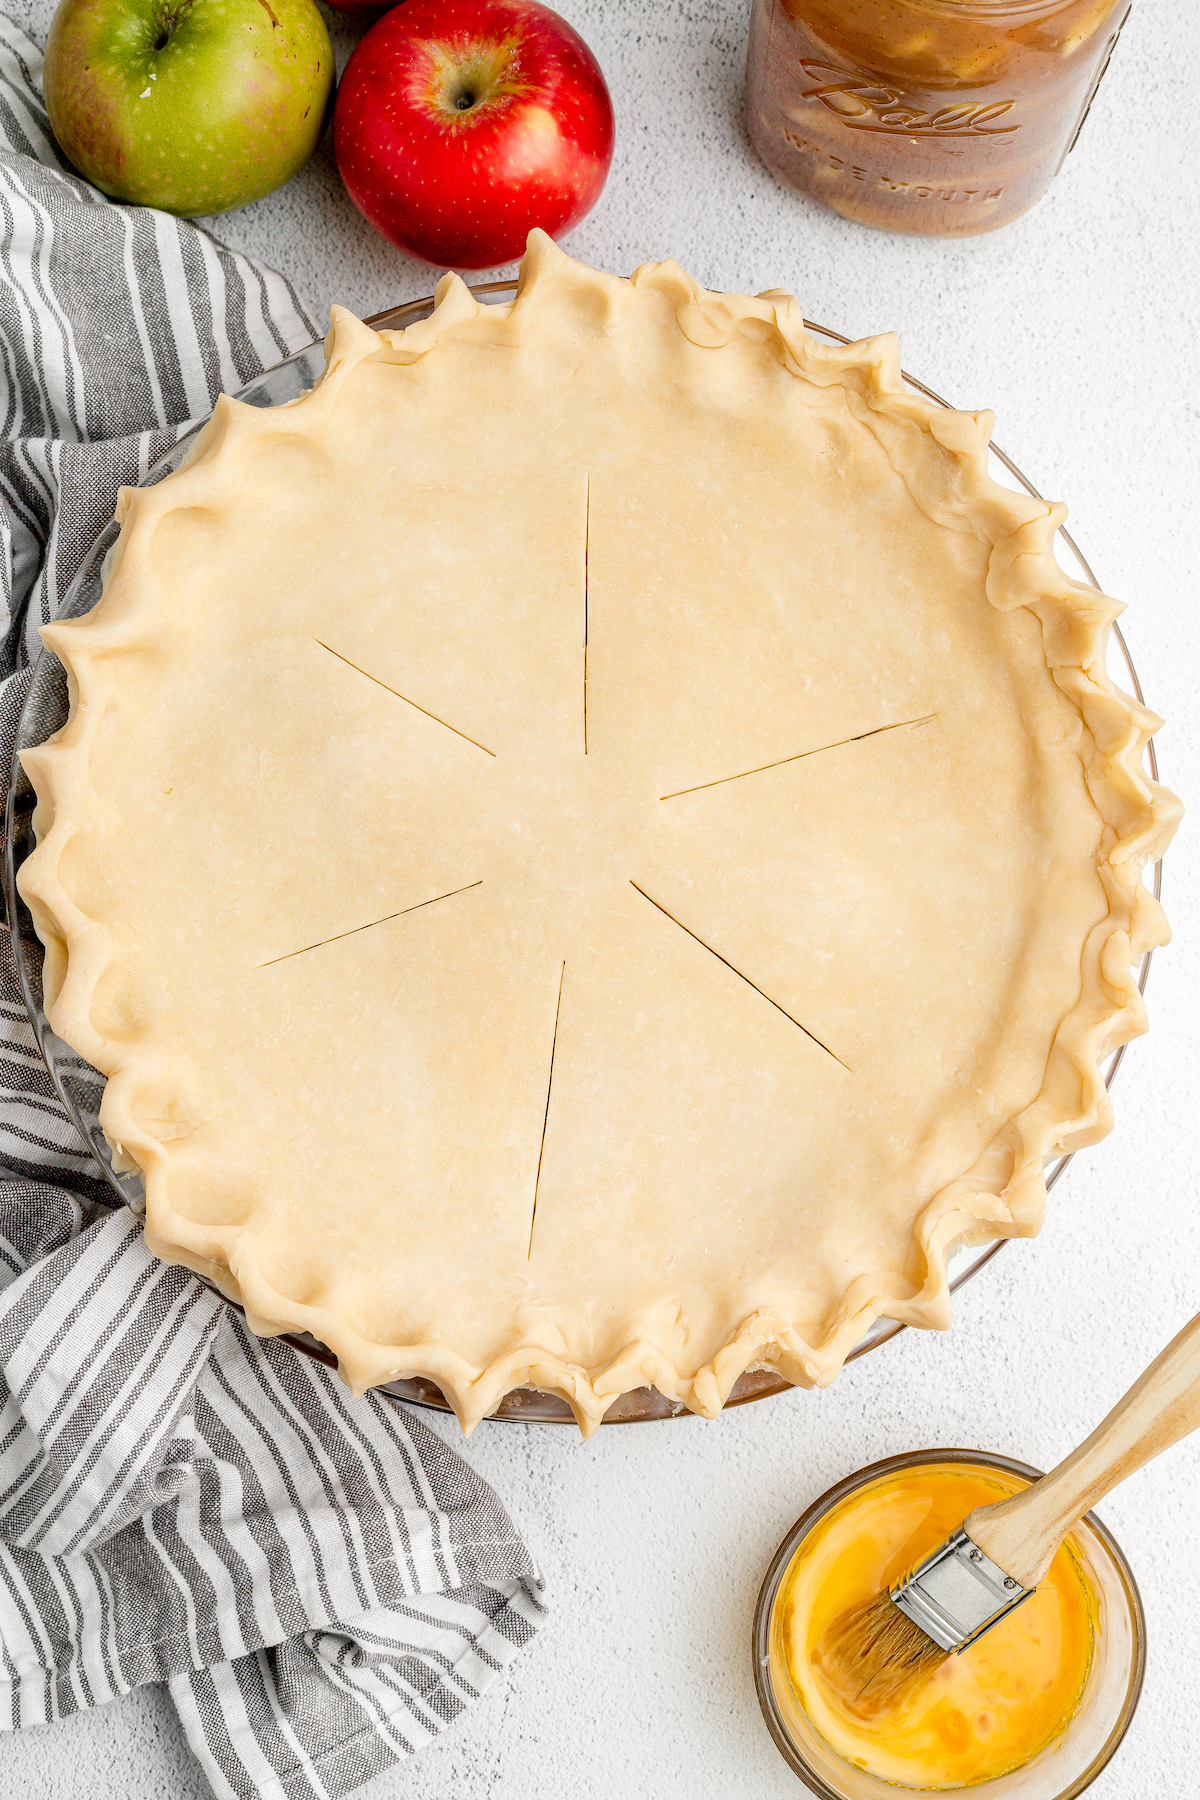
The Perfect Flaky Crust for All Your Favorite Pies
Once you’ve made a flaky pie crust at home, you’ll be hard pressed to ever look back to store bought again. It’s like a whole new world of possibilities. Pie crusts for pies! Pie dough for cobblers! Pie dough in the freezer for all the future pies you’re planning to make. Without leaving the house! It’s a revelation, believe me.
Today, I’m sharing my favorite recipe for homemade flaky pie crust. This is the crust I use when it comes to Pumpkin Pie, Coconut Cream Pie, Sweet Potato Pie, and Berry Cobbler. If the thought of making pastry from scratch is giving you heart palpitations, let’s put those fears at ease. A buttery pie dough is easy enough to make, without much fuss, for any and all of your favorite pie recipes.
What’s the secret to a perfectly buttery, crispy pie crust? Gather round, friends. It’s time to broaden the sharing circle!
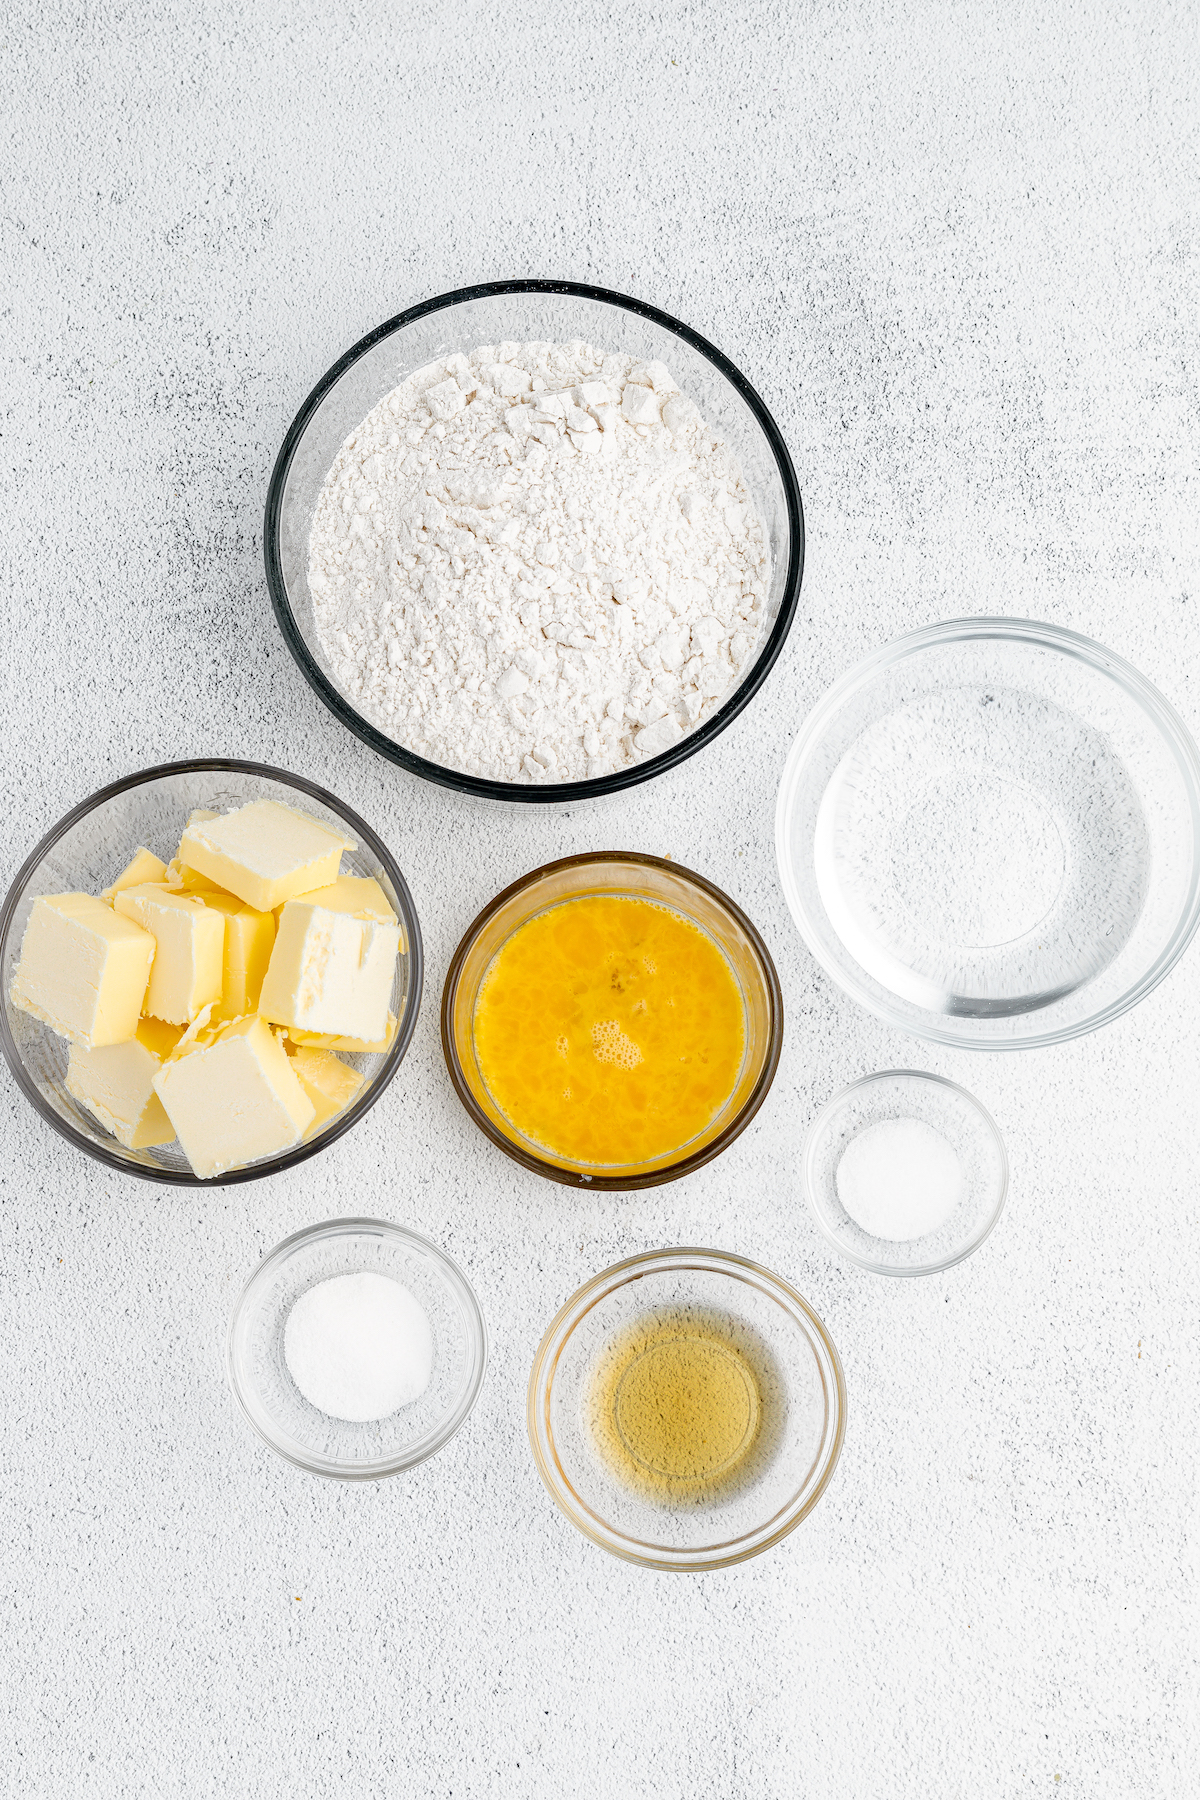
What You’ll Need
This recipe makes two 9-inch pie crusts with just a few common pantry ingredients. The full amounts are included in the recipe card later on – feel free to scale the recipe up or down as needed!
- Flour: This recipe will work with any all-purpose flour, though I recommend finding a good quality all-purpose flour if you can.
- Butter: Unsalted and cubed. Let the butter stay nice and cold in the fridge until you’re ready to use it! The colder, the better.
- Sugar: Good old granulated sugar is best for pastry.
- Salt
- Ice Water: Adding ice water into the pie dough prevents the fats in the butter from melting into the flour. You want those bits of cold fat for perfectly flaky pastry!
- Apple Cider Vinegar: A bit of a trade secret to pie dough perfection, vinegar helps to prevent gluten development (less gluten = flakier crust). Add a dash of apple cider vinegar to the dough along with the ice water for a tender crust.
- Egg: There is the option to make an egg wash for your dough as well before baking. In this case, you’ll also need one egg and about a tablespoon of milk or cream.
How to Make Homemade Pie Crust
This recipe should make enough pastry dough for two 9-inch pie crusts. Let’s go over the two ways that you can achieve the perfect, buttery pastry crust:
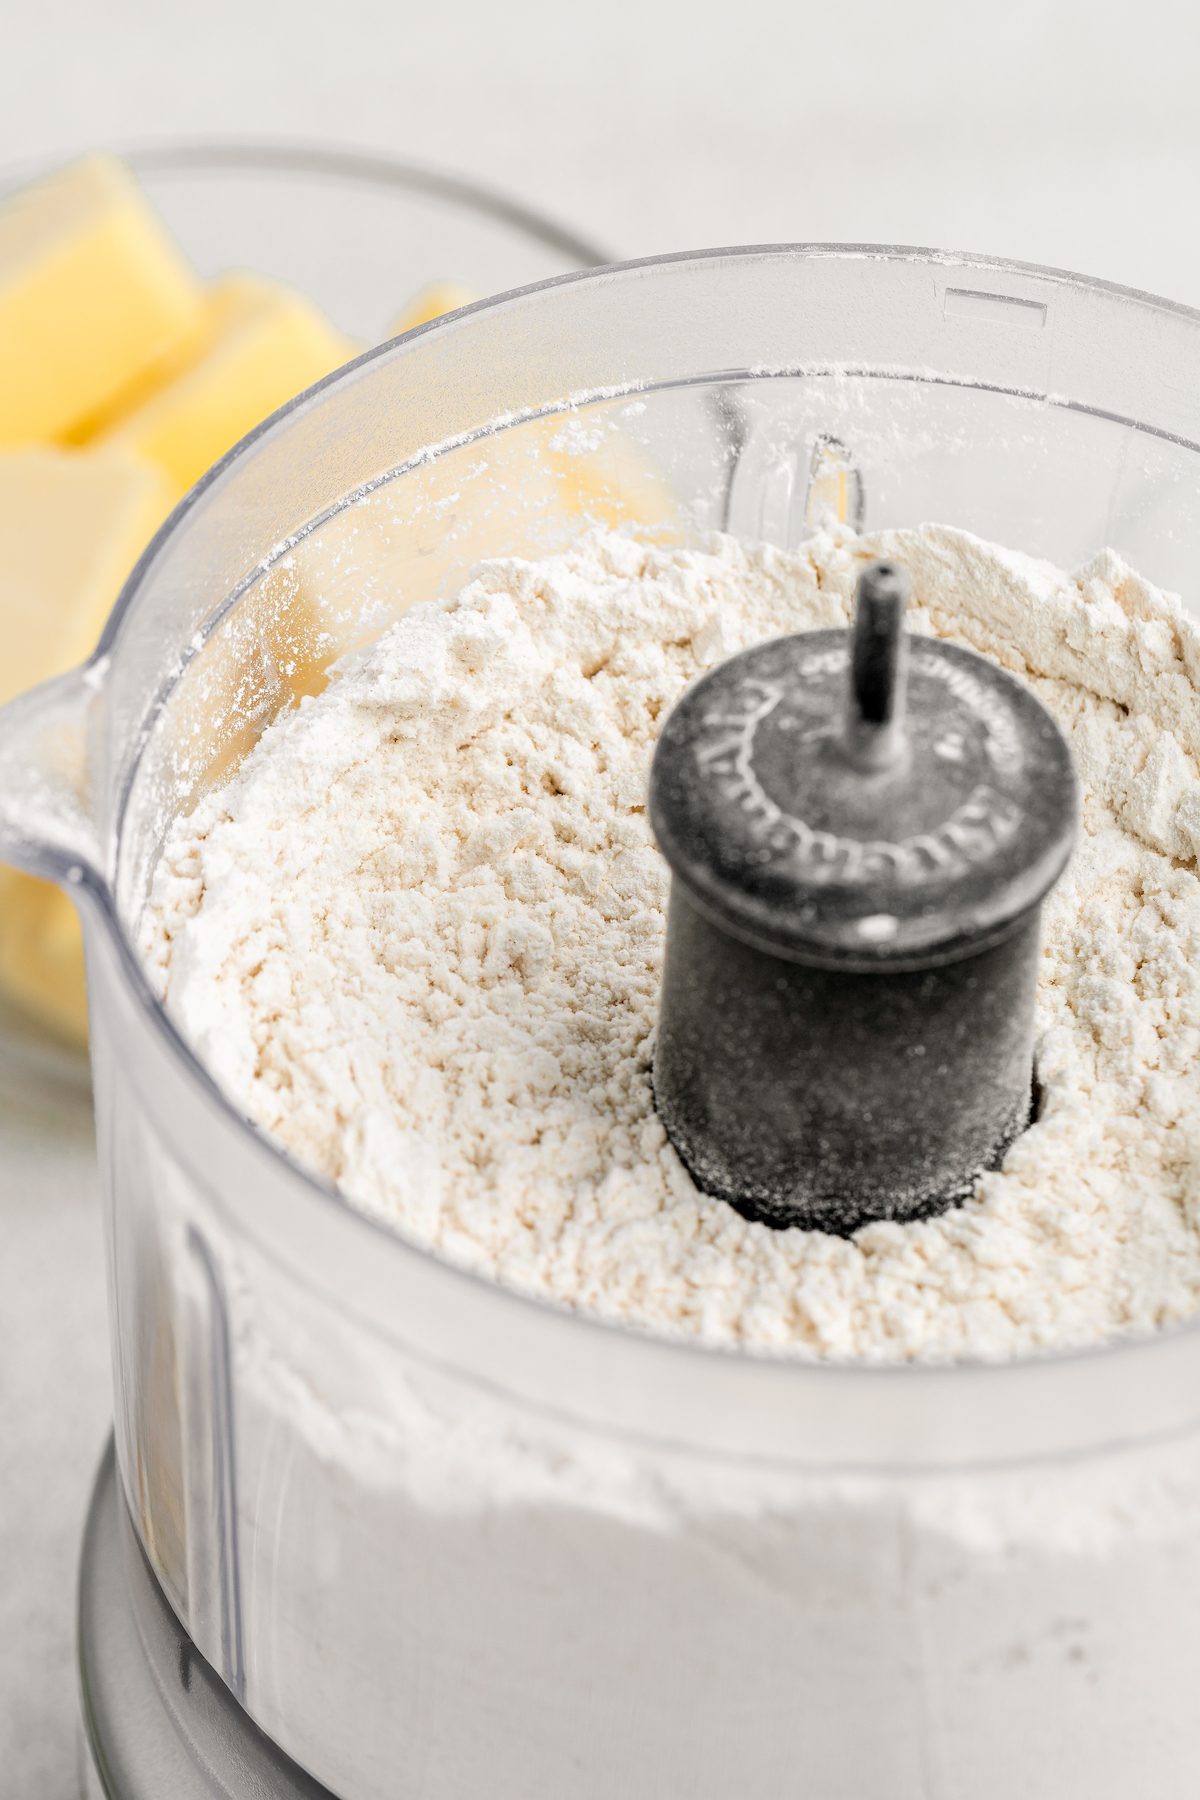
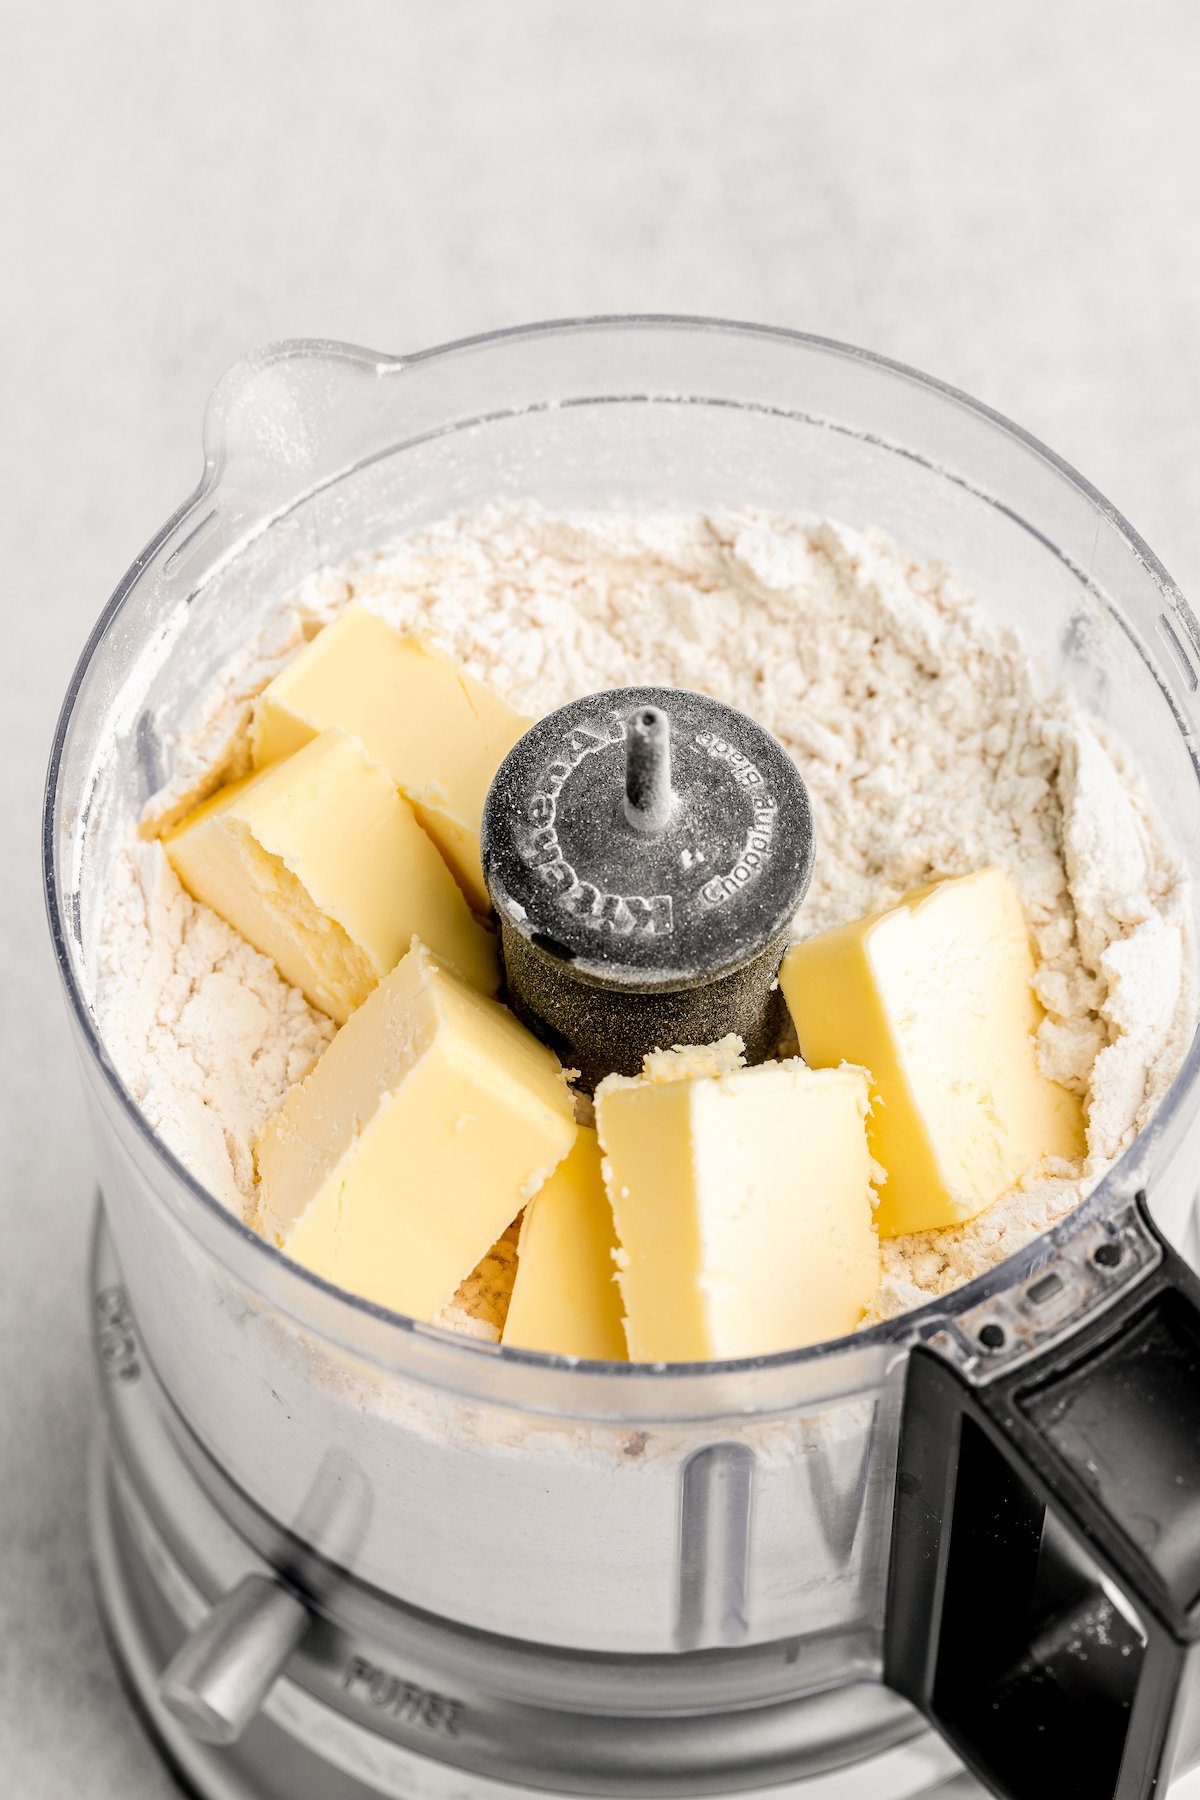
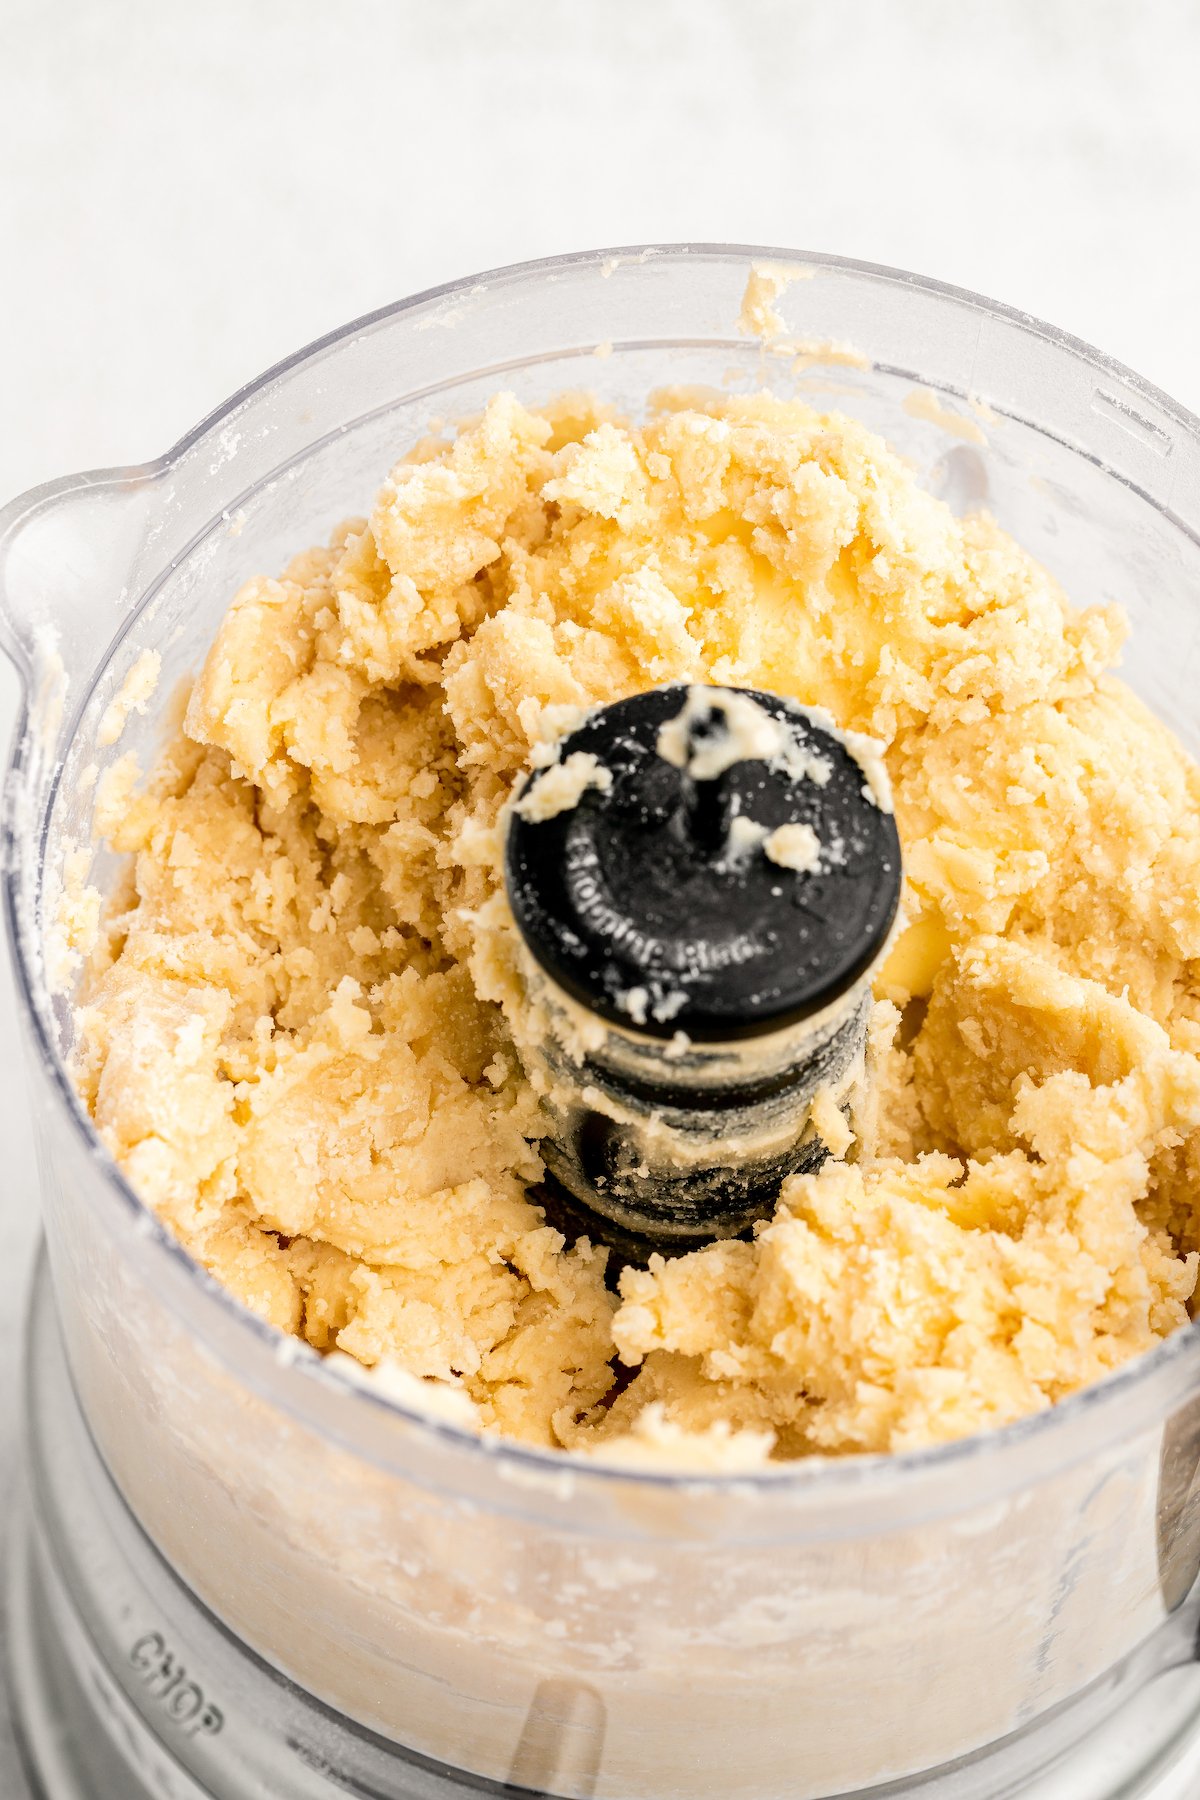
Food Processor Method (Quickest)
A food processor is a godsend when it comes to pastry making! While not necessary (see below for the option to use a fork), it’s by far the fastest way to make dough.
Combine the Ingredients: Combine the flour and dry ingredients in a food processor and pulse the mixture for a few seconds.
Pulse in the Butter: Add in the butter, then pulse again until you reach a consistency that’s a bit like a paste. Add the remaining flour, then pulse once more until everything is nice and crumbly. Leave the dough in the food processor for now.
Finish: Stir the apple cider vinegar into a bit of ice water, then spoon the mixture into the dough, giving a few short pulses in between. Remove the dough and place on a clean workstation for rolling (see below for guidance on rolling out the dough!).
Fork/ Pastry Cutter Method
If you don’t have a food processor, don’t despair – you can cut in the butter the old fashioned way, with a fork! Here’s how to make pie dough with a fork or pastry cutter instead:
Combine the Ingredients: Mix the flour and dry ingredients together in a mixing bowl.
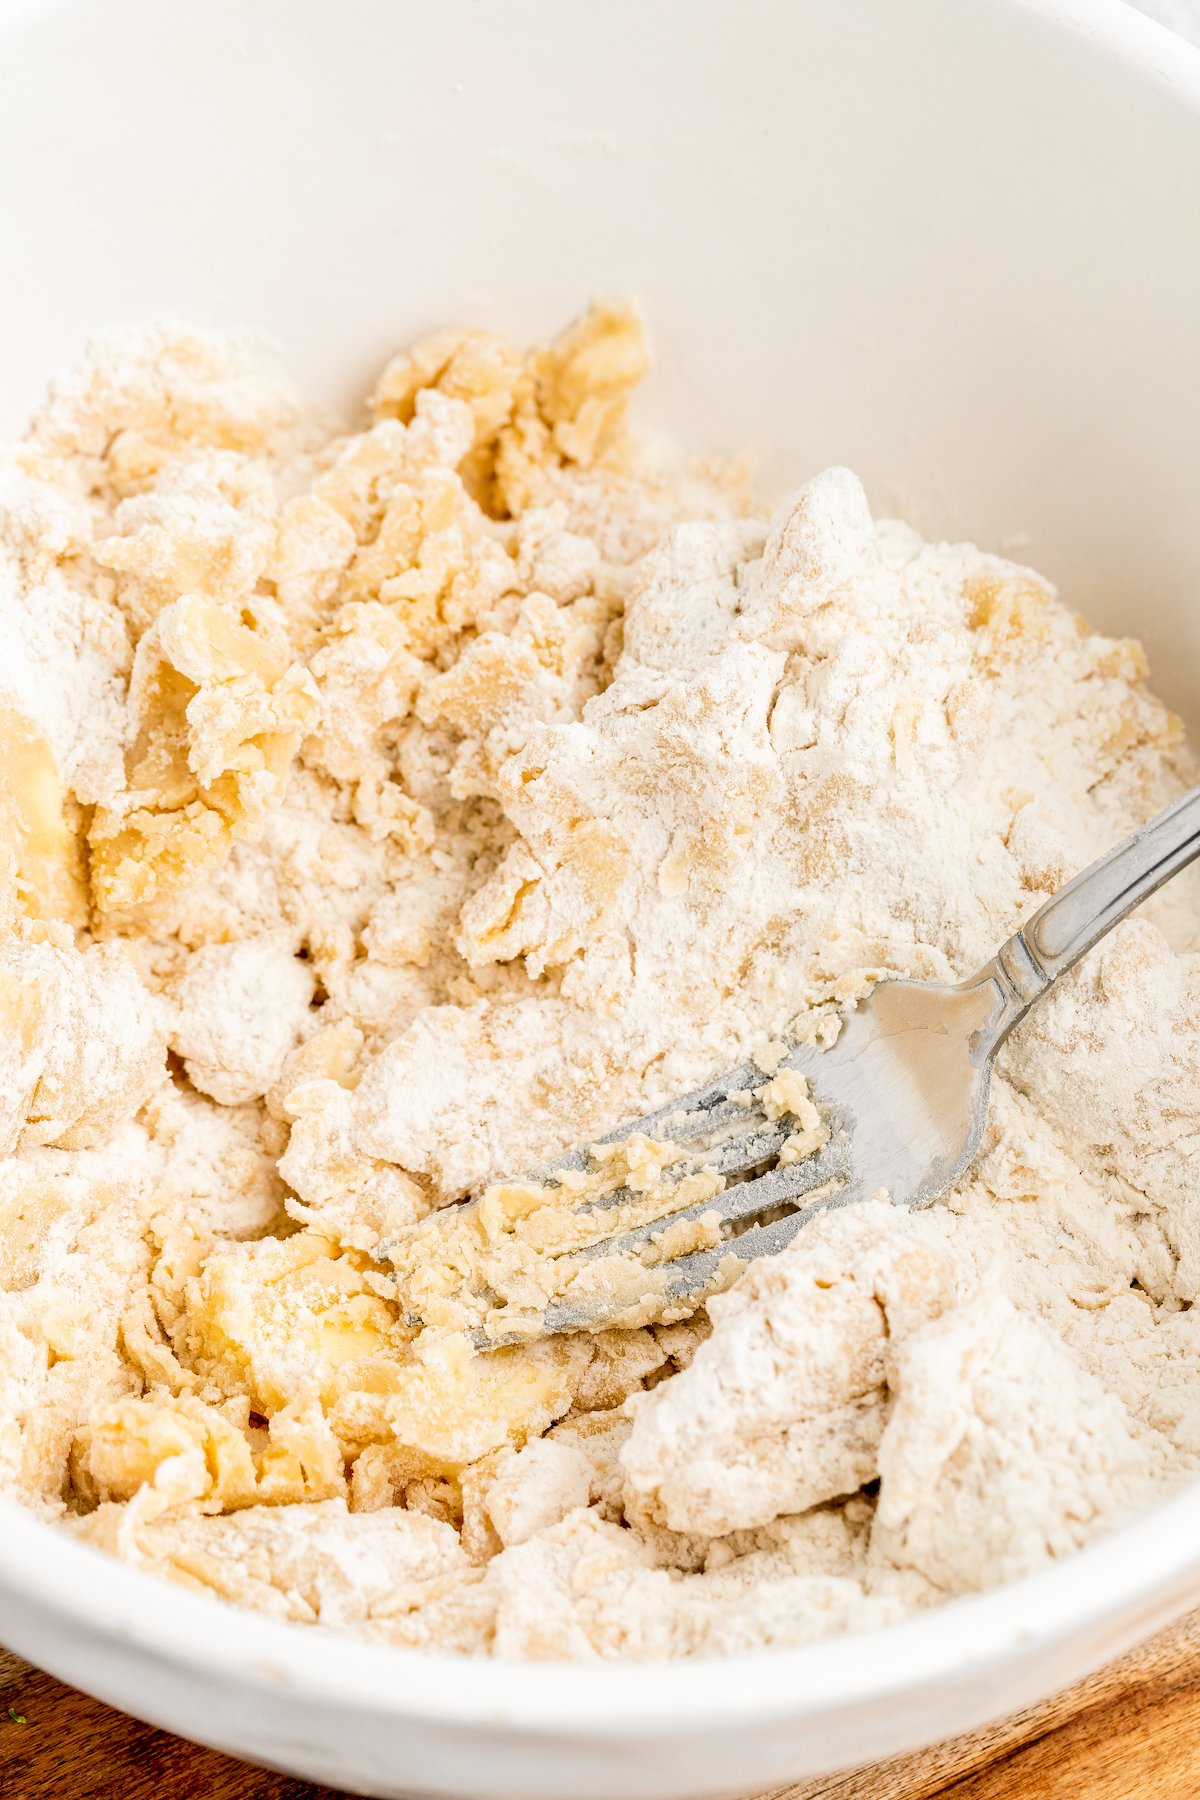
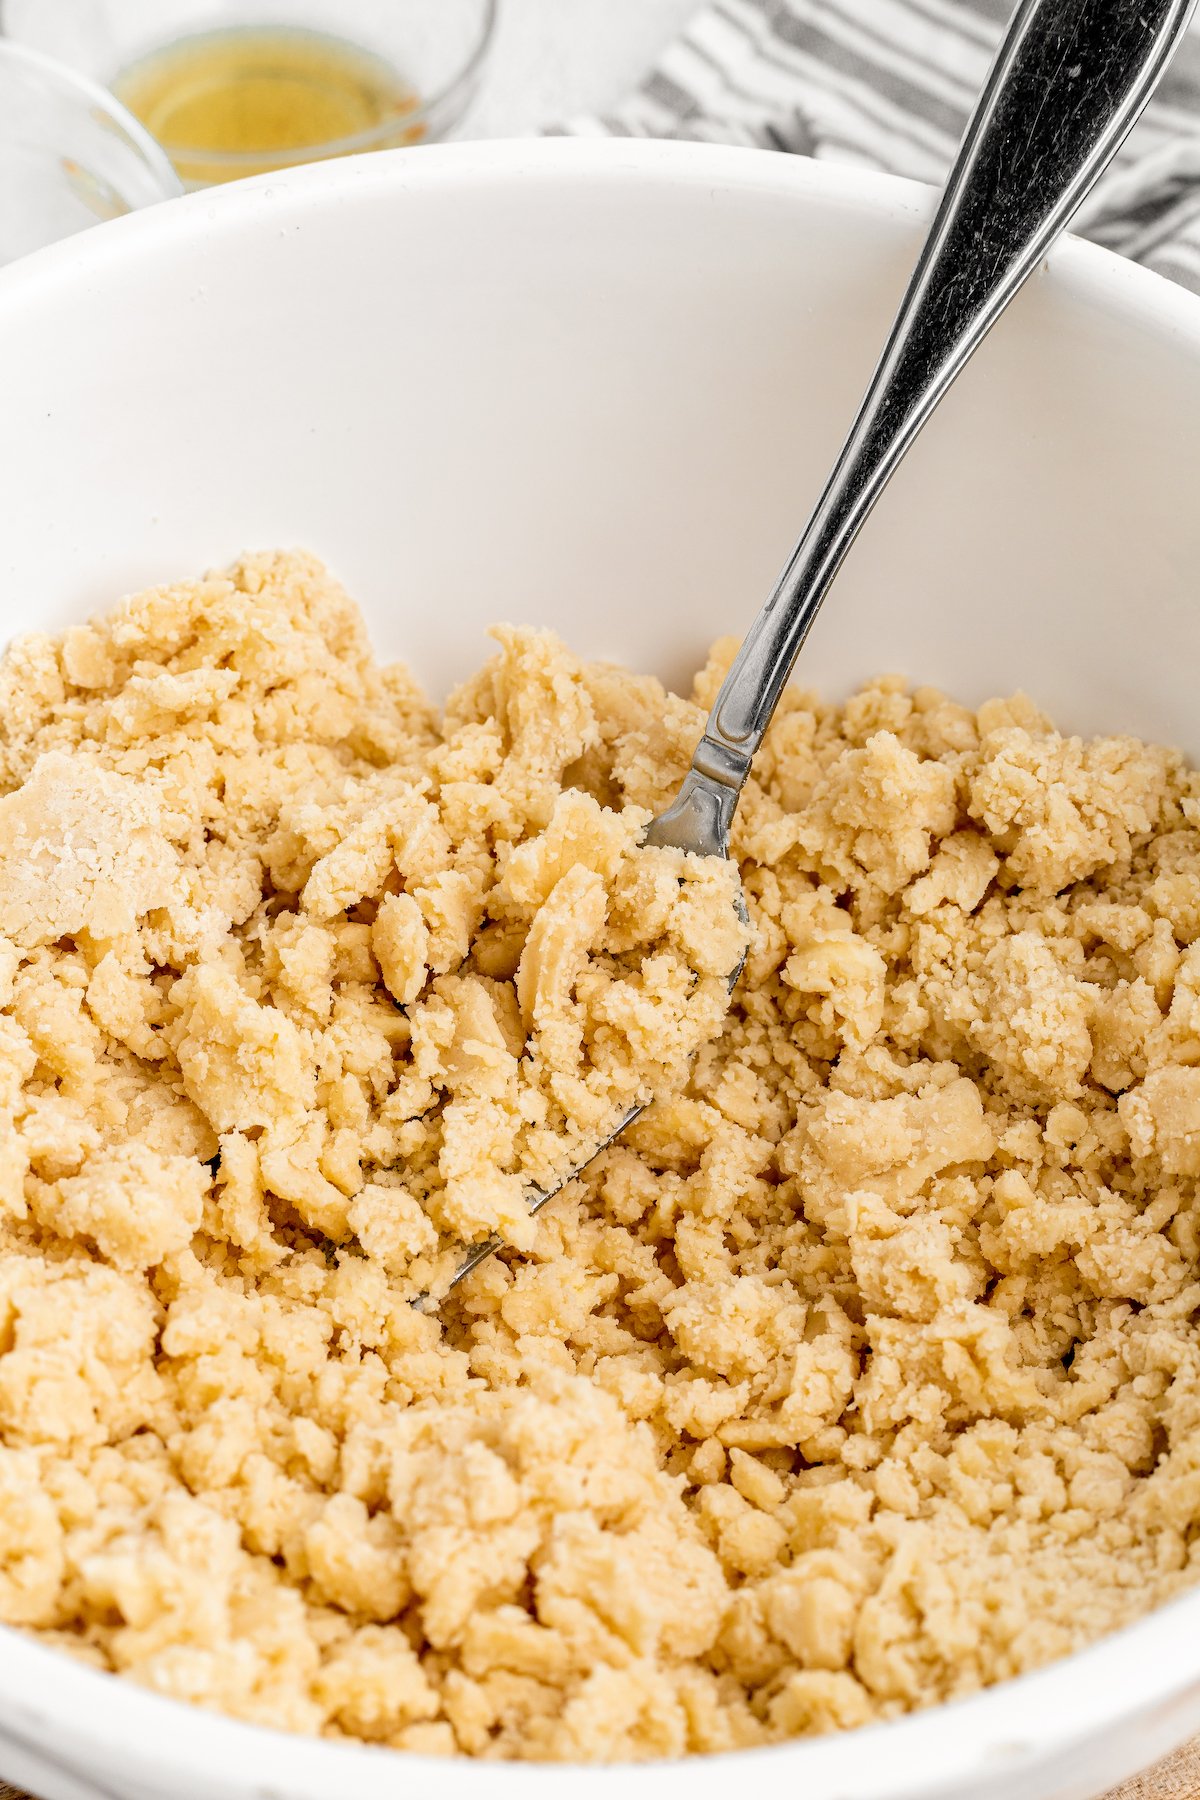
Cut in the Butter: Cut the butter cubes into the dough a little at a time using a fork or party cutter. Mash the mixture until you have a paste, just like you would with a blender. Continue slowly adding in the flour while cutting through the dough, until it reaches a crumbly texture.
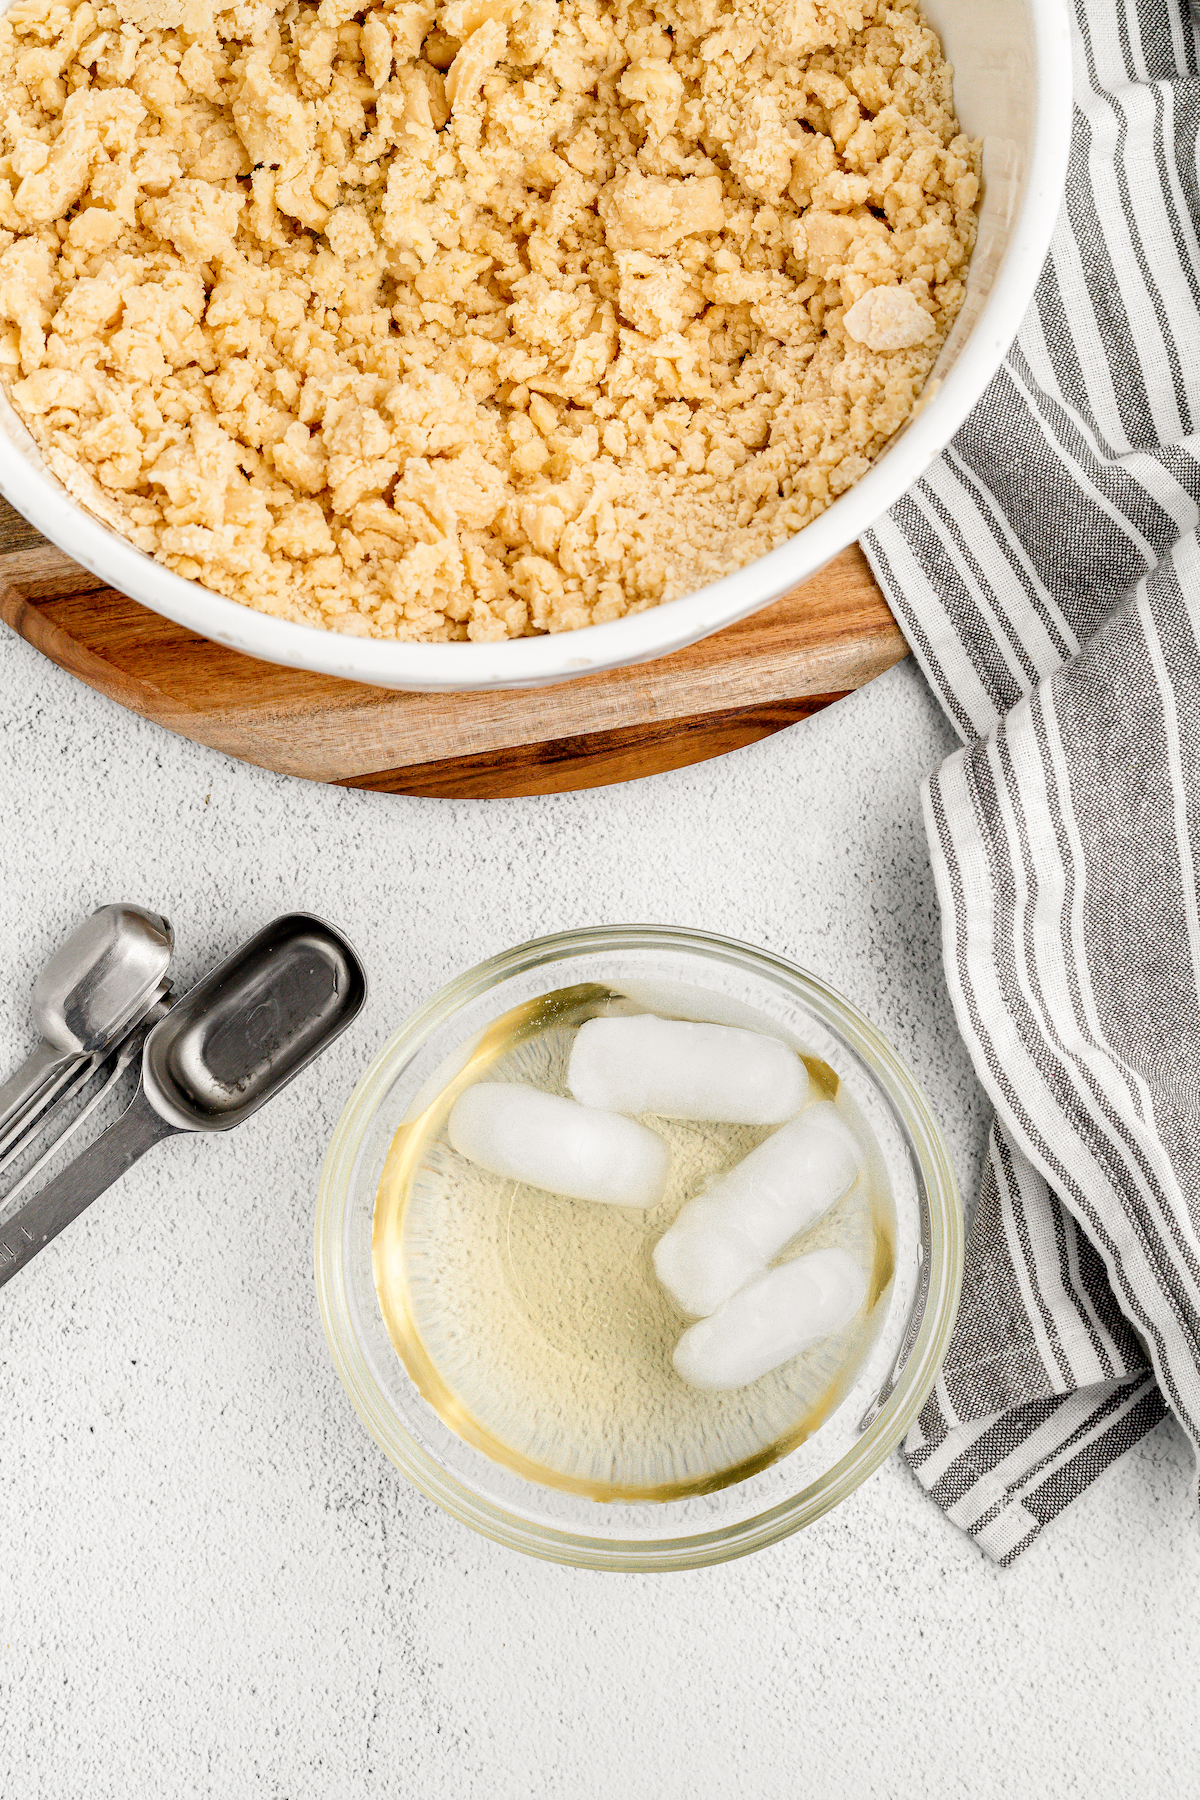
Finish: Add the vinegar and ice water into the dough the same as you would with the blender method, mashing the dough with a fork instead of pulsing. Once the dough comes together, lift it out and plop it onto your workstation.
Rolling the dough
Once your dough is made, it’s time to roll! You can roll your dough out the same way, regardless of the method you used to make it.
Want to save this recipe?
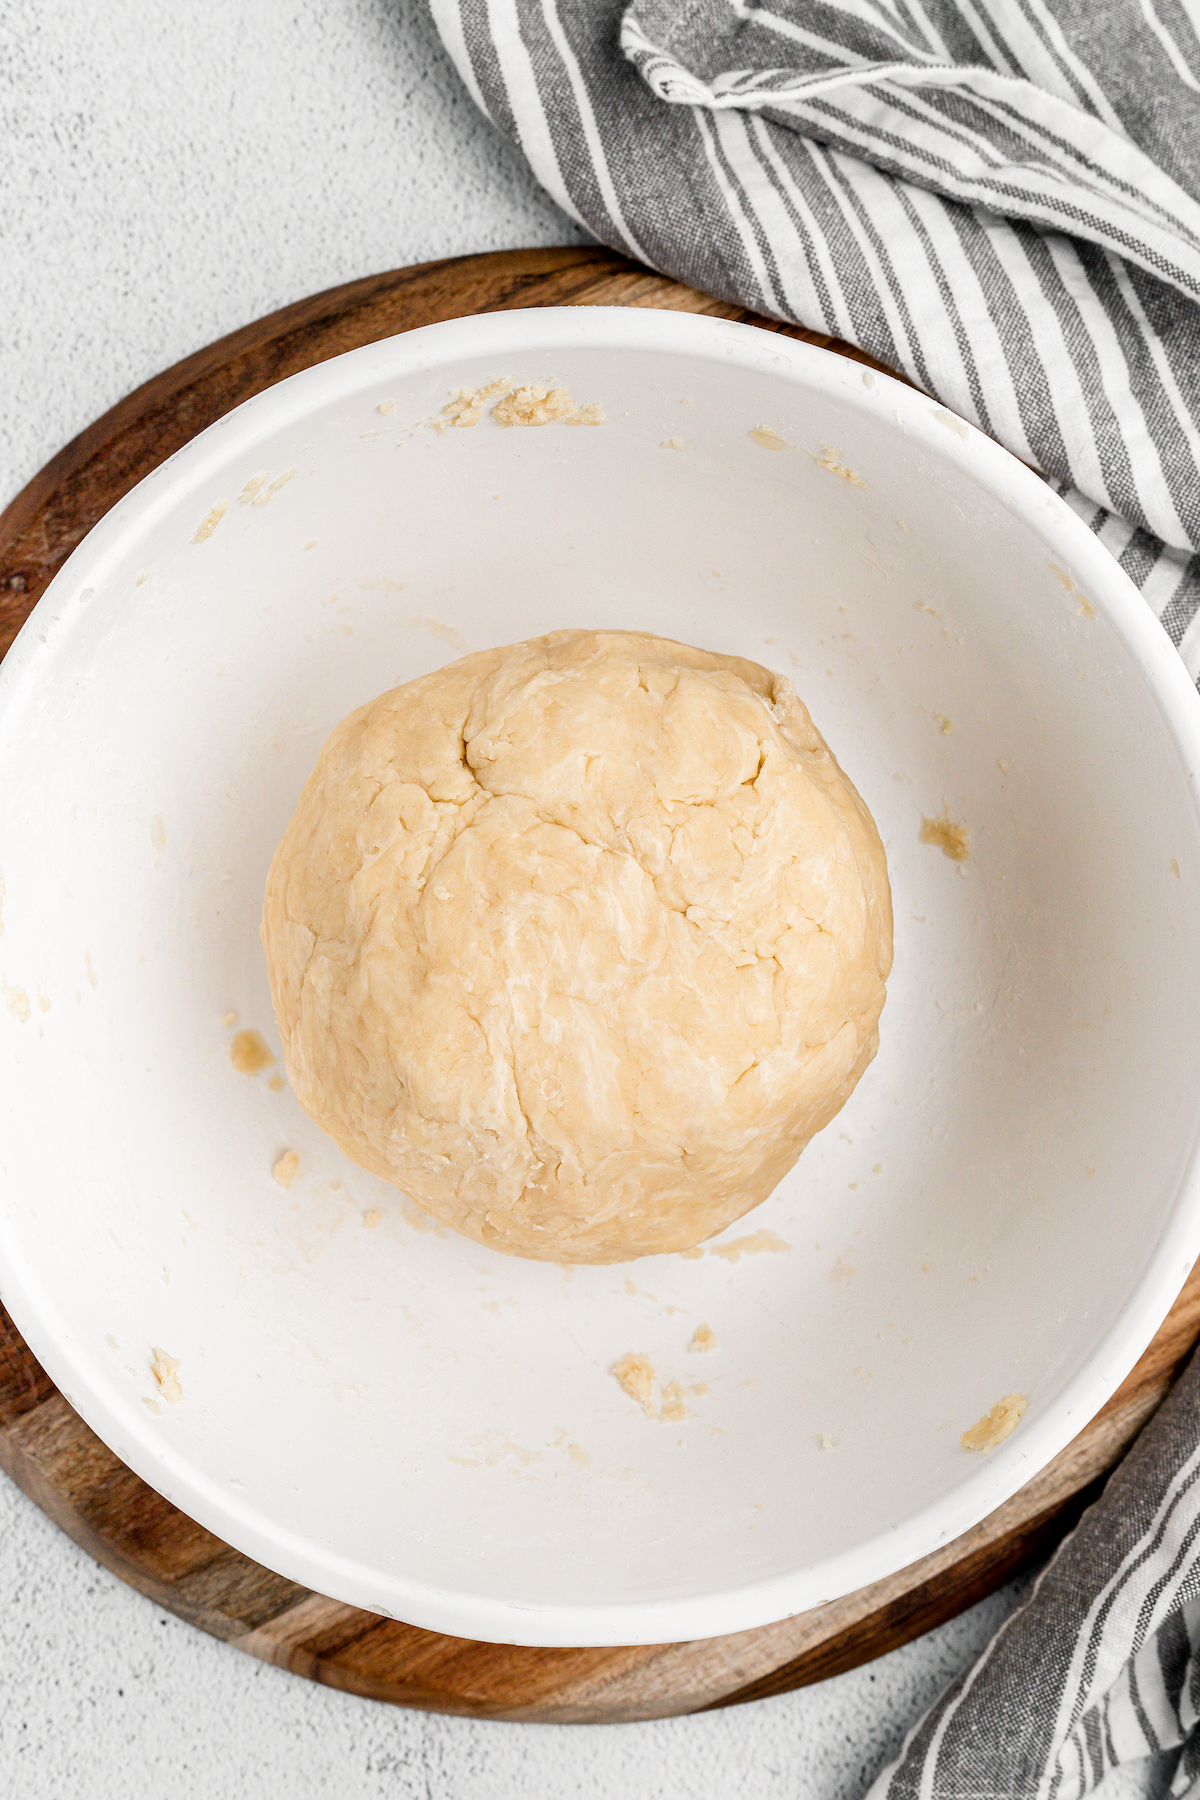
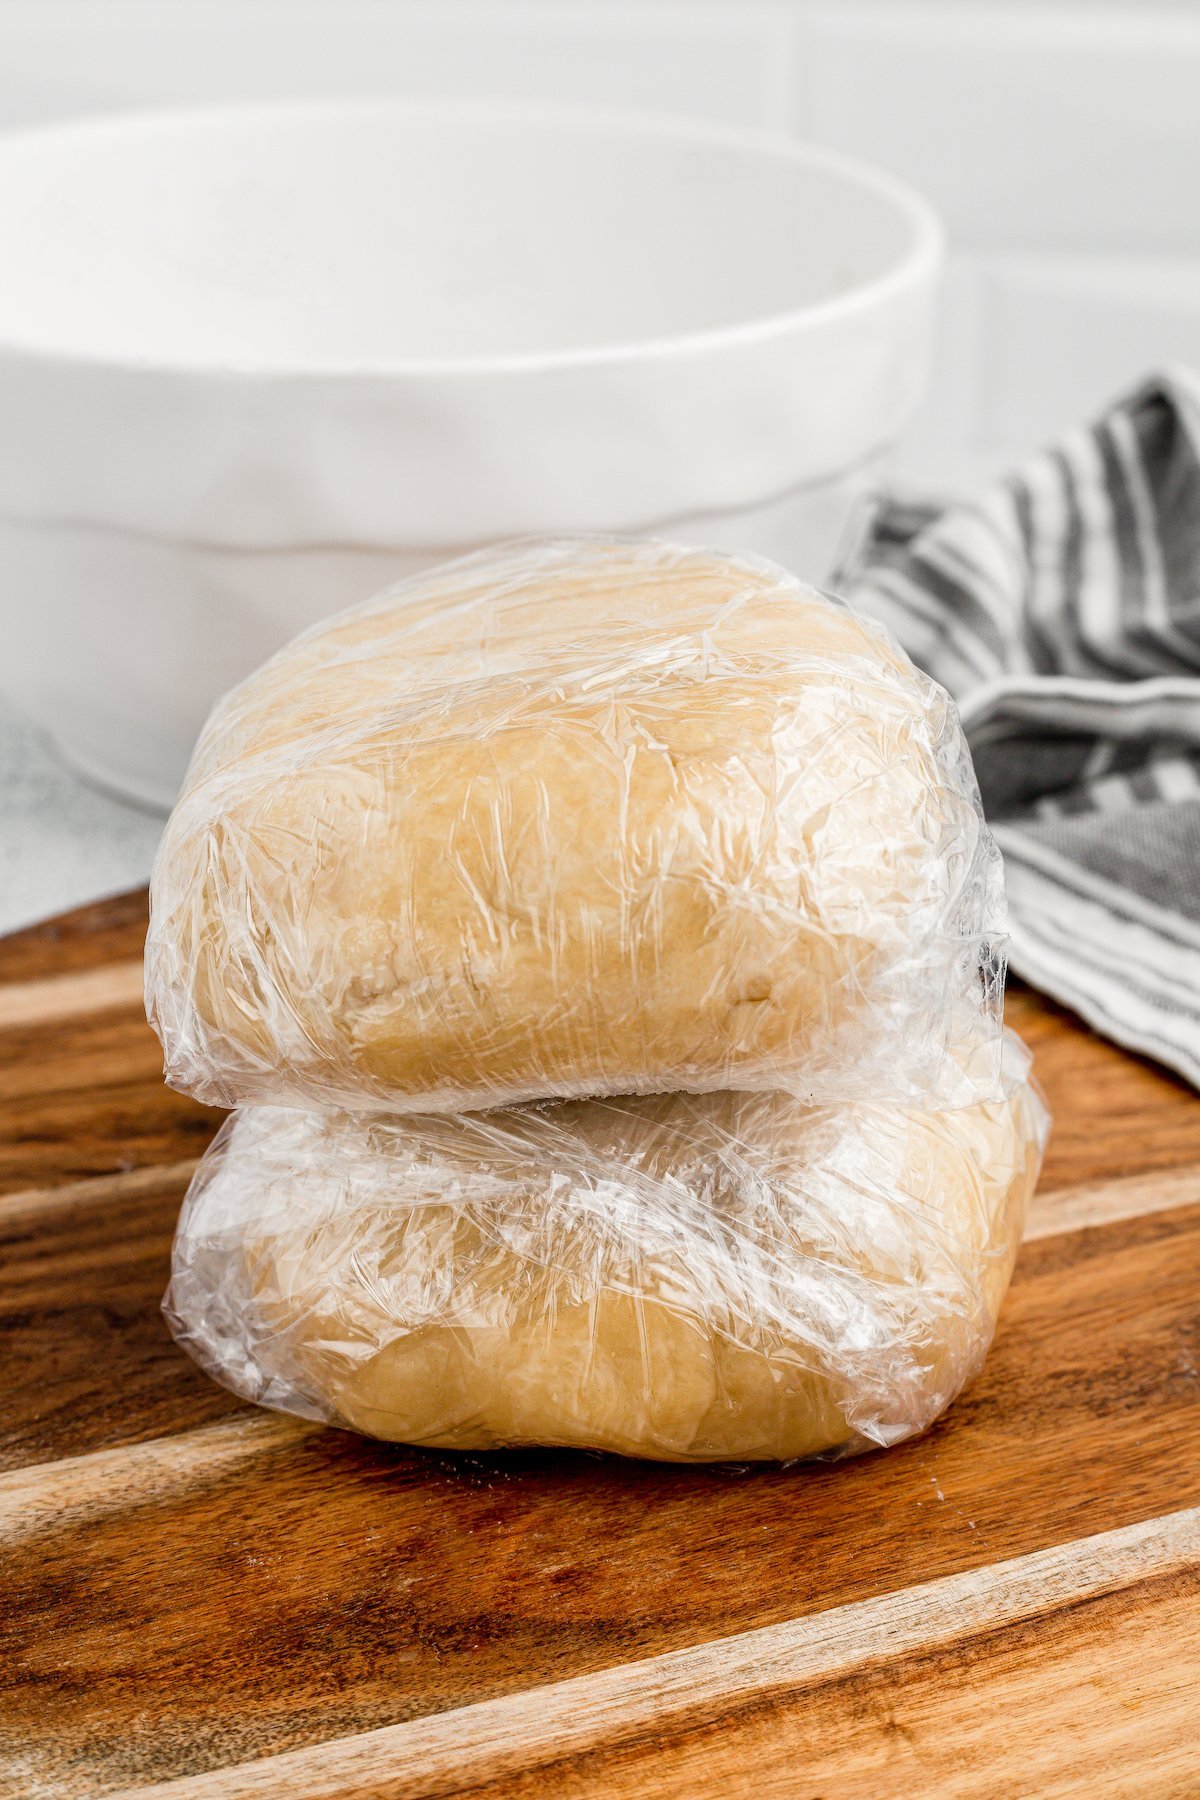
Divide and Chill: Mound your dough into a ball and cut it in half, the form both halves into discs. Give each disc a tight layer of plastic wrap and pop them into the fridge. Aim to chill the dough for an hour at the very least, but you can leave it in there until the next day, too! When it comes to pastry, cold is key.
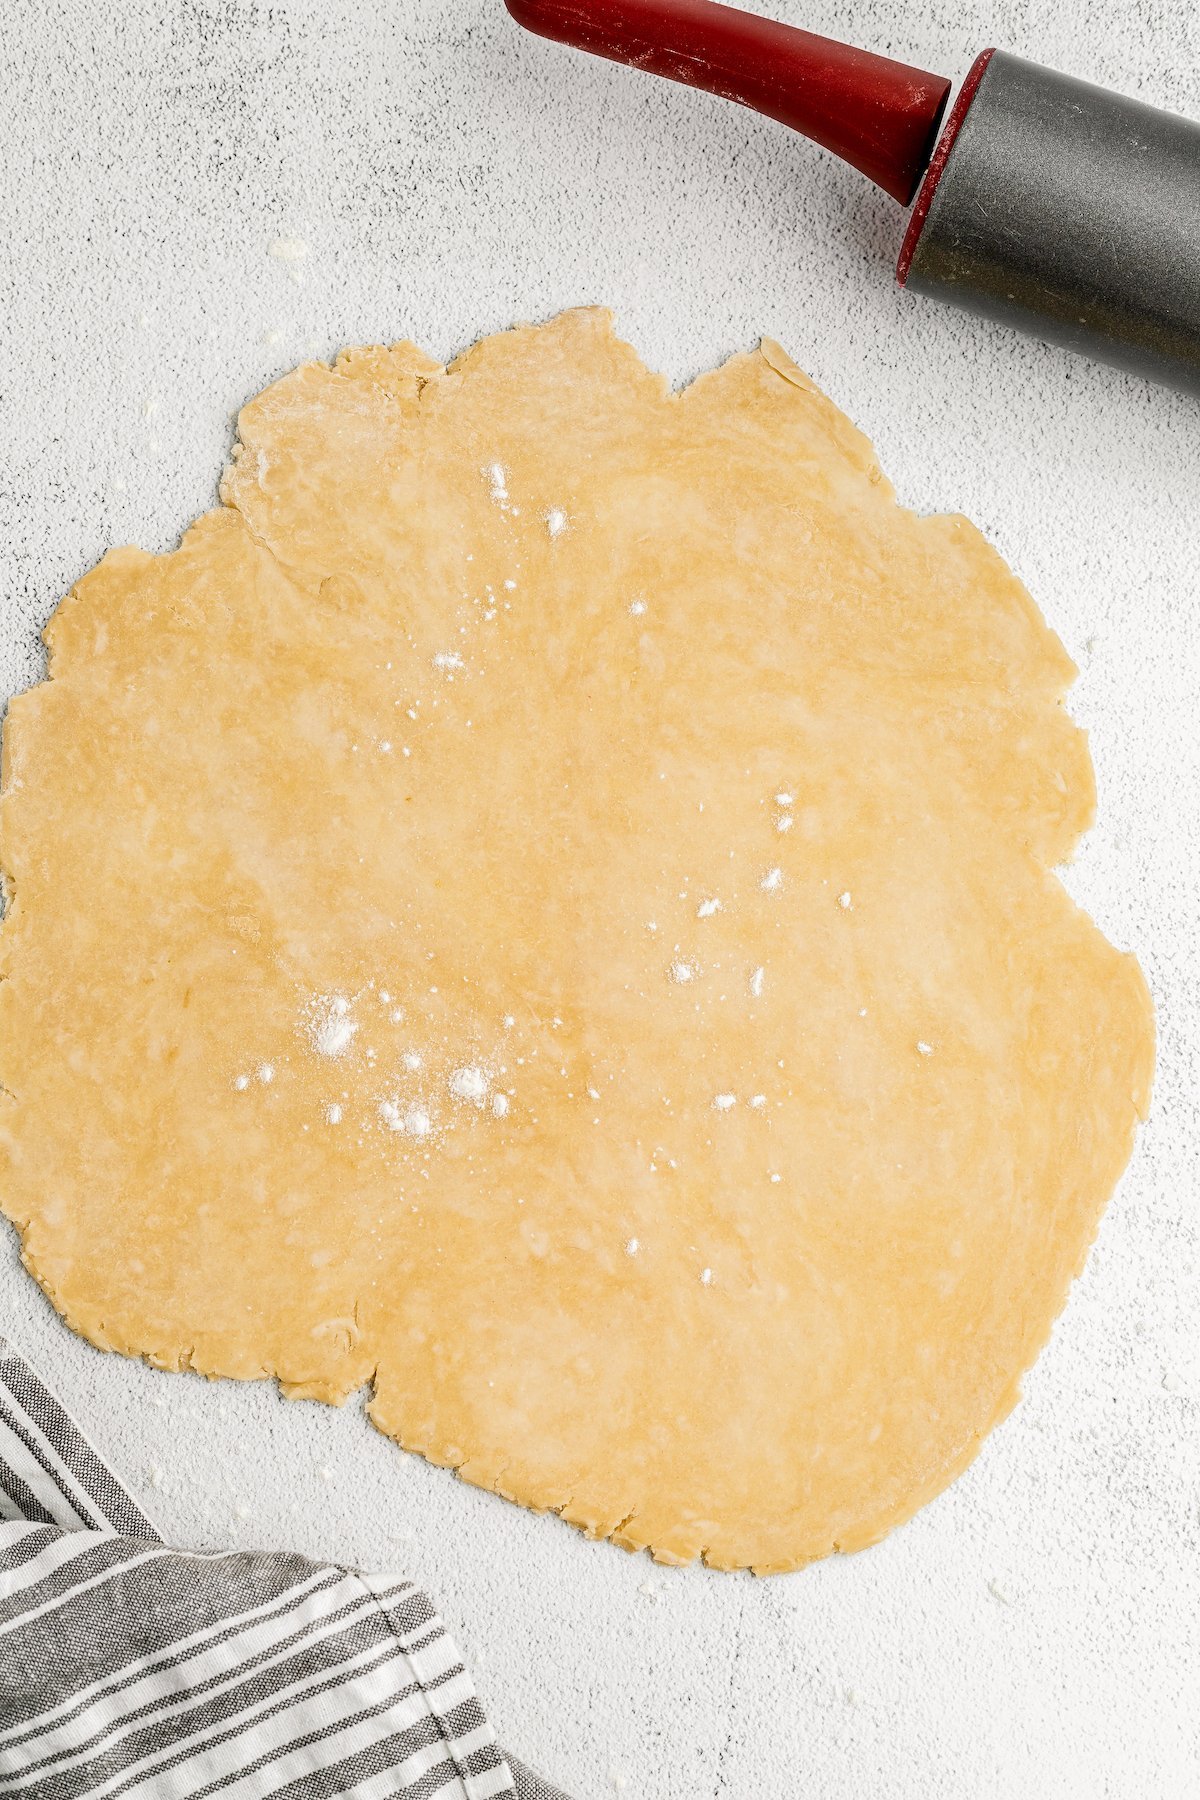
Roll: Remember to take your dough out of the fridge to warm up for a few minutes before working it. Place a dough disc onto a floured surface and and then lightly roll it flat using a rolling pin. You can roll out both disks, or save one to freeze!
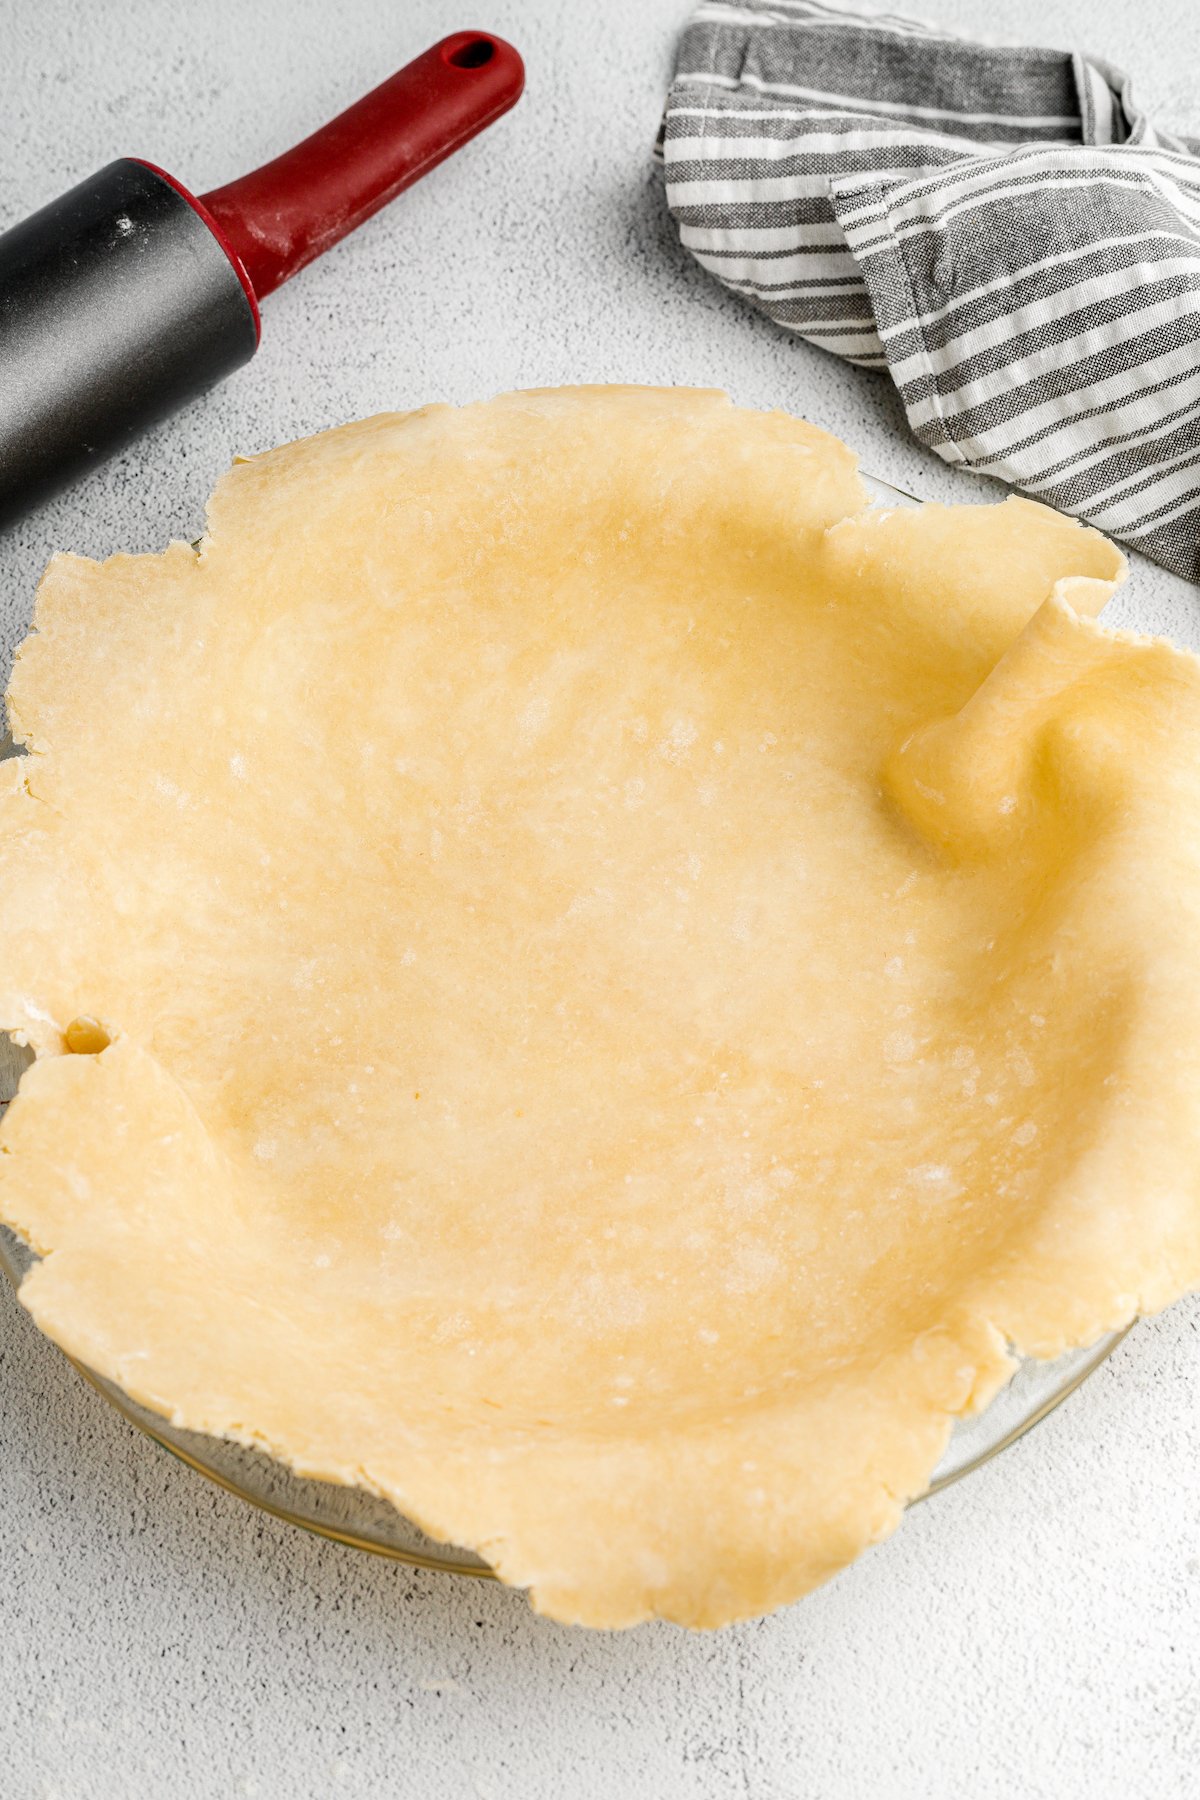
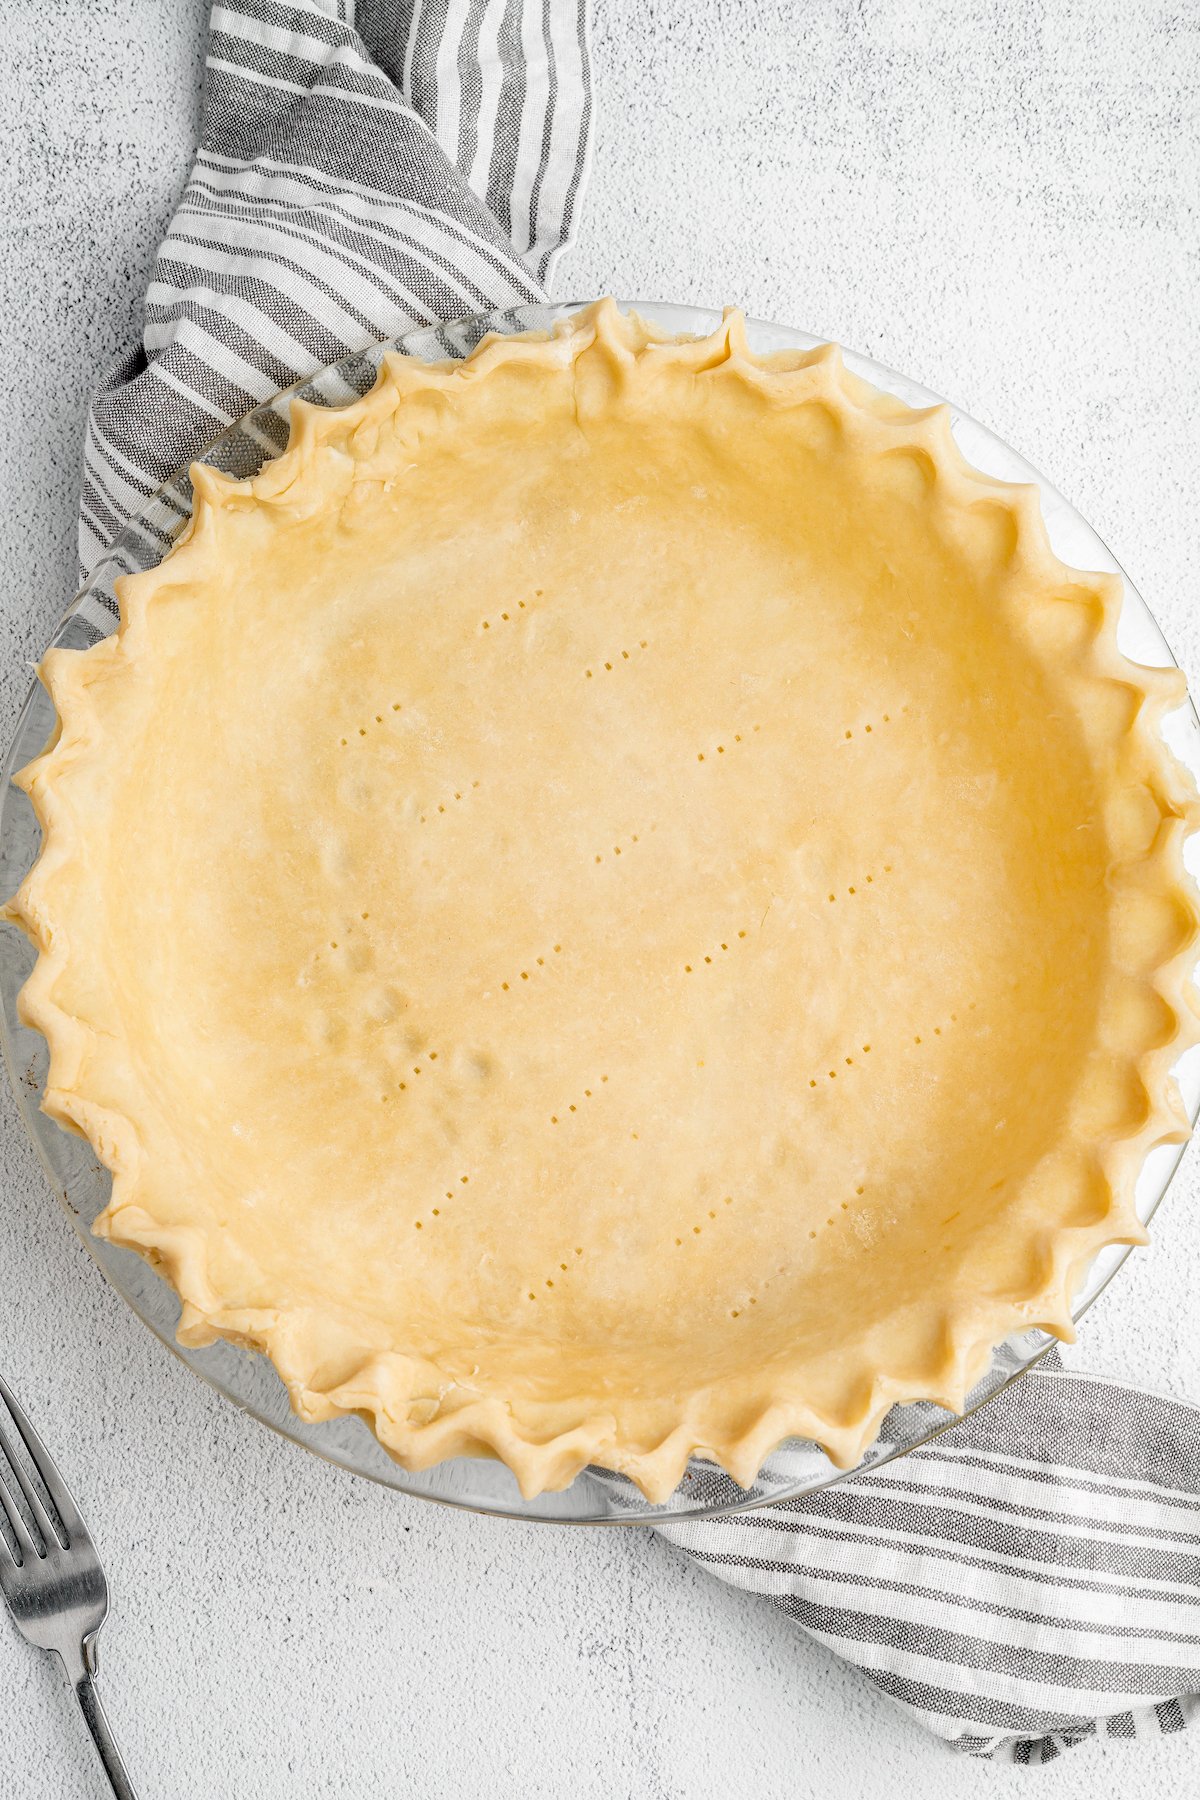
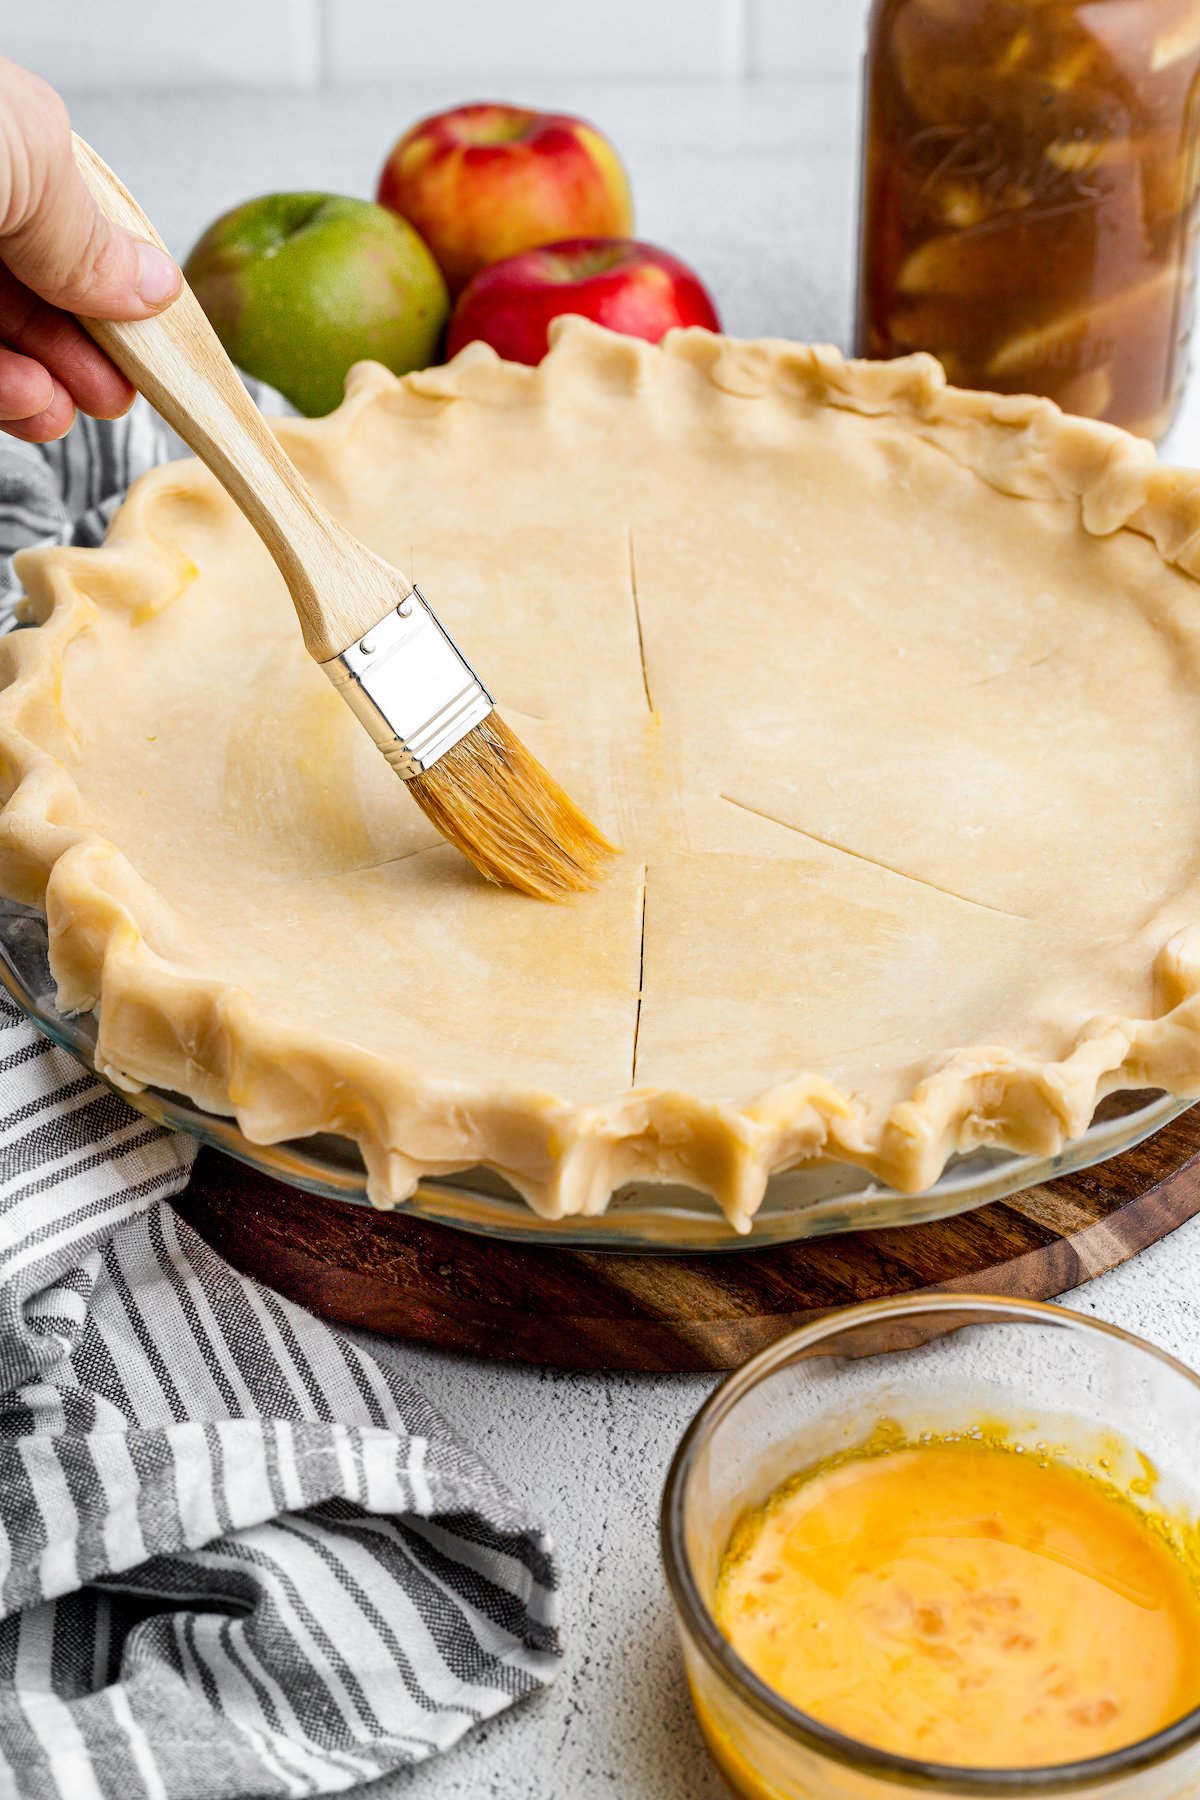
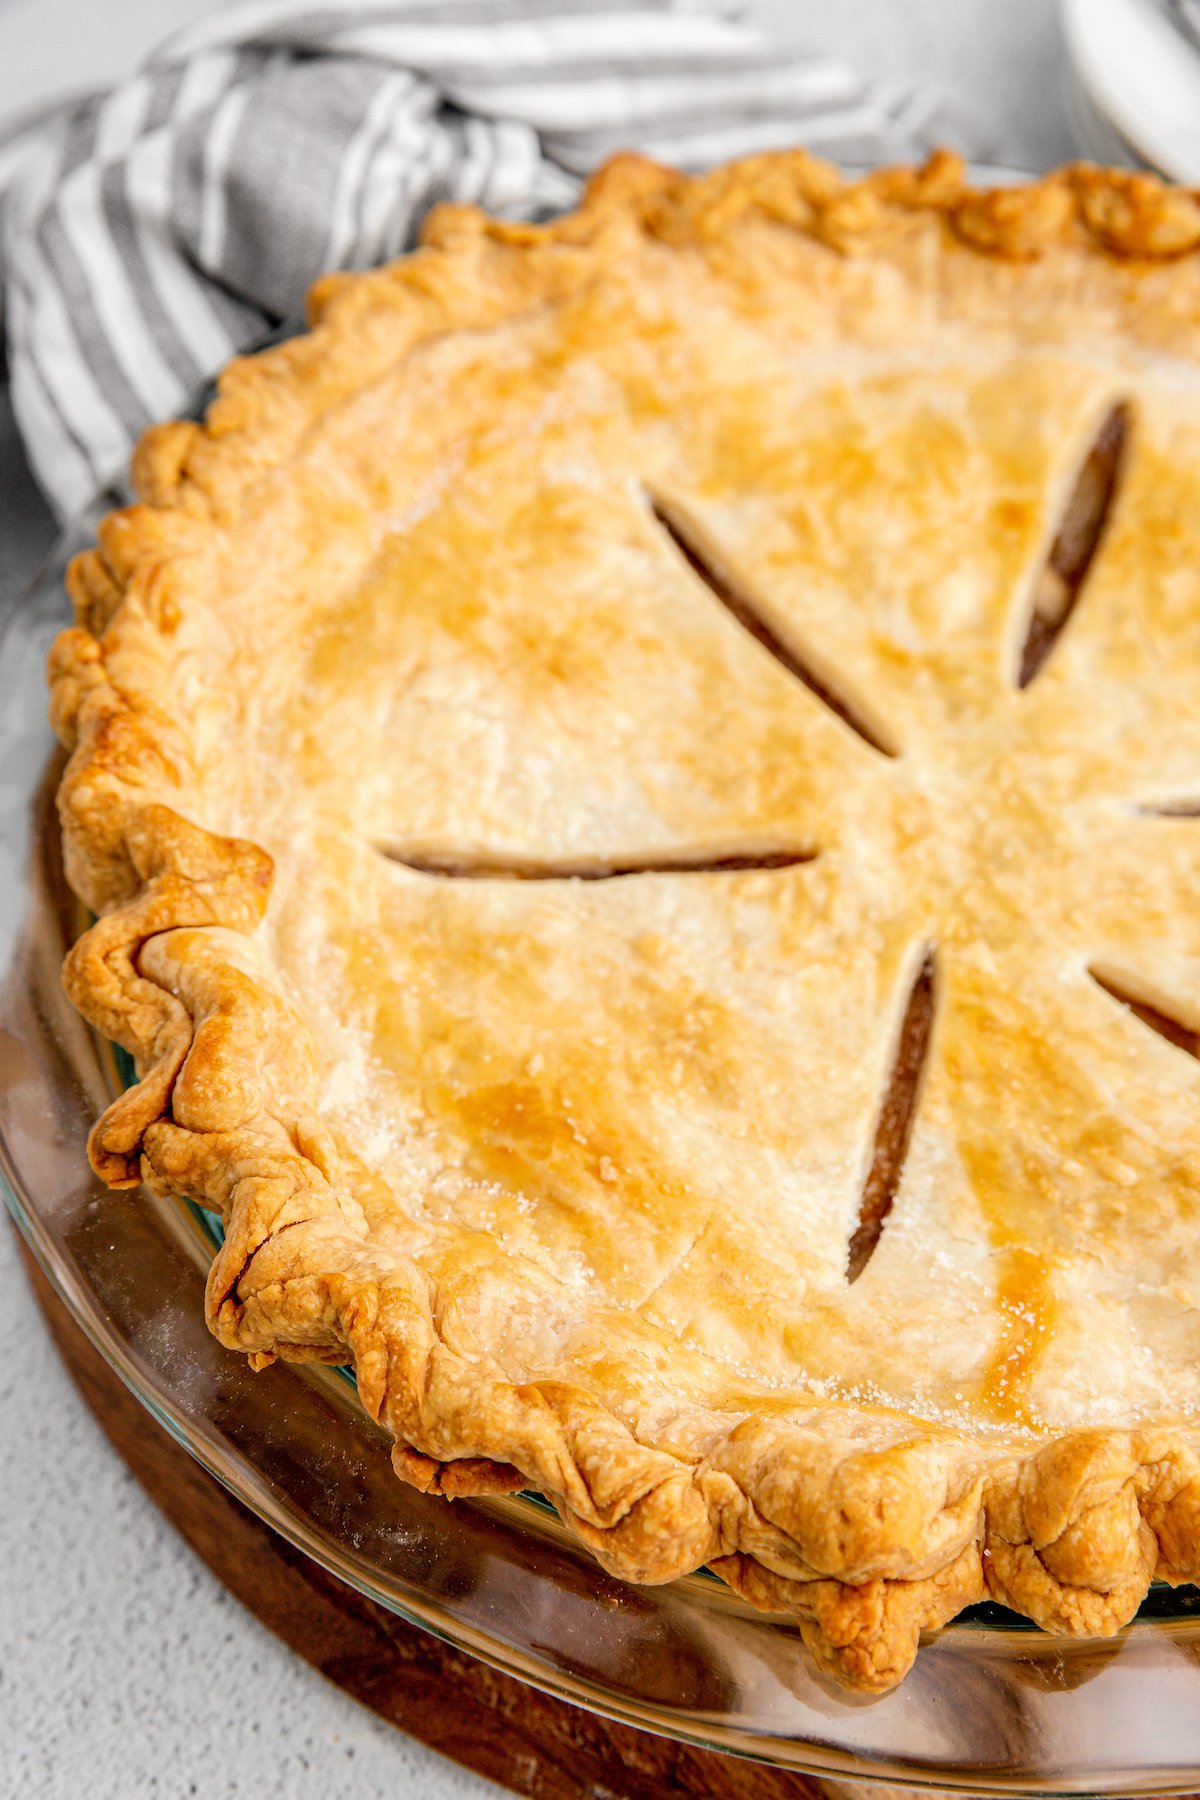
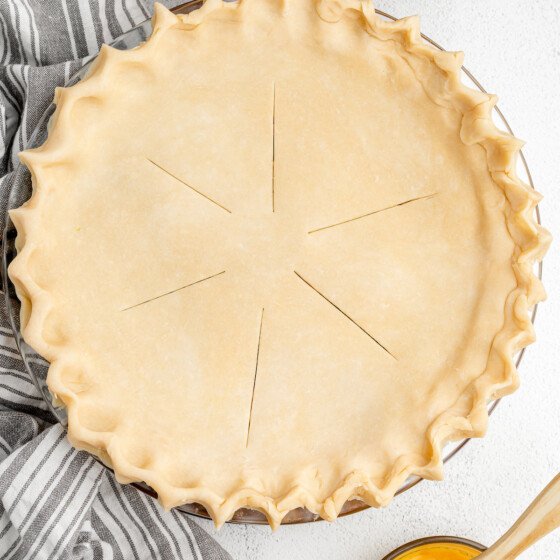
Shape: Gently press the flattened pie dough into a pie plate. Next, snip off the overhang, then brush the crust with egg wash. The egg is optional and won’t affect the taste or texture of the crust. It does give the crust a nice golden color as it bakes, though!
Fill and Bake: Baking times tend to vary from recipe to recipe, so fill and bake your crust according to your favorite pie recipe! If your chosen recipe includes a blind bake, see later on in this post for tips!
Can I Make It Ahead of Time?
You can absolutely make pie dough up to 3 days ahead of time to keep in the fridge. Let it soften a little at room temperature before rolling, same as you would have done after chilling.
Alternatively, the dough is easy to make ahead and freeze. You can even freeze dough once it’s in the pie plate, unbaked or blind baked, for easy thawing, filling, and baking!
Wrap the finished dough tightly in plastic wrap and pop it into the freezer for up to 3 months. Thaw completely, then roll out, fill and/or bake as needed.
Tips for Success
Here are some tips for getting the best results from your pie crust pastry making:
- Keep It Chilled: Cold butter, cold water, cold fridge… the name of the pastry making game is cold. A (not) hot tip, but if you happen to live in a warm climate, you can even pop your butter into the freezer to make sure it’s cold enough!
- Cube the Butter: This is important for the fork method, but still good practice for the food processor! Cubed butter makes the dough come together quicker, which is key to keep the butter from warming at room temperature too long.
- Don’t Sweat the Small Stuff: I know Pinterest will have you believing that a perfect pie looks perfect right down to the crust. But don’t worry too much about getting a picture-ready pie right off the bat! There’s a certain charm to a rustic, homemade pie. And when it comes down to it, it’s what’s on the inside that counts.
- No Need to Grease: The beauty of a buttery pie crust is that there’s no need to grease your pie pan! The oils in the crust should be enough to keep it from sticking. Of course, you can always give the pan a quick spritz with cooking spray if you’re playing it extra safe.
How to Blind Bake Pie Crust
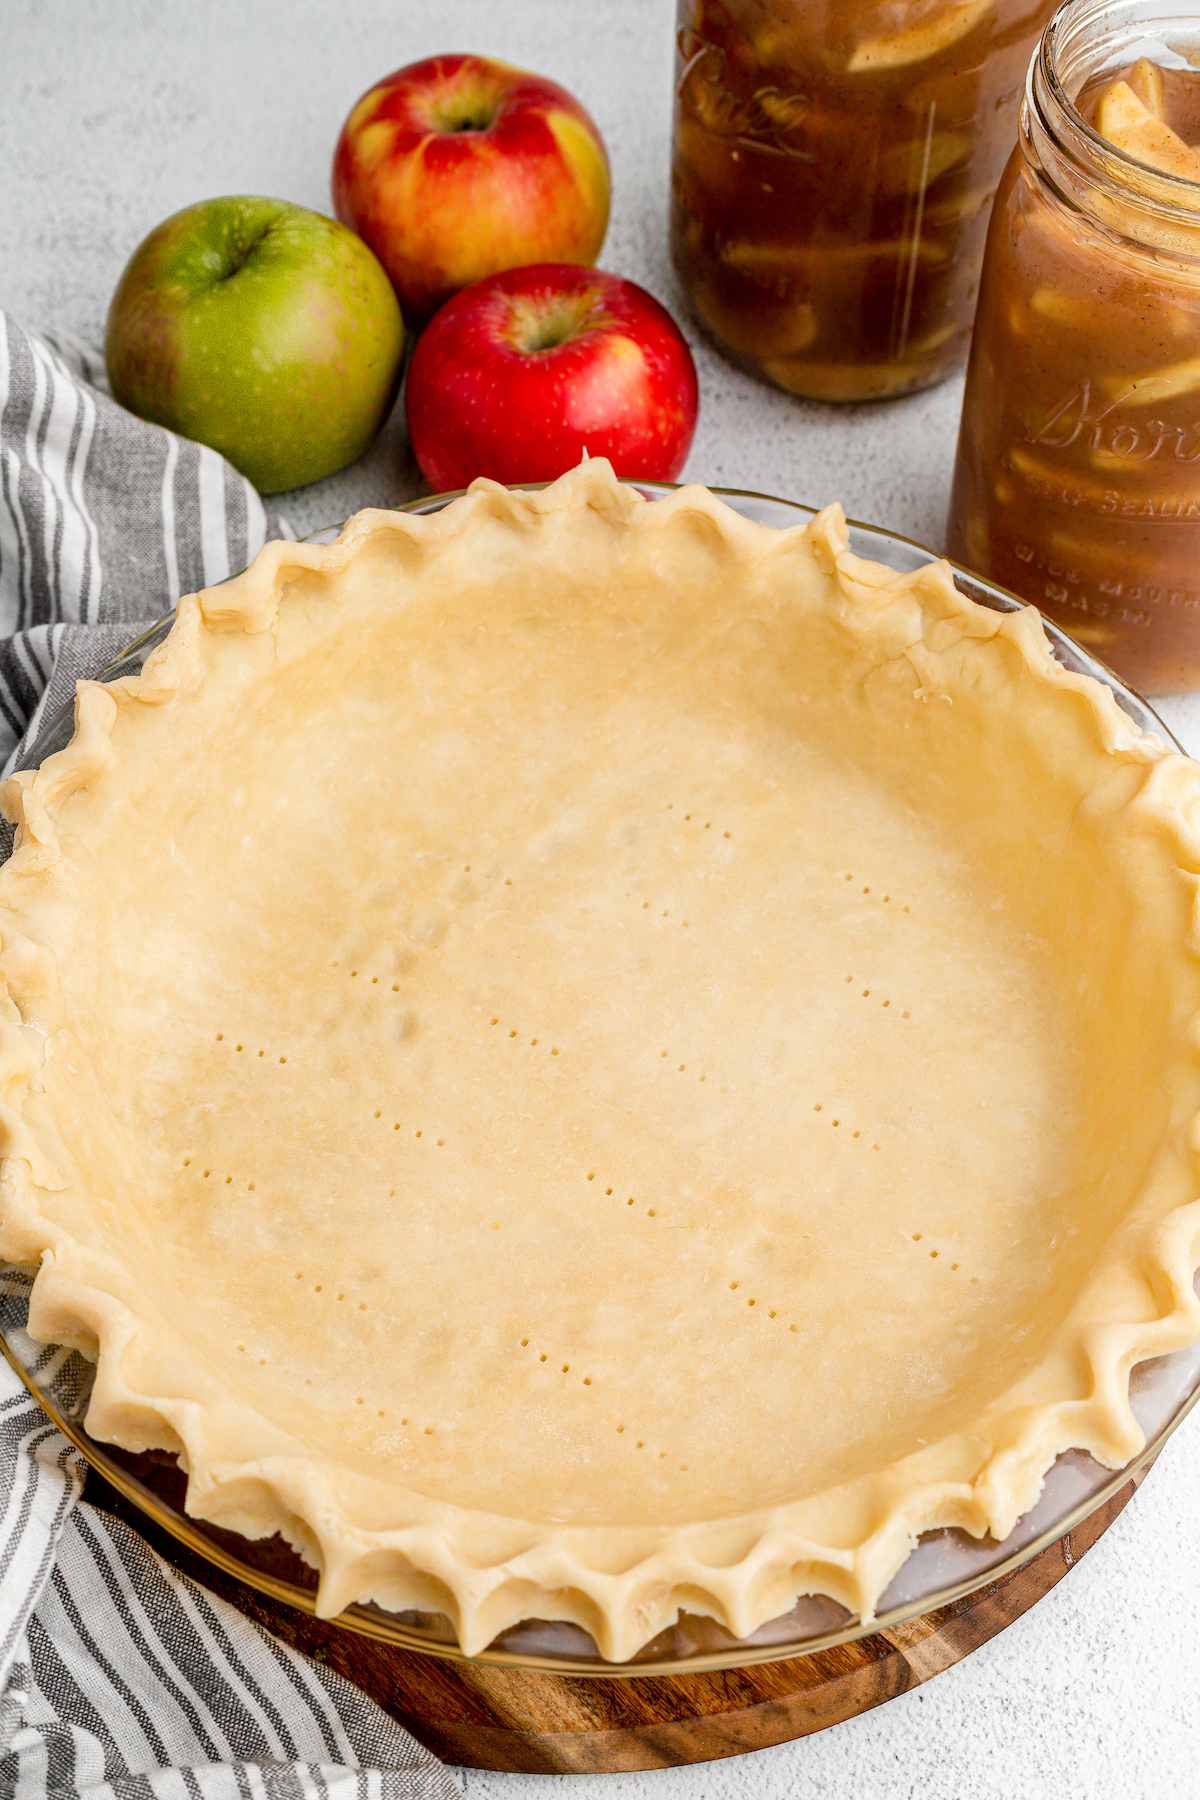
Sometimes, a pie recipe we’re craving calls for a “blind bake”. This is usually a no-bake pie or tart, for example, where the raw pie crust would need to be pre-baked beforehand – here’s how to do it:
- Make the dough as usual, roll it out and place it into a pie plate, and trim off the crust. Easy peasy.
- Use the tines of a fork to poke holes in the bottom of the crust. This helps to keep bubbles at bay.
- Chill the pie crust in the freezer for about 30 minutes to avoid shrinkage as it bakes.
- Press a circle of parchment paper that’s about the same size as the pie crust into the frozen pie crust, then pour in some dried beans. The beans act as a weight and hold the crust in place while it bakes.
- Bake the crust for 15 minutes, then remove the pie crust from the oven and take out the parchment paper and beans. Then, pop it back into the oven for another 10-15 minutes or so until the crust becomes crisp and golden. If you notice the crust is browning too quickly, cover the crust with a pie shield or foil while it finishes baking!
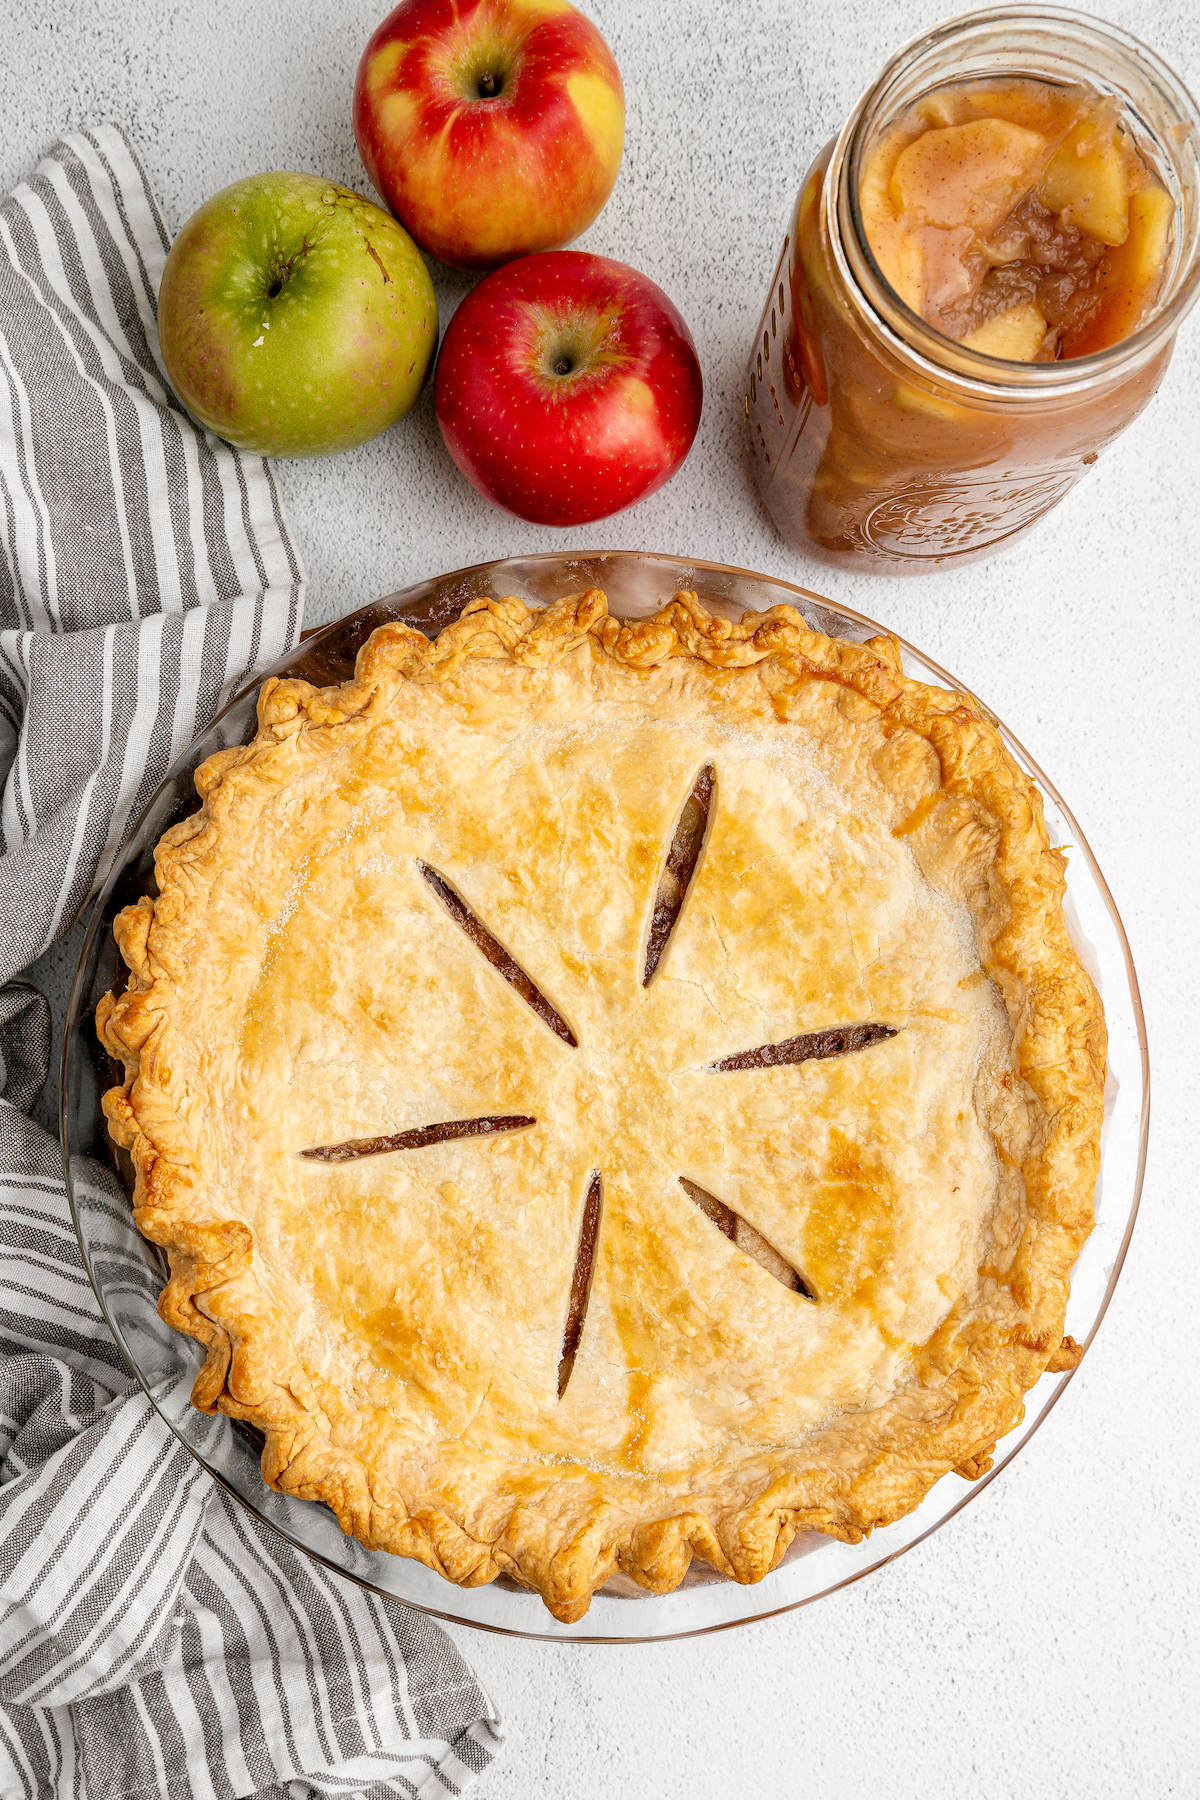
Let’s Make Some Pie!
Now that you have your picture-perfect pie crust ready to go, it’s time to fill it! Here are some easy pie recipes to do your handiwork justice. This pie will work with sweet or savory fillings:
- Brown Sugar Sweet Potato Pie Recipe
- Vinegar Pie
- Pumpkin Pie Cheesecake
- Tennessee Lemon Pie
- Easy Beef Pot Pie Recipe
- McDonald’s Holiday Pie (Sugar Cookie Hand Pies)
More Easy Crust & Dough Recipes
Easy Homemade Pie Crust
Ingredients
Pie Dough
- 2 ½ cups all-purpose flour, divided in half
- 1 cup unsalted butter, cubed, very chilled
- 1 tsp granulated sugar
- ½ teaspoon salt
- 7 tablespoons ice water
- 1 tablespoon apple cider vinegar
Egg Wash (optional)
- 1 egg, beaten
- 1 tablespoon milk or cream
Want to save this recipe?
Instructions
Food Processor Method (Quickest)
- In a food processor, combine half the flour, sugar and salt. Pulse for a few seconds to evenly mix.
- Add the cubed butter to the food processor. Cover and pulse for 20 seconds for a paste to form. Add the remaining flour and pulse for an additional 10 seconds or until the dough is a crumbly texture. Leave in the food processor.
- In a small bowl, combine the ice water and apple cider vinegar.
- Pour 4 tablespoons of the water and vinegar mix over the dough in the food processor. Pulse for about three seconds. Add the remaining water and pulse 8 times, about 1 second each pulse.
- Remove the dough from the food processor and mound together on a clean surface.
Fork/ Pastry Cutter Method (If you don’t have a food processor)
- In a large mixing bowl, combine half the flour, sugar and salt. Mix evenly.
- Add the cubed butter a little at a time. Using your fork or pastry cutter, mash the butter to incorporate into the flour mixture. Add in all the butter and continue to mash until a paste forms. Slowly add in the remaining flour, while you continue to cut through the dough with your fork. Continue until all the flour is folded in and a crumbly texture appears.
- In a small bowl, combine the ice water and apple cider vinegar.
- Pour 4 tablespoons of the water and vinegar mix over the dough in the bowl. Using your fork, press into the dough. Add the remaining water and cut the dough with your fork until all is combined and a dough is formed.
- Remove the dough from the bowl and mound together on a clean surface.
Rolling the dough
- Form into a ball and then divide in half with a sharp knife. Form into two discs and wrap tightly with plastic wrap. Refrigerate for at least 1 hour or up to 24 hours. You may also place it in the freezer for future use.
- After chilling for at least 1 hour, take the dough discs out of the refrigerator and allow them to sit on the counter for roughly 5 – 10 minutes. This makes them easier to work with.
- Lightly flour your work surface and place one of the dough discs in the middle. (Roll two for a double crust pie or save one in the freezer if only doing a single pie crust. Lightly flour both your rolling pin and the top of the dough disc. Using your rolling pin, lightly roll out your dough until about 1/8th inch thick and about 13 inches in diameter. If the dough sticks, lightly add more flour to your surface and rolling pin.
- Gently place the rolled dough onto a 9 inch pie plate, carefully pushing into the bottom of the plate.
- With a scissors or sharp knife, carefully cut off any overhanging dough if needed. Leaving a half inch of dough. Shape the edges of the dough to form a single crust.
- In a small dish, whisk together one egg and 1 tablespoon milk to form an egg wash. Lightly brush over the dough before baking.
- Follow the baking instructions for both single and double crusts on your favorite pie recipe. (Baking times will vary by pie filling selection and recipe).
⭐️ Tried this recipe? Leave a comment and rating! It only takes a minute and helps support our family-run blog. ❤️
Notes
Nutrition
Categories:
Post may contain affiliate links. Read my disclosure policy.







So so so yummy!! And so easy to make & freeze too. What temp do you blind bake the crust?
425°F! So glad you love it, Sarah!
This recipe resulted in hard Civil War biscuits. It took forever to bake. I followed the recipe and tried my best to tweak it so it wasn’t so hard and so I could attempt to roll it out. I was super disappointed because this was my first pie using fresh apples I picked myself.
Hi Marina, I’m honestly confused, did you use this pie crust to make biscuits? Or are you saying the pie crust was hard? It sounds like it was over baked. When you say you tweaked it, what did you add to the dough? If the dough was unable to be rolled, it sounds like you may have used too much flour. Make sure you are properly measuring your flour: First by fluffing it with a fork so it’s not packed in the bag or container. Then scooping it into the measuring cup and using a butterknife to scrape across the top of the measuring cup to level the top.