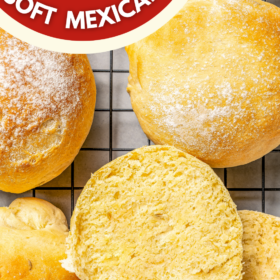
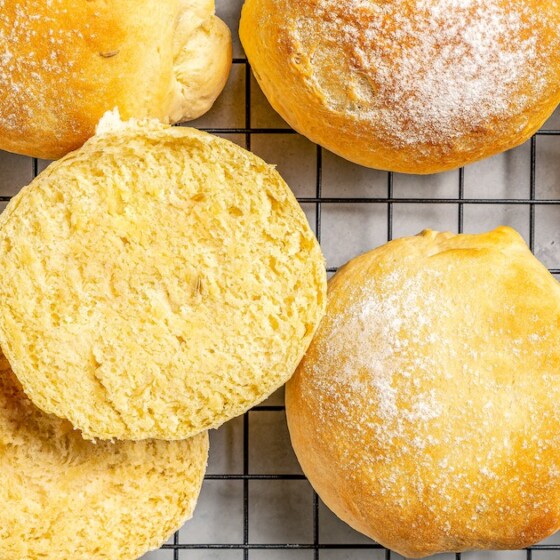
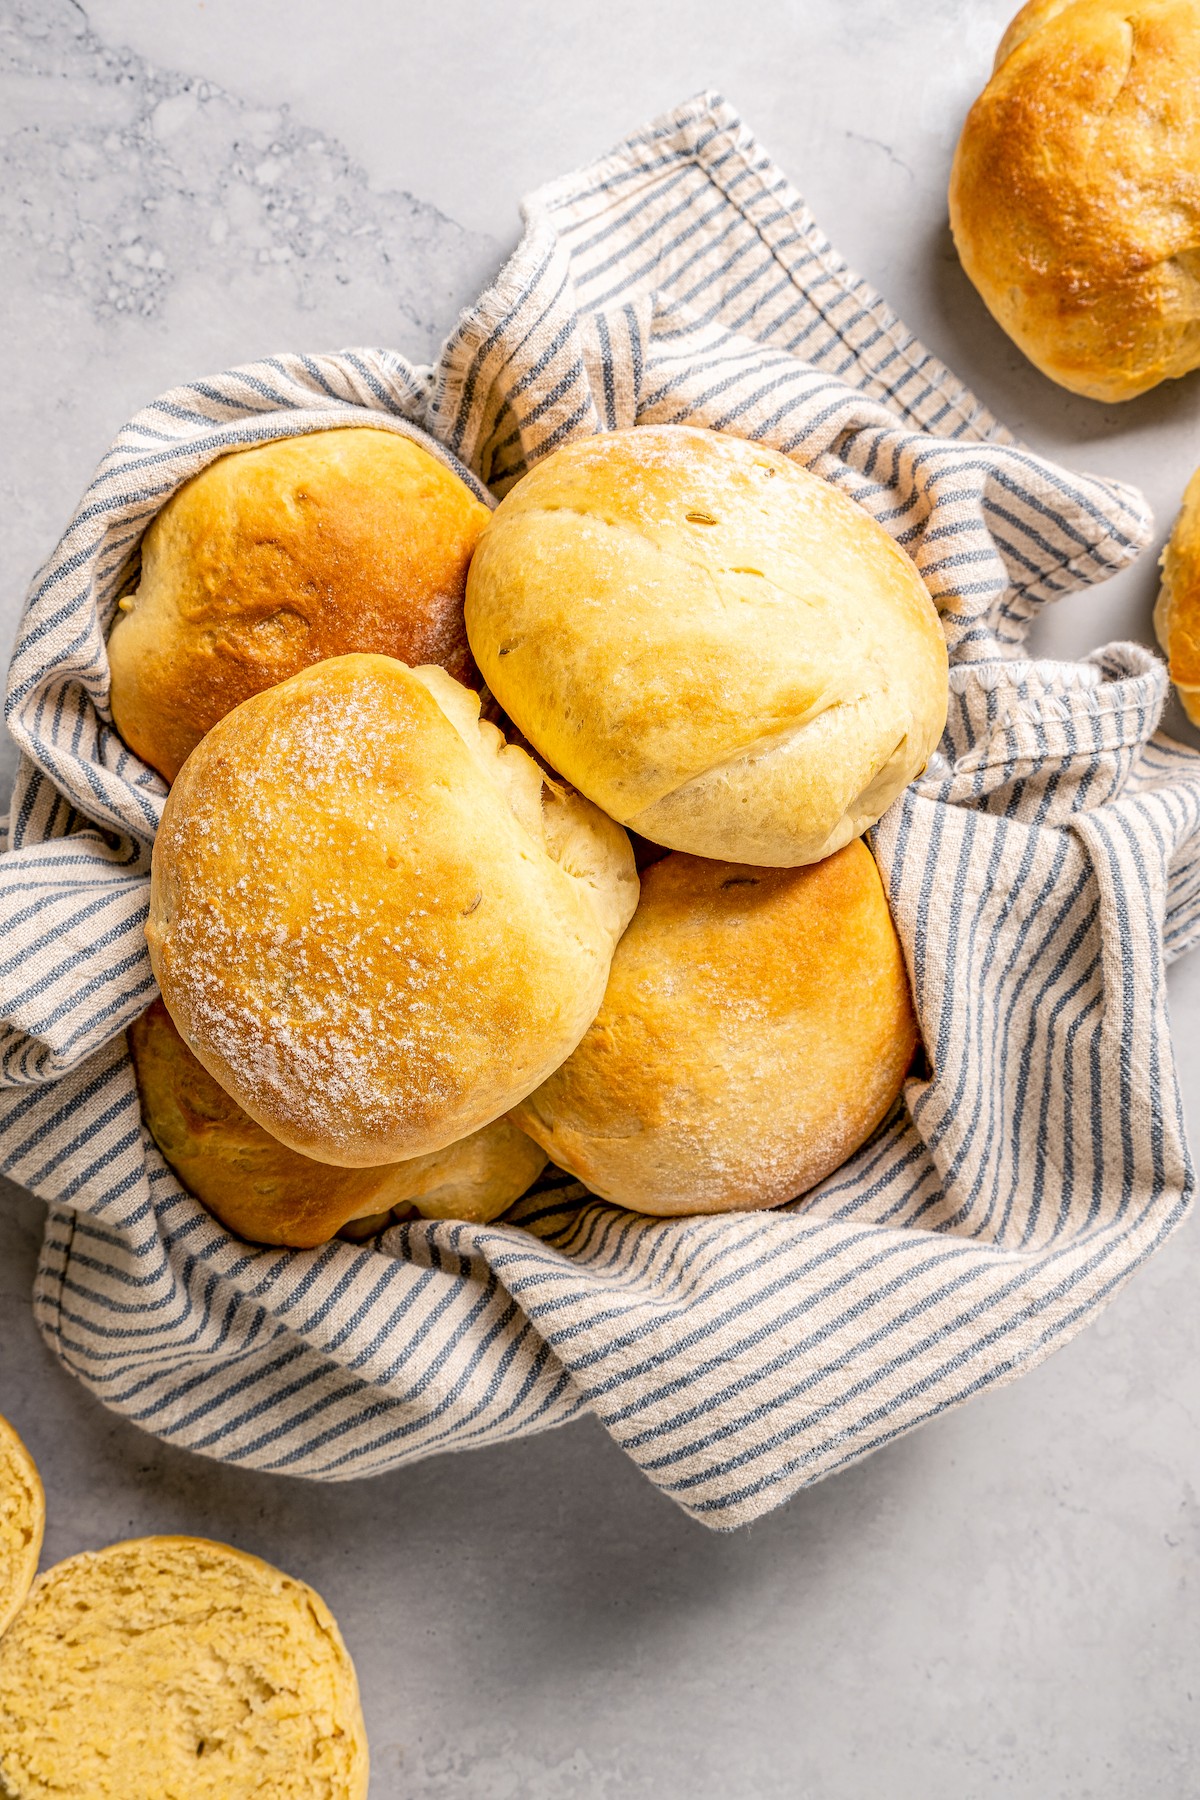
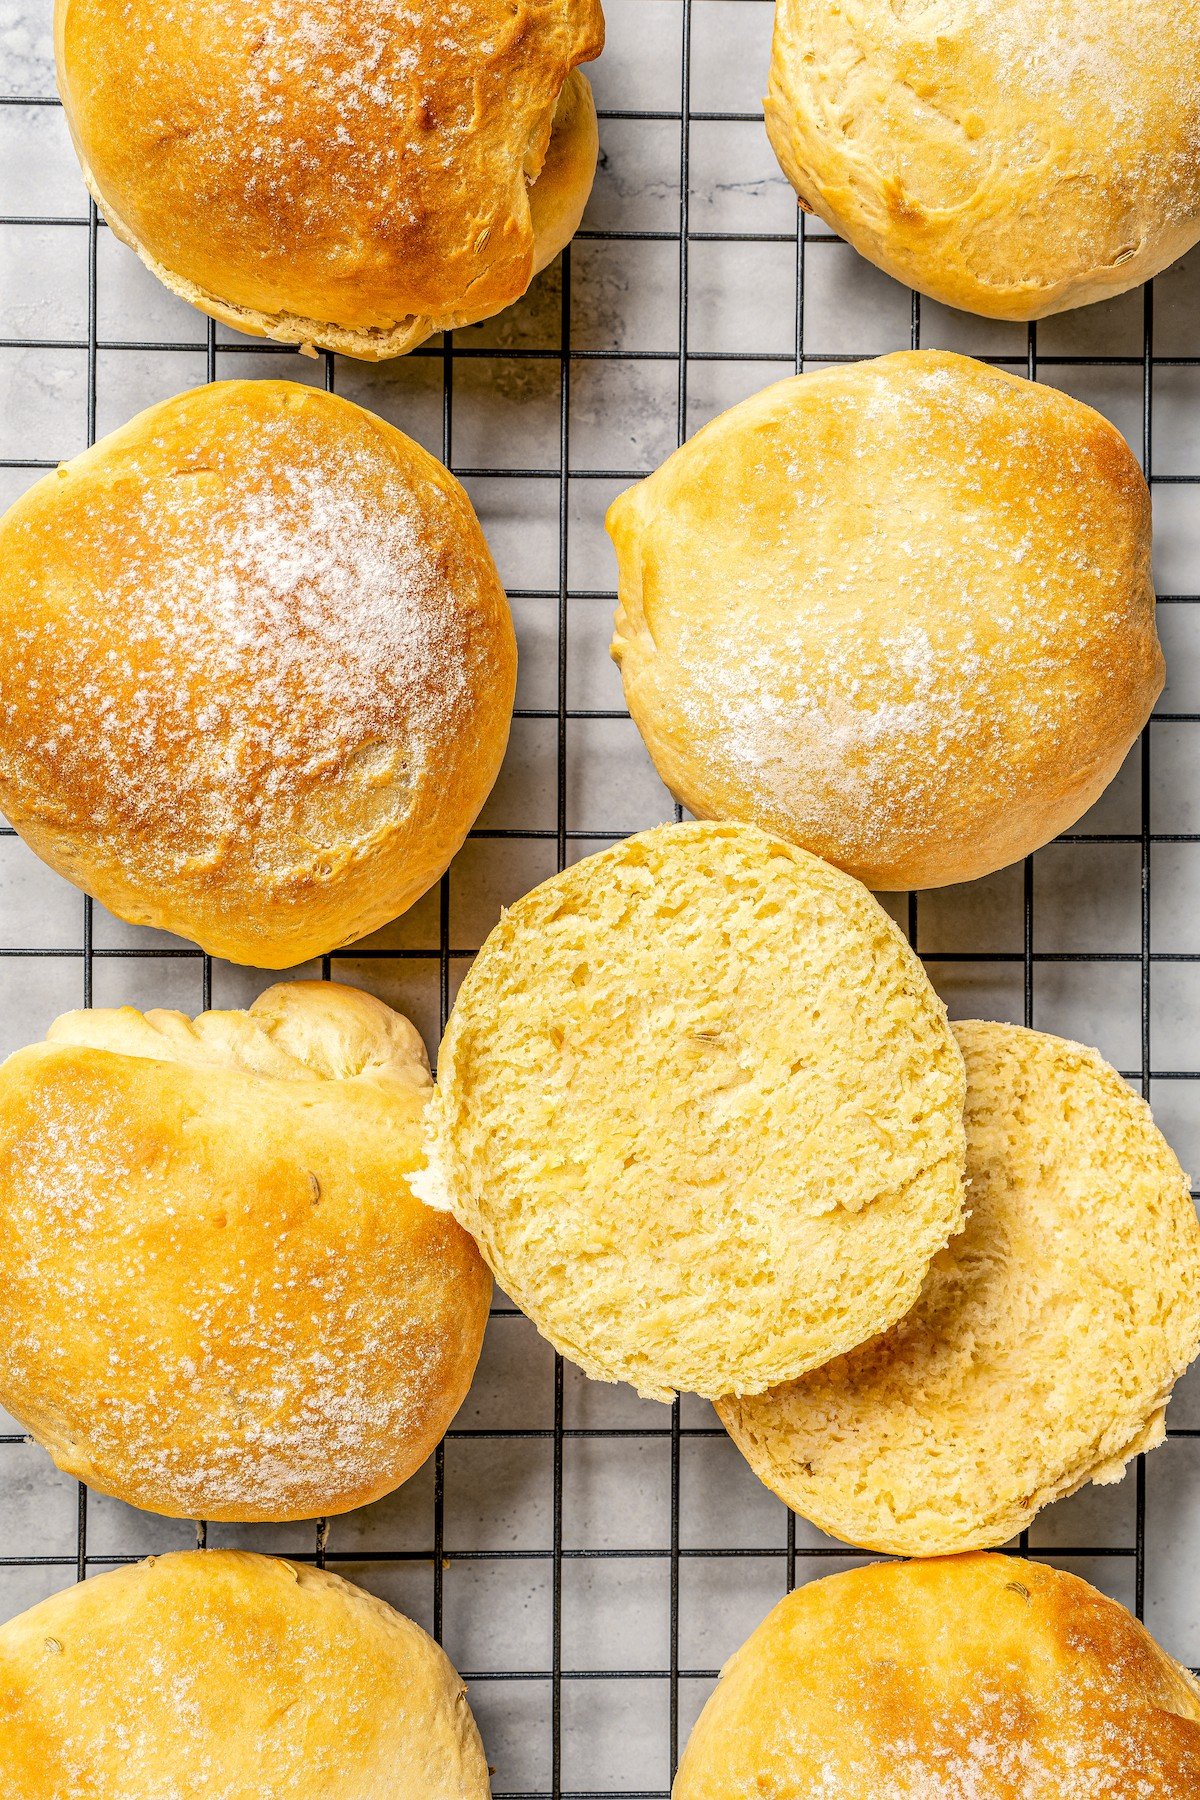
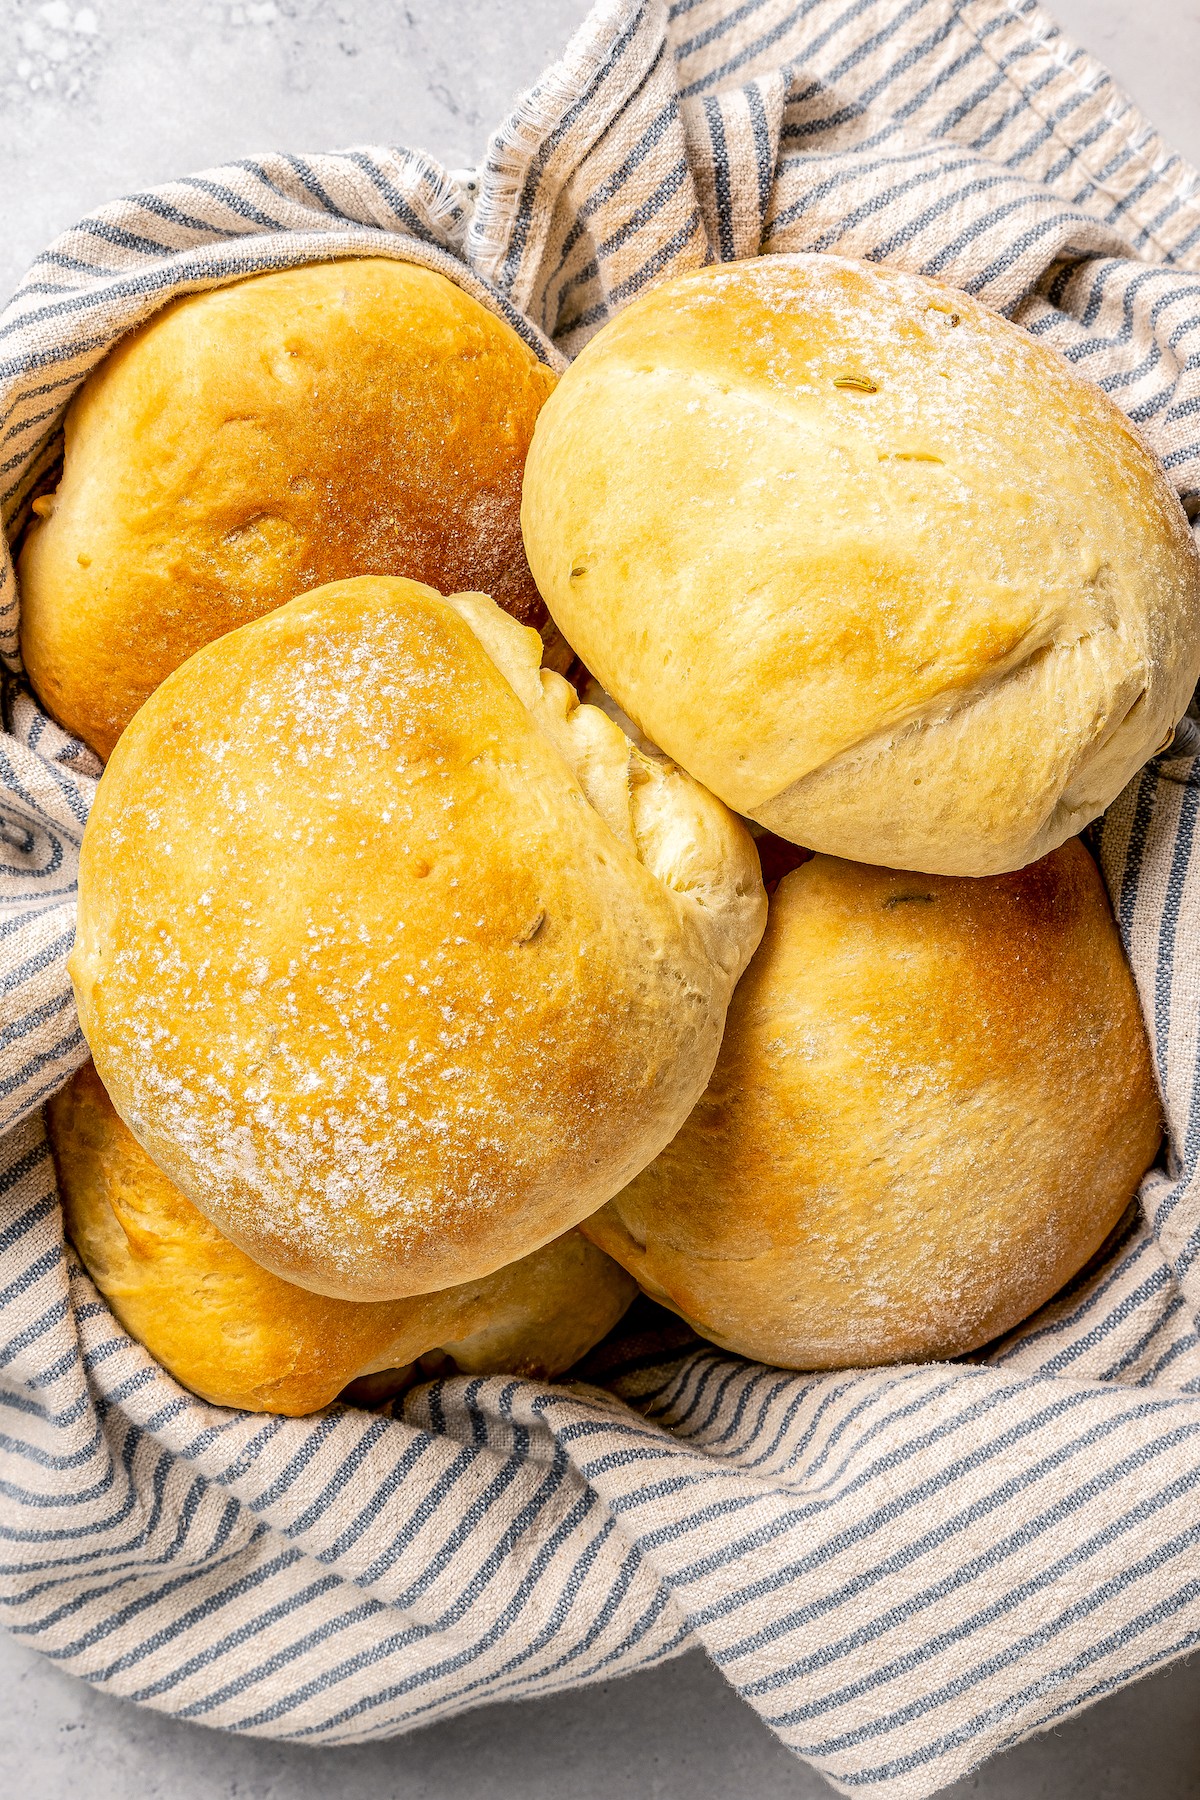
With a lovely golden color, these sweet cemitas have a hint of anise seeds to spice up your traditional Mexican baking projects. Dusted with a bit of flour, they’re waiting to be dunked into your morning coffee or spread with jam for breakfast.
Want to save this recipe?
What Are Cemitas?
Cemitas are a traditional Mexican bread that can be sweet or savory depending on the region it’s made in. Sweet versions are typically made with vanilla extract, more sugar (sometimes piloncillo), spices, and/or anise seeds. Savory ones, on the other hand, consist of a sprinkle of salt, less sugar, wheat bran, etc.
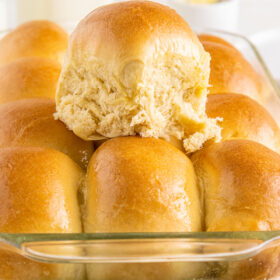
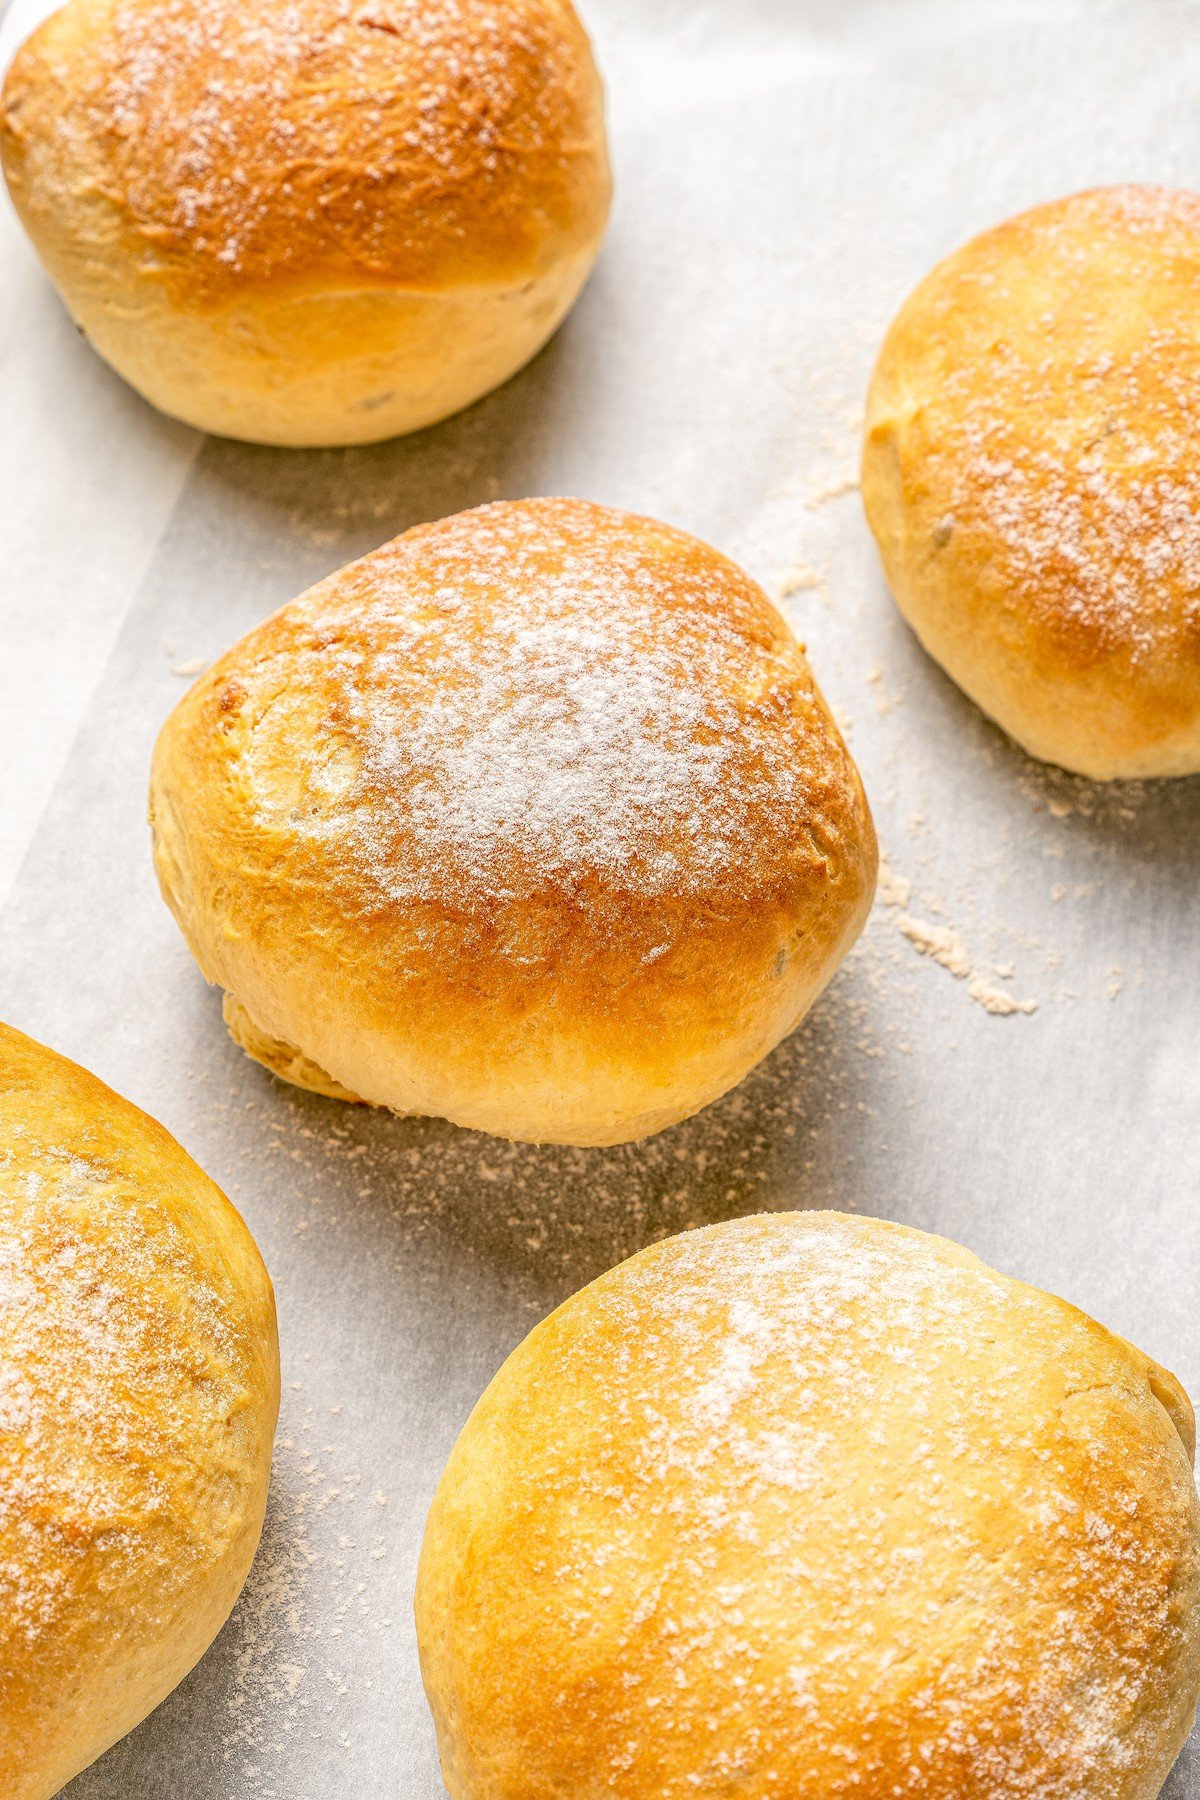
They’re light and fluffy, much like brioche buns but without its buttery richness. They’re also dusted with a bit of flour for their signature look. Cemitas can be bought in Mexican bakeries. However, you should always double check whether their variety is sweet or savory. Sweet ones are enjoyed over breakfast, while savory ones can be used to make special sandwiches for lunch.
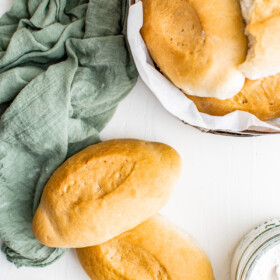
For more fun Mexican baking recipes, try out these Bolillos and Mantecadas!
What’s in this Cemitas Recipe?
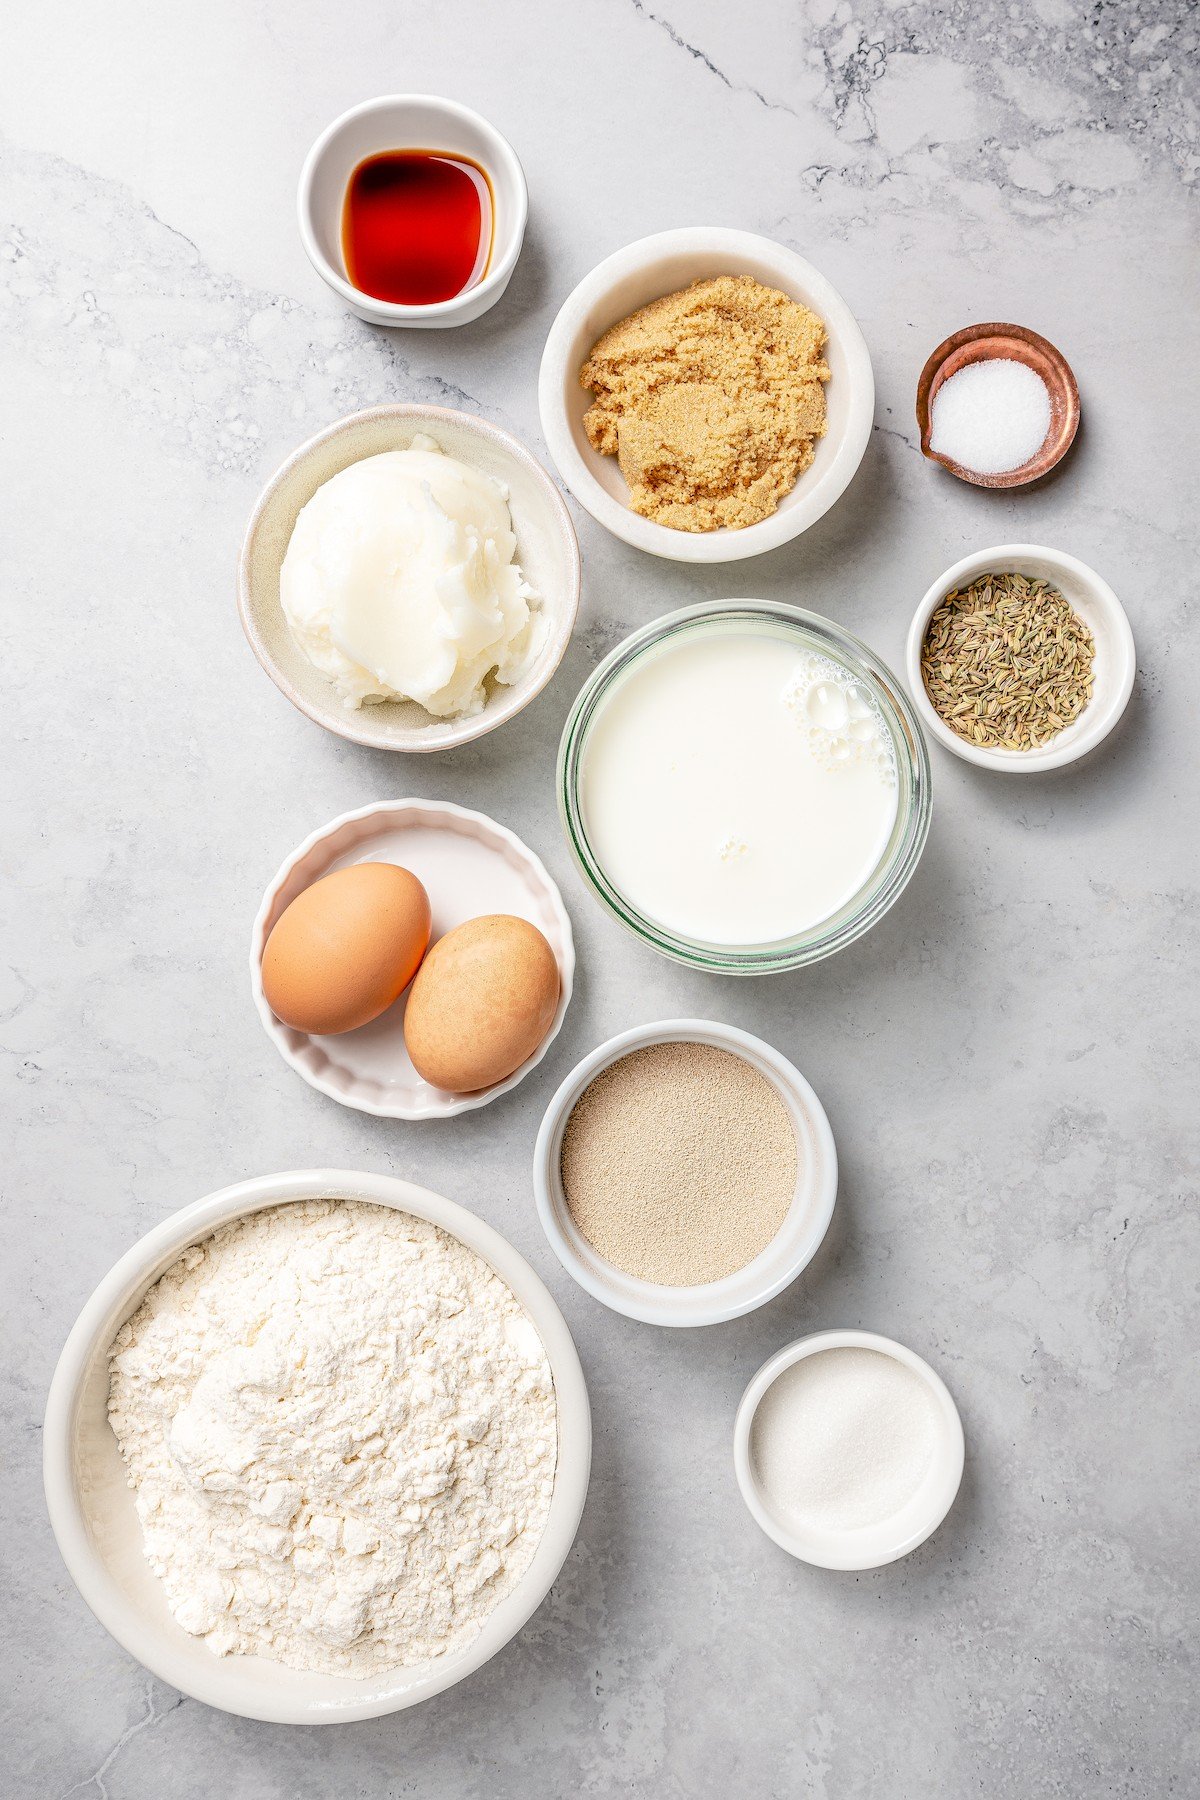
You’ll find basic baking ingredients like flour, sugar, and eggs in this recipe. Check the recipe card at the bottom of the post for full amounts.
- Eggs
- Instant Dry Yeast – Instant yeast is my go-to for this recipe. Instant yeast can go by a few different names depending on the brand, like fast rising yeast or rapid rise yeast.
- Granulated Sugar – You can also use light brown sugar.
- Milk – I prefer whole milk, but low-fat milk is a good swap.
- Vegetable Shortening – Don’t substitute this.
- Light Brown Sugar – Feel free to use granulated sugar.
- Eggs
- Anise Seeds – These aren’t the same as star anise, Anise Seeds are much smaller.
- Vanilla Extract
- All-Purpose Flour – You can also use bread flour.
- Salt
- Cooking Spray
Tips for Success
Use these tips to handle dough like a pro, even if you’re not that much of a bread-baker:
- Avoid cloudy days. Rising the dough always takes especially long when it’s cloudy or cold outside. If possible, try to avoid these kinds of days so you don’t have to wait forever to pop the bread into the oven.
- Let it rise. Factors like your countertop material and humidity can affect how long your dough takes to rise even on a warm day. If your dough still hasn’t doubled in size when the rising time is up, let it rise for another hour or two. Unrisen dough results in flat, dense bread.
- Slap it on the counter. When you’re tired of kneading, you can slap the dough on the counter for 3-4 minutes. This helps develop the gluten much faster by stretching the dough. Roll it into a ball or small log and slap it on the counter. Re-roll it and repeat.
- Let it rest. If you feel like the dough just isn’t coming together, walk away and let it rest for 15-20 minutes to let the gluten relax and be more manageable. After that, come back and continue kneading.
- Toast it. Slice the cemitas in half and spread each half with 1/2 tablespoon of butter. Place them in the toaster oven until nice and golden. It’s another way to enjoy them!
How Do You Eat Cemitas?
Since these cemitas are sweet, they’re a great breakfast treat after a large bowl of Chilaquiles Rojos or served along side some of my favorite Tortilla Española (Spanish Potato Omelette)! To enjoy them like a true local, though, you need to dunk them in your drink!
Pair them with your favorite coffee like my Dalgona Coffee recipe. They’re also great with tea or milk. For an extra sweet treat, you can slice them in half and spread them with your favorite jam too.
How to Store
Once fully cooled, you can store cemitas in an airtight container or in a paper bag depending on the weather in your area. If it’s humid, keep them in an airtight container for up to 5 days. If there’s not much humidity, you can keep them in a paper bag for up to 3 days.
To bring them back to life once they turn stale, sprinkle them with 1/2 teaspoon of water and microwave them in 5-second intervals until nice and fluffy again.
Can I Freeze Cemitas?
Yes! You can freeze them baked or unbaked. Here’s how:
- Baked. Place fully cooled cemitas on a lined baking tray. Freeze them for 1-2 hours. Wrap each one in plastic wrap twice and then in foil once. Transfer them to a freezer-friendly bag or container. Freeze for up to 3 months. When ready to enjoy them, place them at room temperature for 1-2 hours or until fully thawed.
- Unbaked. After the first rise, place the balls of dough on a lined baking sheet. Freeze for 2-3 hours. Wrap each one in plastic wrap twice and then in foil once. Place them in a freezer-friendly bag or container. Freeze for up to 6 months. When ready to bake, place them on a lined baking sheet and let them come to room temperature. Give them another hour or so to rise again. Bake as usual.
More Mexican Recipes to Try
- Chicken Tinga (Tinga de Pollo)
- Homemade Churros
- Elote (Mexican Street Corn)
- Birria or Birria Tacos
- Chili Colorado
Cemitas
Ingredients
For the Yeast Mixture
- 4 tablespoons instant dry yeast
- 1 tablespoon granulated sugar
- ½ cup whole milk, warm
For the Buns
- ¾ cup whole milk, warm
- ½ cup vegetable shortening, melted
- ½ cup granulated sugar
- ¼ cup light brown sugar
- 2 eggs, whisked
- 1 ½ tablespoons anise seeds
- ½ teaspoon vanilla extract
- 4 ¾ cups all-purpose flour
- 1 teaspoon salt
- Cooking spray
Want to save this recipe?
Instructions
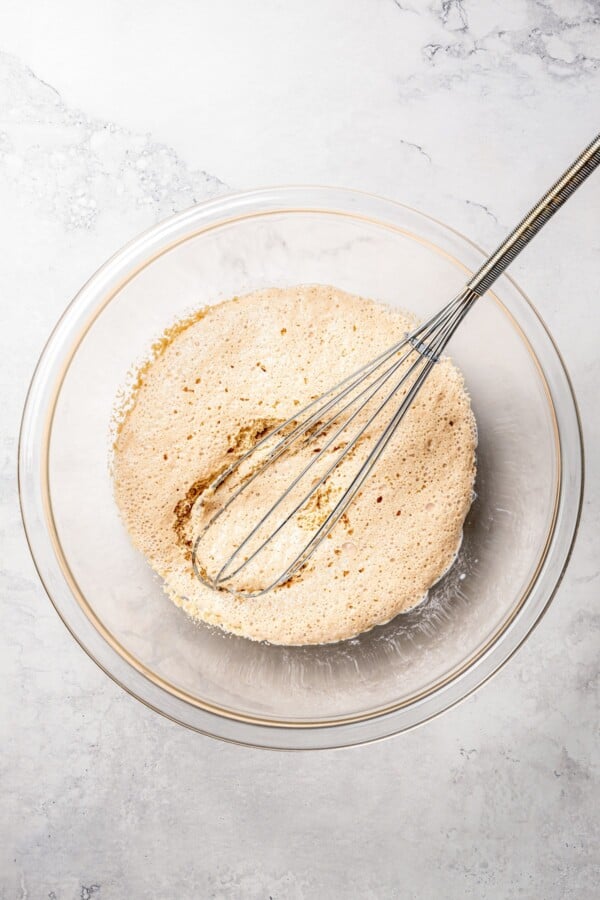
- Add the yeast, granulated sugar, and warm milk in a large bowl. Whisk until well combined and set it aside to proof for 15-20 minutes or until frothy and foamy.
- Pour the remaining milk into the bowl. Slowly stream the melted shortening into the mixture while whisking continuously. Stir the granulated sugar and light brown sugar into the mixture.
- Mix the eggs, anise seeds, and vanilla extract into the mixture. Stir until you get a smooth mixture.
- Place the all-purpose flour and salt in the bowl. Use a wooden spoon to mix them in until you form a loose dough.
- Remove the loose dough from the bowl and place it on a lightly floured surface. Knead it for 12-16 minutes, rolling it in and away from you. Once it's smooth, roll it into a ball.
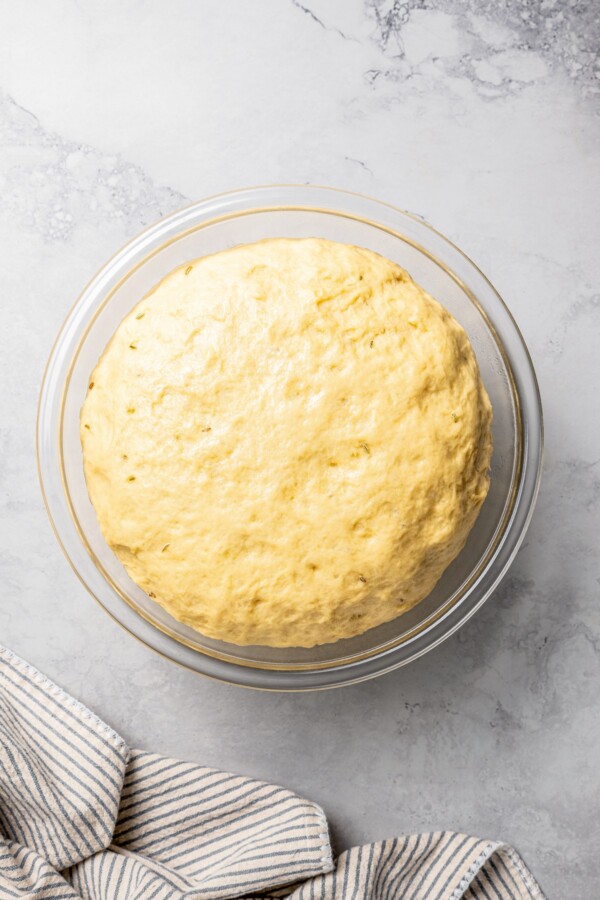
- Lightly grease a large bowl with cooking spray. Place the ball of dough inside. Cover it with a clean kitchen towel or plastic wrap. Set it aside to rest in a warm place. Let it rest for 1-3 hours or until doubled in size.
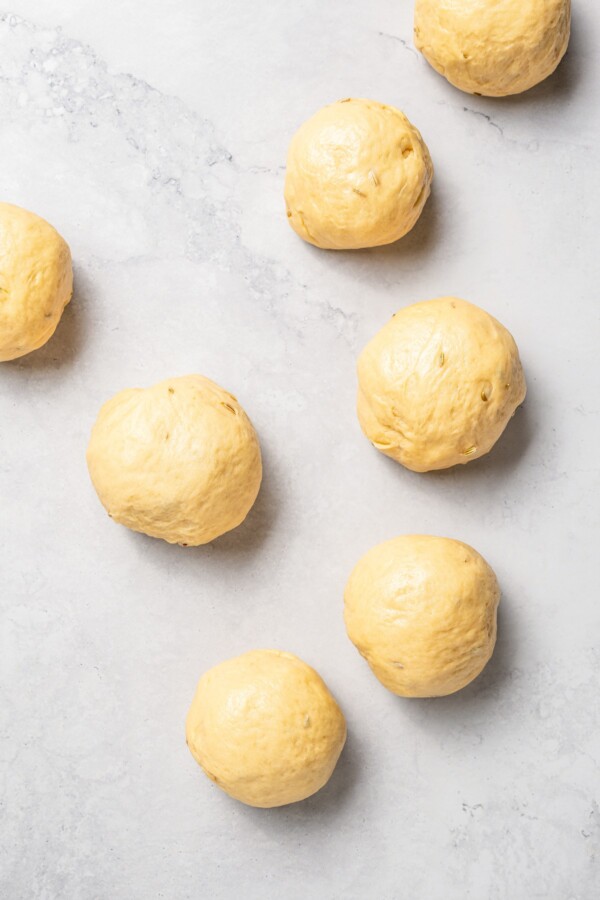
- Remove the dough from the bowl and set it on a lightly floured surface. Punch the air out and re-roll the dough. Divide it into 10-12 equal-sized pieces. Roll them into little balls.
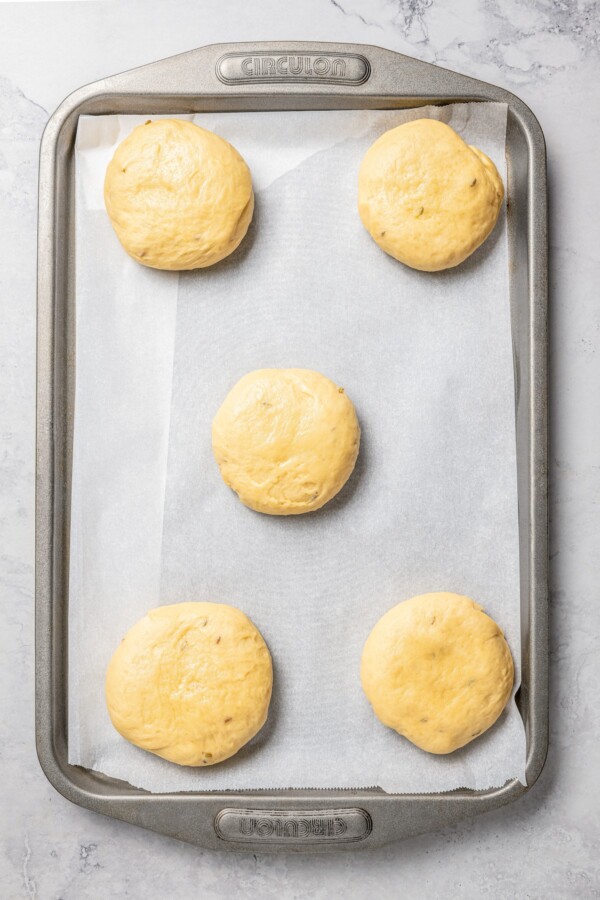
- Preheat the oven to 390 F. Line two baking trays with parchment paper or silicone baking mats. Place 5-6 balls of dough on each tray, leaving about 5" of space between each one. Gently use your hands to press the dough and flatten them.
- Cover the trays with clean kitchen towels. Allow the buns to rise for 15-20 minutes. Lightly dust them with flour on top.
- Pop one tray into the oven at a time to ensure even baking. Place it on the middle oven rack and bake for 10-15 minutes or until lightly golden on top and on the bottom. Remove the tray from the oven and repeat for the other tray. Let them cool for at least 15 minutes before serving.
Nutrition
Post may contain affiliate links. Read my disclosure policy.

