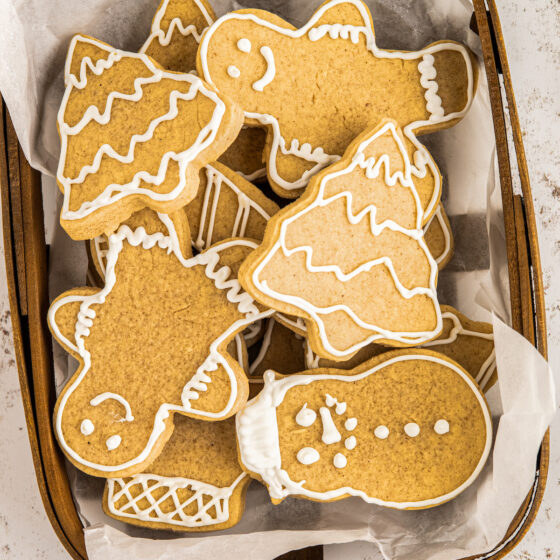
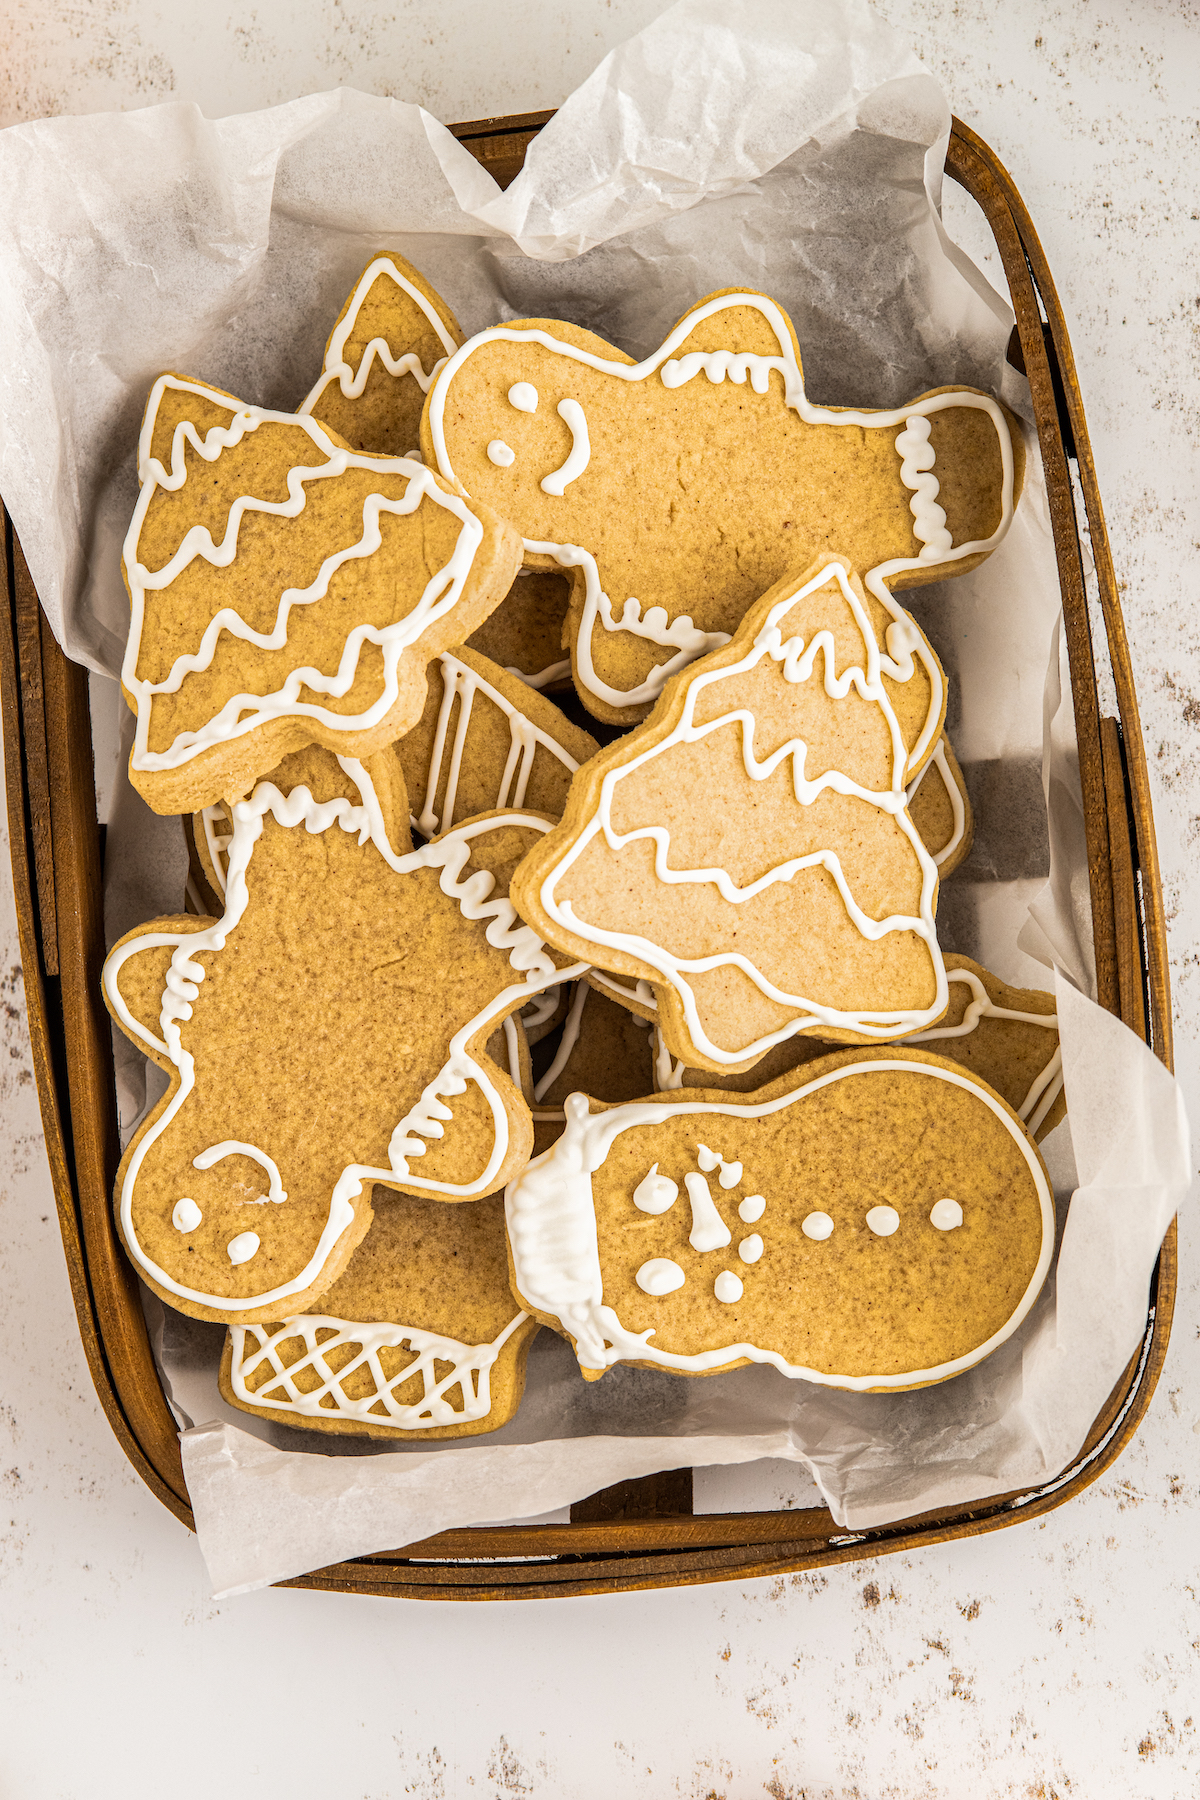
Soft, chewy, melt-in-your-mouth Christmas Sugar Cookies are lightly sweet, with notes of warm wintery spices. Decorated with a sweet and simple icing outline, they’re the perfect Christmas treat!
Want to save this recipe?
Christmas baking is a big deal around here – although, to be fair, so is fall baking, Easter baking, Valentine’s Day baking… you get the idea. But even for this baking addict, Christmas is extra-special! And it just wouldn’t be the same without traditional decorated sugar cookies.
This recipe is basically a tender rolled sugar cookie dough, with a little bit of warm spice added for an extra-Christmassy flavor and fragrance. Classic royal icing, made with meringue powder instead of egg whites, brings it all together with simple but pretty outlining.
(For more sugar cookie favorites, be sure to check out these Frosted Sugar Cookie Bars, Chocolate Sugar Cookies, Brown Butter Sugar Cookies, and these epic Copycat Lofthouse Cookies!)

What You’ll Need
So what will you need to make these traditional Christmas sugar cookies? Let’s take a look! You probably already have most of the items in your pantry.
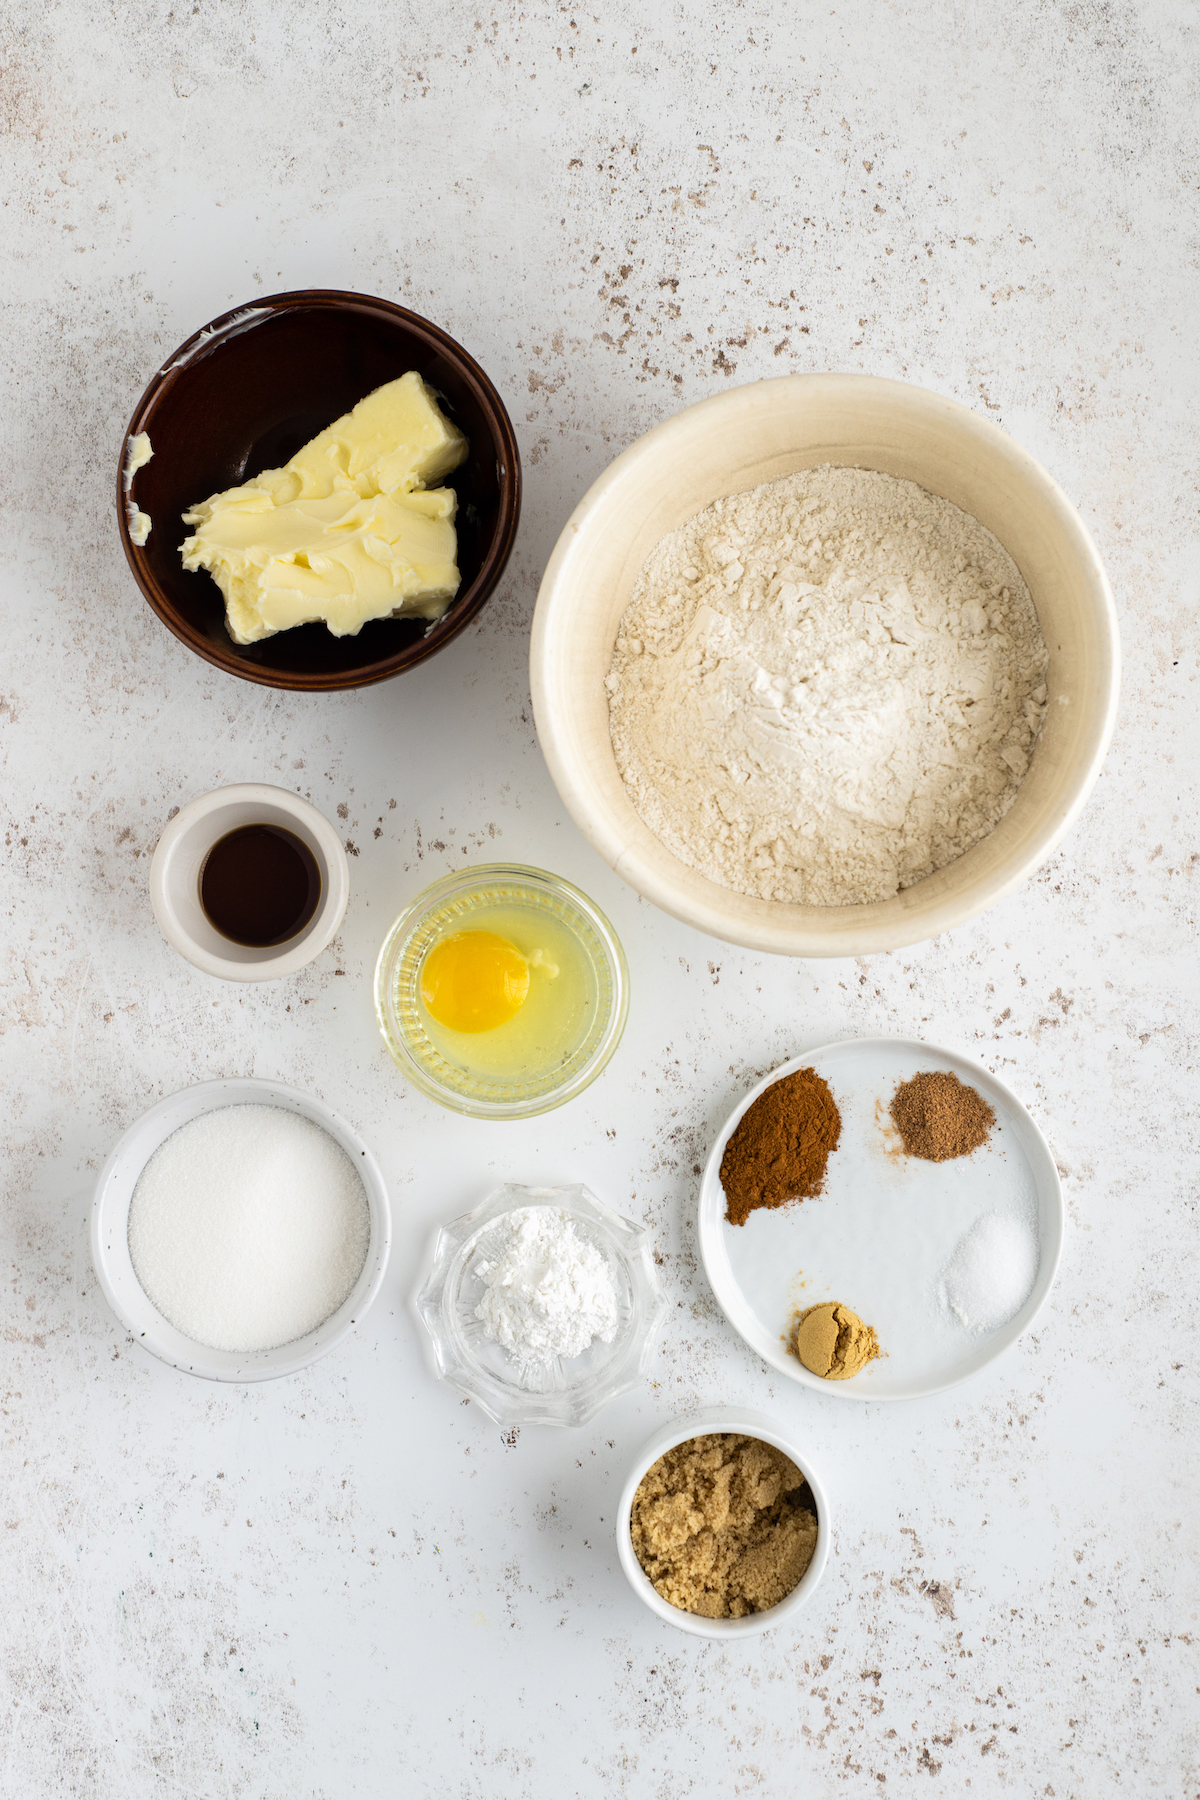
For the Cookie Dough
- Flour: All-purpose flour is just right for this recipe.
- Baking Powder: Be sure you use baking powder, not baking soda, or the cookies won’t have the right texture.
- Salt
- Spices: Cinnamon, ginger, and nutmeg.
- Butter: I often use unsalted butter, but in this recipe, I recommend using salted.
- Sugar: Granulated sugar and brown sugar for a light but tender texture.
- Egg: A large, whole egg brings the dough together and adds structure.
- Vanilla: Pure vanilla extract gives the best flavor.
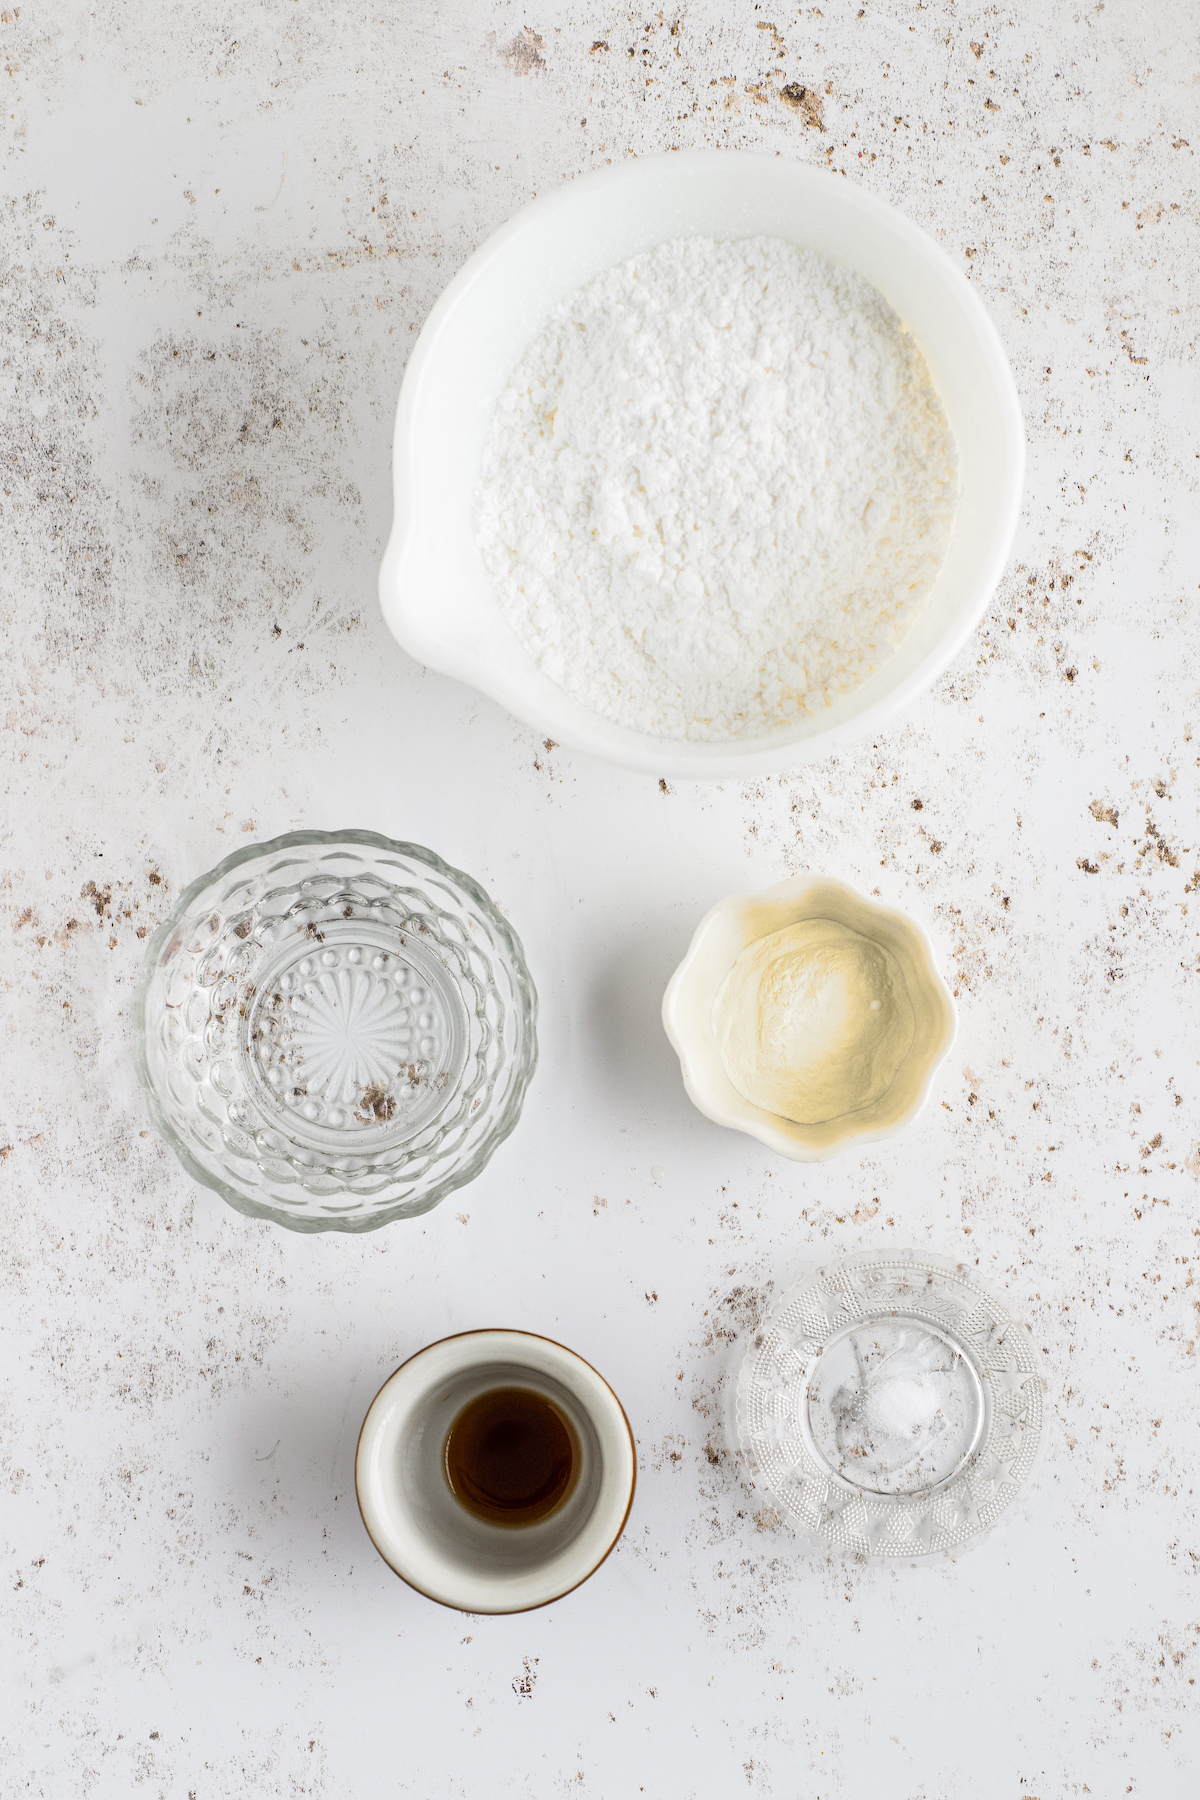
For the Icing
- Powdered Sugar: Make sure to use powdered sugar, not granulated, or the icing won’t have the right consistency.
- Meringue Powder: This is usually available in grocery stores, or in some craft stores that sell baking items. You can also order online.
- Vanilla: Again, pure extract is best if you have it. If not, regular vanilla flavoring will do.
- Salt
- Water: To bring the icing together.
This easy dough doesn’t need any refrigeration, and is fun to roll and cut. A great holiday activity to do as a family! Here’s the process in a nutshell.
Bake the Cookies
- Get Your Oven and Baking Sheet(s) Ready. As usual with cookie making, you’ll want to preheat your oven and get your baking pans all set. Heat the oven to 350°F.m, and line the baking sheet(s) with parchment paper or with silicone baking mats.
- Combine the Dry Ingredients. Next, get a medium-sized mixing bowl, and measure the flour, baking powder, salt, and spices into it. Whisk or stir to combine.
- Beat the Wet Ingredients. In the bowl of a stand mixer, fitted with a paddle attachment, beat the butter and sugars on a medium-high speed, until the mixture is smooth and creamy. Add in the egg and vanilla, and beat again to combine.
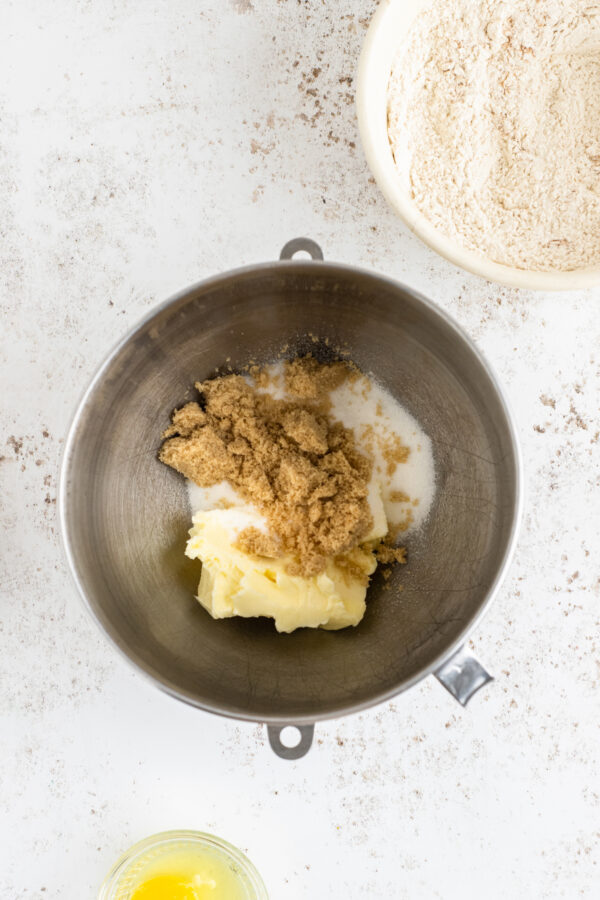
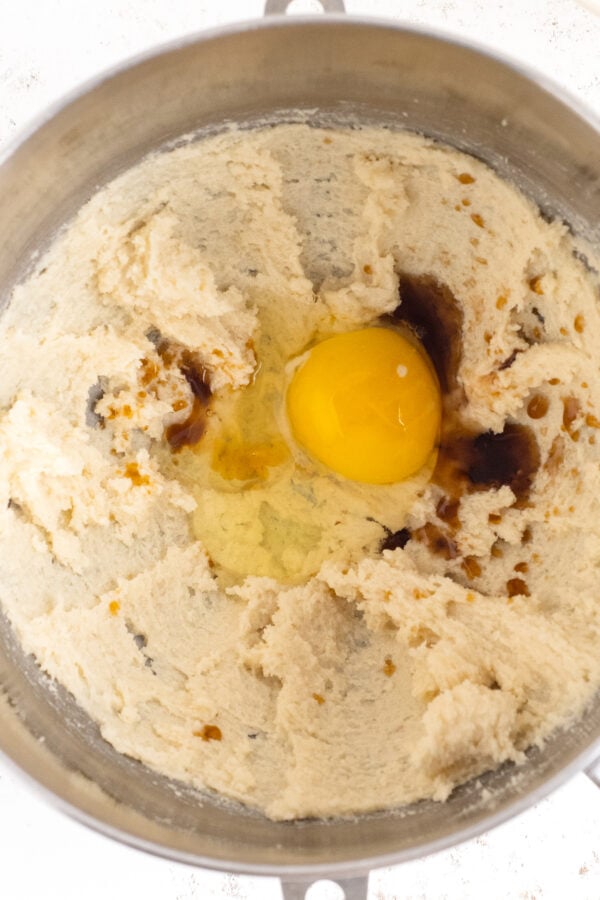
- Combine the Dry and Wet Ingredients. Add the flour mixture to the butter mixture in the stand mixer bowl, and mix until the two are just combined and form a dough. Turn the dough out onto a clean, floured surface.
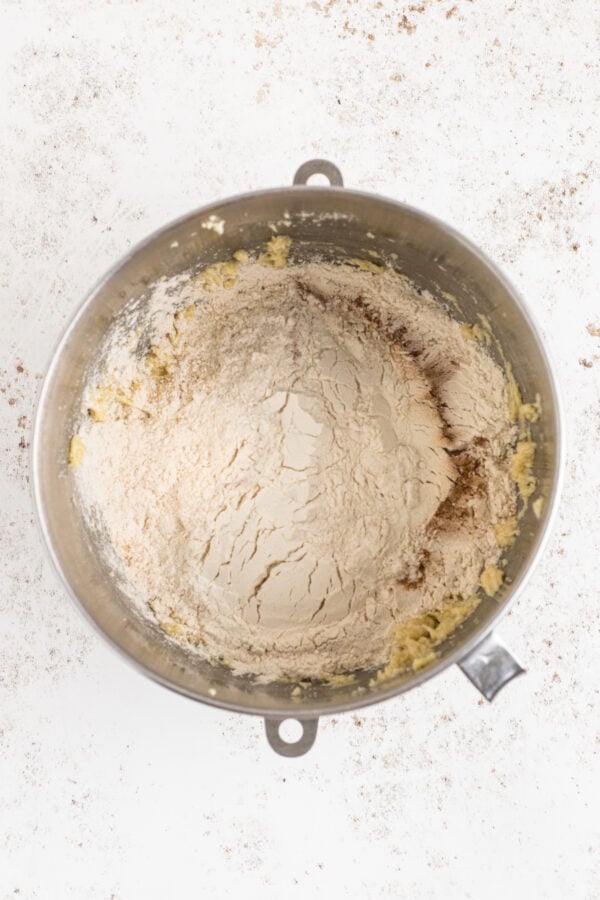
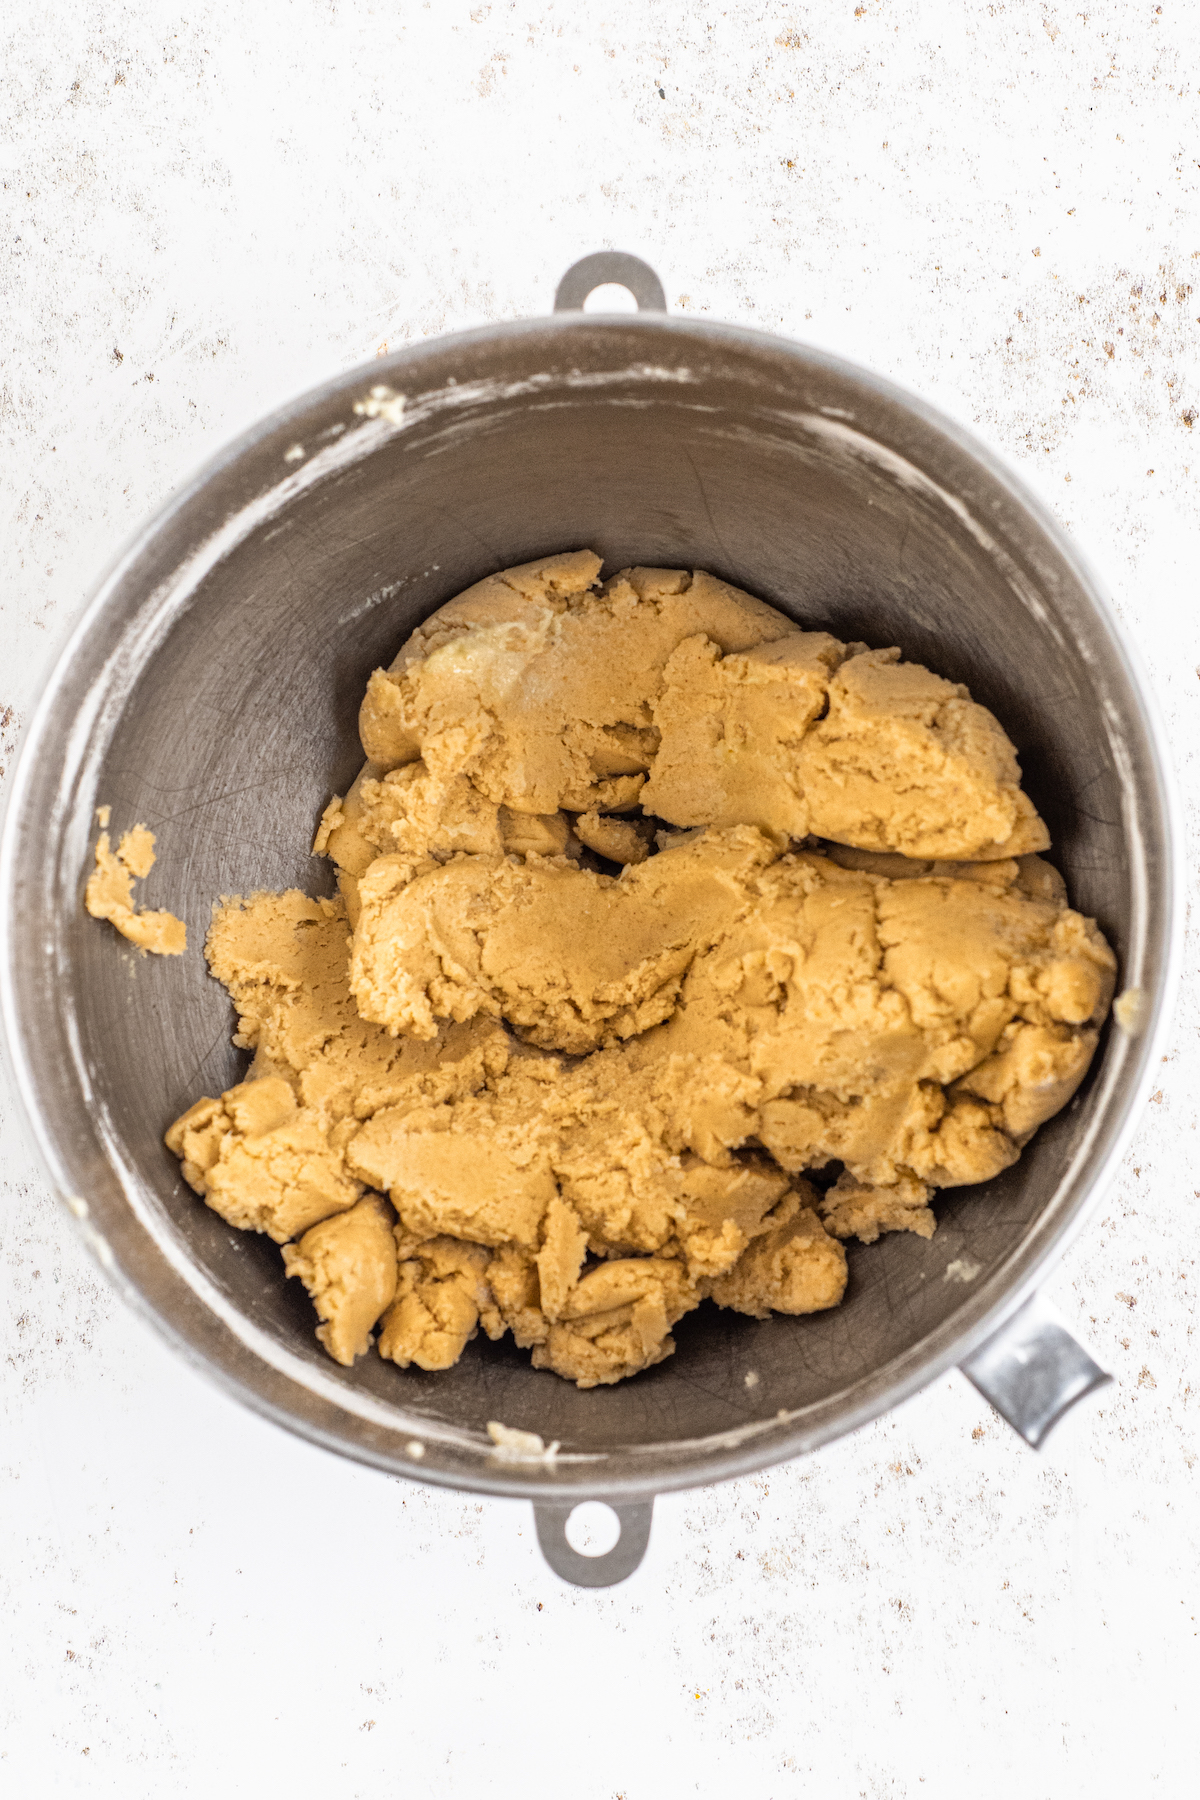
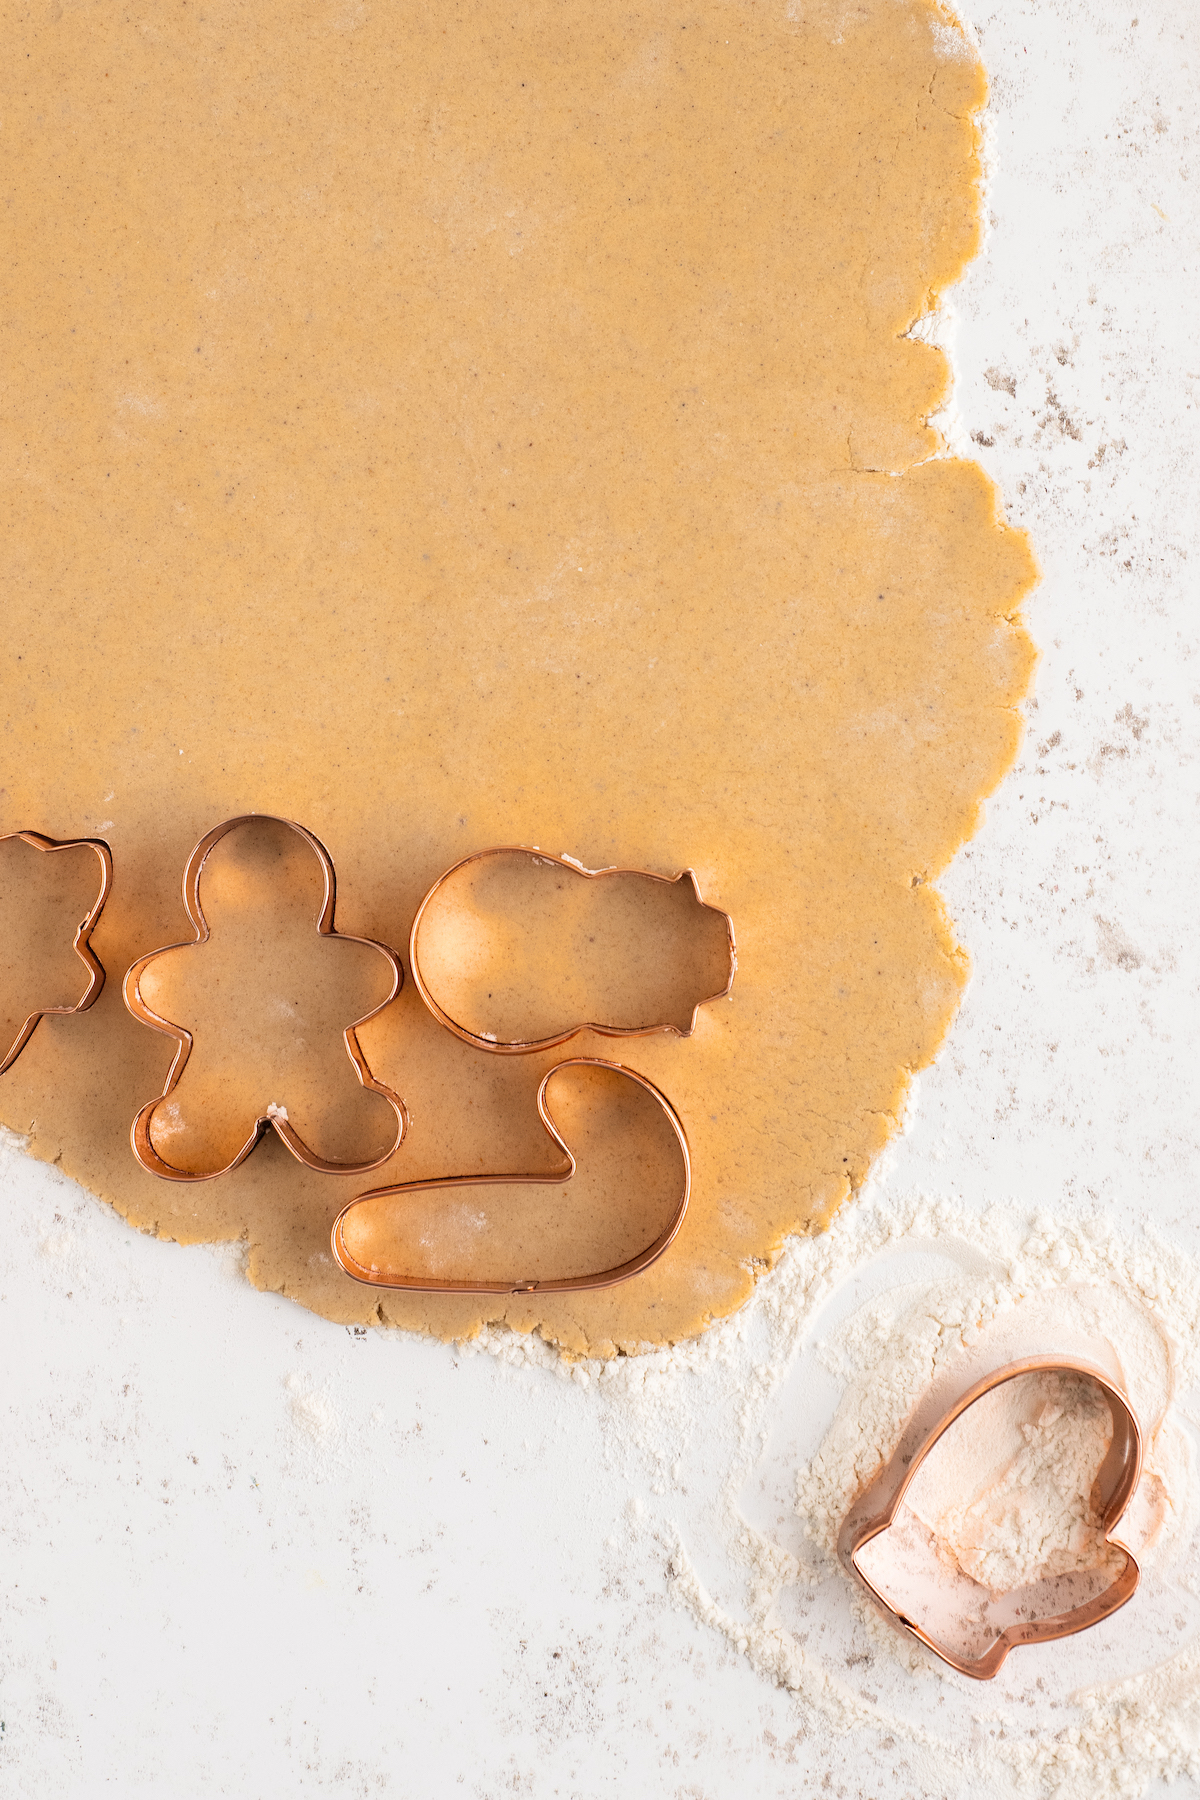
- Roll the Dough and Cut Out Cookies. Lightly flour a rolling pin, and roll the dough out to 1⁄4” thickness. Cut out as many cookies as you can, using various cutters, and set the cookies on your prepared baking sheet. Then re-roll the scraps of dough, and cut out more cookies. Repost this until all of the dough has been used.
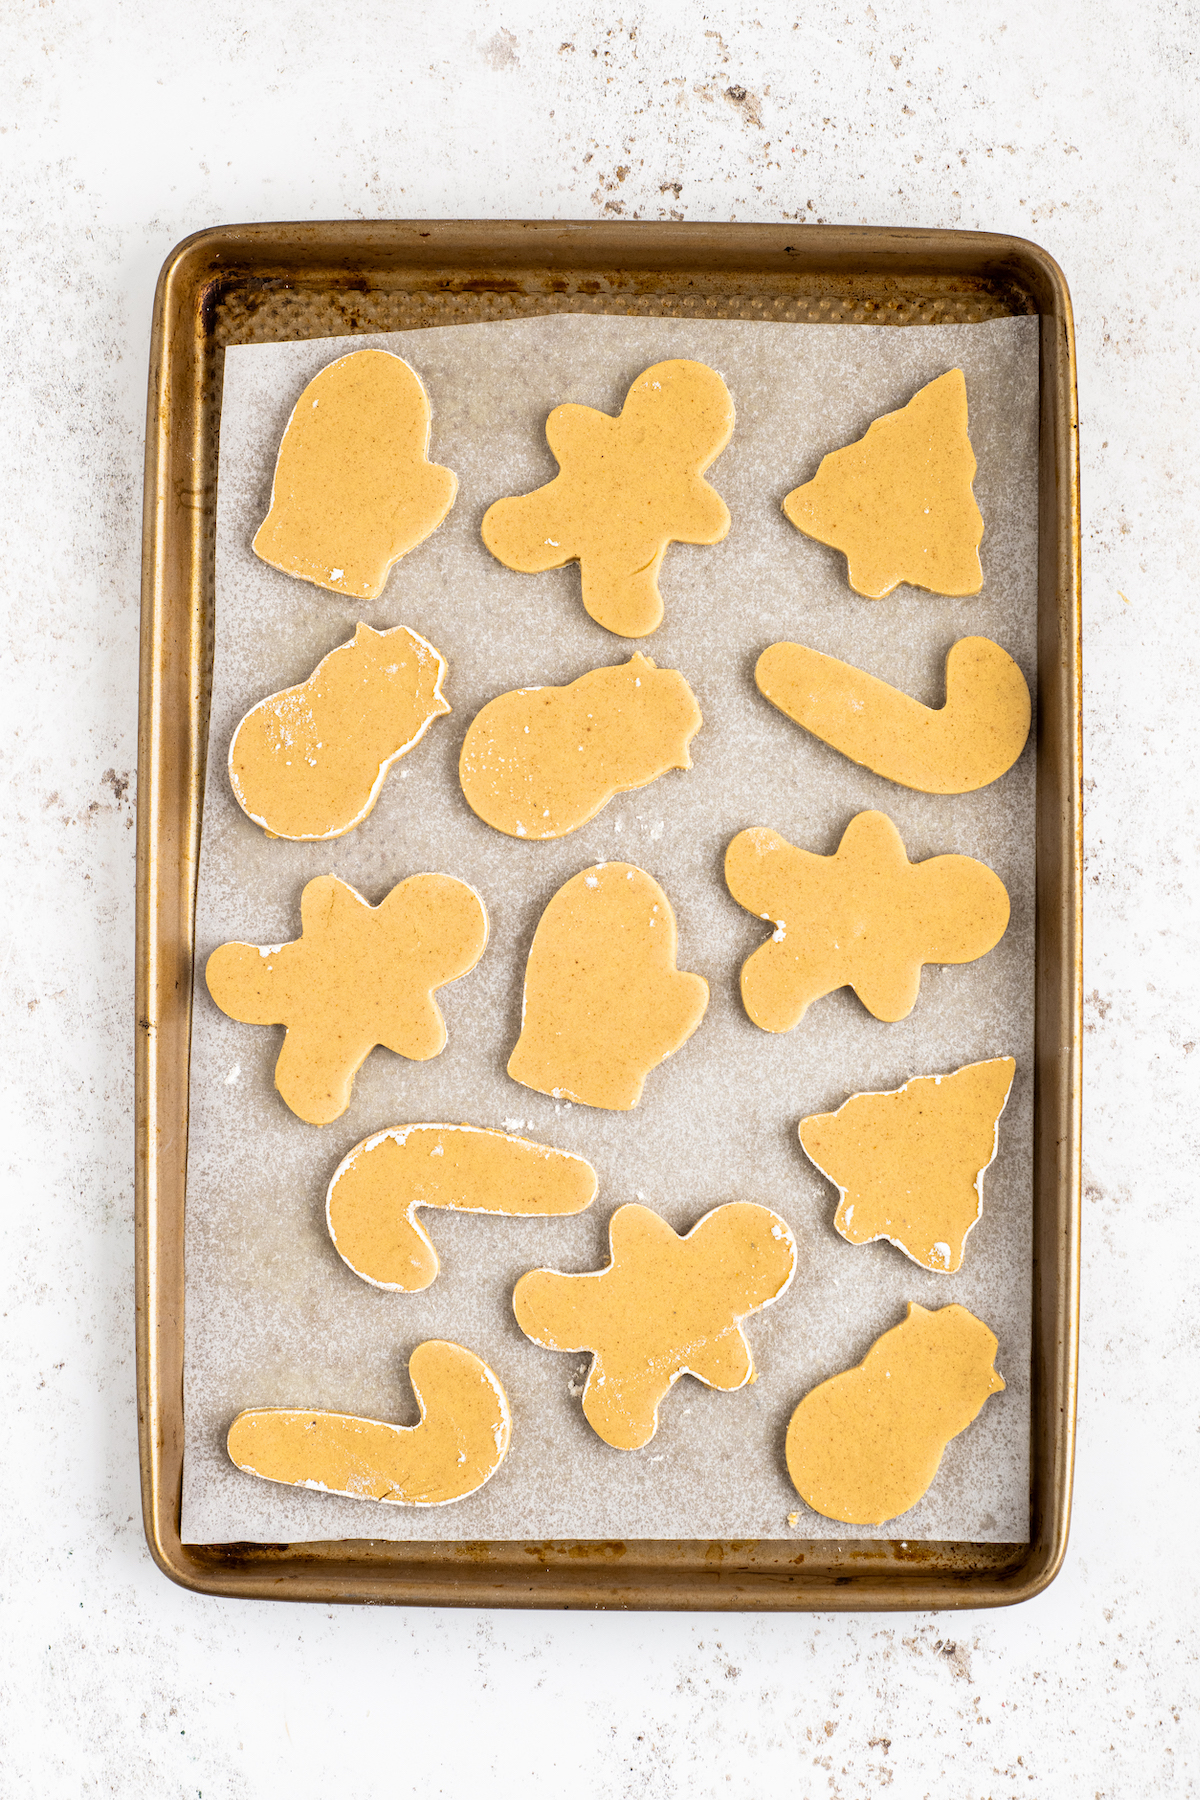
- Bake the Cookies. Place the cookies into the preheated oven, on the center rack. Bake for 10 minutes, or until the edges are just set.
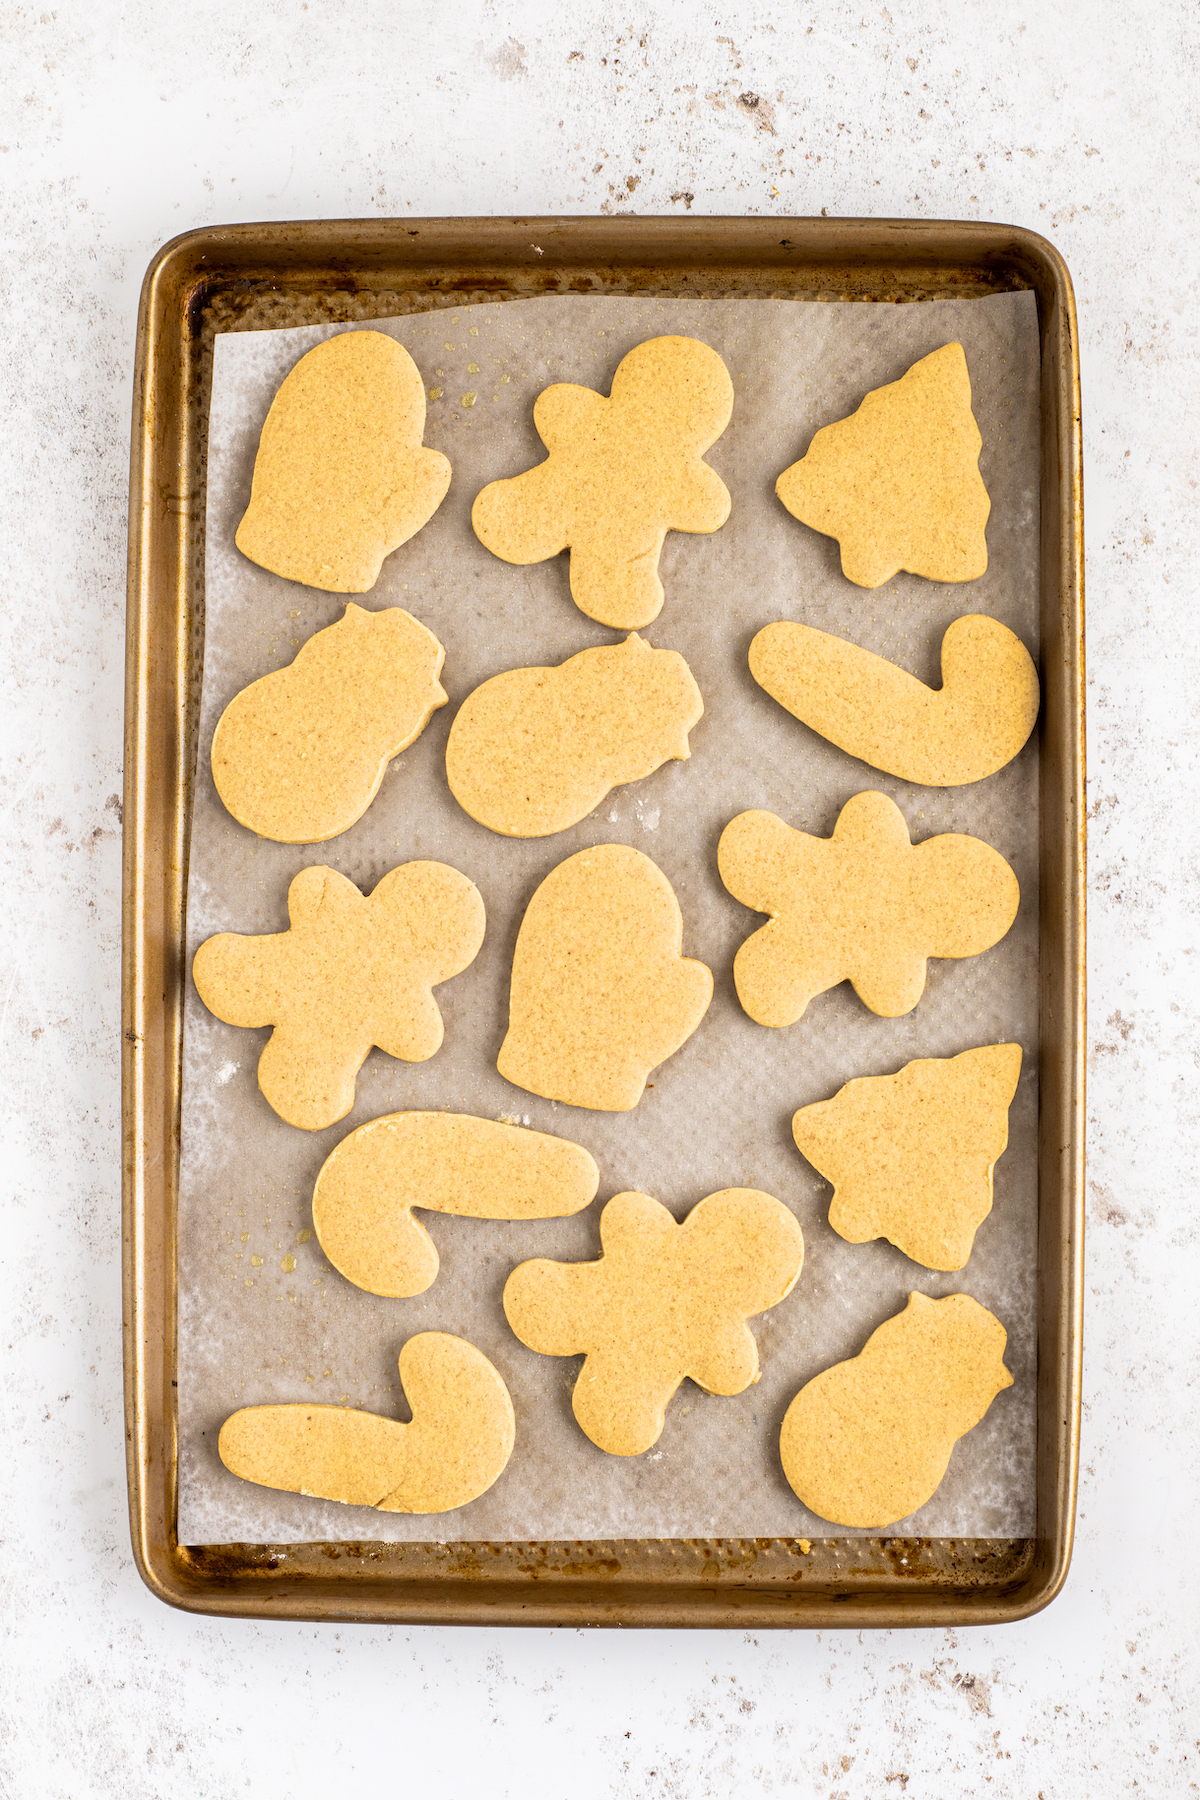
- Cool the Cookies. Once baked, remove the cookies from the oven, and let them cool on the baking sheet for 5 to 8 minutes. This will allow them to set up a bit. Next, transfer the cookies to a wire cooling rack to finish cooling completely.
Make the Icing
- Combine the Icing Ingredients, Except Water. Using a stand mixer with a clean bowl and whisk attachment, whisk together the powdered sugar, meringue powder, vanilla, and salt.
- Add Water. While the mixer is running, drizzle in the water, and let the mixer continue whisking the icing for 4 to 5 minutes, or until very smooth.
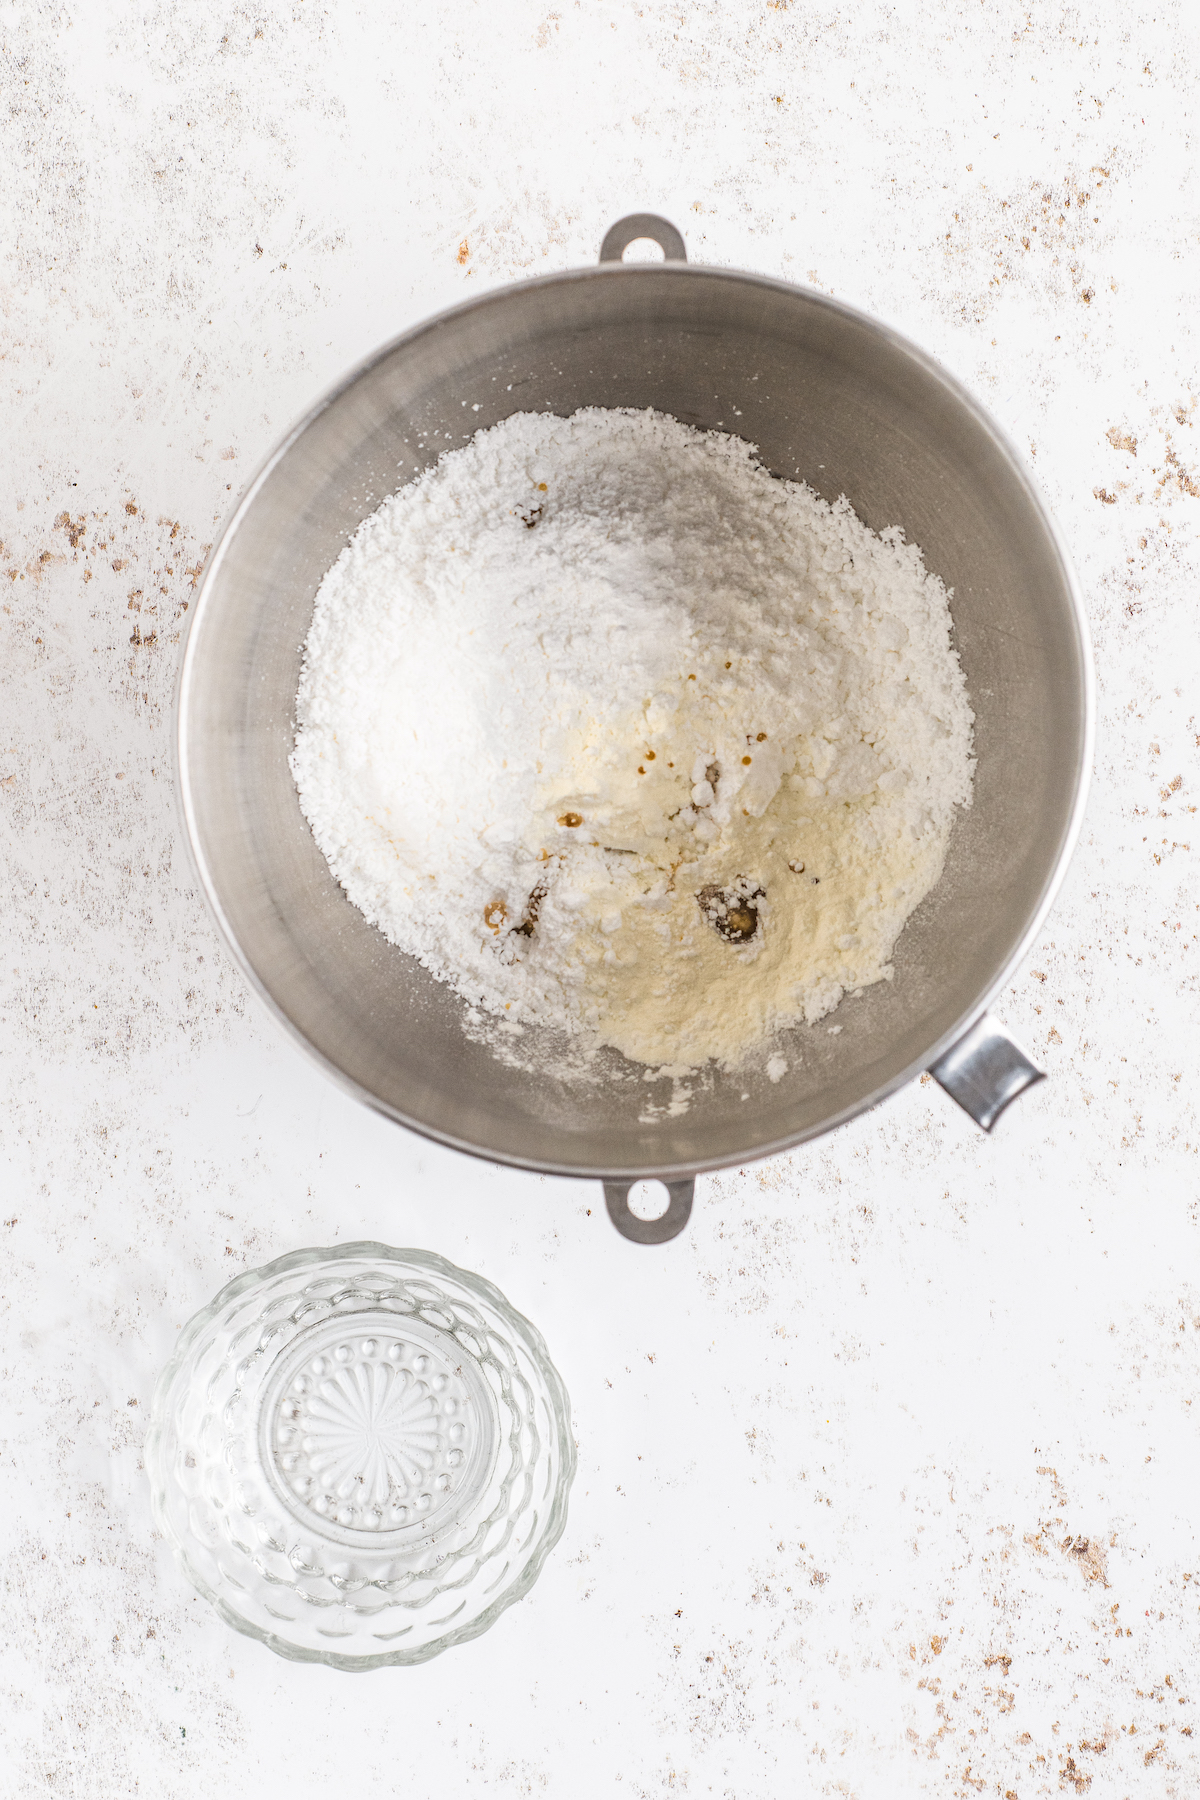
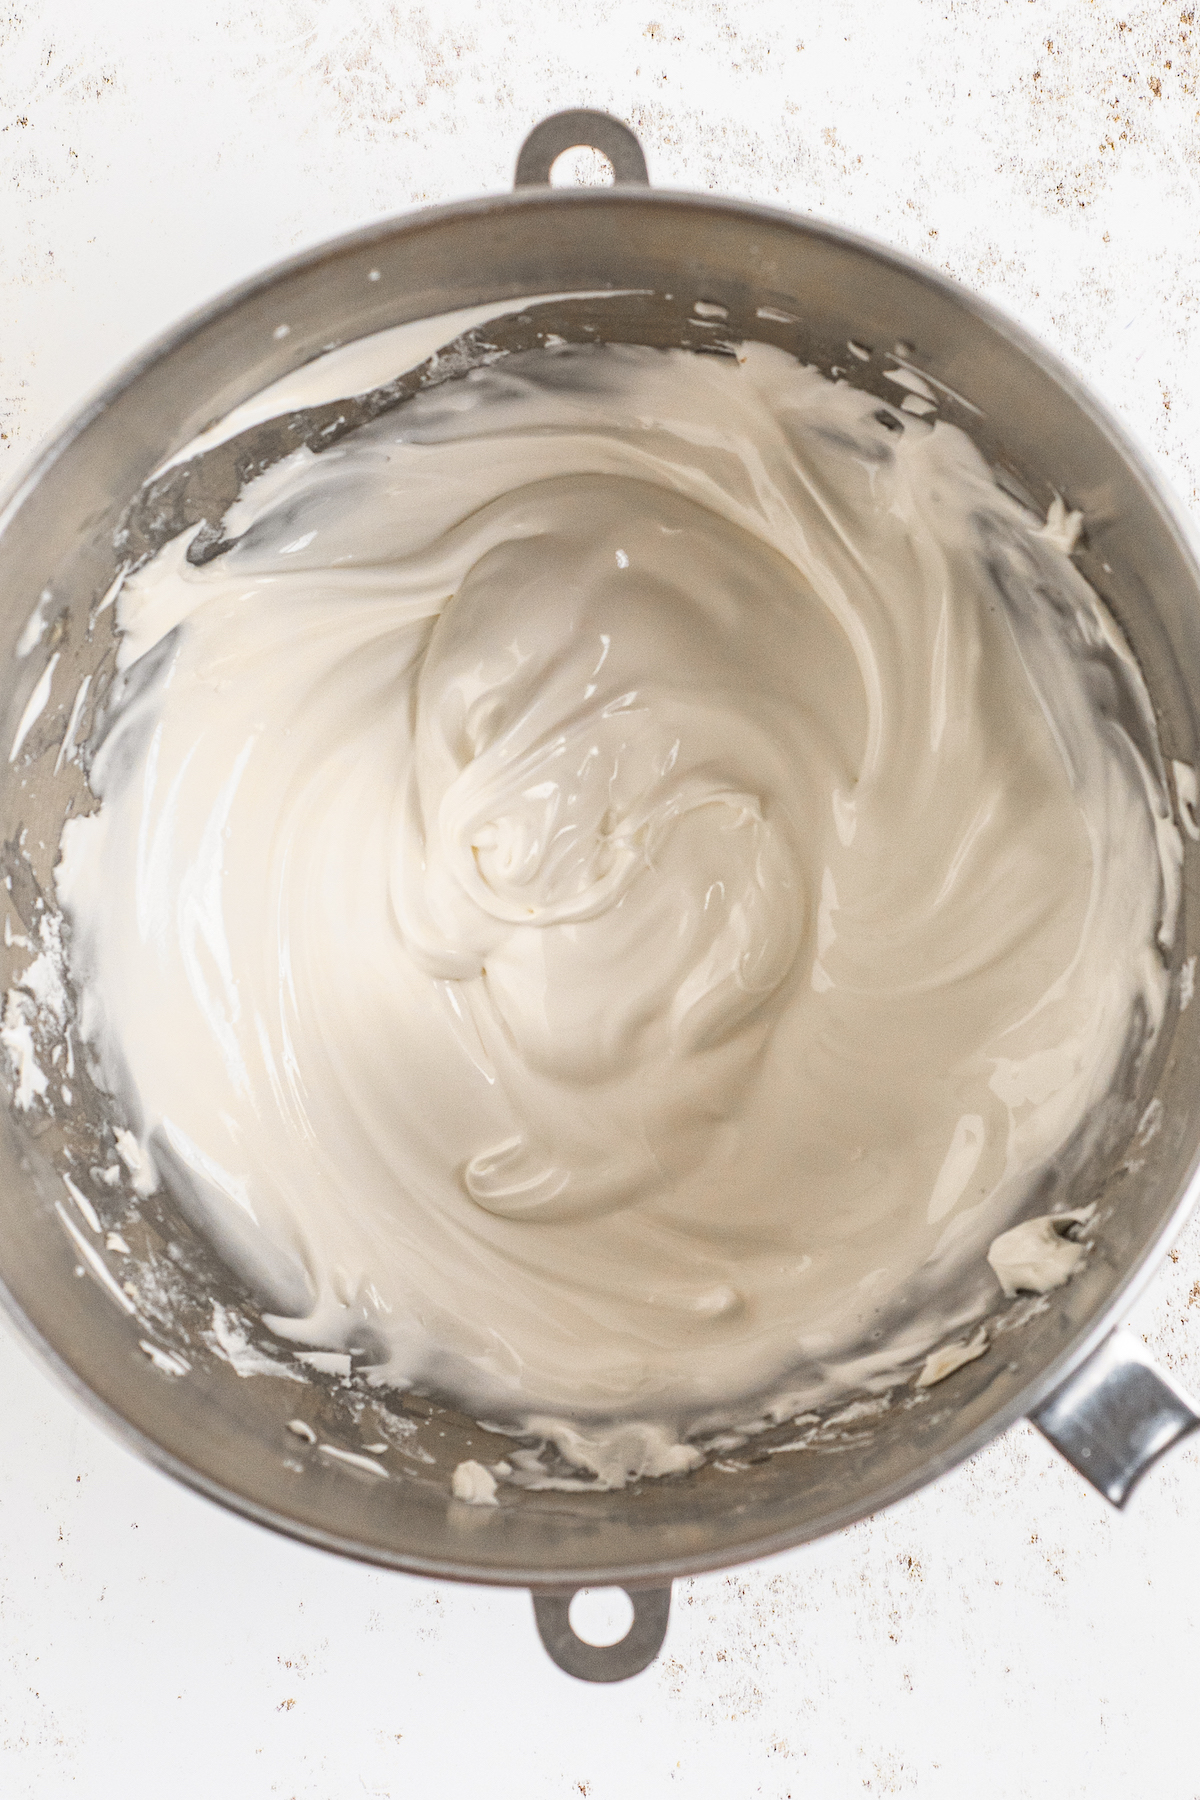
- Get Ready to Pipe. Spoon the icing into a piping bag with a small tip. You can also use a zip-top bag, and cut the very tip of the bag off to create a small hole.
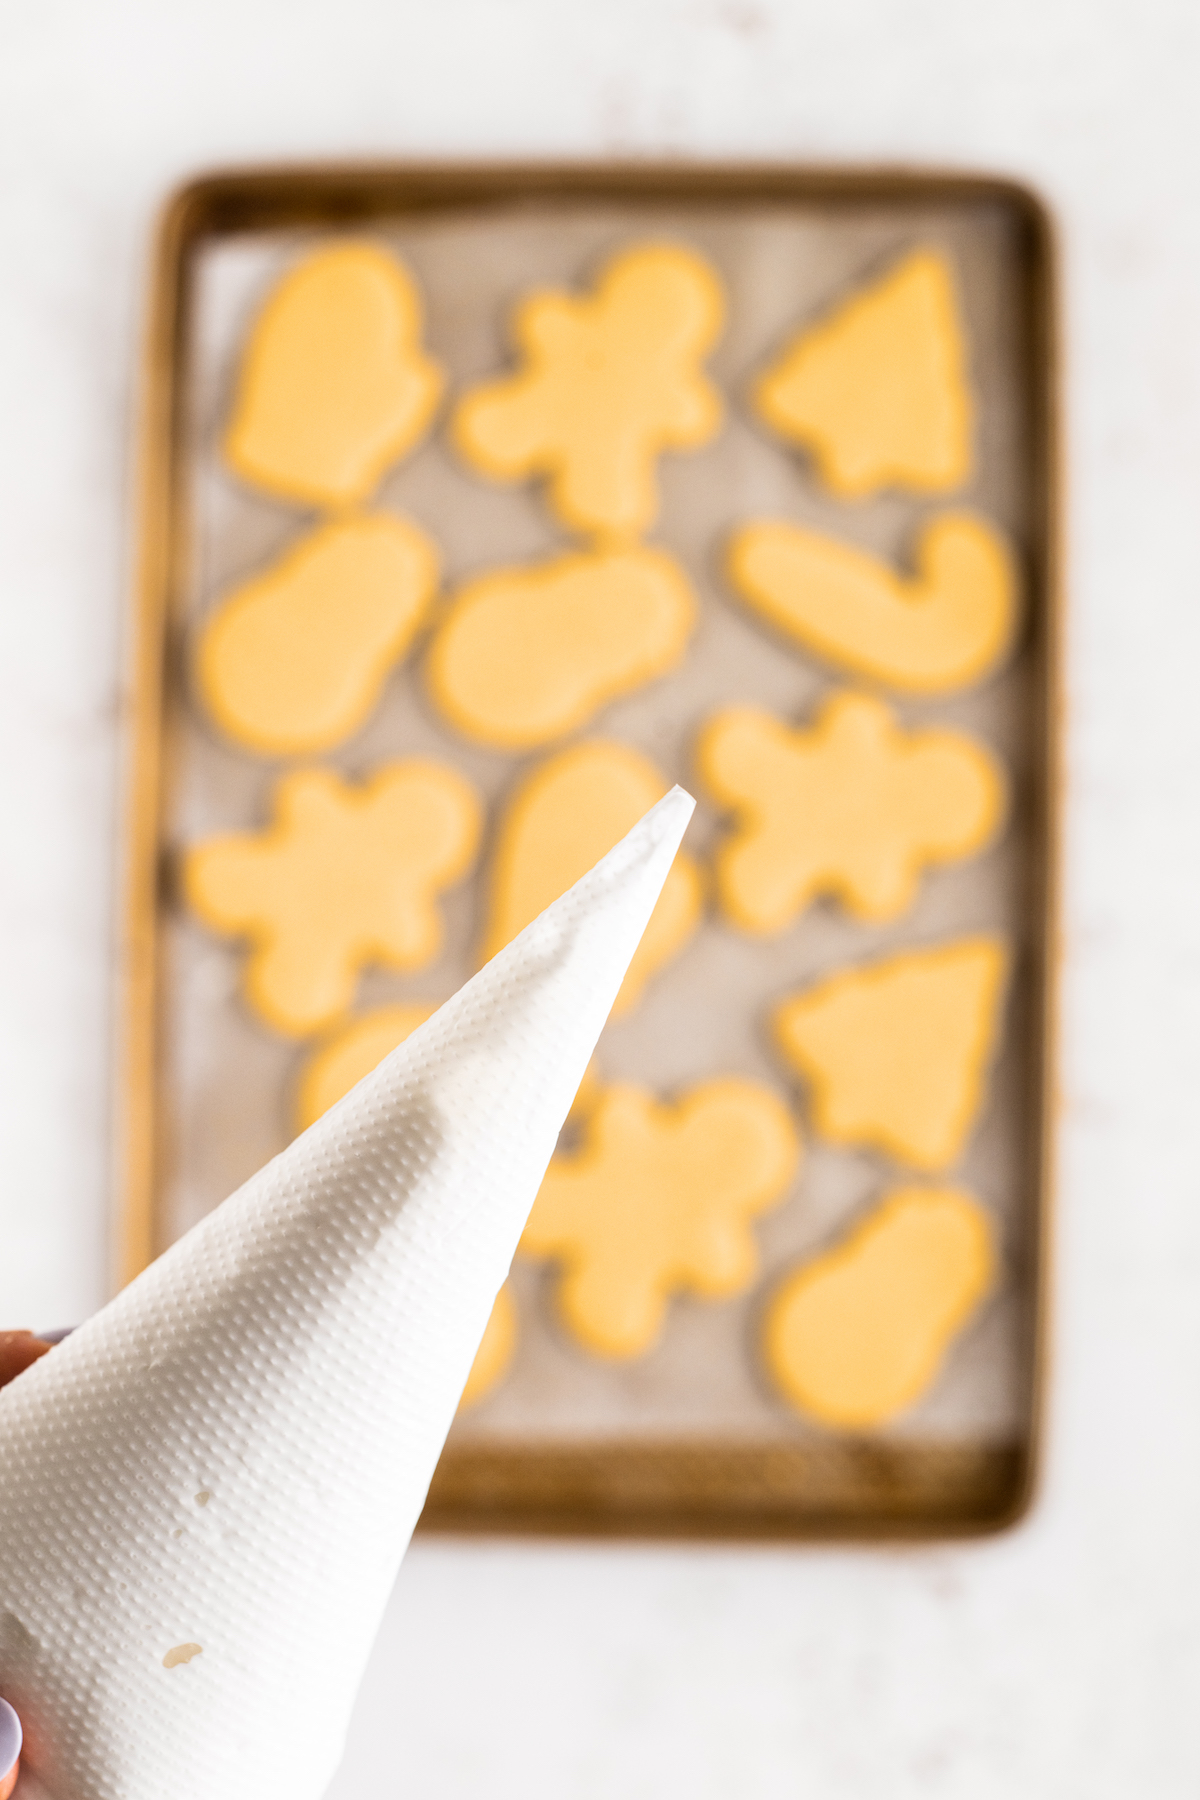
How Do You Decorate Christmas Sugar Cookies?
The basics of sugar cookie decorating are pretty simple. For help with the patterns I used on these cookies, see the “Baker’s Notes” section below. In the meantime, here are some good rules of thumb:
- Practice Makes Perfect: You can practice by piping lines and circles onto a piece of parchment before piping onto the cookies. This will allow you to determine the pressure you need and will eliminate having to scrape the icing off of cookies.
- Holding the Piping Bag: With one hand, hold the top end of the piping bag, making it easier to apply pressure evenly. Use your other hand to either hold the cookie, or to stabilize the piping bag.
- 90-Degree Angle: When you’re ready to pipe, hold the bag directly above the cookie at a 90-degree angle. Use medium pressure to pipe icing out. Go slowly to ensure the icing comes out in a clean and steady line and is not broken up.
- Even Pressure: If the icing is coming out in small sections, maintain steady pressure and slow down.
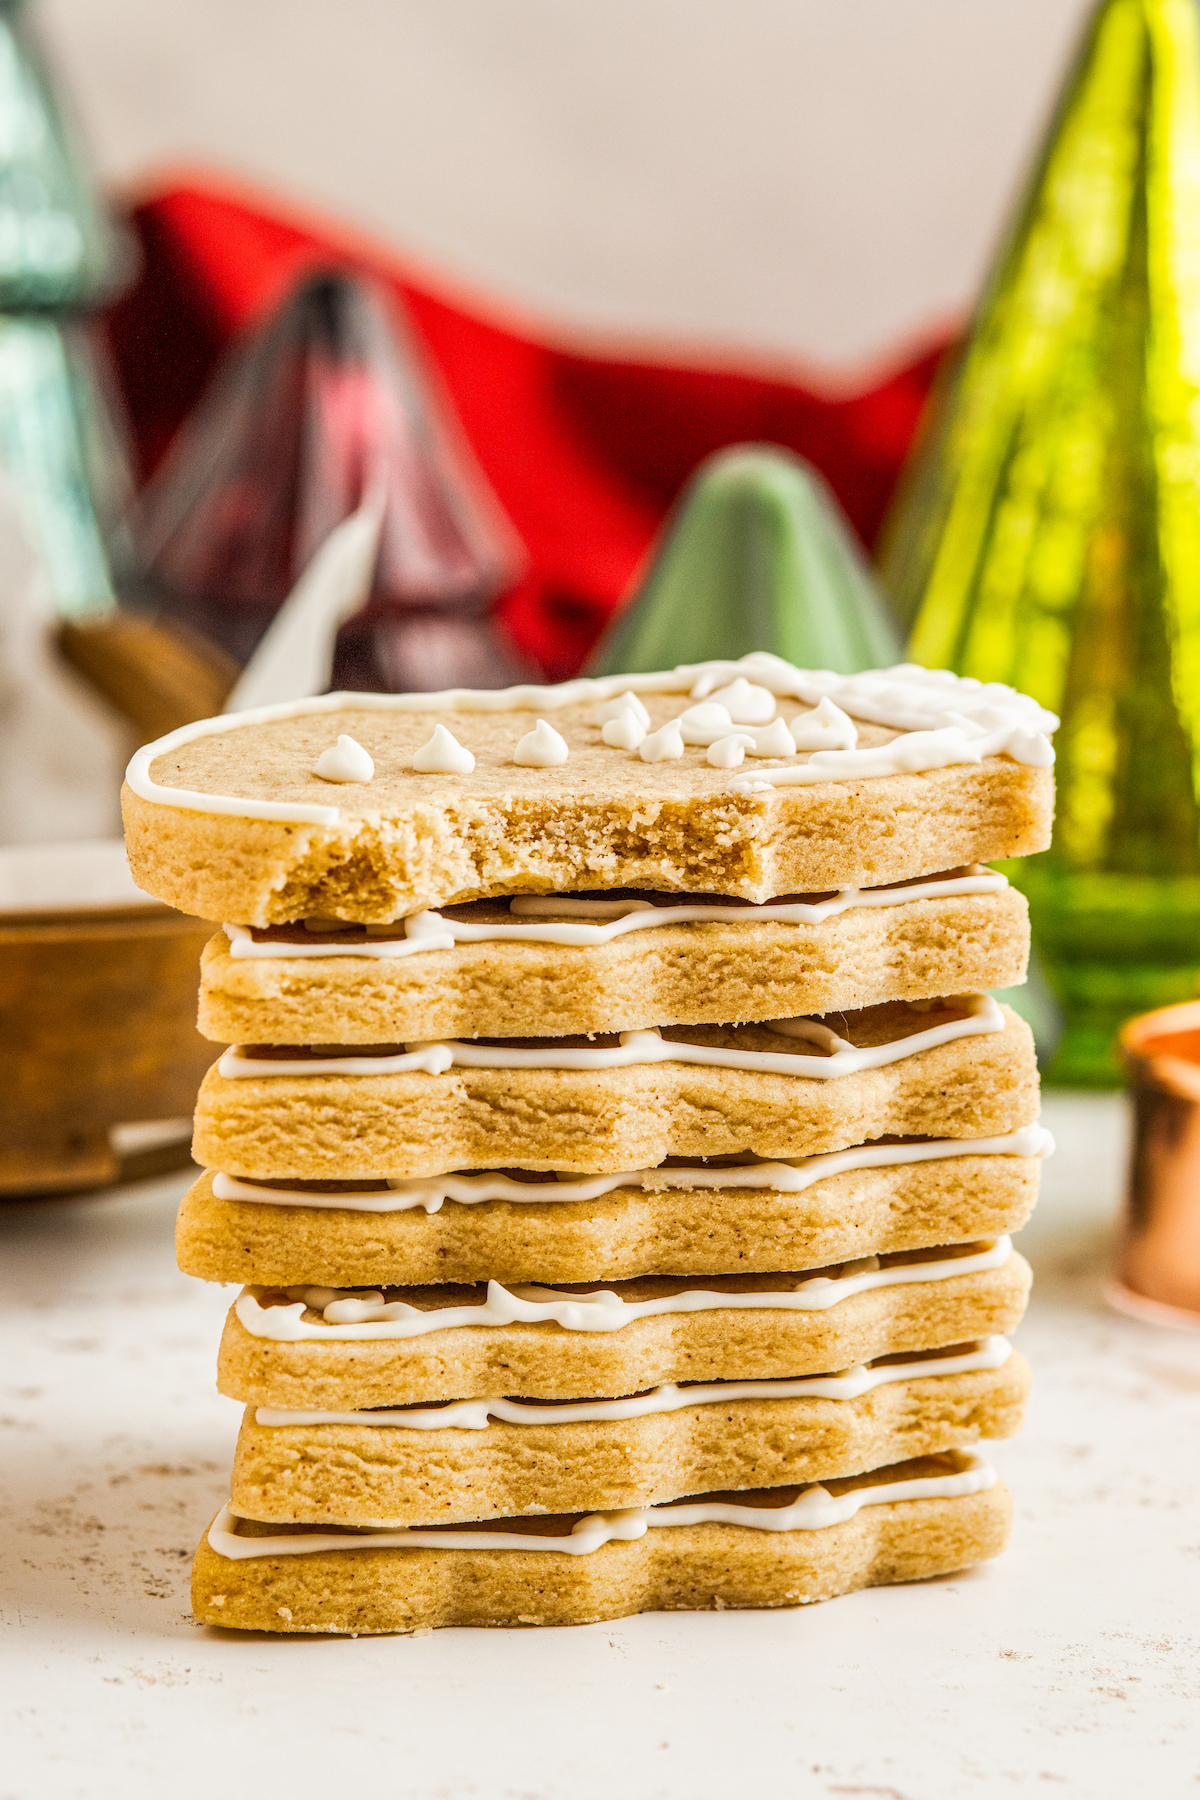
- Air Dry the Icing: Once the cookies are all iced, let them set at room temperature in the open air to dry before consuming.
Baker’s Notes
Keep reading for a few helpful recipe tips, plus my instructions for decorating basic Christmas cookie shapes: mittens, candy canes, gingerbread men, and more.
- No-Stick Solutions: Silicone baking mats are a great alternative to parchment paper, to keep those cookies from sticking to your baking sheet.
- Mixing Help: Once the flour mixture is added to the recipe, make sure to only mix until just combined. Over-mixing can cause the gluten in the flour to overdevelop, resulting in a crumbly cookie.
- Butter and Salt: Unsalted butter may be used instead of salted. If you do this, add a slightly heaped 1⁄4 tsp of salt to the dry dough ingredients.

Cookie Shapes and Outlines
- Mitten Cookie Cutter: Outline the perimeter of the mitten, then make a line on the upper base of the mitten to outline the cuff. In the outline of the cuff, make small Xs for added detail.
- Candy Cane Cooke Cutter: Outline the perimeter of the candy cane. Make slightly diagonal lines in pairs of 2 starting at the bottom, then going up and around the top of the candy cane.
- Gingerbread Man Cookie Cutter: Outline the perimeter of the gingerbread man. Next, add squiggly lines at the base of each arm and the base of each leg. Finish off with dotted eyes and a smiley face.
- Snowman Cookie Cutter: Outline the perimeter of the snowman, then make a single line at the base of his hat. Fill in his hat with frosting, using a toothpick to smooth it out. Add 2 dotted eyes, then make a small, long triangle to form the nose. Next, add dots at the base of his face to form a smile. Finish off with 3 dots in the center, going vertically down the front, to create buttons.
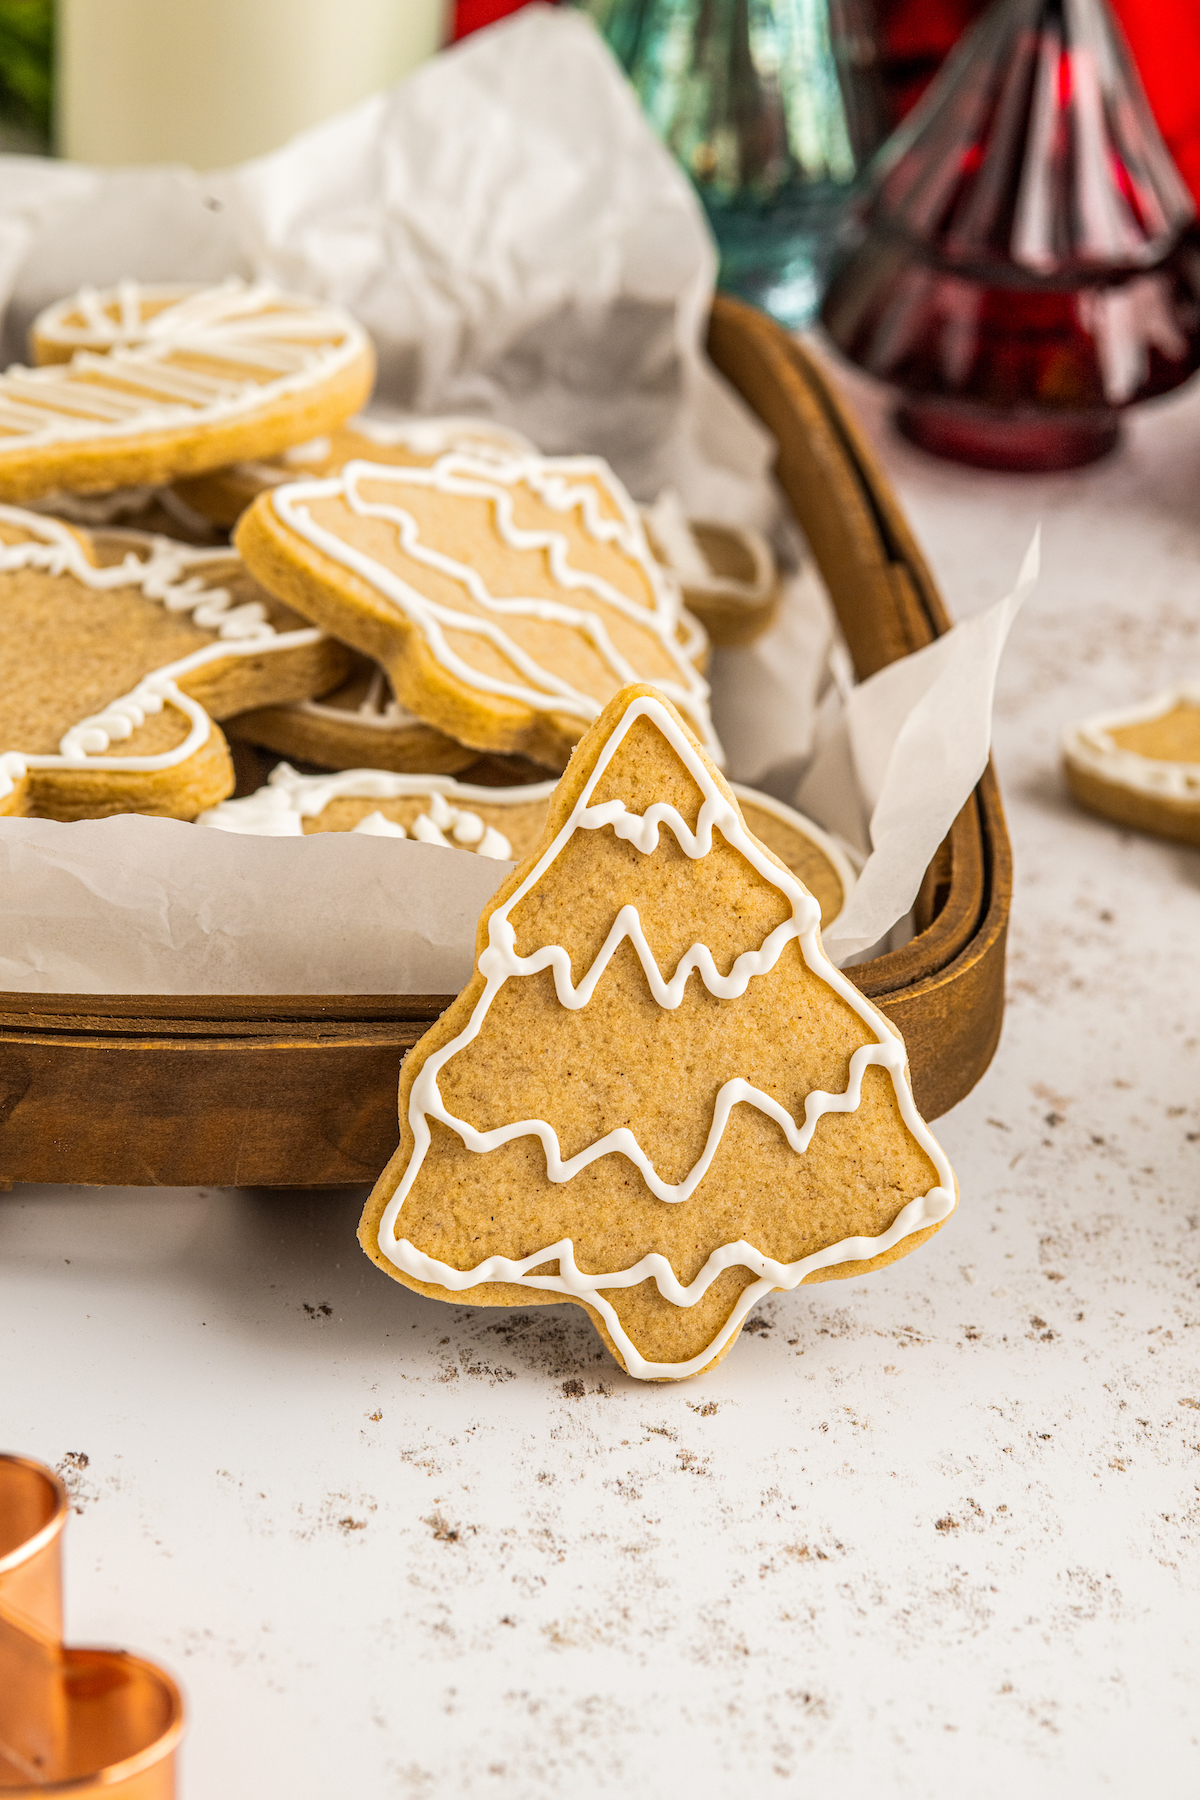
- Christmas Tree Cookie Cutter: Outline the perimeter of the Christmas tree. Next, make 4 squiggly lines going from the left side to the right. Start the 1st line about 1⁄4“ from the peak, then space out each line about the same going down to create layers.
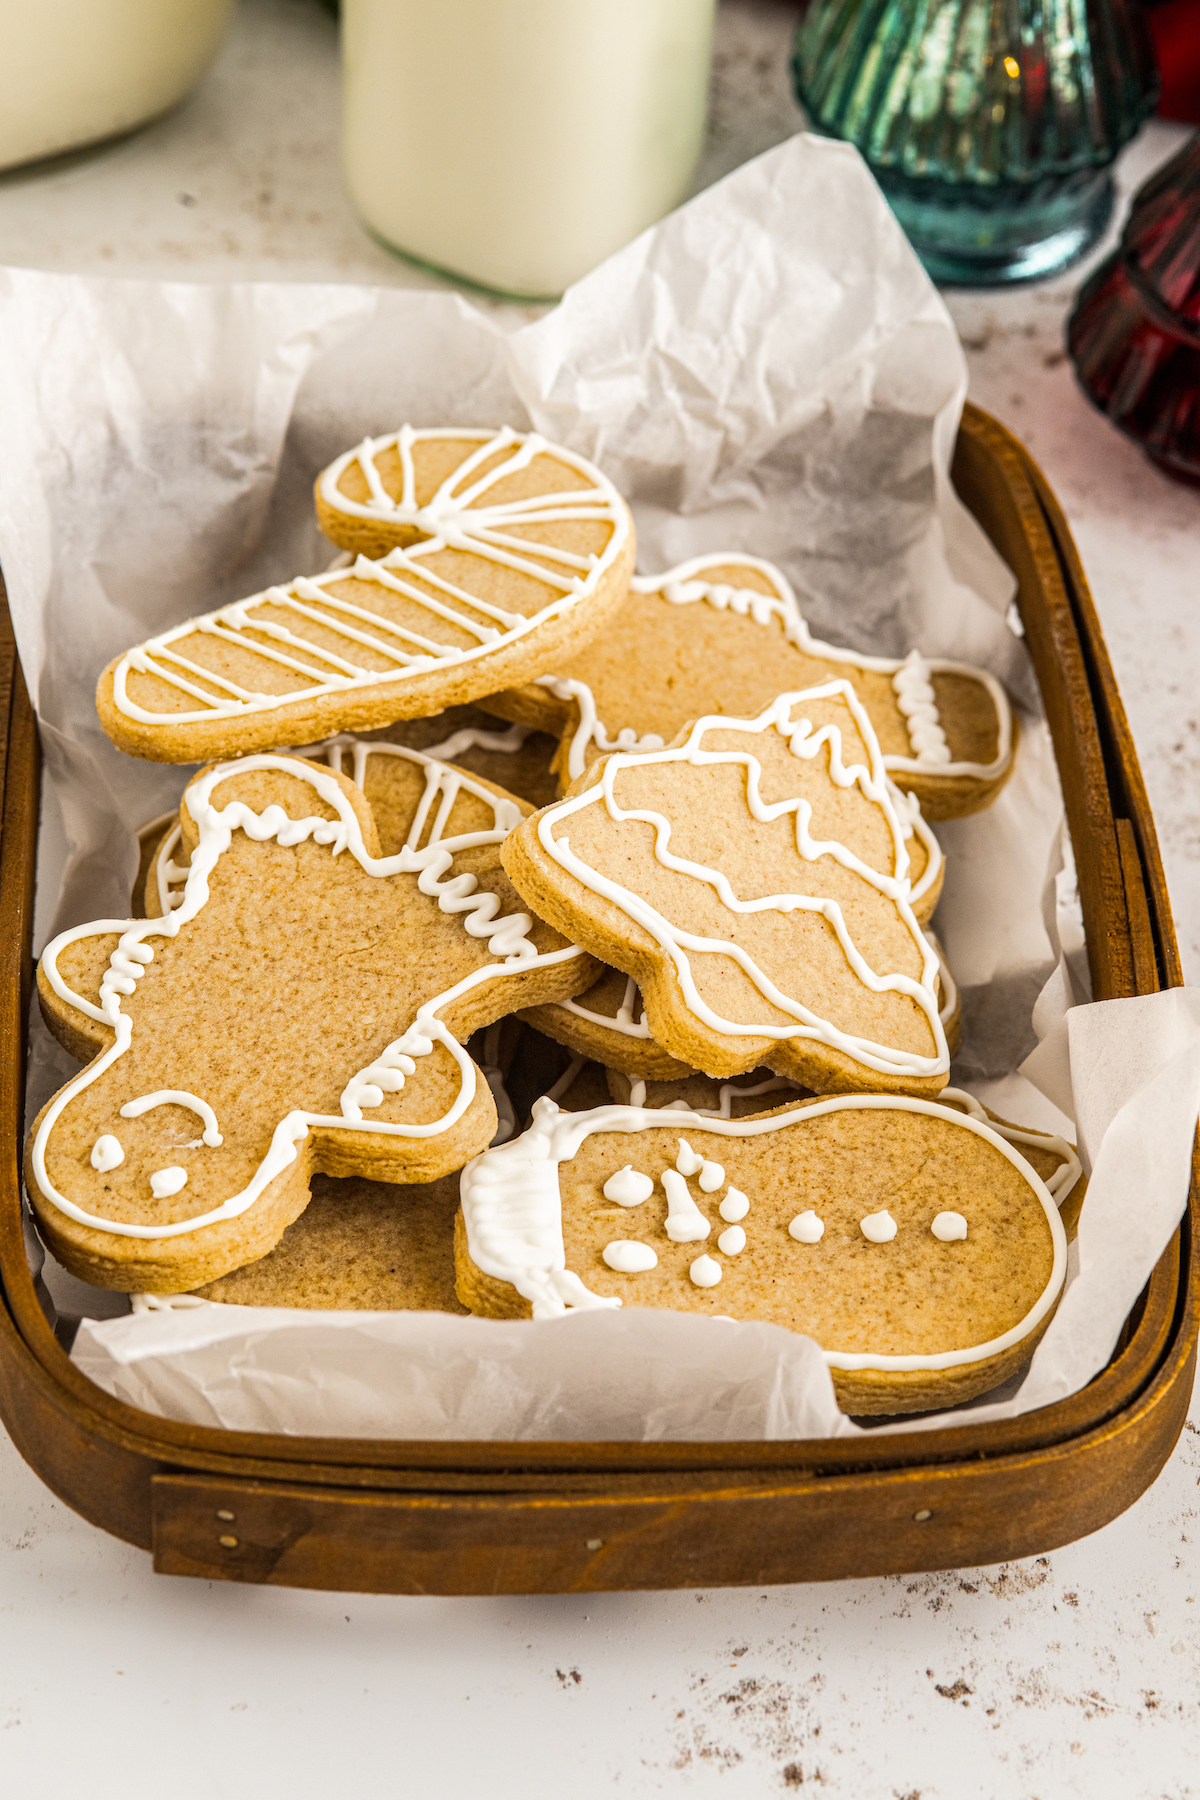
Cookies may be stored in an airtight container for up to 7 days at room temperature, or in the fridge for about 10 days.
If you’d like to get a jump on the holiday season, a great way to do that is to make some of your treats and dishes ahead. These cookies are perfect for making ahead!
- Make-Ahead Dough: There is no need to refrigerate this dough before baking, but if you like, you can make it ahead, wrap it, and refrigerate it for up to 2 days, until ready to use. It can also be frozen for up to 3 months. Once you’re ready to use it, take it out of the fridge or freezer, and let it hang out at room temperature until it has softened and is close to room temperature.
- Make-Ahead Cookies: You can also freeze the baked, decorated cookies for up to three months. Just make sure to let the icing harden completely before packing them into airtight containers. I recommend placing sheets of parchment or wax paper between each layer of cookies, to prevent sticking and breaking. Freeze, and thaw in the fridge or on the counter before serving.
Ingredients
Cookie Dough
- 2 ¾ cups all purpose flour
- 1 ½ teaspoon baking powder
- 1 teaspoon cinnamon
- ½ teaspoon salt
- ½ teaspoon ginger
- ¼ teaspoon nutmeg
- ⅔ cup salted butter, room temperature
- ½ cup granulated sugar
- ¼ cup brown sugar
- 1 large egg
- 1 teaspoon vanilla extract
Icing
- 2 ½ cups powdered sugar
- 1 tablespoon meringue powder
- ½ teaspoon vanilla extract
- Pinch of salt
- 5 tablespoons + 1 1/2 teaspoons water
Want to save this recipe?
Instructions
- Preheat the oven to 350°F. Line a baking sheet with parchment paper, or a silicone baking mat, and set aside.
- In a medium-sized mixing bowl, combine flour, baking powder, cinnamon, salt, ginger and nutmeg. Set aside.
- In the bowl of a stand mixer, fitted with a paddle attachment, combine the butter, granulated sugar and brown sugar. Beat on a medium-high speed until smooth and creamy. Add in egg and vanilla and mix to combine.
- Add the flour mixture to the stand mixer bowl and mix dough until just combined. Immediately turn the dough out onto a clean, floured surface. There is no need to refrigerate the dough before rolling.
- Roll the dough out to 1⁄4” thickness. Cut out as many cookies as you can, using various cutters. Re-roll the dough to finish cutting out cookies until all of the dough has been used.
- Transfer the cookies to the prepared baking sheet and place into the preheated oven on the center rack. Bake for 10 minutes, until the edges are just set.
- Once baked, remove from the oven and let the cookies cool down on the baking sheet for 5-8 minutes to allow them to set up a bit. Then transfer the cookies to a wire cooling rack to finish cooling completely.
- Then repeat the baking process with the remaining cookies. Let the baked cookies cool completely before frosting.
- In the bowl of a stand mixer fitted with a whisk attachment combine powdered sugar, meringue powder, vanilla and salt.
- While the mixer is running, stream in the water. Whisk for 4-5 minutes, until smooth.
- Spoon the icing into a piping bag, then cut the very tip of the piping bag off to create a small hole.
Notes
Icing Basics
- With one hand, hold the top end of the piping bag, making it easier to apply pressure evenly. Use your other hand to either hold the cookie or to stabilize the piping bag.
- When you're ready to pipe, hold the bag directly above the cookie at a 90-degree angle. Use medium pressure to pipe icing out. Go slowly to ensure the icing comes out in a clean and steady line and not broken up.
- If the icing is coming out in small sections, maintain pressure and slow down. You can practice by piping lines and circles onto a piece of parchment before piping onto the cookies. This will allow you to determine the pressure you need and will eliminate having to scrape icing off of cookies.
- Once the cookies are all iced, let them set at room temp, in the open air, to dry before consuming.
Decorating
- Mitten: Outline the perimeter of the mitten, then make a line on the upper base of the mitten to outline the cuff. In the outline of the cuff, make small Xs for added detail.
- Candy Cane: Outline the perimeter of the candy cane. Make slightly diagonal lines in pairs of 2 starting at the bottom, then going up and around the top of the candy cane.
- Gingerbread Man: Outline the perimeter of the gingerbread man. Next, add squiggly lines at the base of each arm and the base of each leg. Finish off with dotted eyes and a smiley face.
- Snowman: Outline the perimeter of the snowman, then make a single line at the base of his hat. Fill in his hat with frosting, using a toothpick to smooth it out. Add 2 dotted eyes, then make a small, long triangle to form the nose. Next, add dots at the base of his face to form a smile. Finish off with 3 dots in the center, going vertically down the front to create buttons.
- Christmas Tree: Outline the perimeter of the Christmas tree. Next, make 4 squiggly lines going from the left side to the right. Start the 1st line about 1⁄4“ from the peak, then space out each line about the same going down to create layers.
Storage
- Cookies may be stored in an airtight container for up to 7 days.
Tips
• Silicone baking mats are a great alternative to parchment paper. • Once the flour mixture is added to the recipe, make sure to only mix until just combined. Over-mixing can cause the gluten to overdevelop, resulting in a crumbly cookie. • There is no need to refrigerate this dough, however, it can be made ahead, wrapped and refrigerated until ready to use. It can also be frozen for up 3 months. Once you're ready to use it, remove it and let it set at room temp until it has softened and is close to room temp. • Unsalted butter may be used instead of salted. If unsalted is used, add a slightly heaped 1⁄4 tsp of salt to the recipe.Nutrition
- Buttery Spritz Cookies
- Old Fashioned Christmas Pinwheel Cookies
- Peanut Butter Blossoms
- White Chocolate Dipped Gingersnap Cookies
- Buttery Spritz Cookies
- Red and Green M&M Christmas Cookies
- Gingerbread Man Cookies
- Easy Christmas Whoopie Pies
- Butterscotch Haystacks
- 101 Best Christmas Cookie Recipes
Post may contain affiliate links. Read my disclosure policy.


