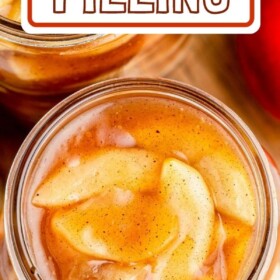
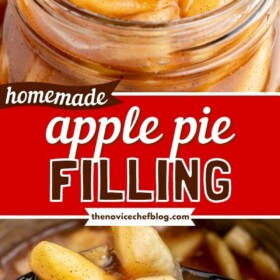

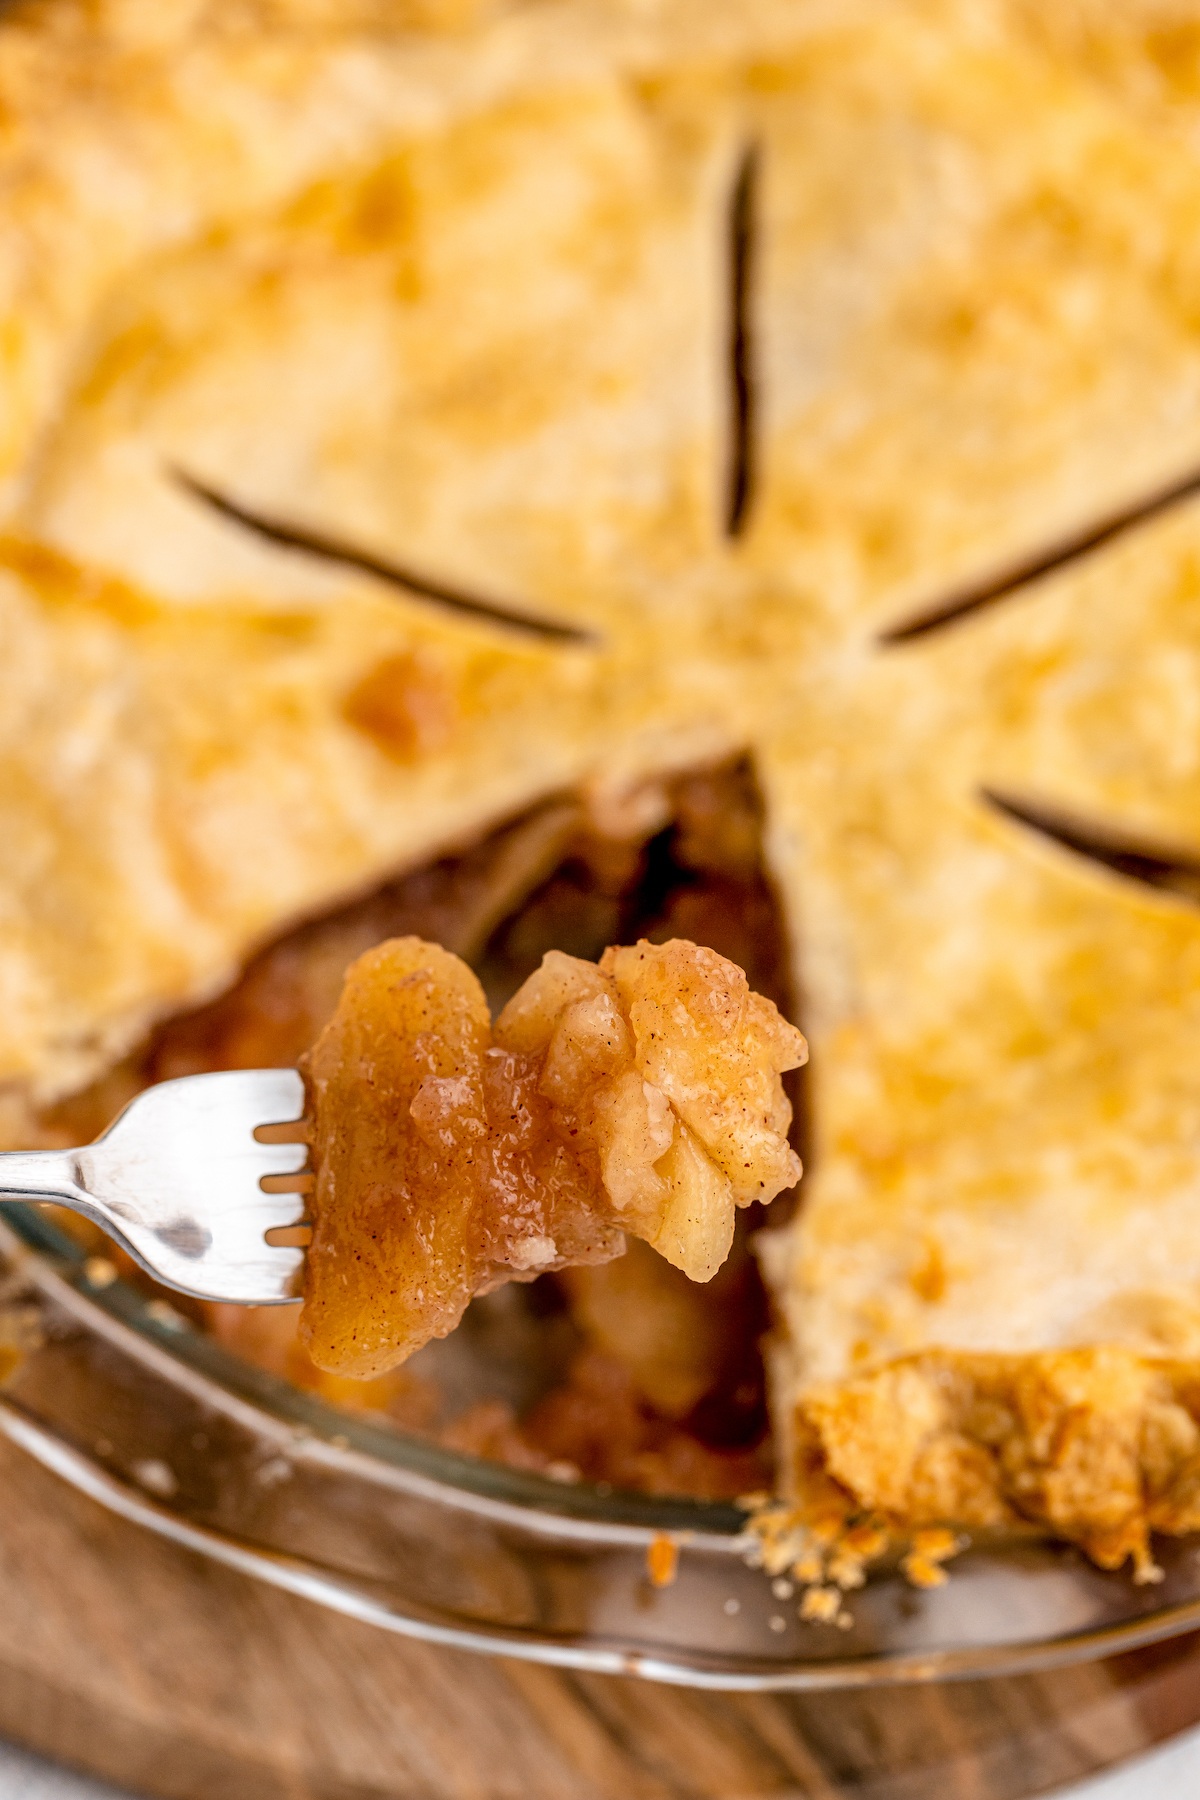
Have fresh Apple Pie Filling at your fingertips with my favorite homemade recipe! Full of cozy fall flavors and perfect to use in all your most-loved pies, apple desserts, breakfasts, and plenty of other recipes.
Easy Homemade Apple Pie Filling
Maybe it’s the baker in me, but I’m a stickler for homemade apple pies. They’re just a bajillion times better than store-bought! And I think a large part of it has to do with the filling. There’s just something about fresh, fragrant, spiced apple pie filling made from scratch that can’t be rivalled in a store.
I love this pie filling recipe 1) because my house smells absolutely delicious while I’m making it, and 2) it’s so easy to make, and even easier to use in other recipes. From apple pies and baked goods. I can think of all kinds of reasons to have apple pie filling on hand!
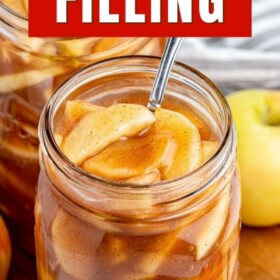
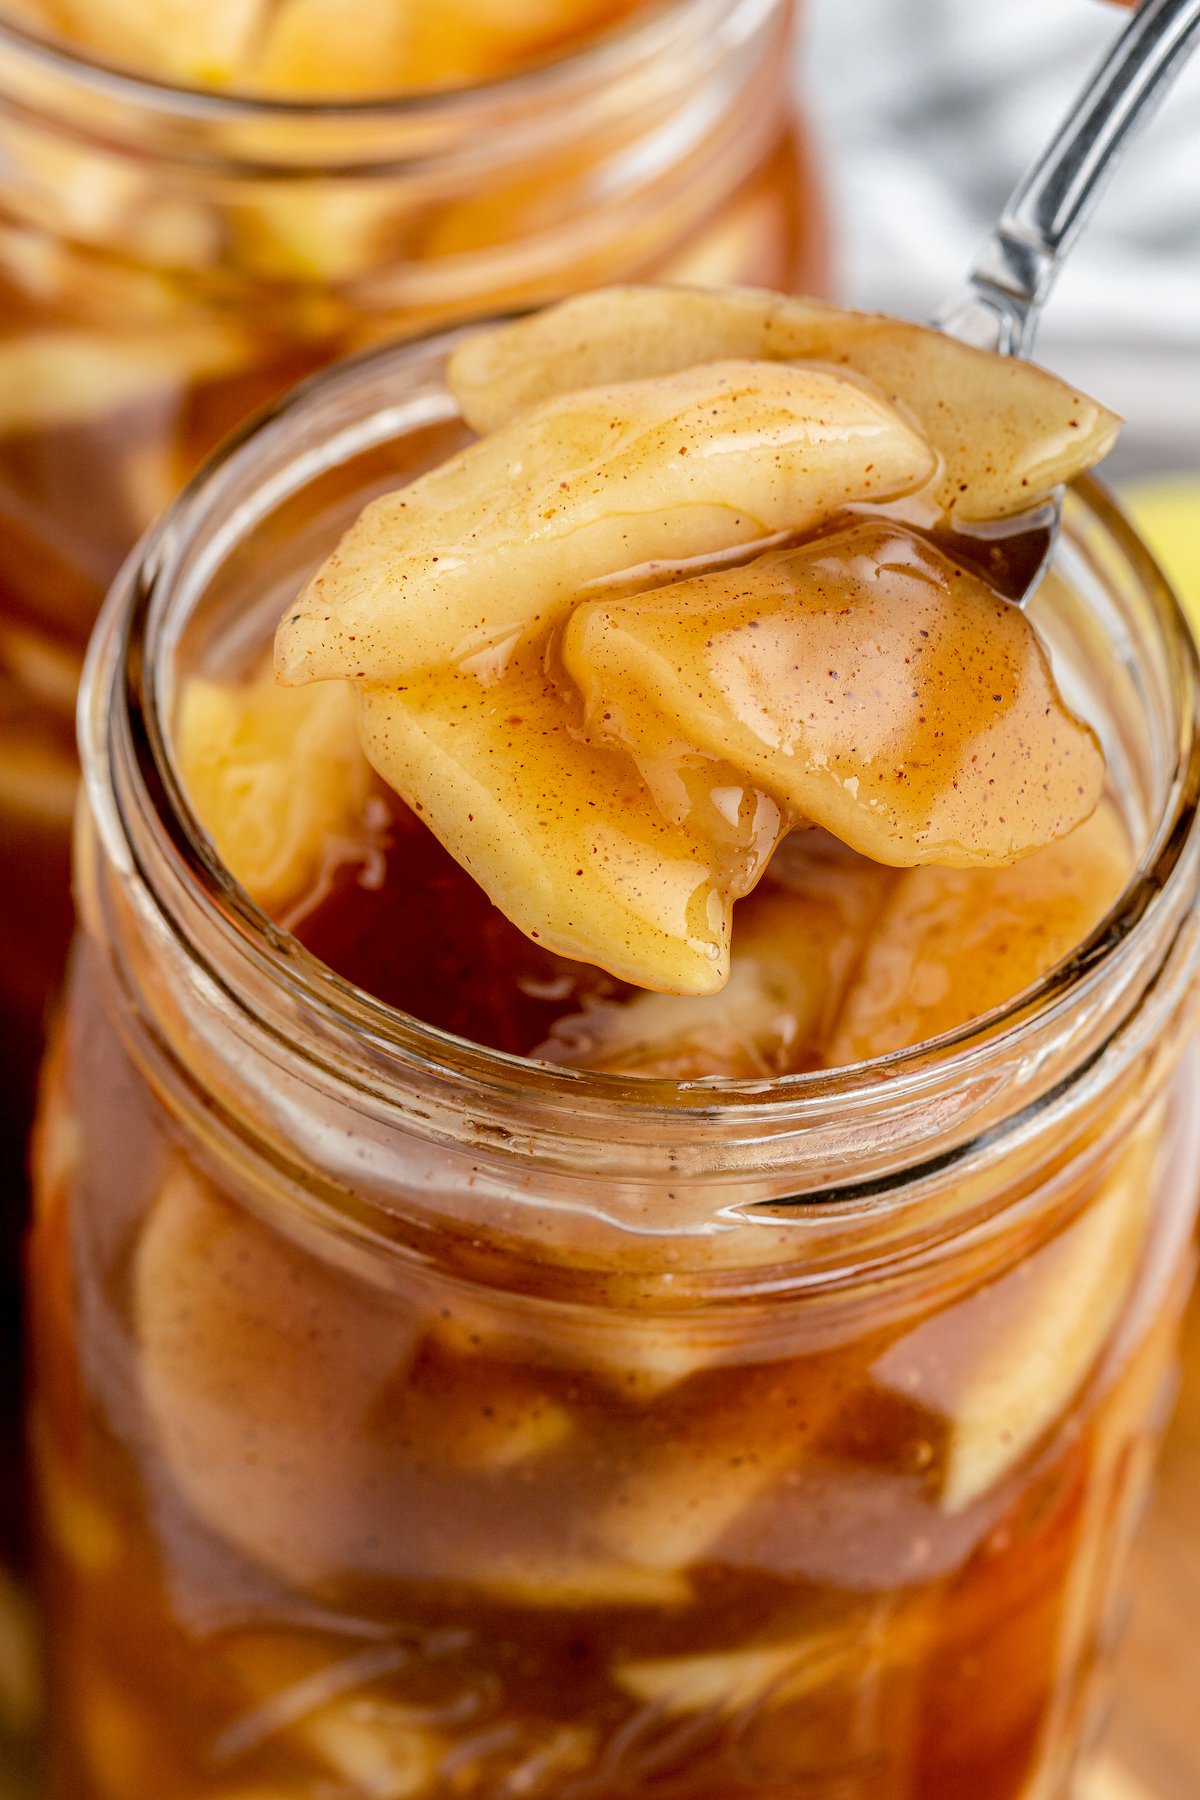
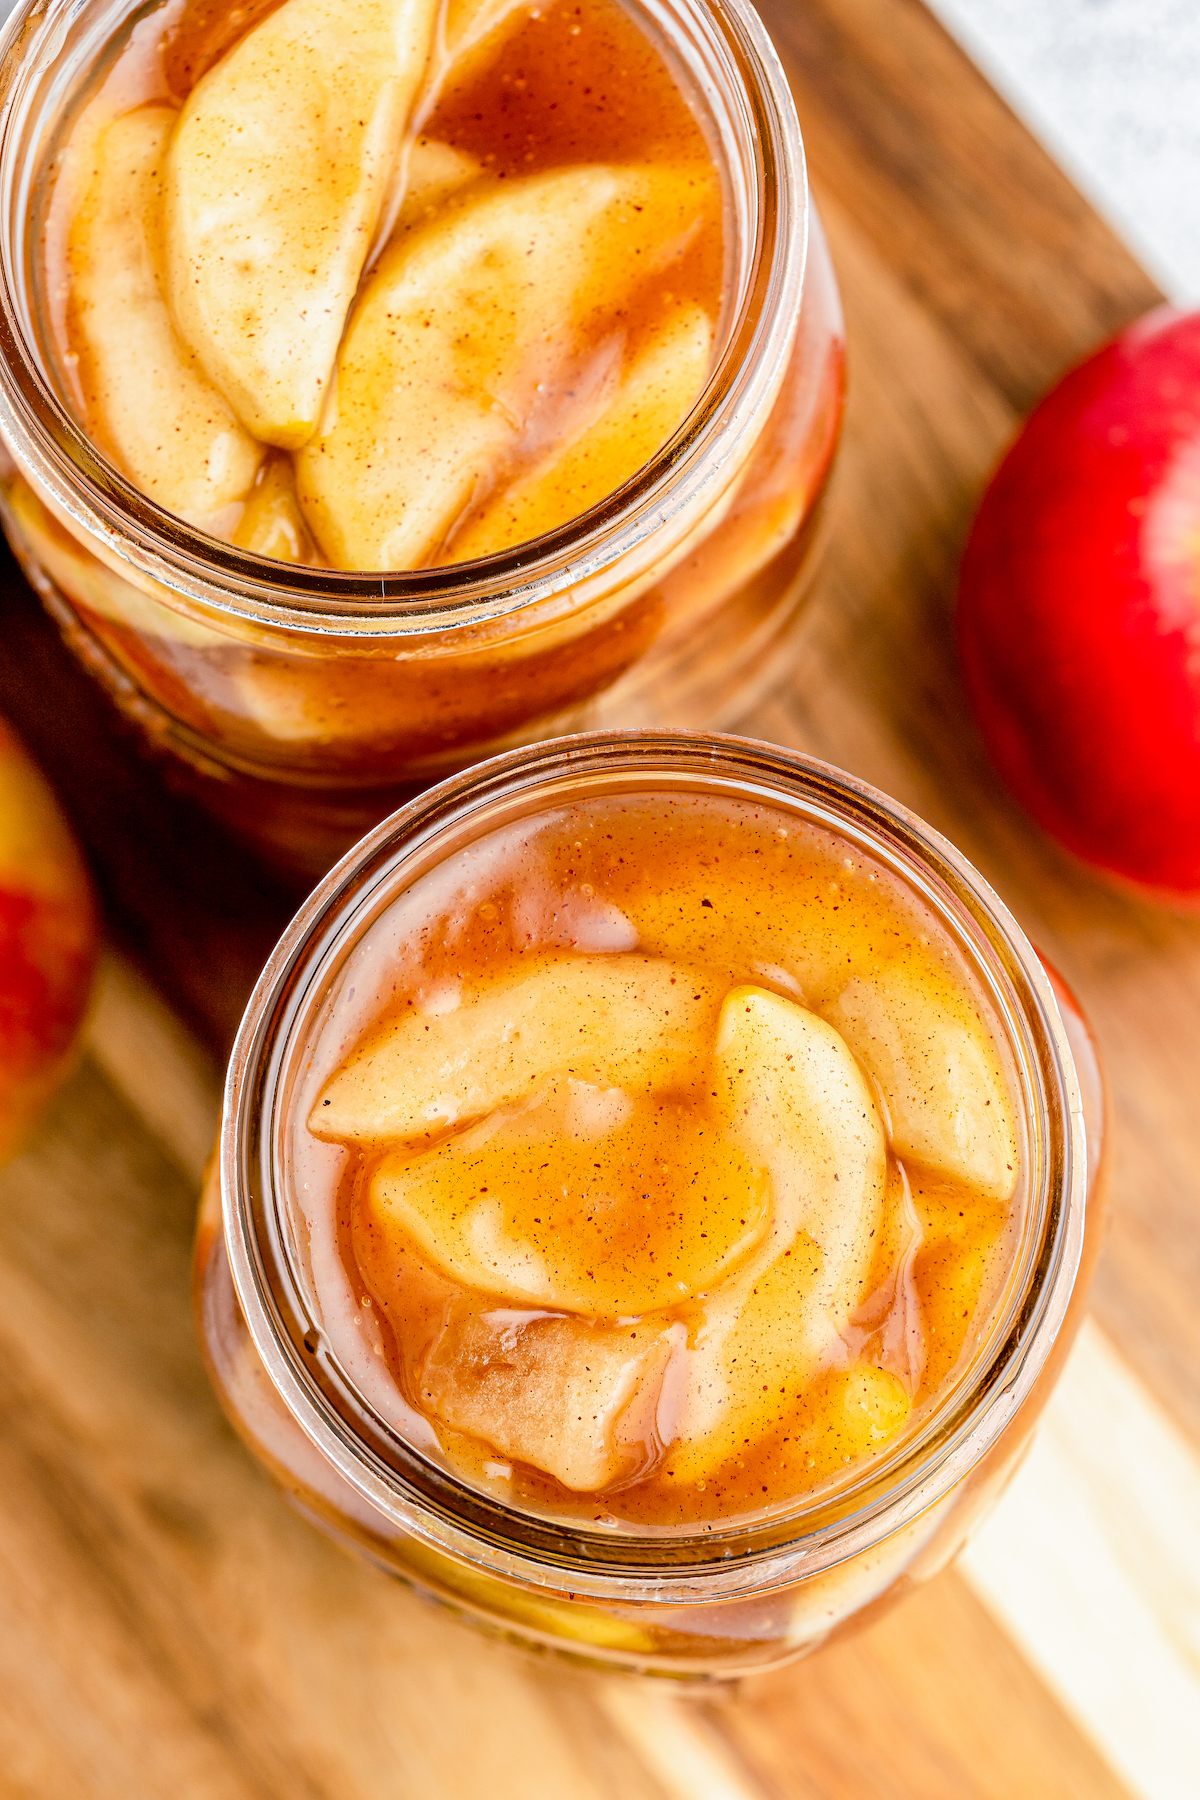
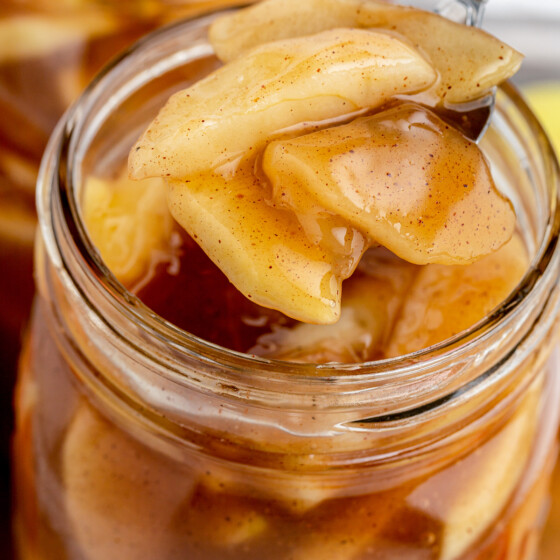
This sweet-tart apple filling is full of warm spices, with juicy apple slices that are tender but not mushy. Plus, it’s ready in about 30 minutes, ready to store for all your favorite apple recipes.
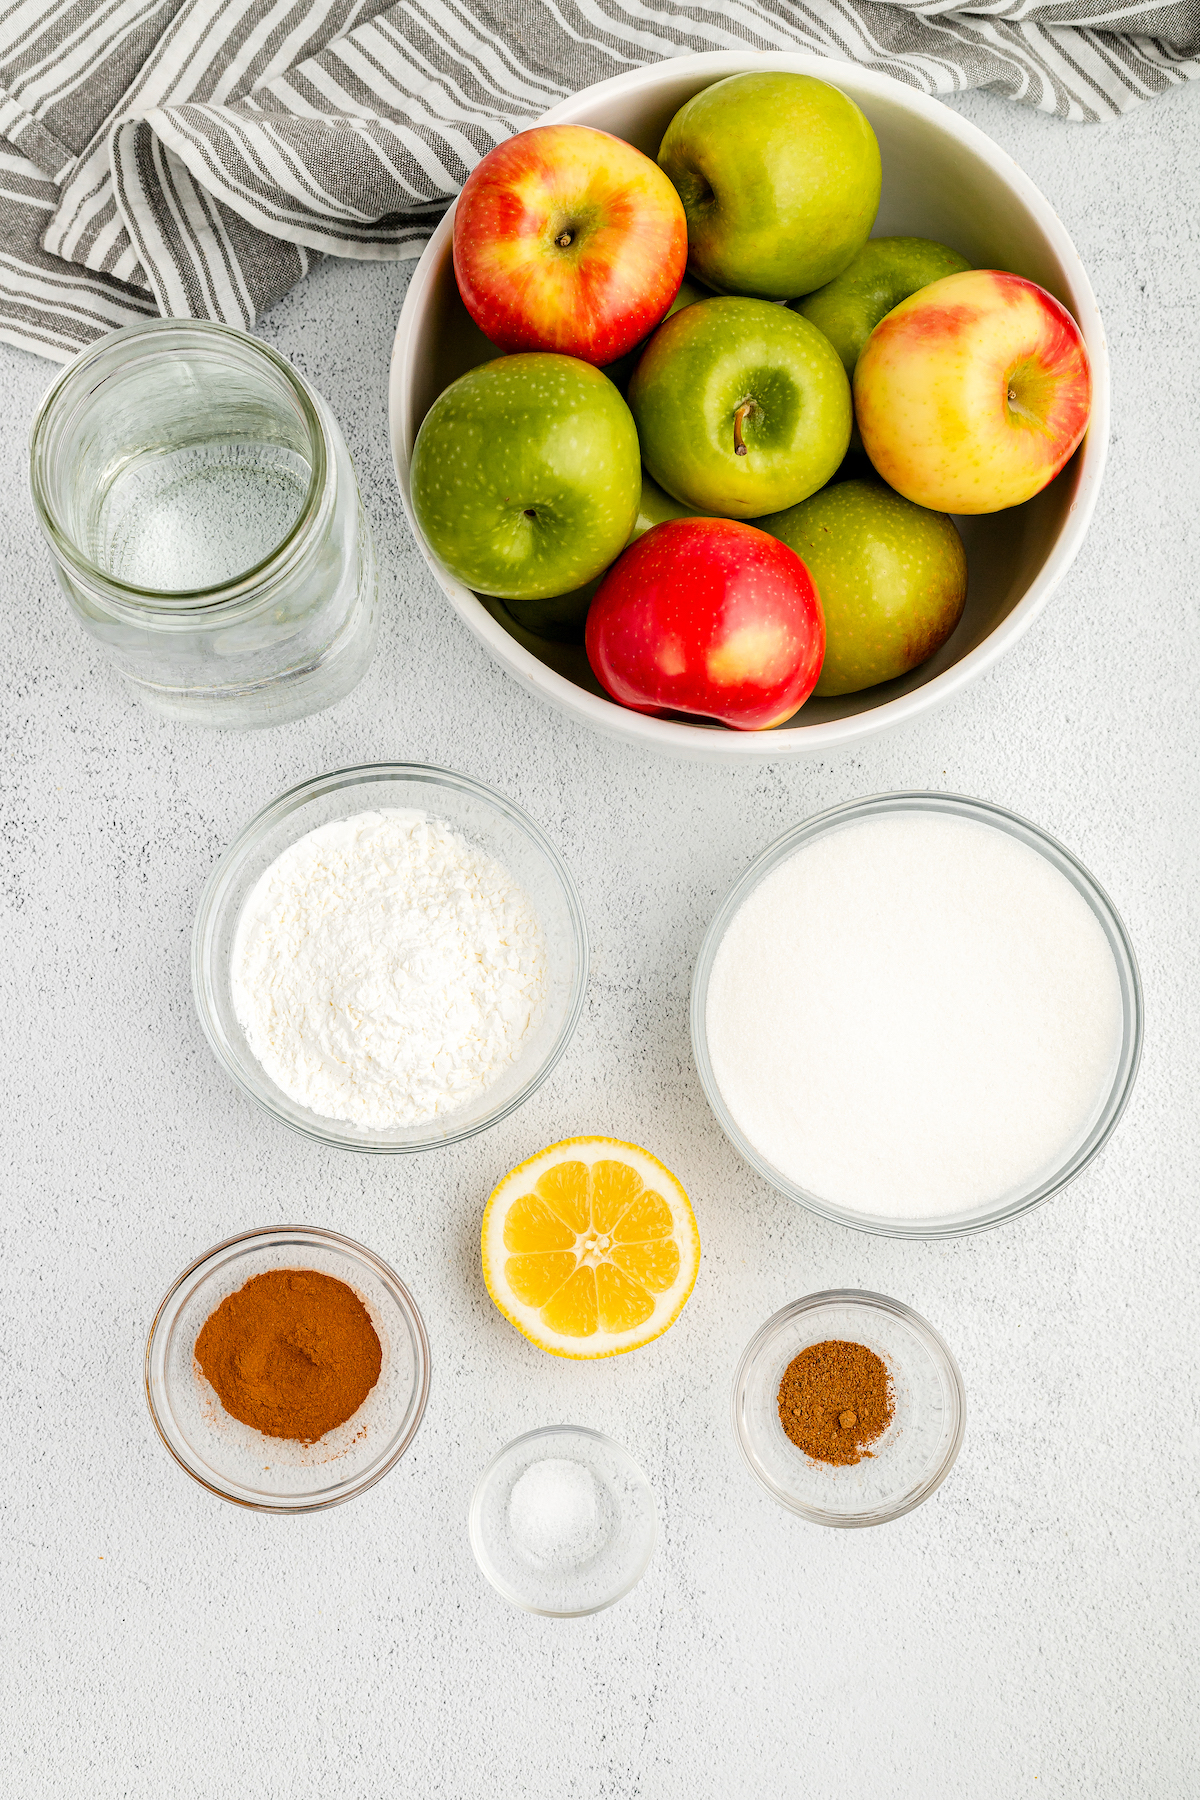
What You’ll Need
- Apples: You can use any of your favorite apple varieties. Some are better for baking, see below for suggestions!
- Lemon: Lemon juice helps to keep the apples from browning.
- Sugar: For a lighter flavor and color, use white sugar. Meanwhile brown sugar will give your filling a richer, caramelized flavor and darker color.
- Cornstarch: A slurry of cornstarch in water helps thicken the filling quickly, without the added time needed to cook down the sugar.
- Spices: Ground cinnamon and nutmeg bring all the cozy fall vibes to your apple pie filling! Plus a pinch of salt to balance the sweetness.
What Kind of Apples Are Best?
My favorite apples to use for pie filling are Granny Smith, Golden Delicious or Honeycrisp. These have a delicious sweet-tart flavor and won’t get mushy when baked!
A good thing to remember is that different kinds of apples will produce more or less liquid as they cook. For this reason, use a little less or a little extra water in your recipe as needed, to get your desired consistency.
How to Make Apple Pie Filling From Scratch
This filling recipe makes enough to fill two 9-inch pies, or you can store it to use any way you’d like! Here’s how to make this easy pie filling:
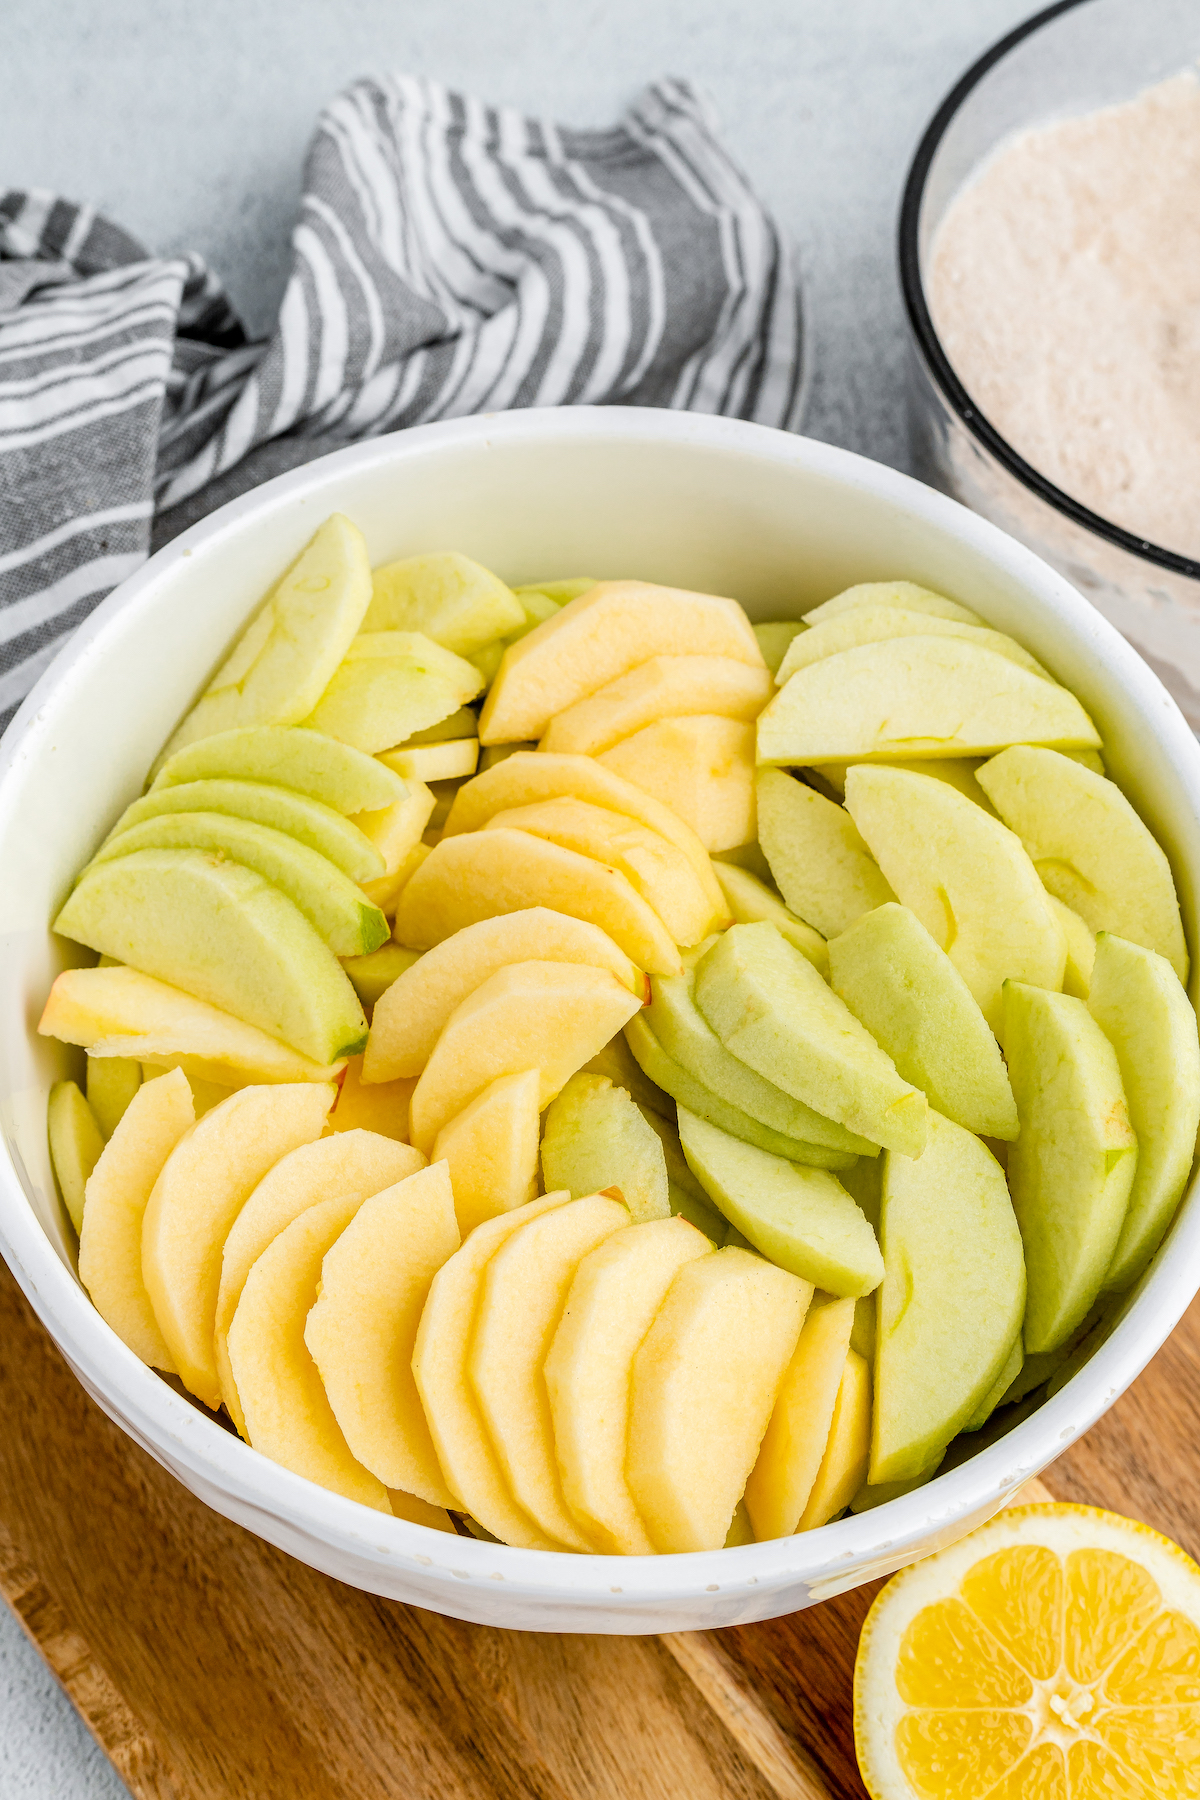
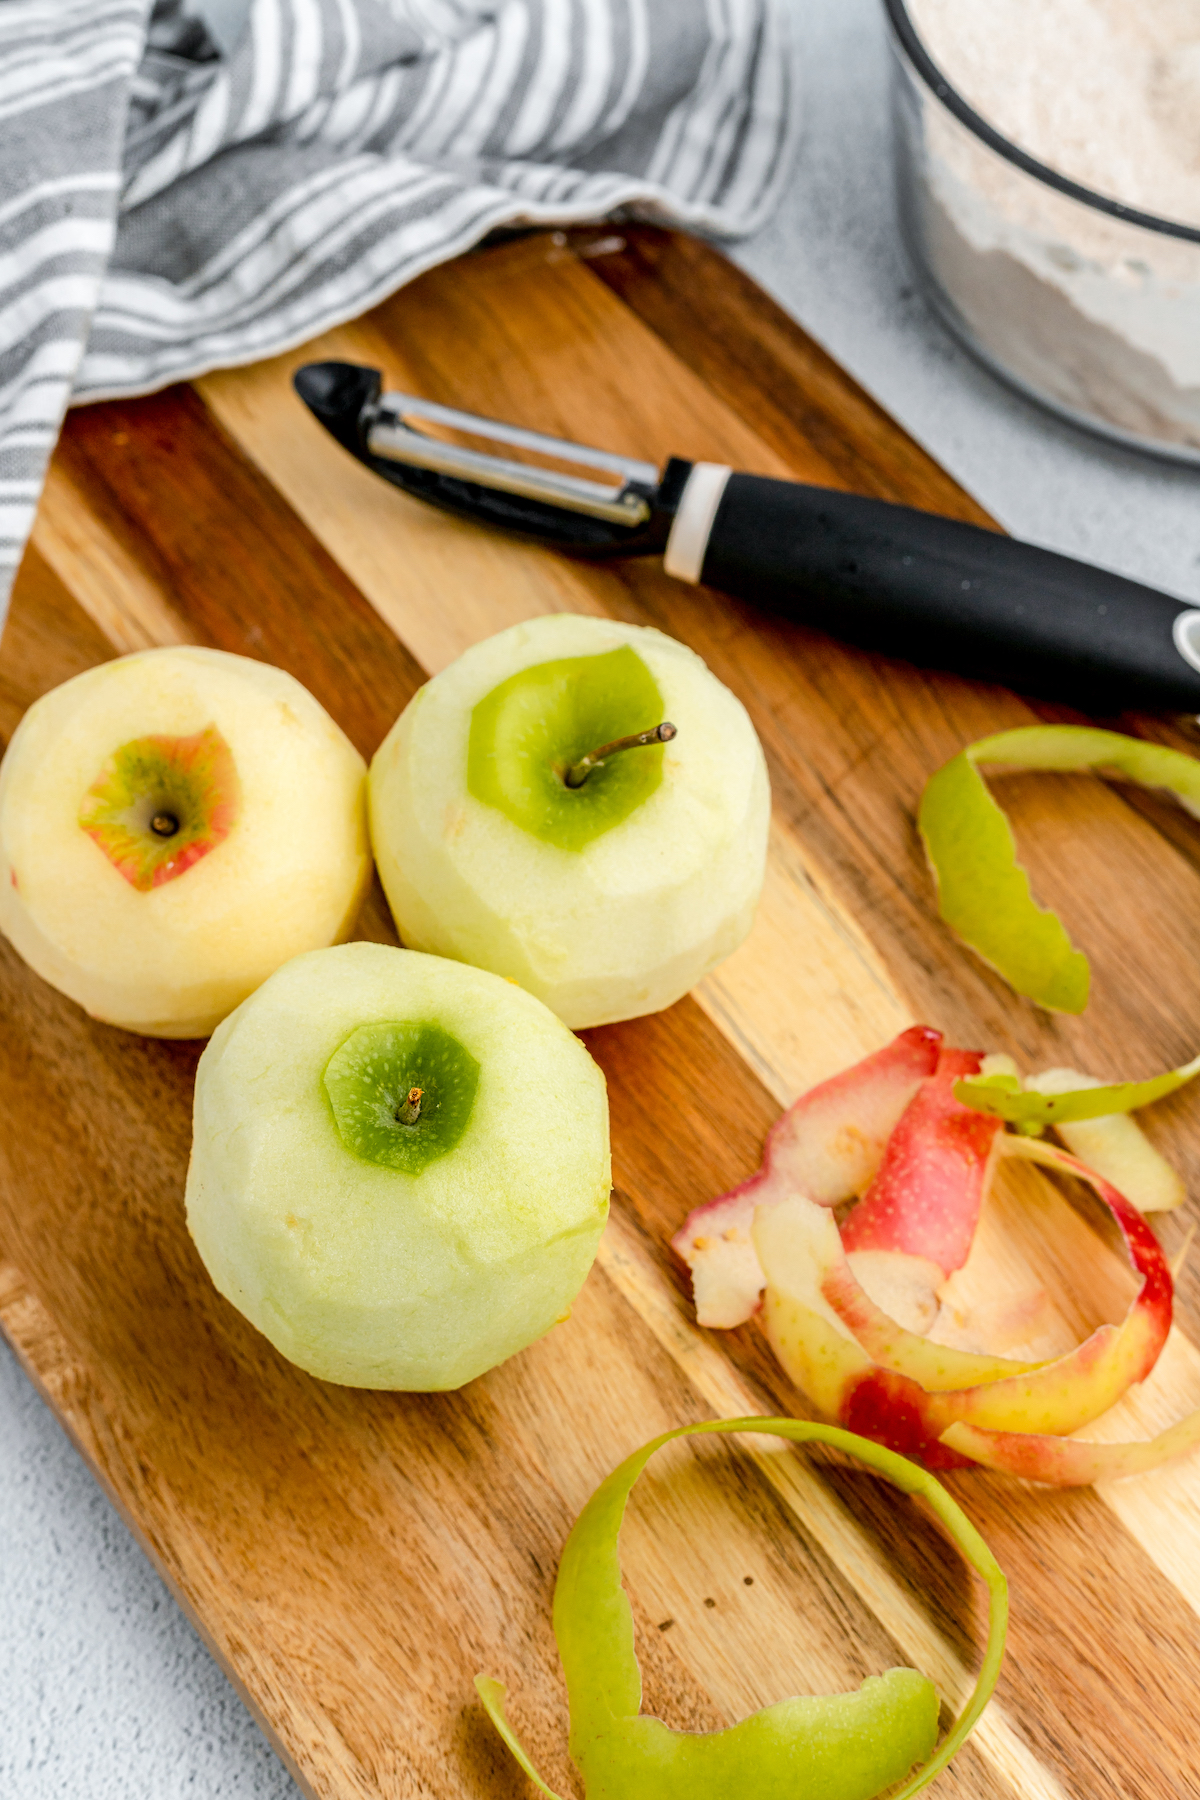
Prep the Apples: First, you’ll need to peel and de-core the apples. Next, use a sharp knife to slice them up thinly, then toss and coat in a bit of lemon juice to keep the cut apples from browning.

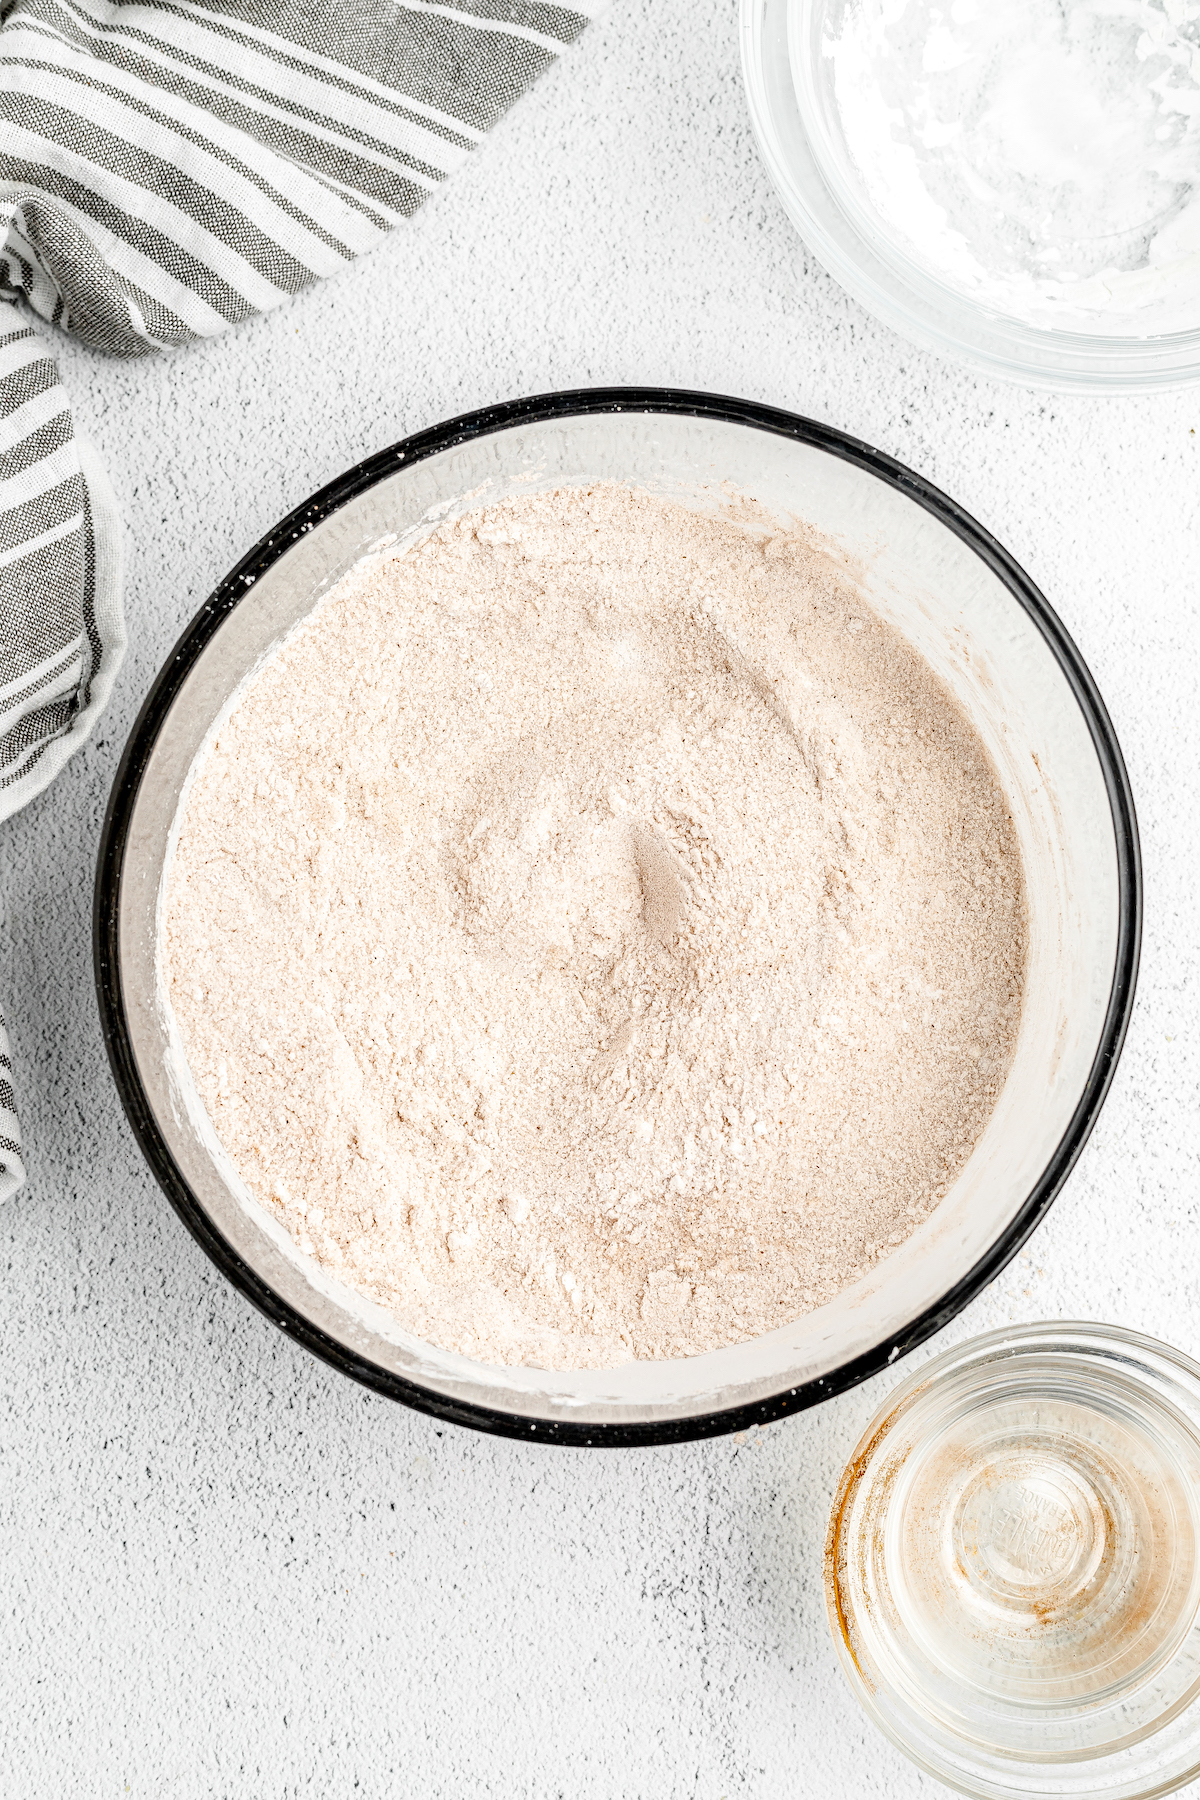
Prep the Spices: In a separate bowl, stir the cornstarch and sugar together, along with the spices.
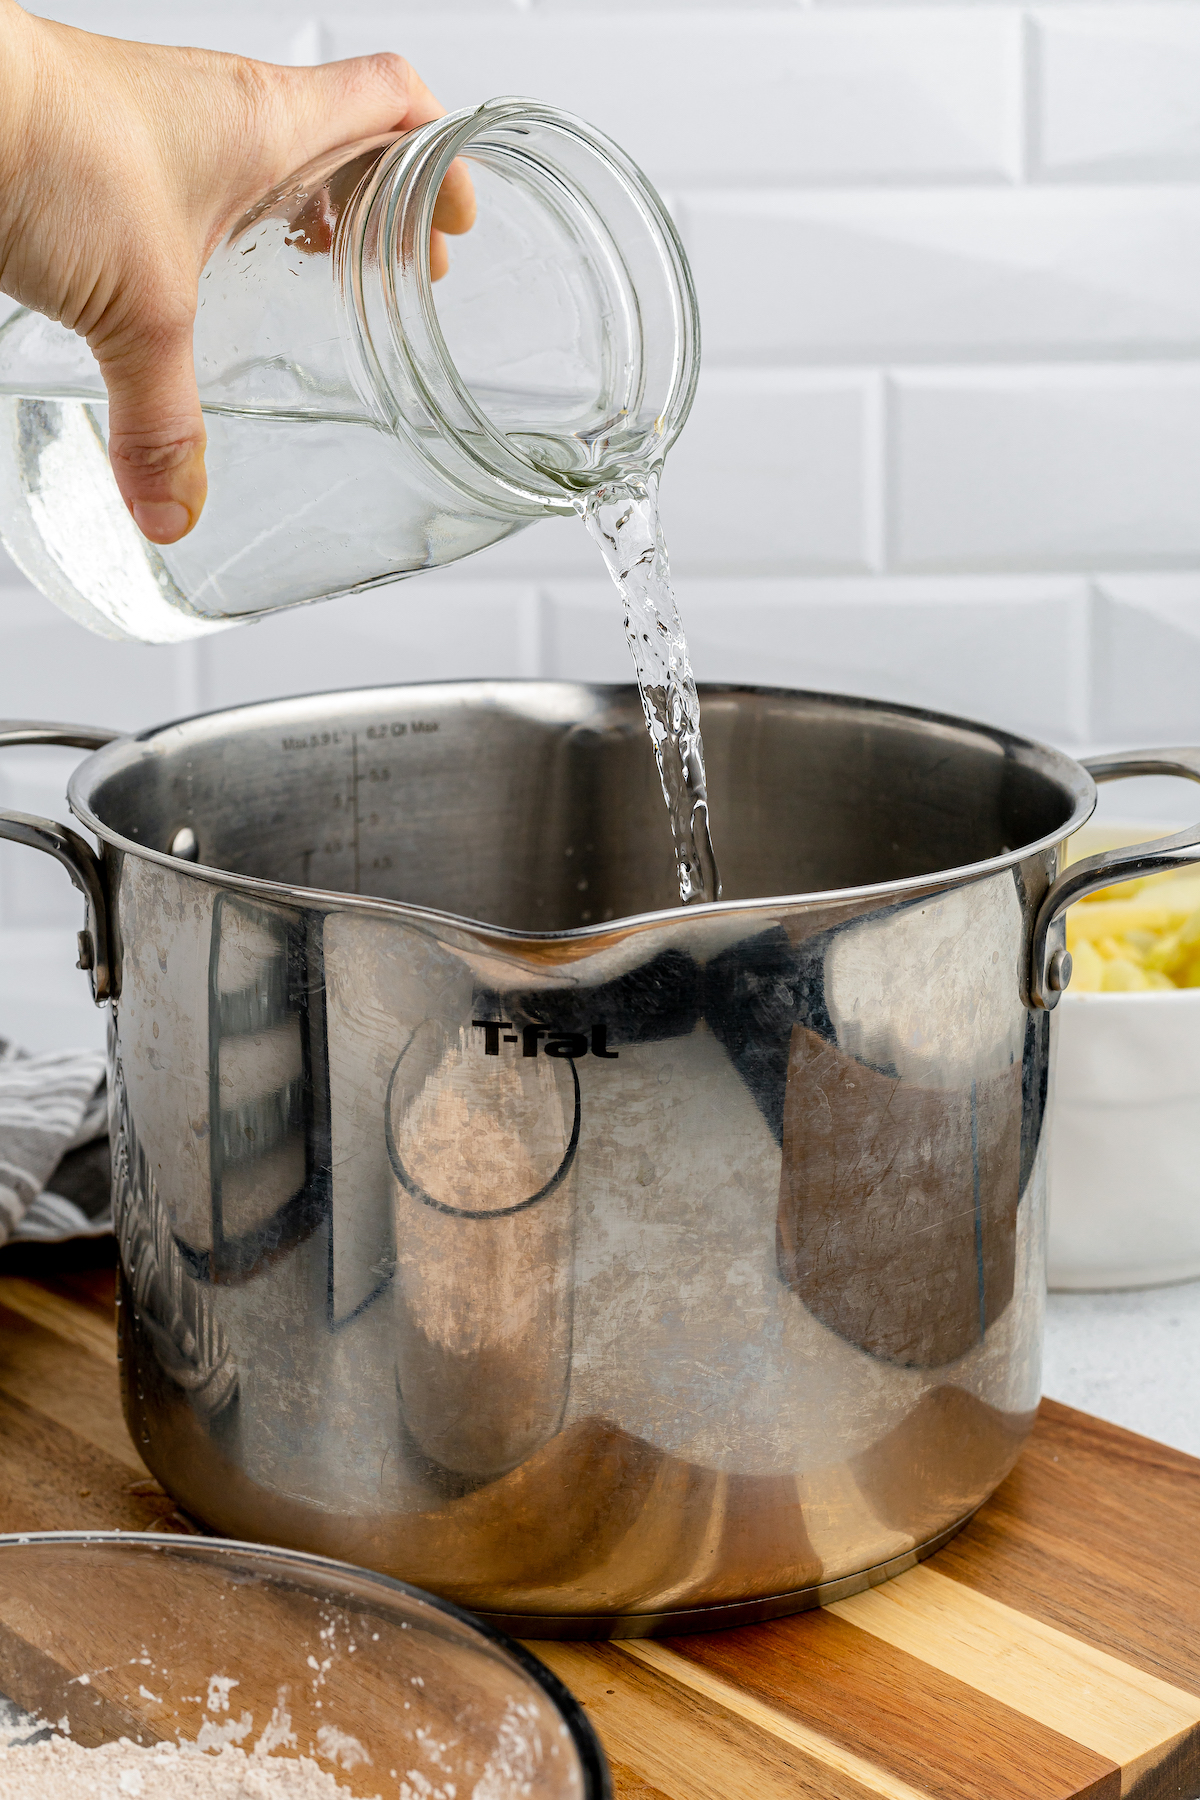
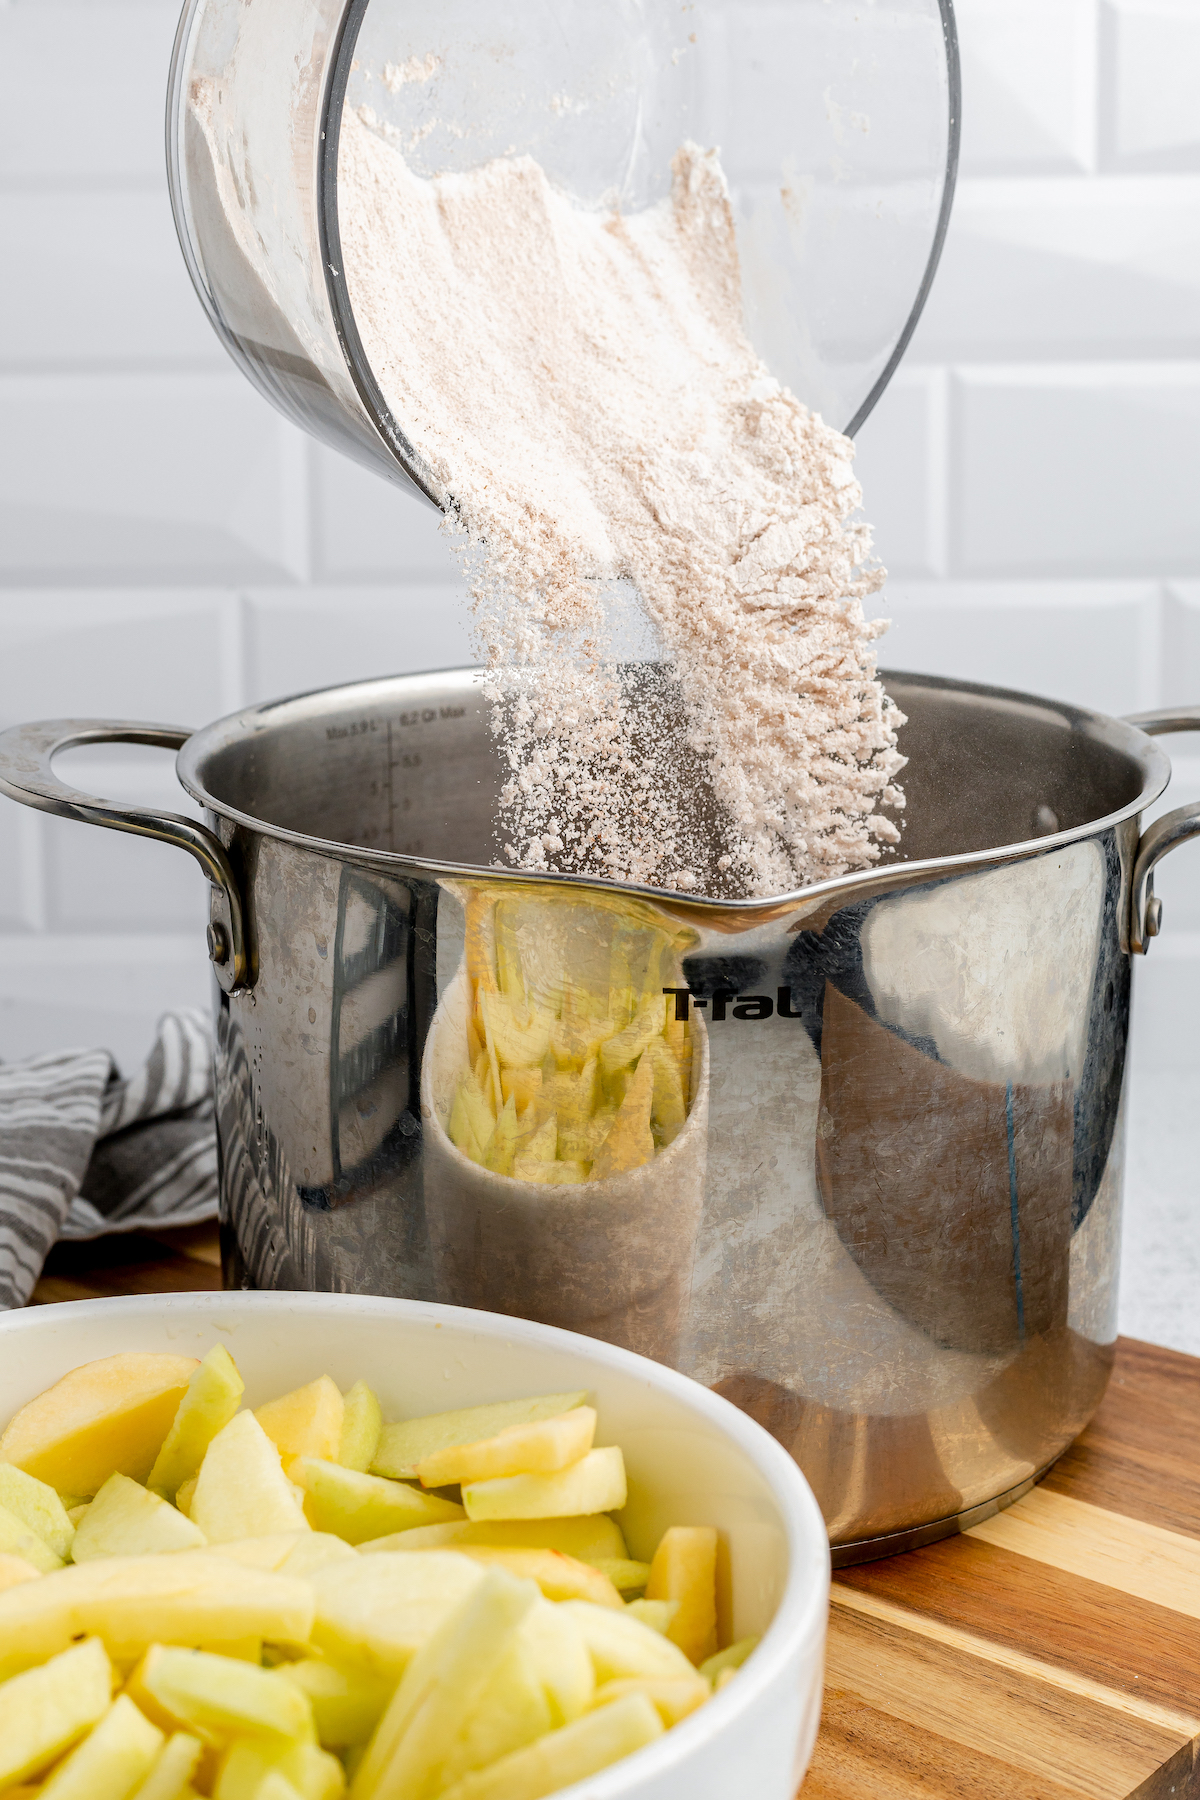
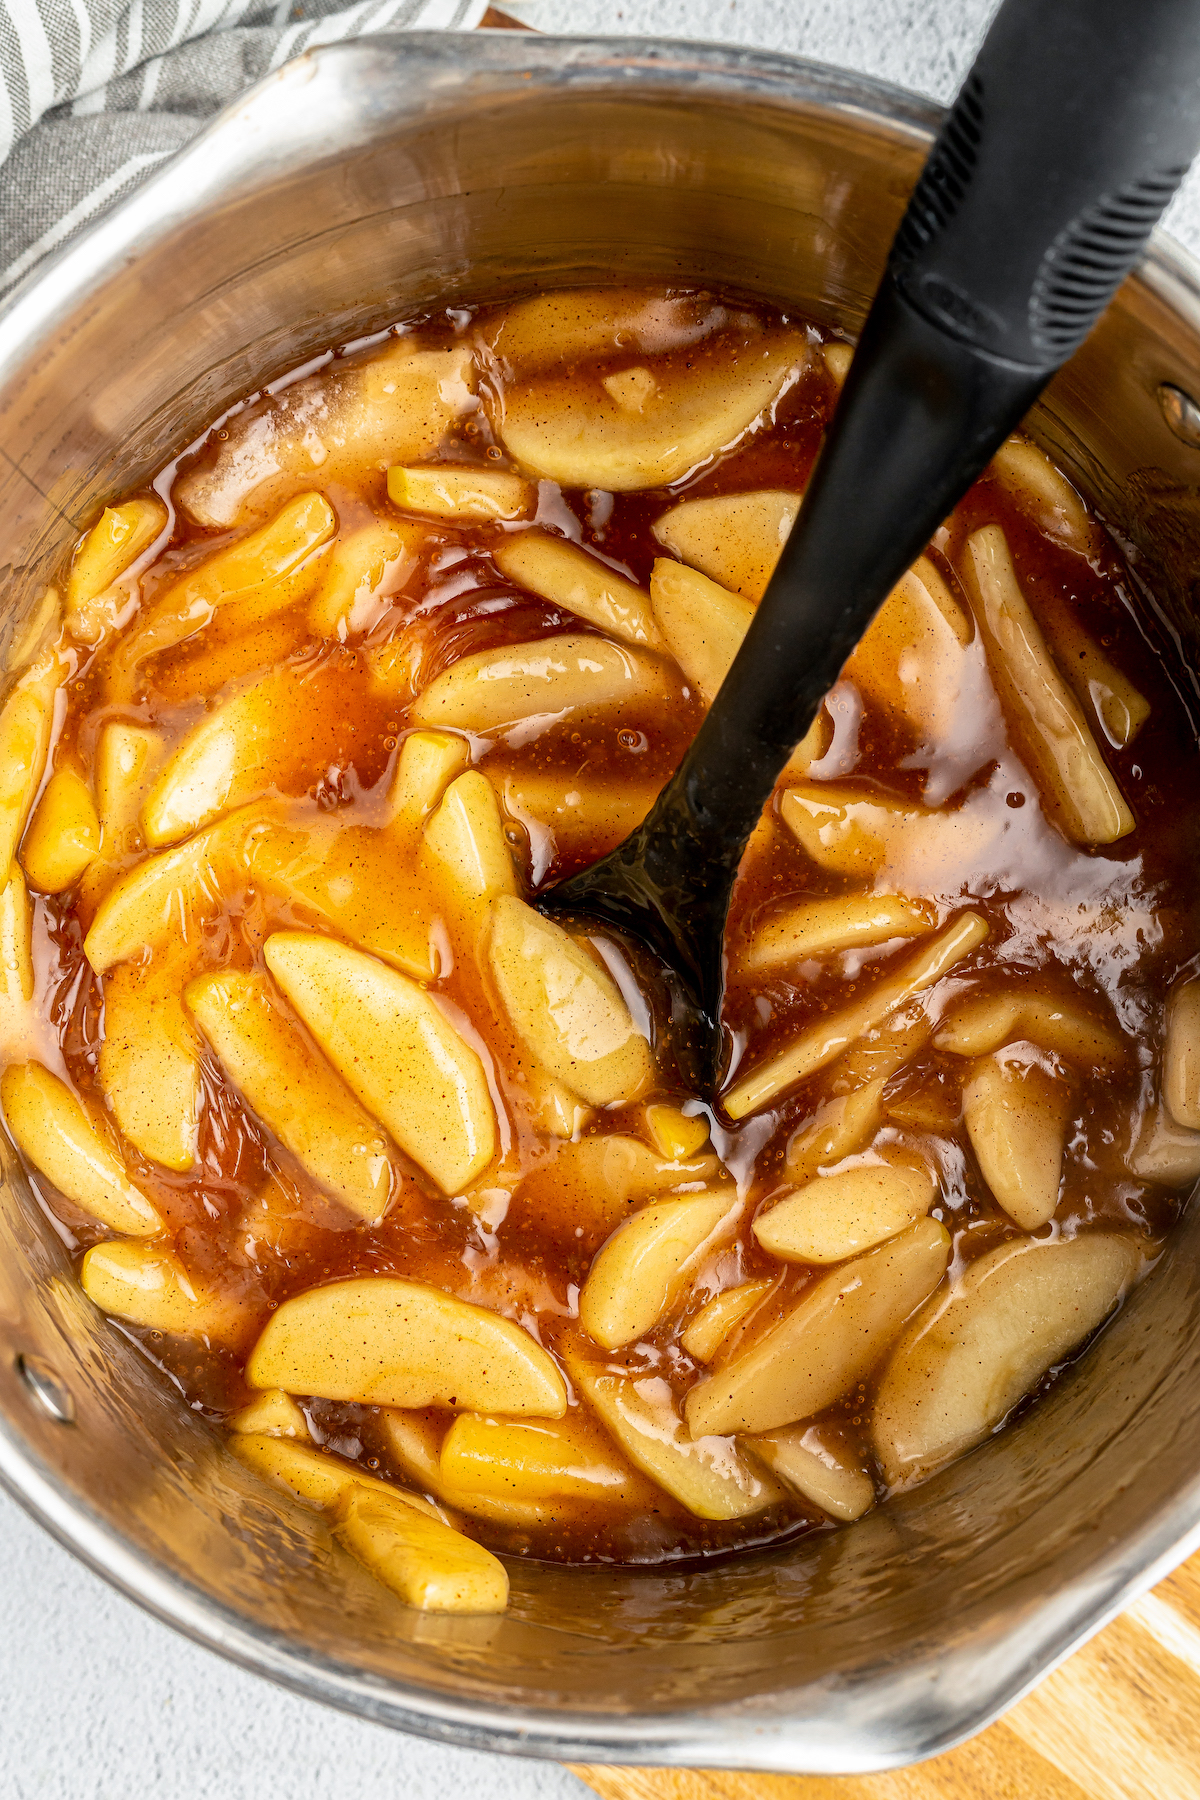
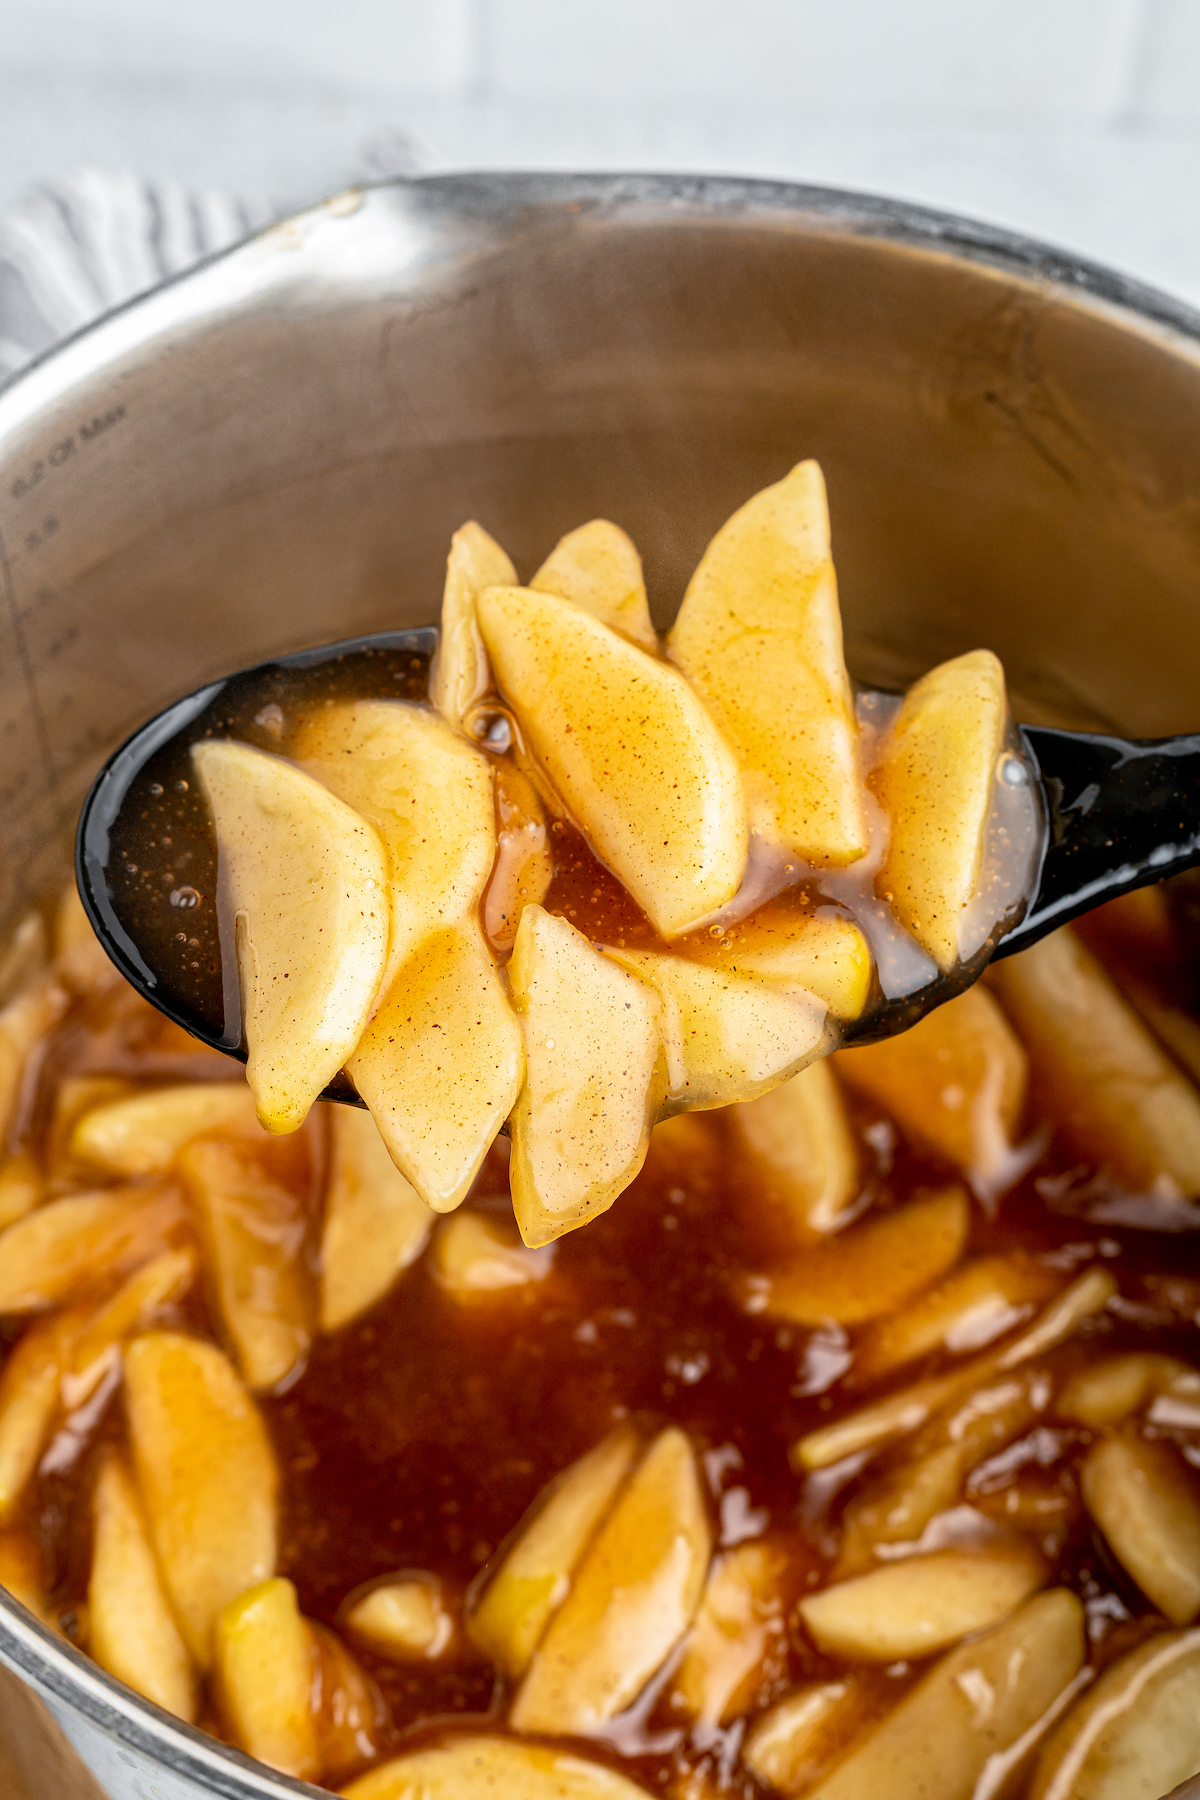
Make the Sauce: Bring water to a boil in a large pot, then add in the dry ingredients to simmer. It will smell incredible! After a minute or two, the sauce will start to thicken, and this is when you’ll stir in your apple slices. Continue to simmer the apples in the sauce until tender, then take them off the heat to cool.

Use or Store: Once the pie filling has cooled, you can either add it straight into a pie crust, or keep it stored for later use! See further down in this post for tips on how to use and store your homemade apple pie filling.
Tips for Success
- Cut Same-Sized Slices: Try to cut your apples into uniform slices, this way they’ll cook through evenly.
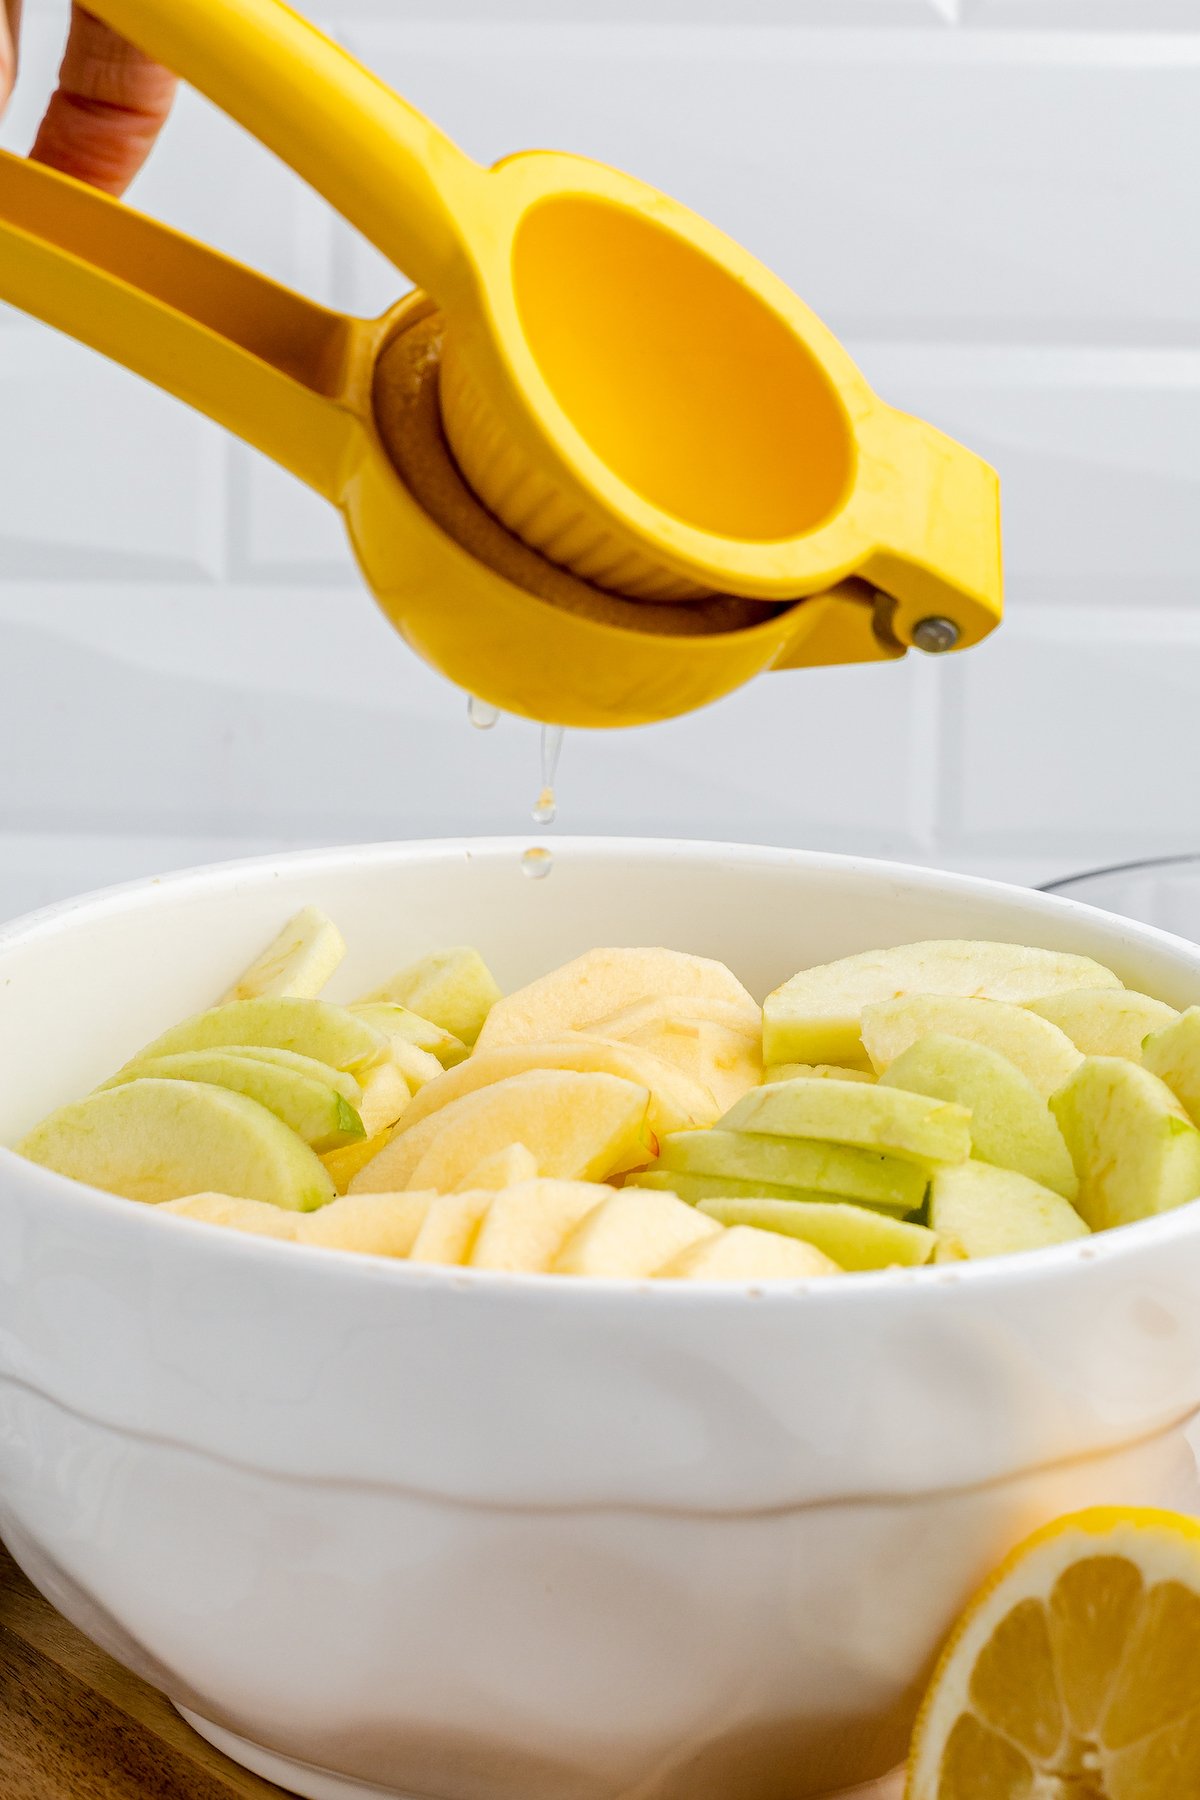
- Coat with Lemon: I include this step in my recipe because it really does prevent the apples from going brown after they’re cut! Use a freshly squeezed lemon or store-bought lemon juice to toss and coat the apple slices.
- Can I Skip the Cornstarch?: Cornstarch is a great way to fast-track the thickening process! However, if you’d prefer to make your pie filling without, add extra sugar instead and then simmer the mixture a little longer until it’s reduced enough to thicken.
Ways to Use Apple Pie Filling
There’s more to apple pie filling than just, well, filling pies. Here are even more ways you can use your delicious homemade pie filling:
- Caramel Apple Dump Cake — my very favorite apple dessert recipe!
- Apple Pie Bombs
- Apple Pie French Toast Casserole
- As a topping for pancakes and waffles, or use it to make Apple Pie Pancakes
- Stirred into oatmeal
- As a dip for Graham crackers (an easy, kid-friendly snack!)
- Served alone with ice cream.
Storage Instructions
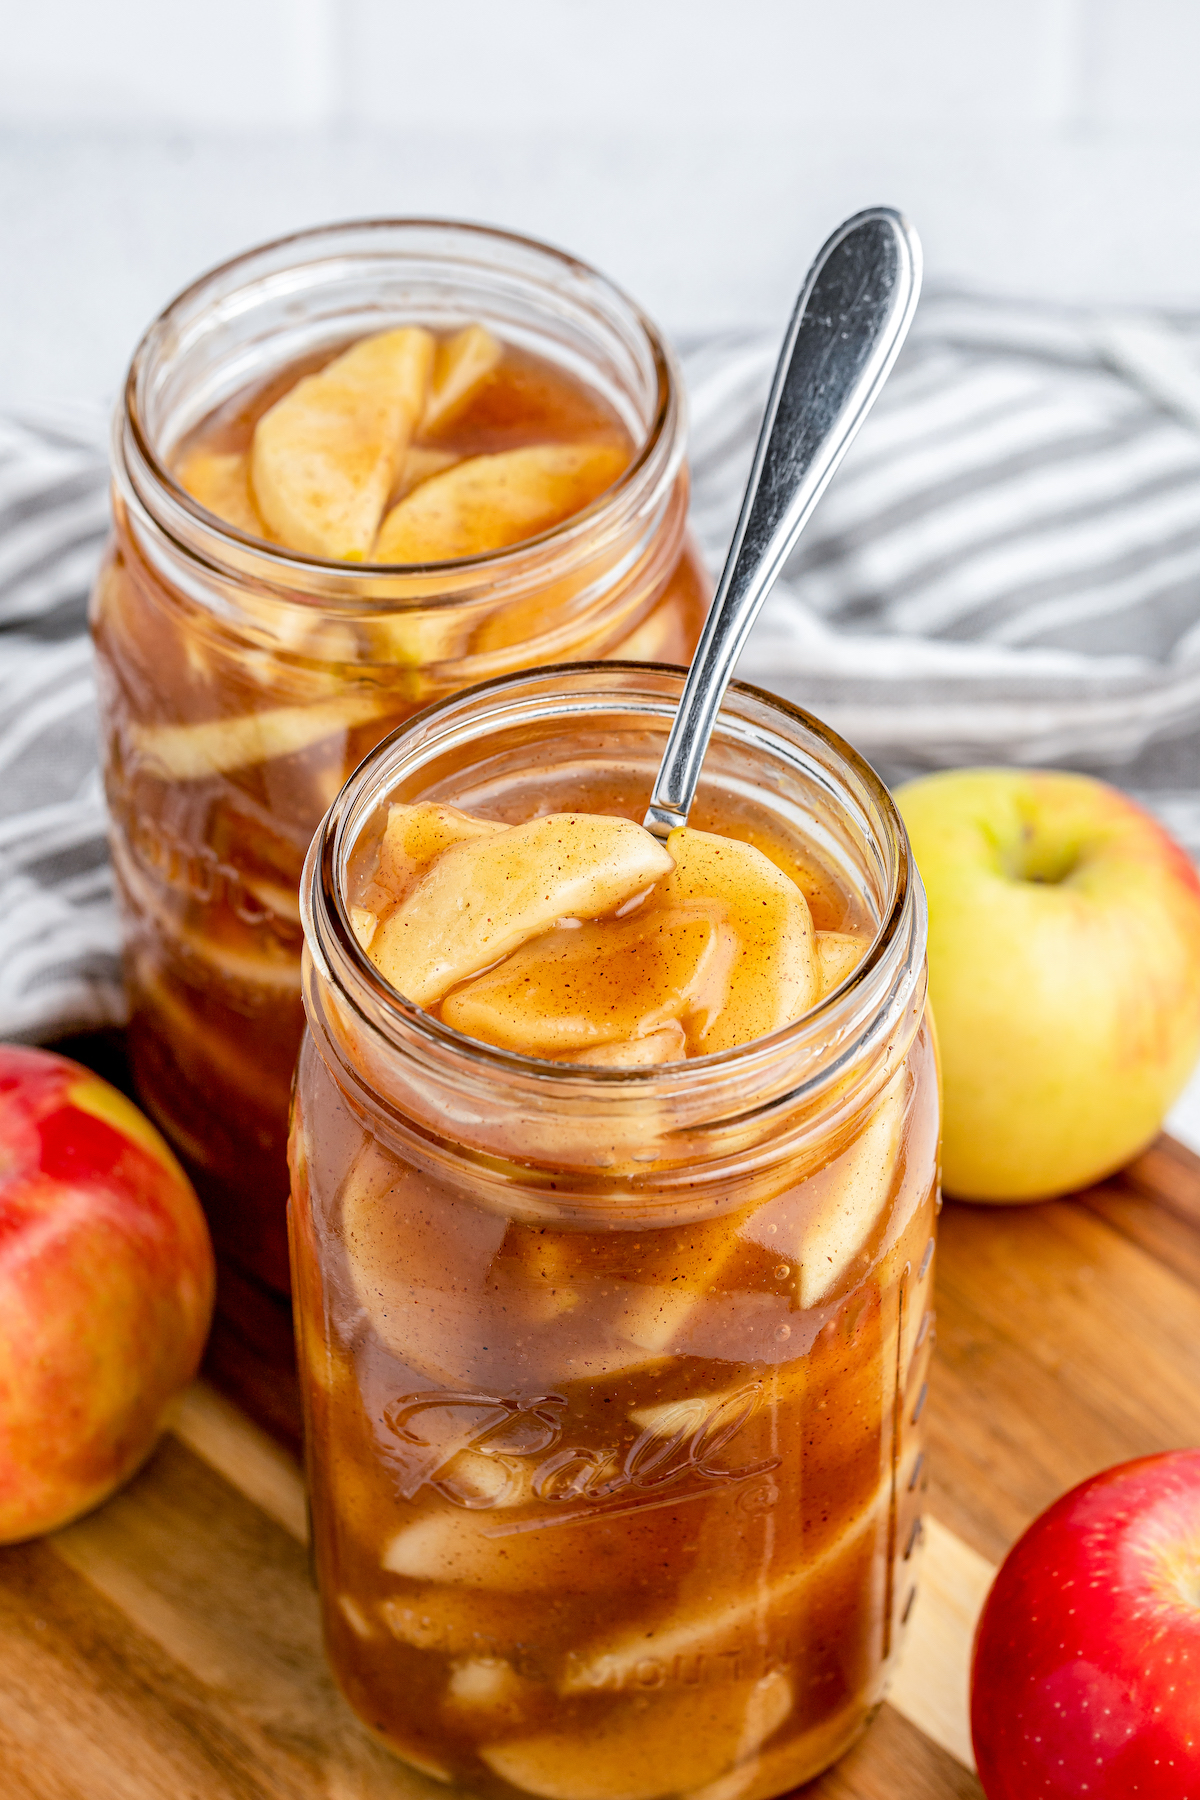
If you don’t plan to use it right away, store your apple pie filling airtight in the fridge for up to 4 days. Glass mason jars work great for storage!
Can I Freeze This?
Freezing apple pie filling is super easy, and you can keep it in the freezer for up to 12 months. To freeze, let the filling cool completely and then transfer it to a freezer-safe container or freezer bag.
Thaw frozen the pie filling in the fridge overnight, or reheat it in a saucepan over gentle heat on the stove.
Homemade Apple Pie Filling
Ingredients
- 9 cups thinly sliced apples
- ½ small lemon, juiced
- 4 ½ cups water
- 2 cups granulated sugar
- ½ cup cornstarch
- 2 teaspoon cinnamon
- ¼ teaspoon ground nutmeg
- ½ teaspoon salt
Want to save this recipe?
Instructions
- Peel and de-core the apples. Thinly slice and set in a large bowl. Coat with the lemon juice and toss to combine.
- In a small bowl, mix together the sugar, cornstarch, cinnamon, nutmeg and salt. Set aside.
- In a large pot or dutch oven, pour the 4 1⁄2 cups of water and bring to a boil. Add the dry cornstarch mixture and reduce the heat. Simmer for 1 minute or until the sauce starts to thicken.
- Add the sliced apples to the pot and gently stir to evenly coat with the sauce. Cover and continue to simmer until the apples are tender, about 10 minutes. Remove from heat and allow to cool.
- Once cooled, divide the pie filling into two freezer safe containers or pour a single portion directly into the prepared pie crust for baking. Pie filling may be stored in an airtight container in the refrigerator for up to 4 days or in the freezer for up to 12 months.
⭐️ Tried this recipe? Leave a comment and rating! It only takes a minute and helps support our family-run blog. ❤️
Notes
Nutrition
Categories:
More Crave-Worthy Apple Recipes
- Warm, cozy apple crisp is one of my favorite old-fashioned recipes!
- Delight everyone at the potluck with a creamy, crunchy caramel apple snickers salad.
- Cracker Barrel fried apples (copycat recipe) are the perfect side dish for your Southern-style dinner!
- This classic dutch apple pie recipe is piled high with a brown sugar crumb topping.
Post may contain affiliate links. Read my disclosure policy.

Great pie 🥧 excellent recipe
Continuation of previous post: My husband and I recently purchased an abandoned apple orchard, so of course I was anxious to test the harvest ( perfect timing, as we moved in September) after scouring Google, I came across Jess’s simple apple pie filling, and decided “ what the heck, we have an abundance of free apples”. I will never use another apple pie filling recipe. Honestly, I am secretly jealous I didn’t come up with this recipe, it will definitely be going into our Family Recipe Book for all the future generations of “ Blue’s” to come. I wish I could ad the photos of the finished product, they are as beautiful as they are delicious. Thanks again Jess. From Canada
So jealous of your apple orchard!! That’s amazing!
I admit, I was extremely skeptical, I dove in to this recipe with pretty low expectations of it tasting better/or even as good as that (junk loaded, but oh so yummy canned pie filling) let me tell you, as a 40ish woman, raised on the canned pie filling, this recipe is a million times tastier, I followed recipe to the T, no changes/subs. It is amazingly fantabulous. Thank you, for converting this can loving girl, into a homemade loving girl. Worth every extra second of prep/work/cooking.
So glad you tried it Stephanie!!! 🙂 I agree, homemade is so worth it sometimes…and this is one of those times!