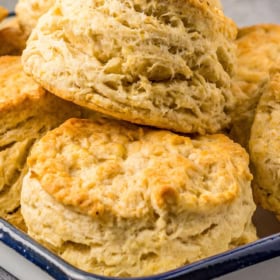
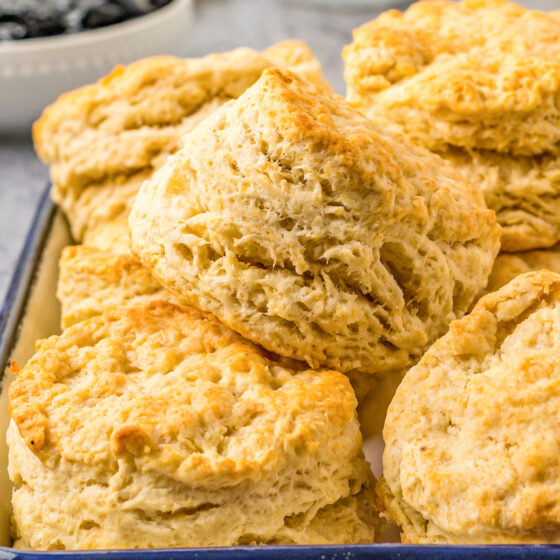
Don’t let anyone tell you different, the best Southern Buttermilk Biscuits are made with both butter and shortening! This recipe uses both, plus some top-secret tips, to create the ultimate flaky, soft, buttermilk biscuits. Pure heaven.
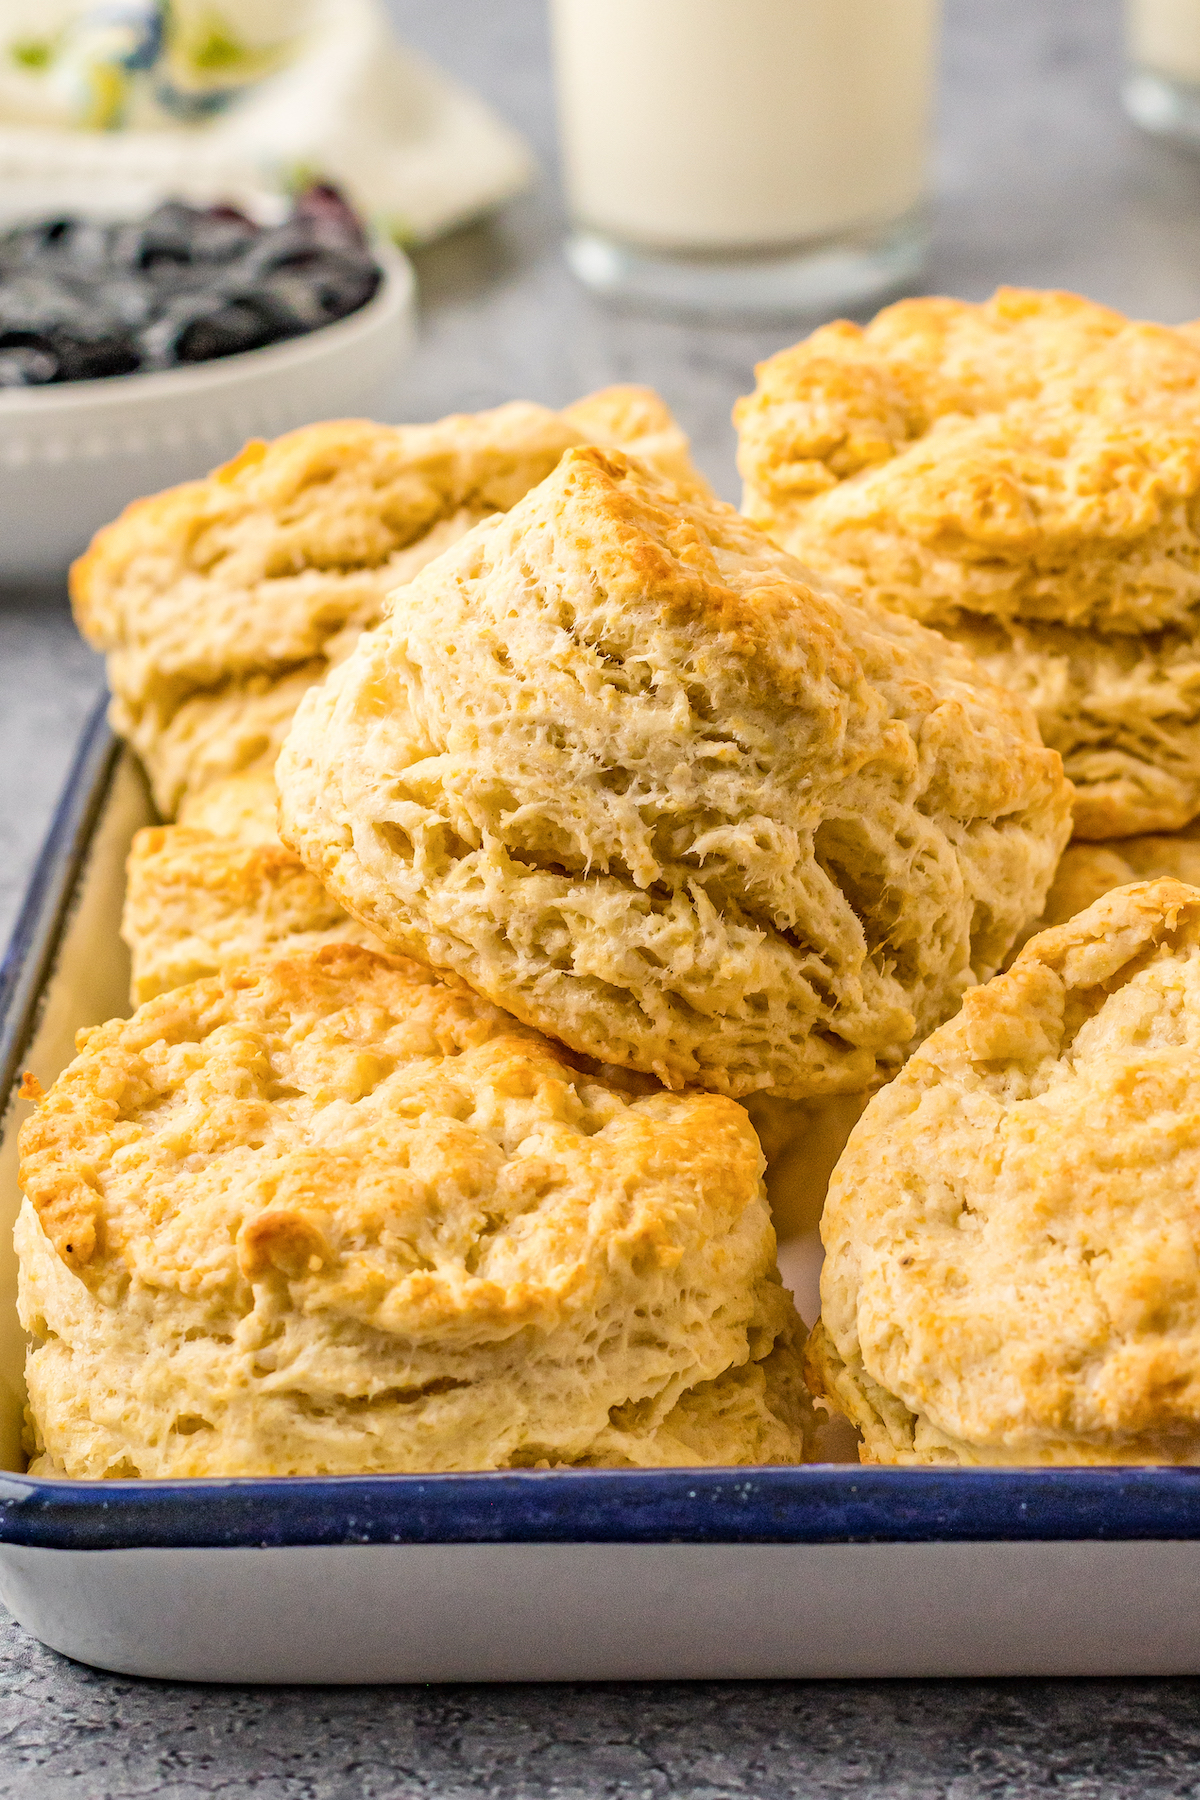
Table of Contents
- Authentic, Southern-Style Buttermilk Biscuits
- What Makes Southern Biscuits Different?
- The Ingredients You’ll Need
- How to Make Real Buttermilk Biscuits from Scratch
- Helpful Tips
- Troubleshooting Your Buttermilk Biscuits
- Serving Suggestions
- How to Store and Reheat Leftovers
- Can I Freeze Buttermilk Biscuits?
- Get the Recipe
- More Savory Bread Recipes
Authentic, Southern-Style Buttermilk Biscuits
My life would end without buttermilk biscuits. Ok, maybe that is a little dramatic.
My life would not be worth living without buttermilk biscuits. Yes, I think that is more accurate.
Growing up, the biscuits in our house were usually made with canned biscuit dough, and those were good (trust me, there isn’t a biscuit out there that I don’t like). But these are better. Sorry Pillsbury, but the combination of from-scratch ingredients and old-fashioned biscuit-making tips can’t be beat – especially by anything that comes out of a can.
To be honest, the first time I ever made homemade biscuits, they were a flop. The recipe I had at that time was so difficult and confusing, I knew there had to be a better way. So I tried again and again and again, changing things up, using different ingredient combinations, and hunting down all the best hacks I could find. This recipe is the fruit of all that effort: my holy grail of Southern buttermilk biscuits!
What Makes Southern Biscuits Different?
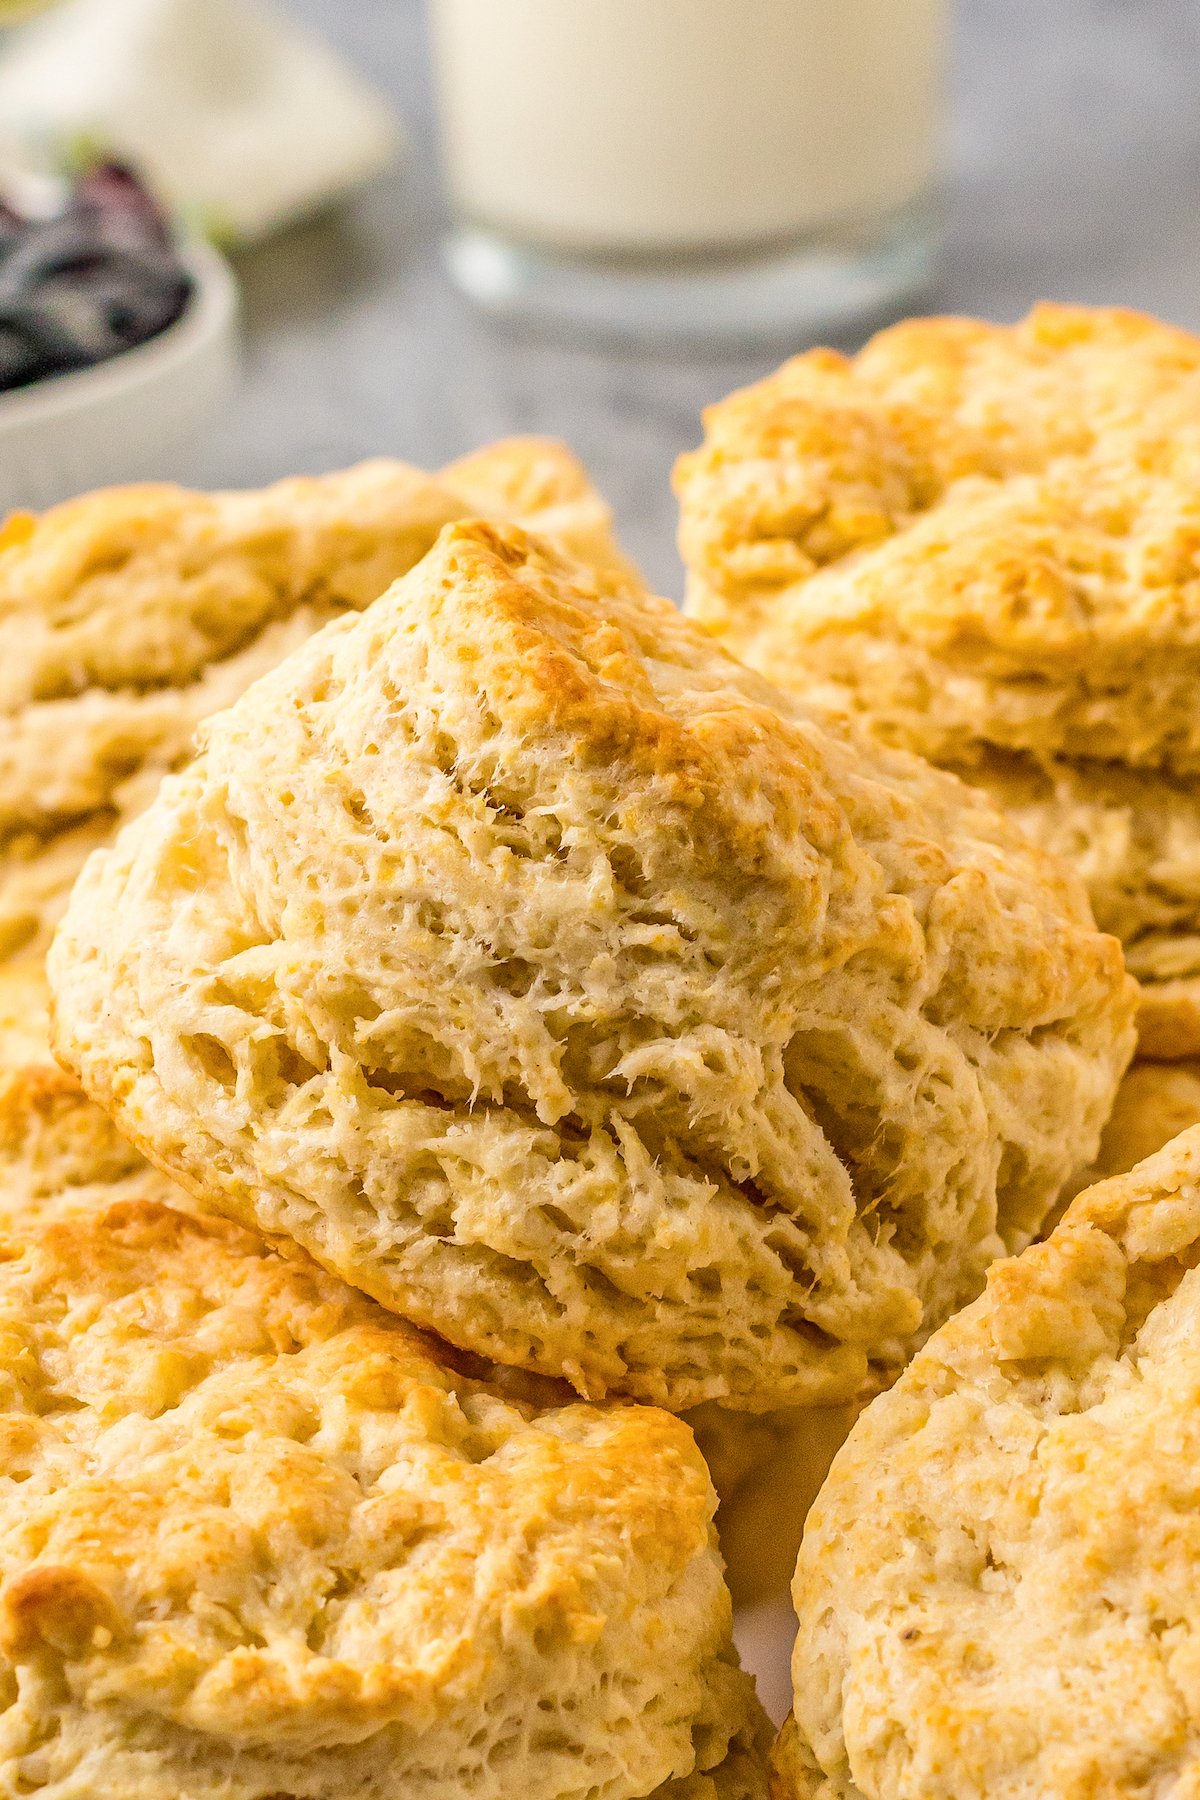
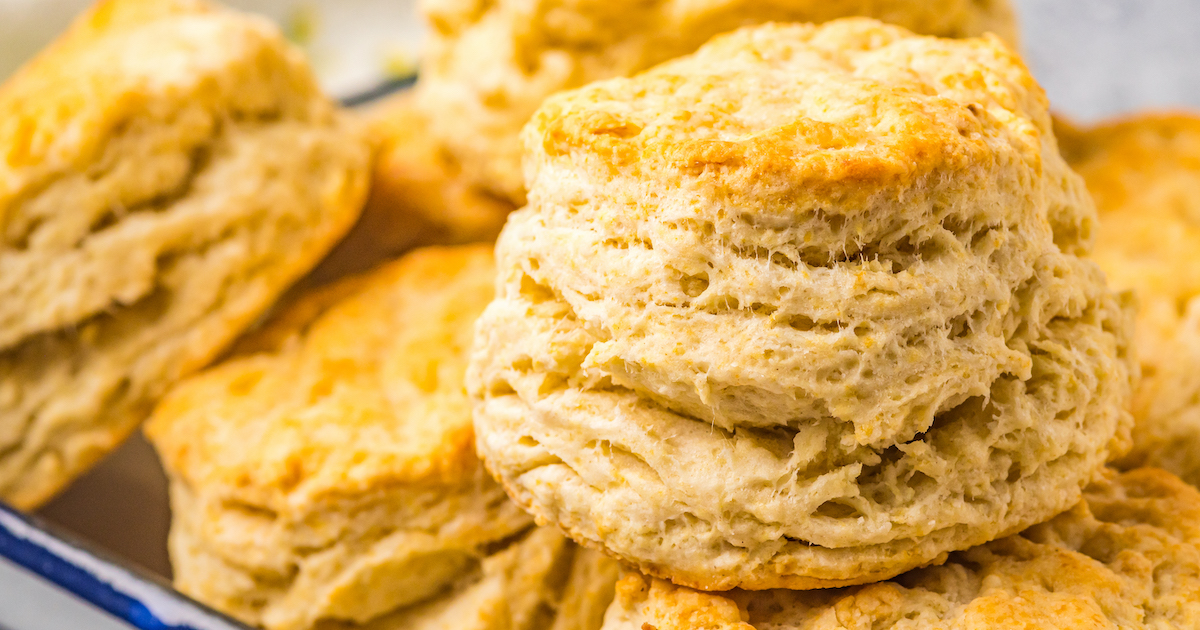
In short, the main difference is that Southern biscuits use both shortening and butter. This matters because shortening has a higher melting point than butter. The butter will melt in the oven and create some steam, and then the shortening will melt after that, creating more. You get loftier, separated layers while still achieving a perfect, buttery taste. (Looking for a different biscuit recipe? Try these quick and fluffy 7-Up Biscuits!)
The Ingredients You’ll Need
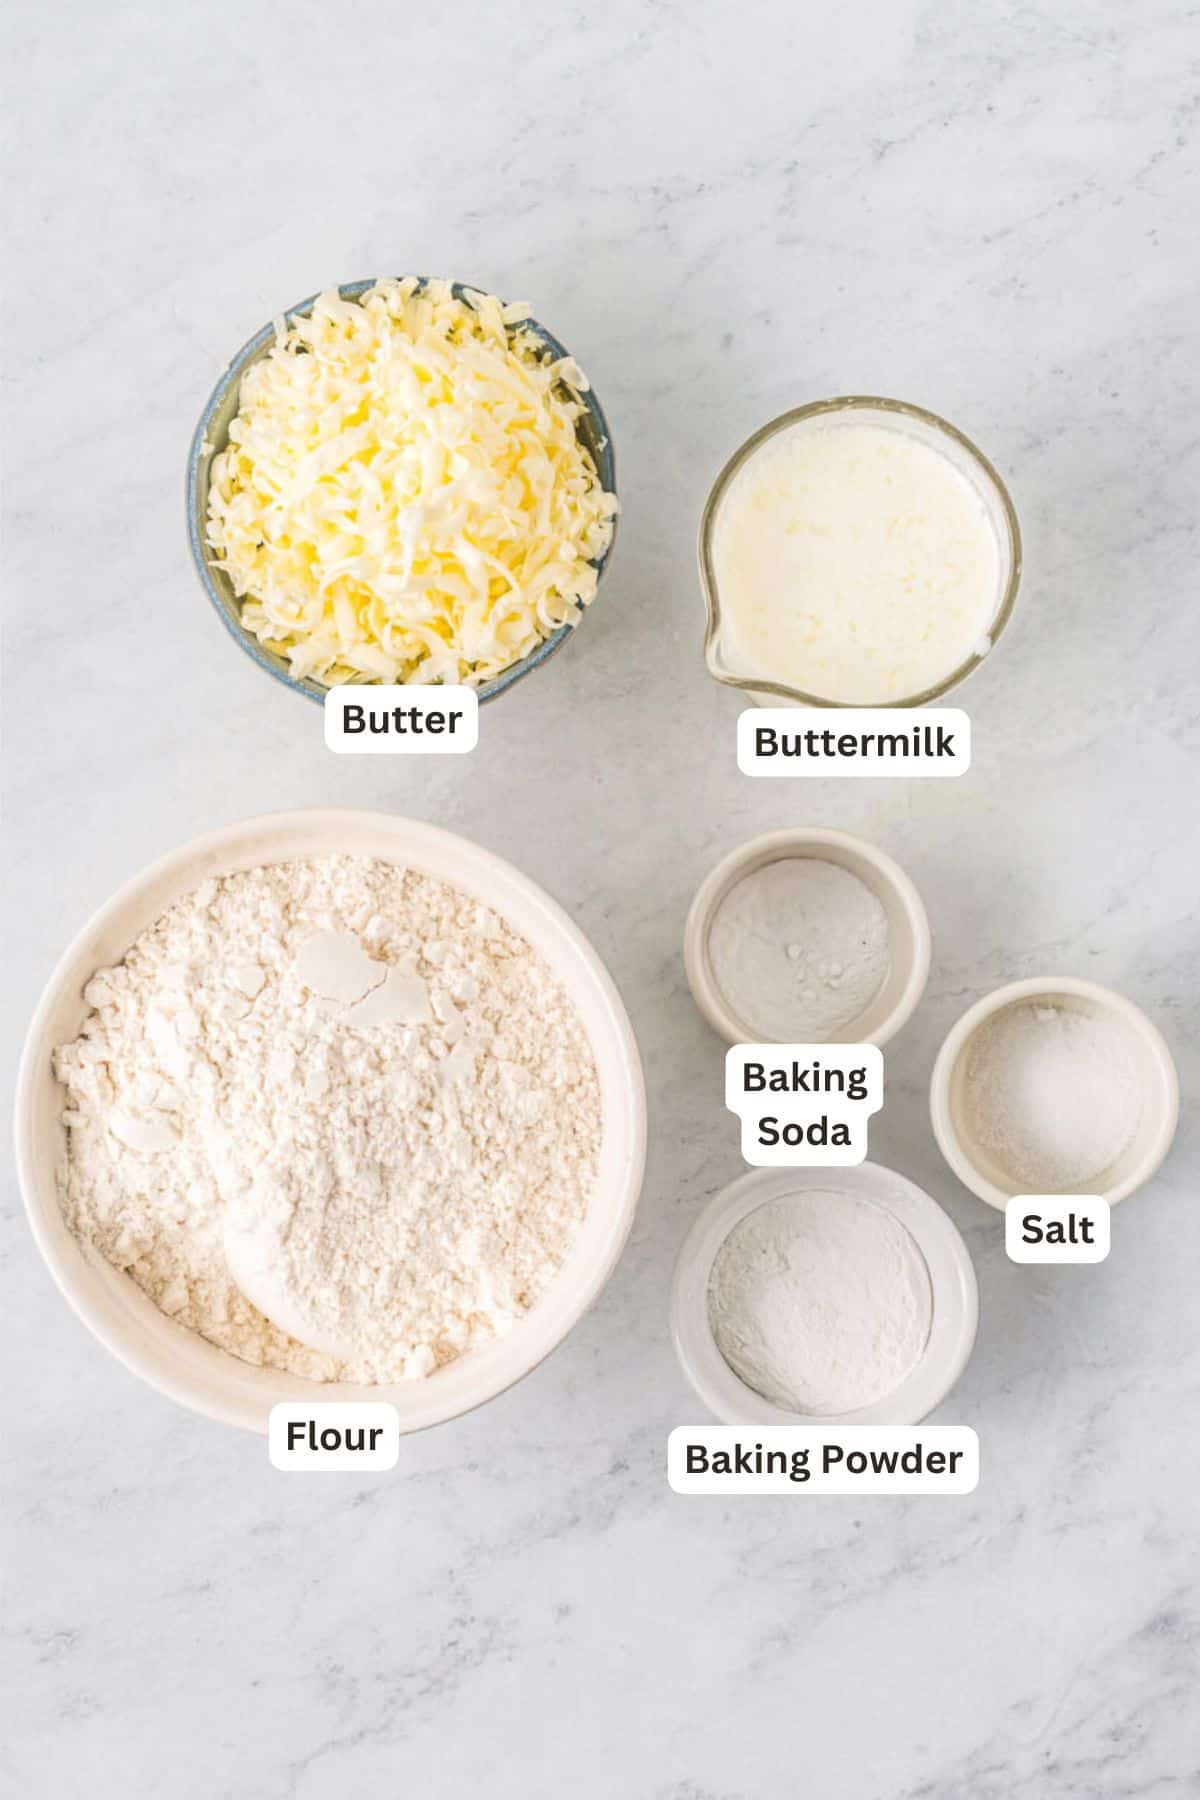
So what exactly is in this recipe for buttermilk biscuits? Let’s take a look at the list, one item at a time, and talk about the ingredients for a sec:
- Flour: You can use all-purpose flour or pastry flour – more on that in a minute.
- Baking Powder and Baking Soda: Baking soda reacts with the buttermilk to give the biscuits a lift, and baking powder gets them even more fluffy.
- Salt
- Butter: Chill the butter, and then grate it. You can chill it again after grating, if it’s starting to soften.
- Shortening: Measure our your shortening by pressing it into a measuring spoon, and then scooping it out with another spoon or a tiny spatula. Cut it into small pieces. It should also be cold, so re-chill it if needed.
- Buttermilk: You guessed it – cold out of the fridge.
- Butter: Or additional buttermilk. This is for brushing onto the biscuits.
What’s the Best Type of Flour to Use for Biscuits?
The “right” kind of flour to use is really a matter of taste and dietary preference. For instance, if you typically bake using only einkorn or spelt flour, then those are the right flour for making biscuits! But you will have to change the recipe a bit to make sure that they turn out well. This recipe is not designed for whole wheat flour, self rising flour, or ancient grains, although an experienced baker could definitely make a few adjustments and use one of those.
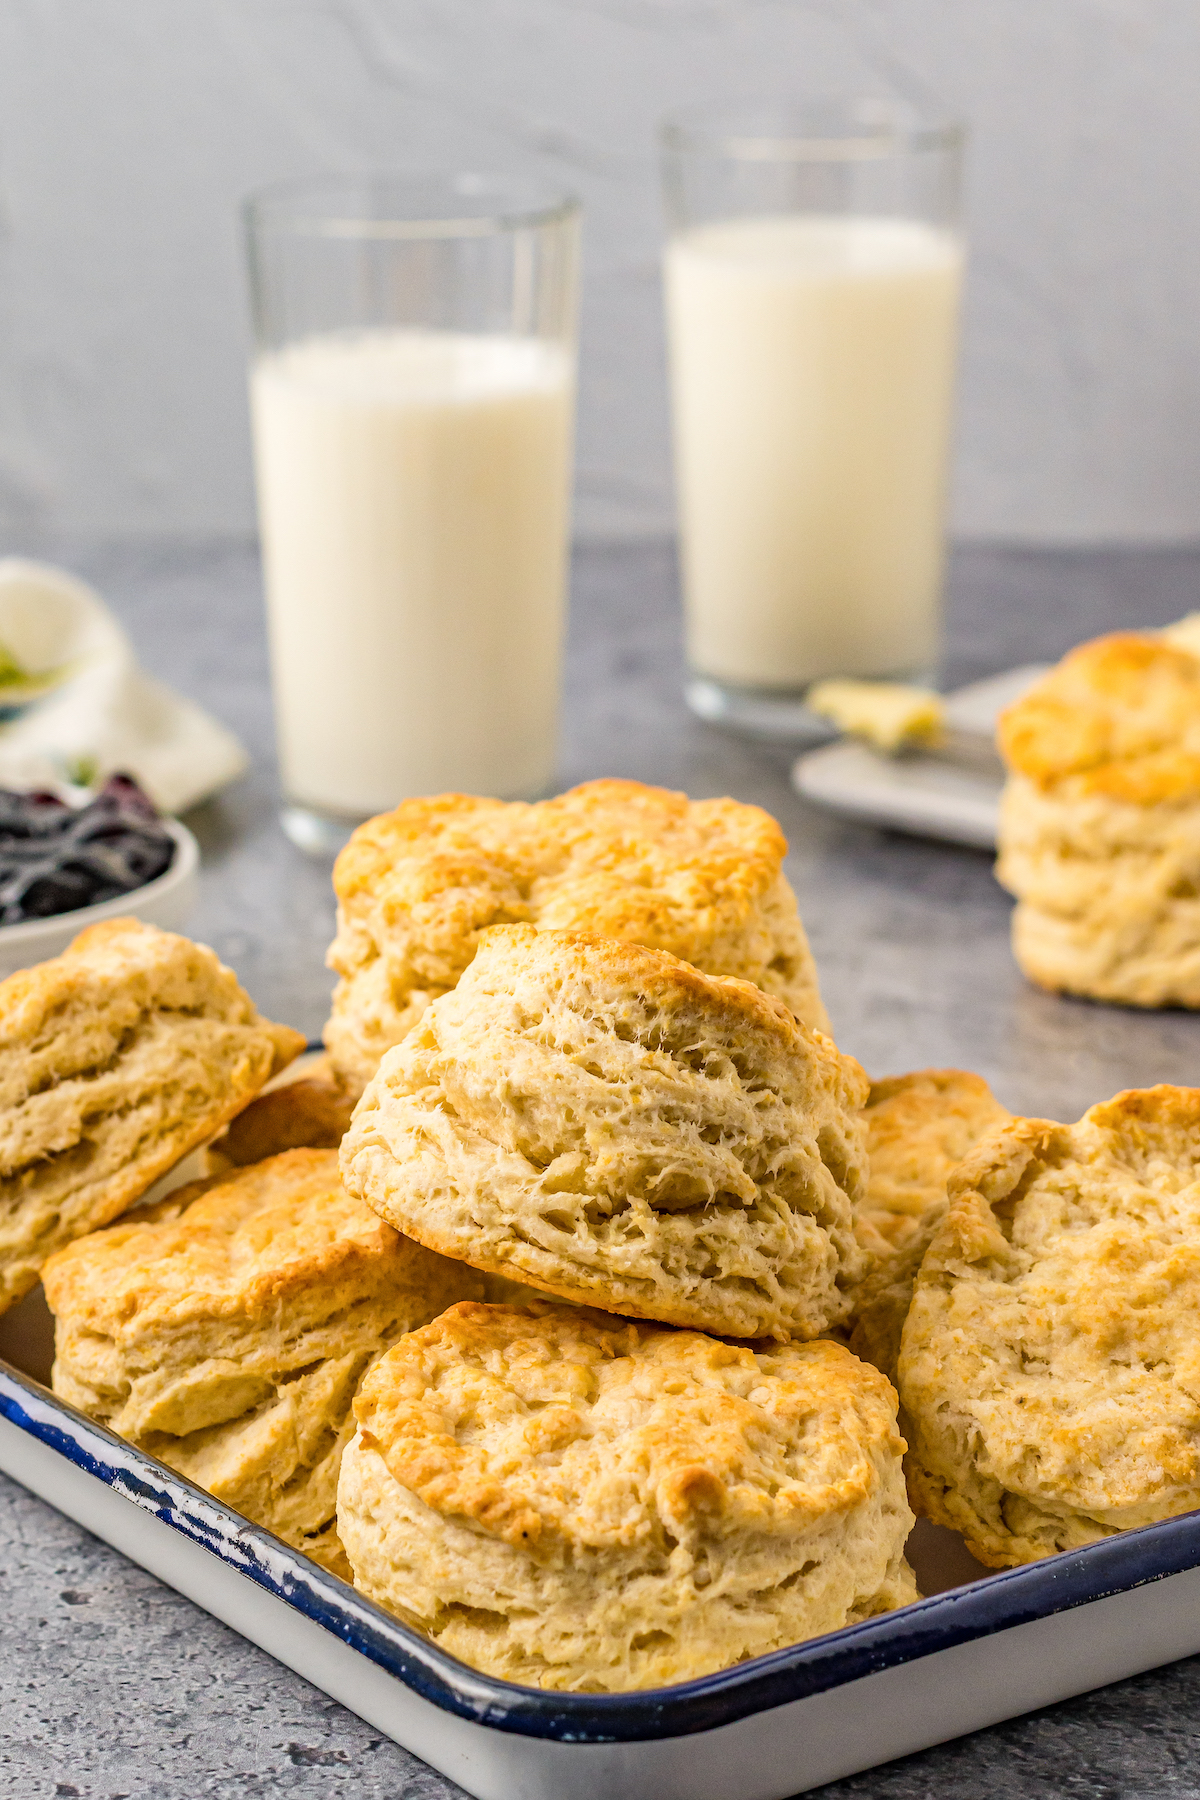
I recommend using a soft wheat flour, ideally a pastry flour. (The famous brand White Lily is technically a pastry flour, even though it is sold as all-purpose.) Finally, if all you have is ordinary all-purpose flour, that will work fine as well. The biscuits won’t be quite as cakey and soft as biscuits made with pastry flour, but they’ll still be fluffy, light, and tender.
How to Make Real Buttermilk Biscuits from Scratch
Don’t be intimidated by the process for baking biscuits – once you get the hang of it, they are a quick and easy bake that you’ll find yourself making on the regular. Here’s how to do it:
- Prep. First, you’ll want to preheat your oven to 425°F. Biscuits bake up nicely in a good hot oven. Next, line a baking sheet with parchment paper or a silicone baking mat – or, if you prefer, grease your biscuit pan lightly with oil or shortening (not butter). Set aside.
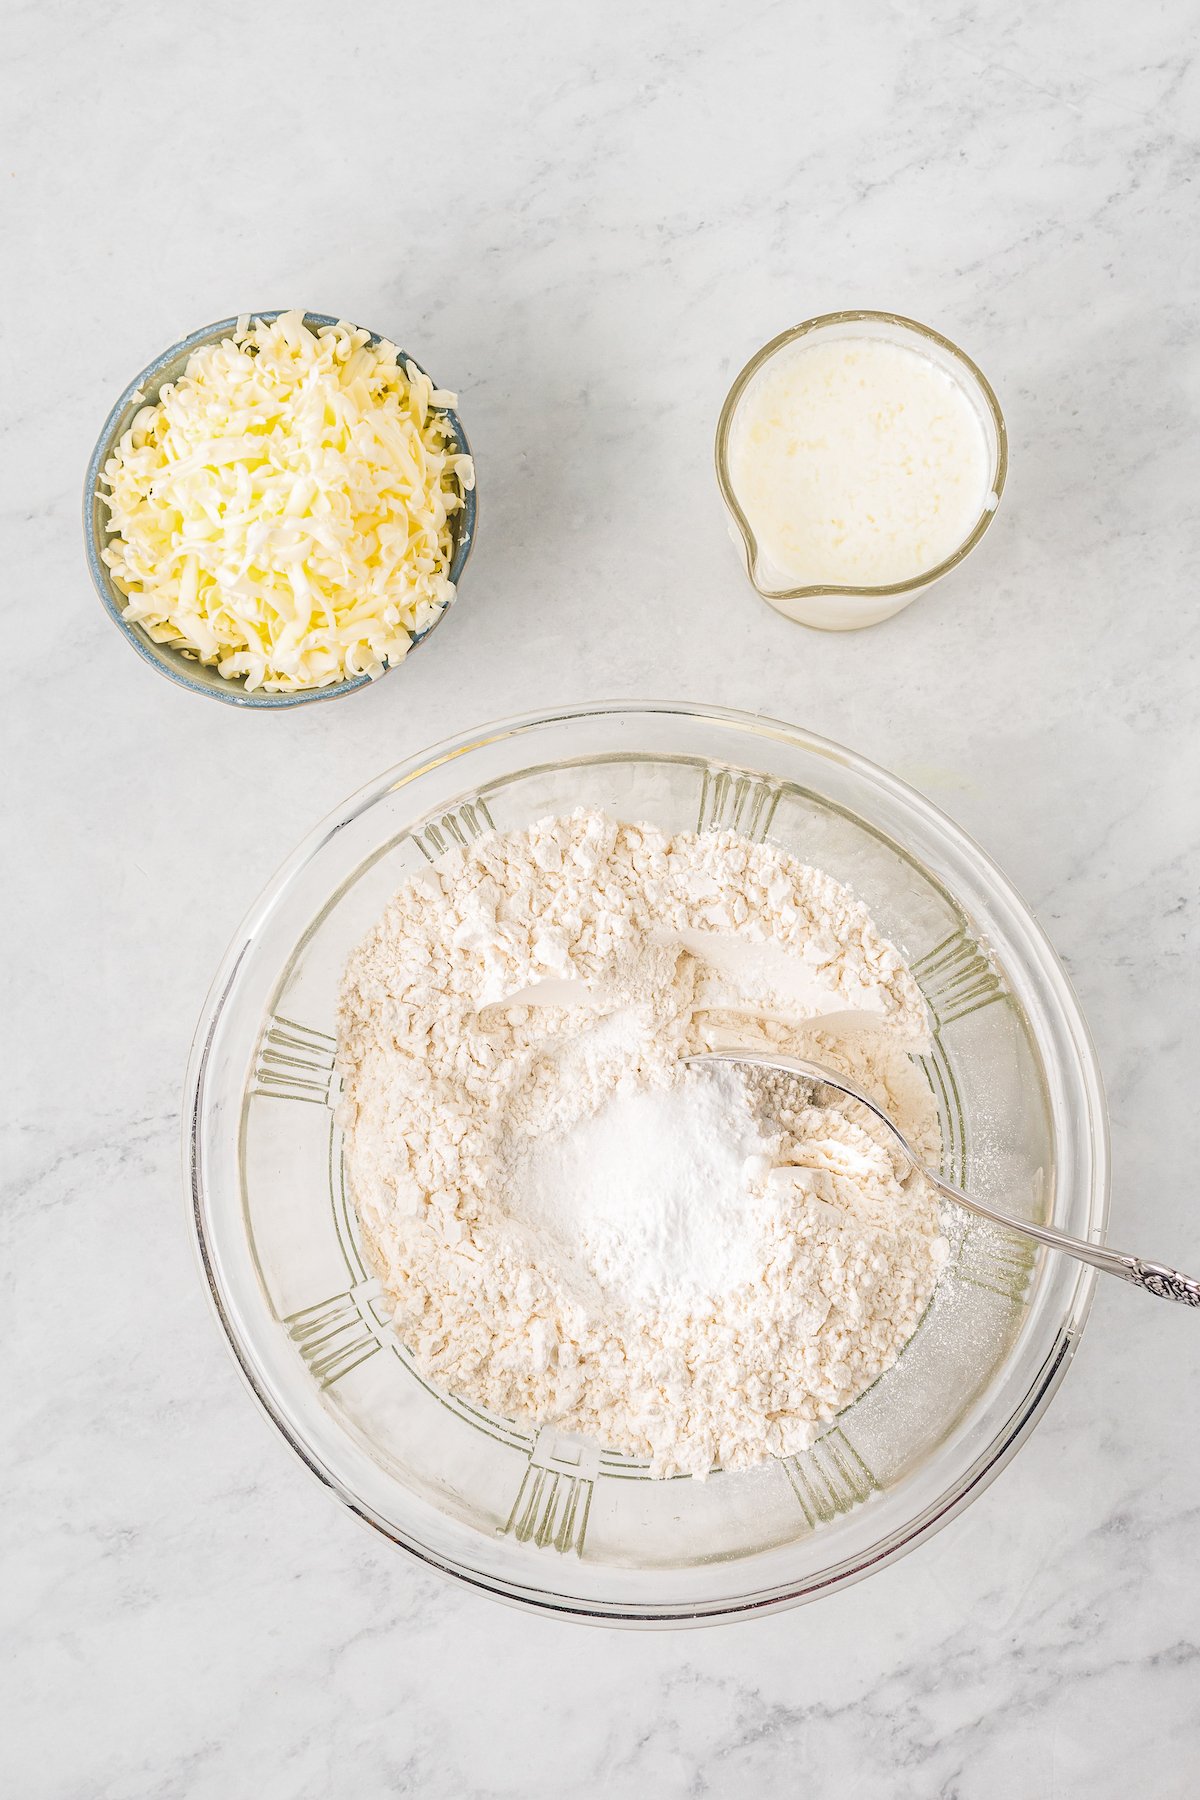
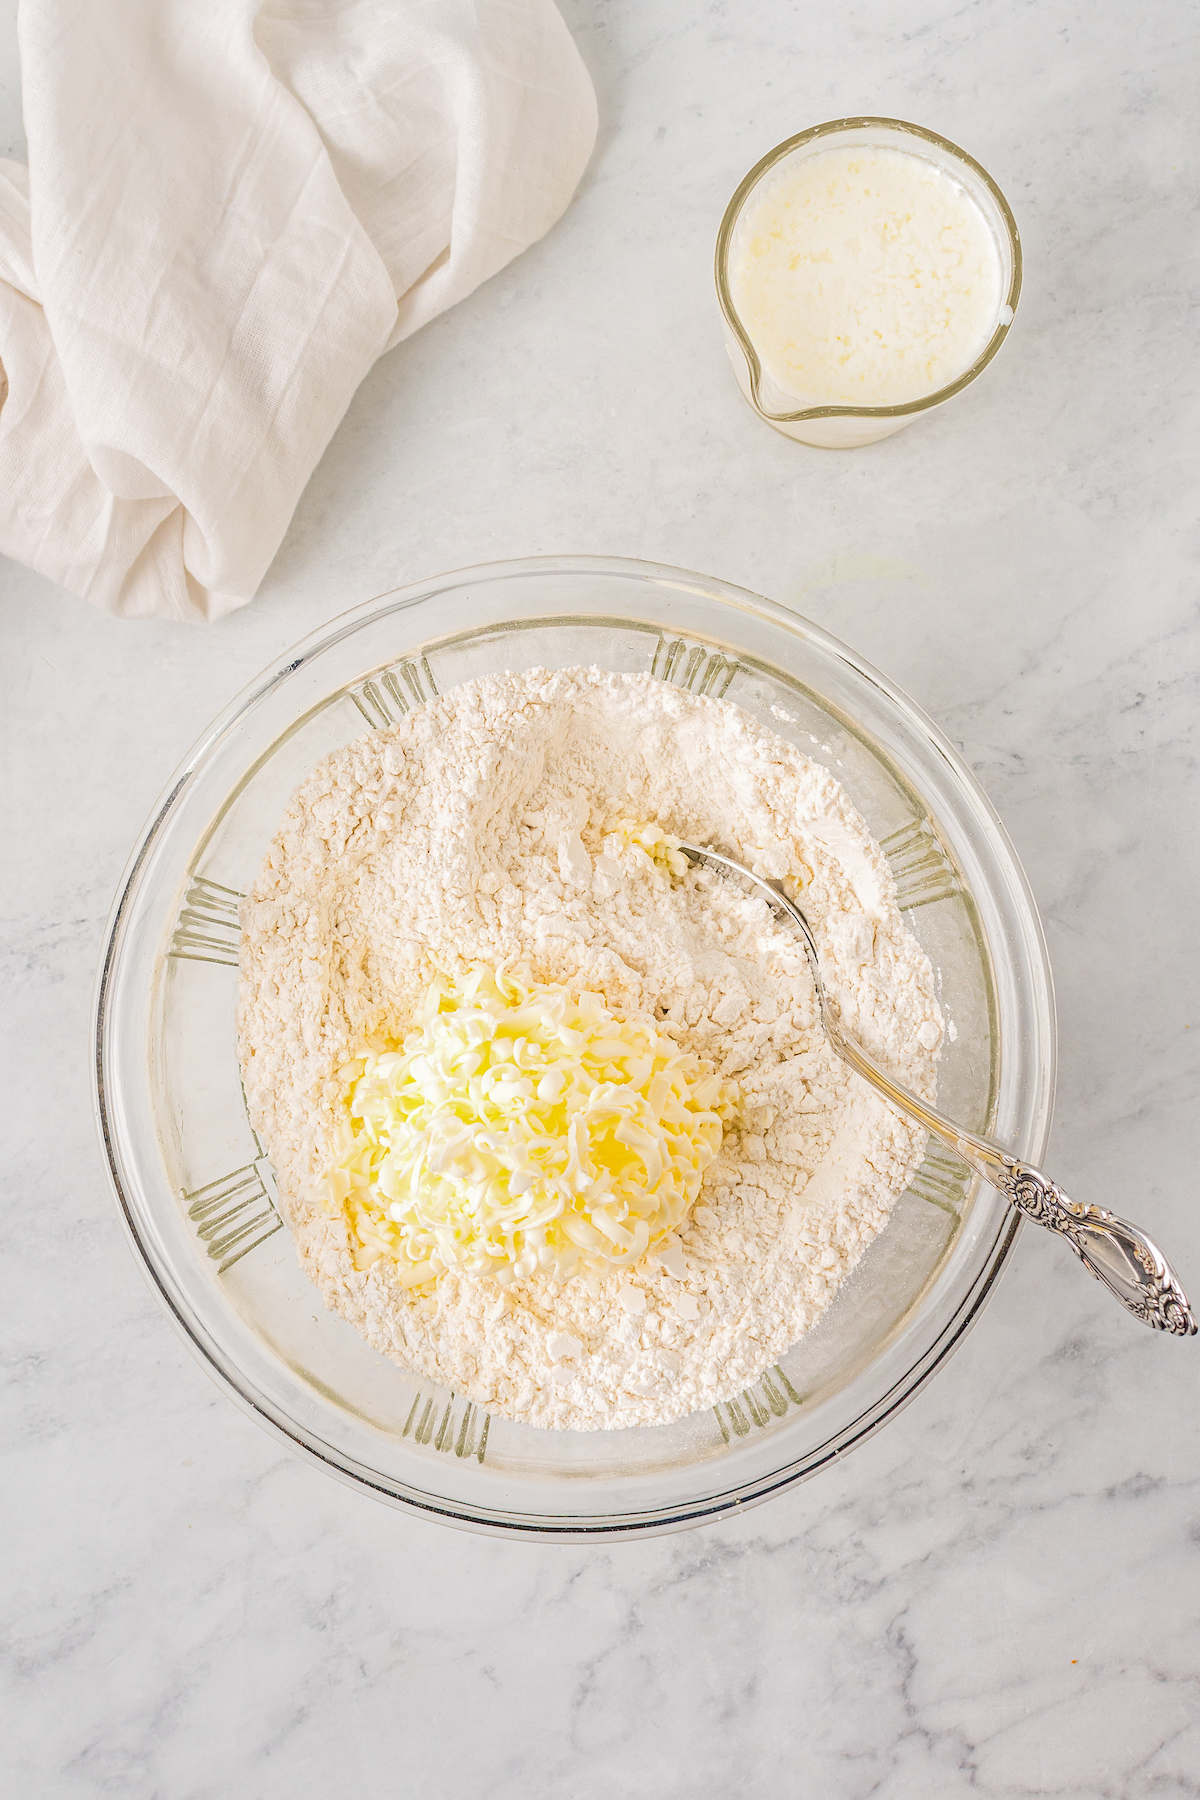
- Combine the Dry Ingredients, and Add the Butter and Shortening. Get out a large mixing bowl, and whisk or stir together your dry ingredients: flour, baking powder, baking soda, and salt. I usually don’t have to sift these, but if your ingredients seem lumpy, you can definitely sift them. Add the grated butter and shortening bits to the bowl, and toss gently to combine. This mixture should begin to look like coarse meal, or sand.
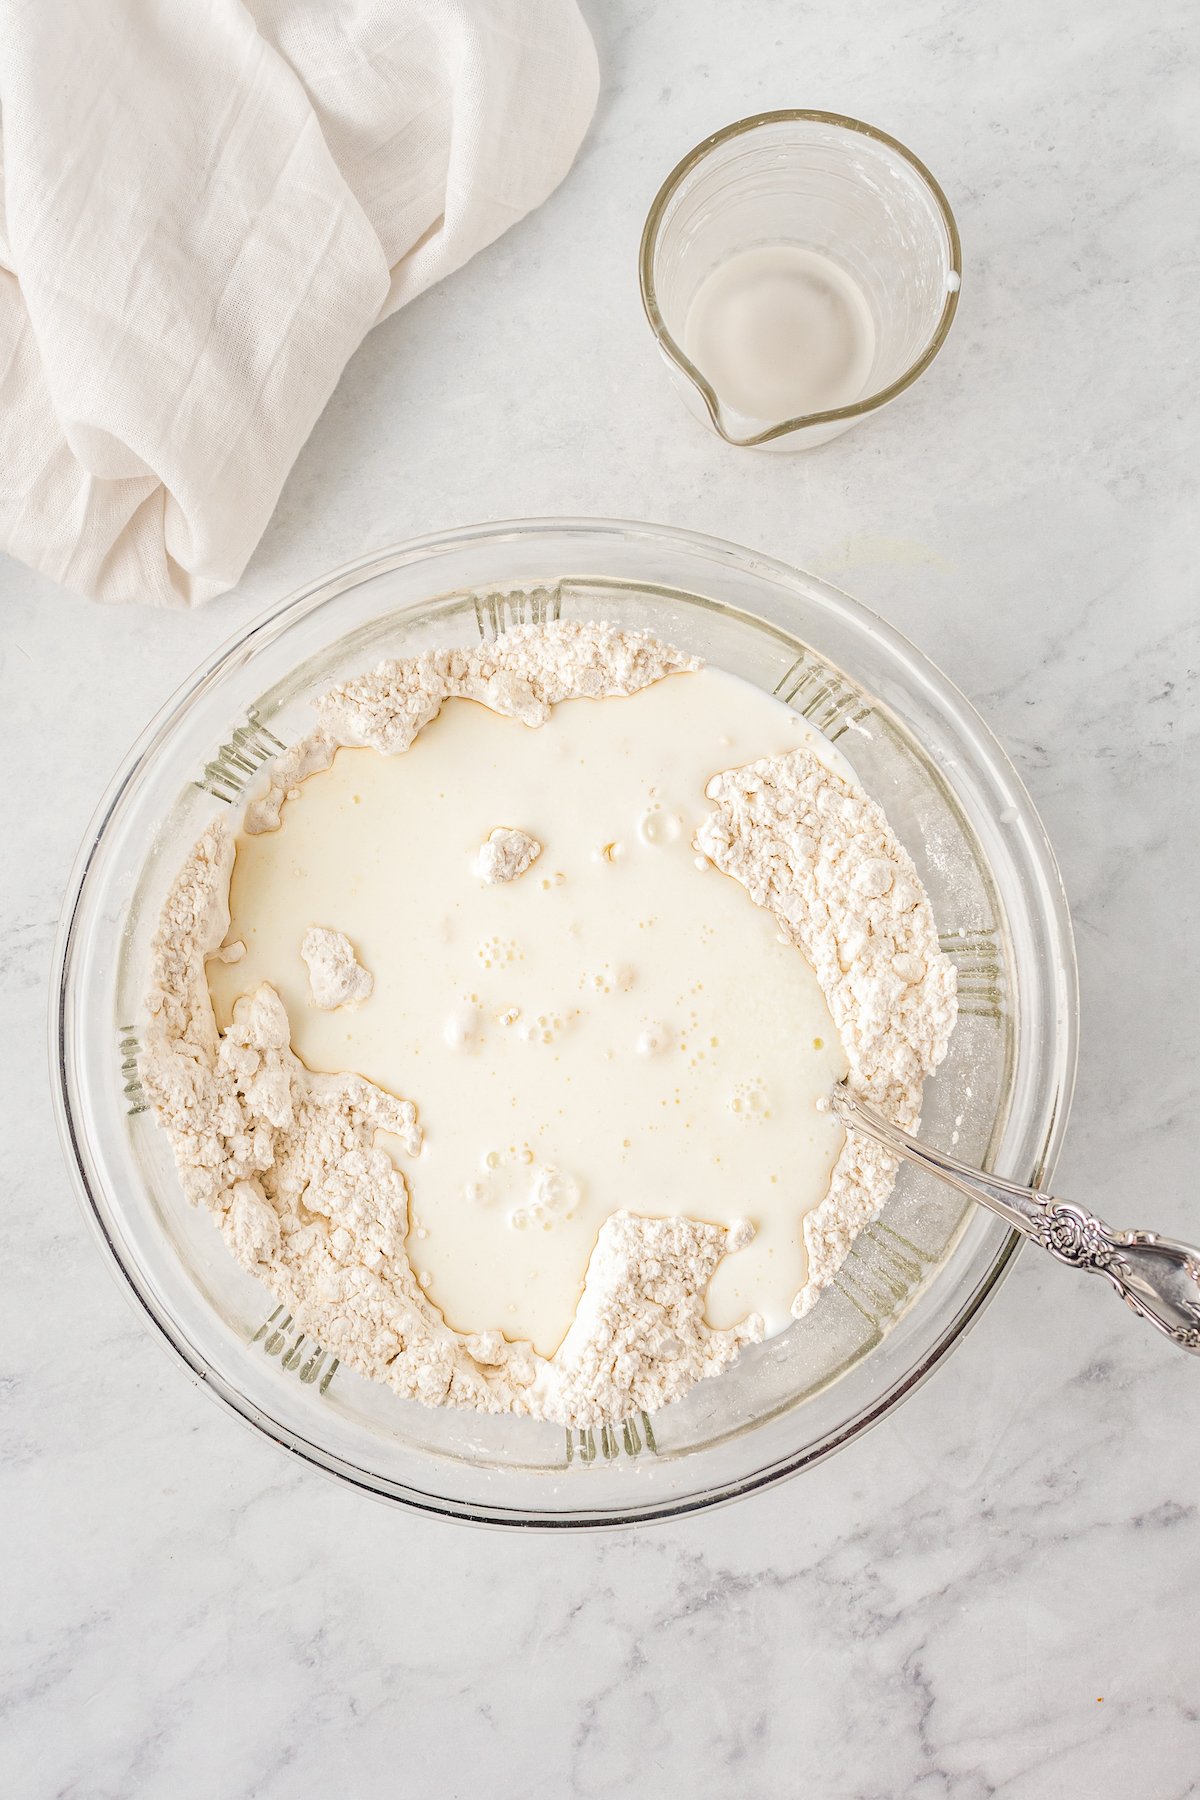
- Add the Buttermilk. Then stir in the cold buttermilk, just until a dough forms. The dough won’t be smooth and well-mixed. It just needs to come together. If it’s too dry to come together, add an additional tablespoon of milk to the dough, and stir it just a little more.
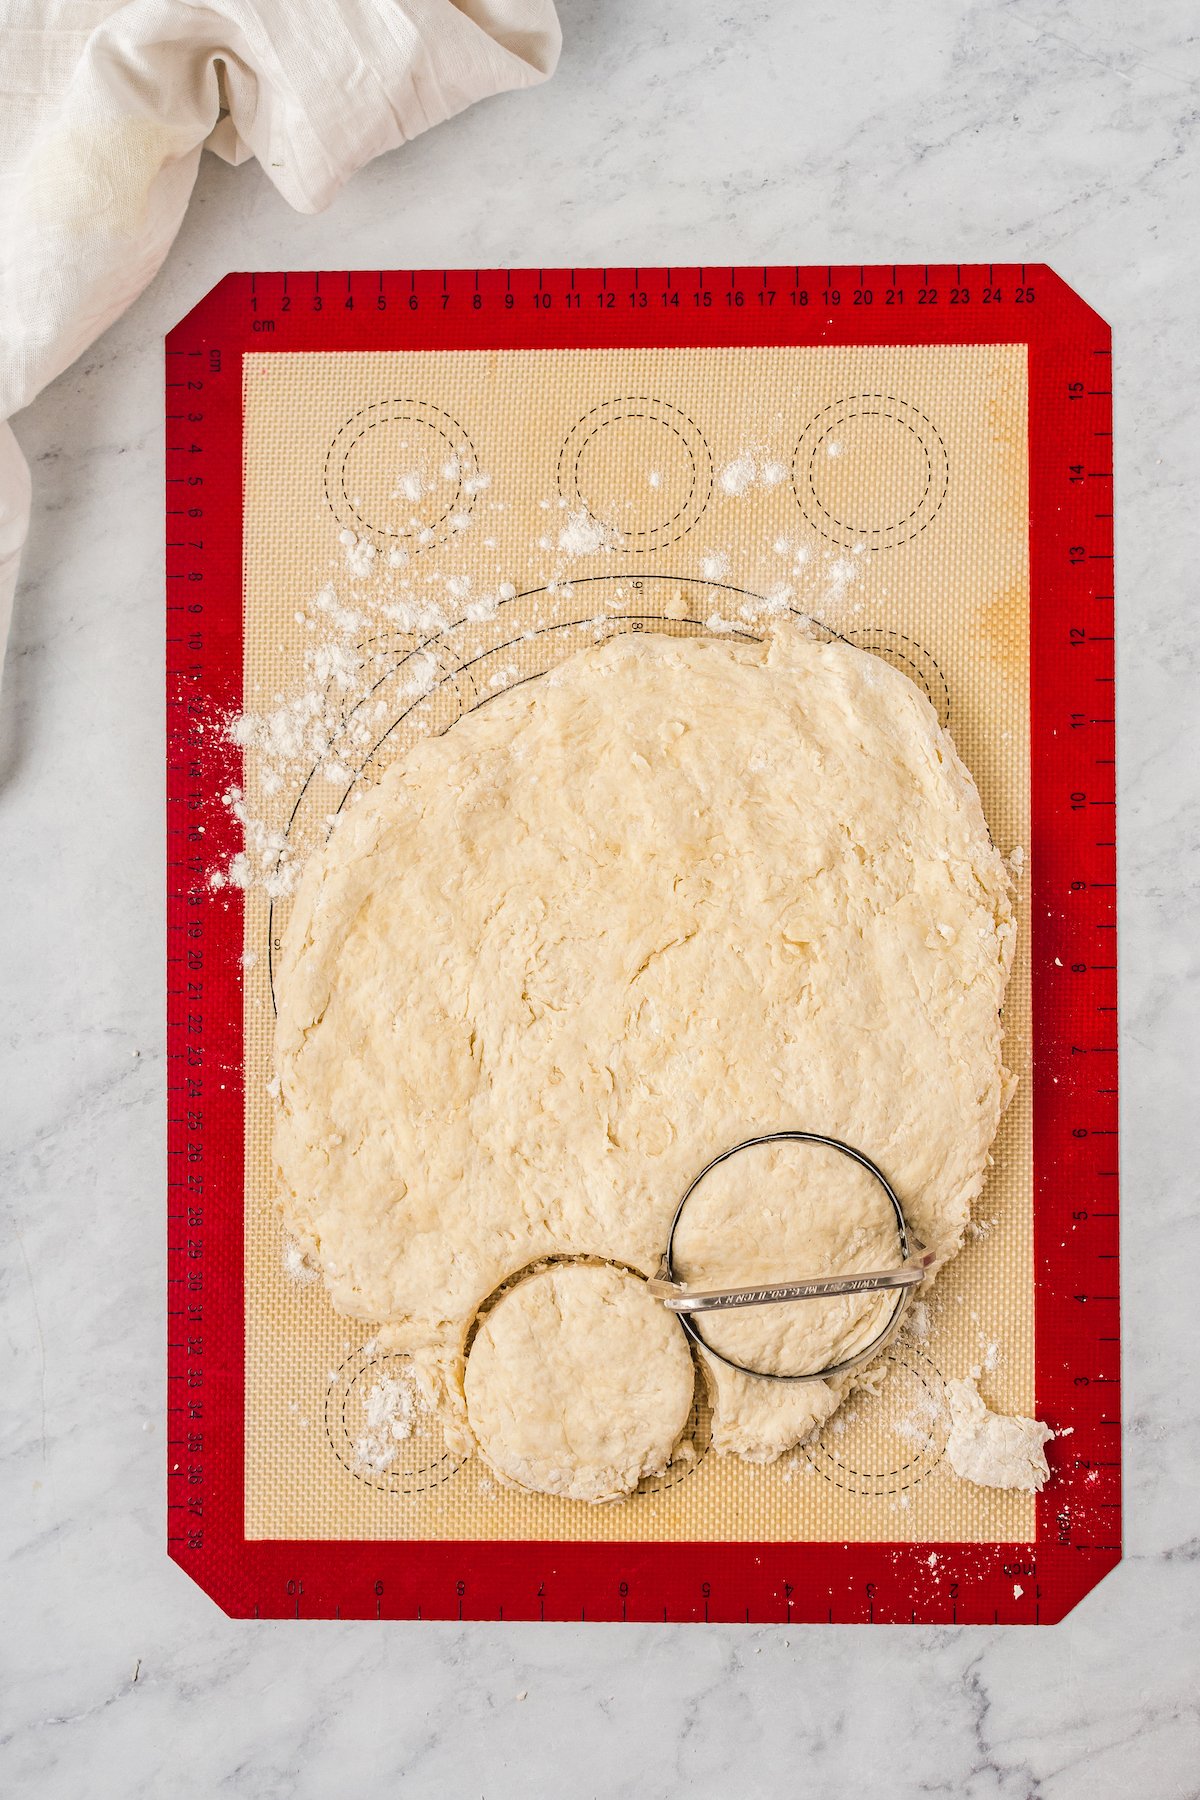
- Roll Out the Dough. Gently press the dough into a ball, and turn it out onto a lightly-floured work surface. Press it out into a disc or rectangle about ½ inch thick. You can use your hands, or a rolling pin.
- Cut Out the Biscuits. Once the dough is flattened out, use a biscuit cutter or an upside-down drinking glass to cut out the biscuits. You’ll have some leftover scraps of dough – just press those together to make a smaller disc or rectangle, and cut out more, to use up the scraps.
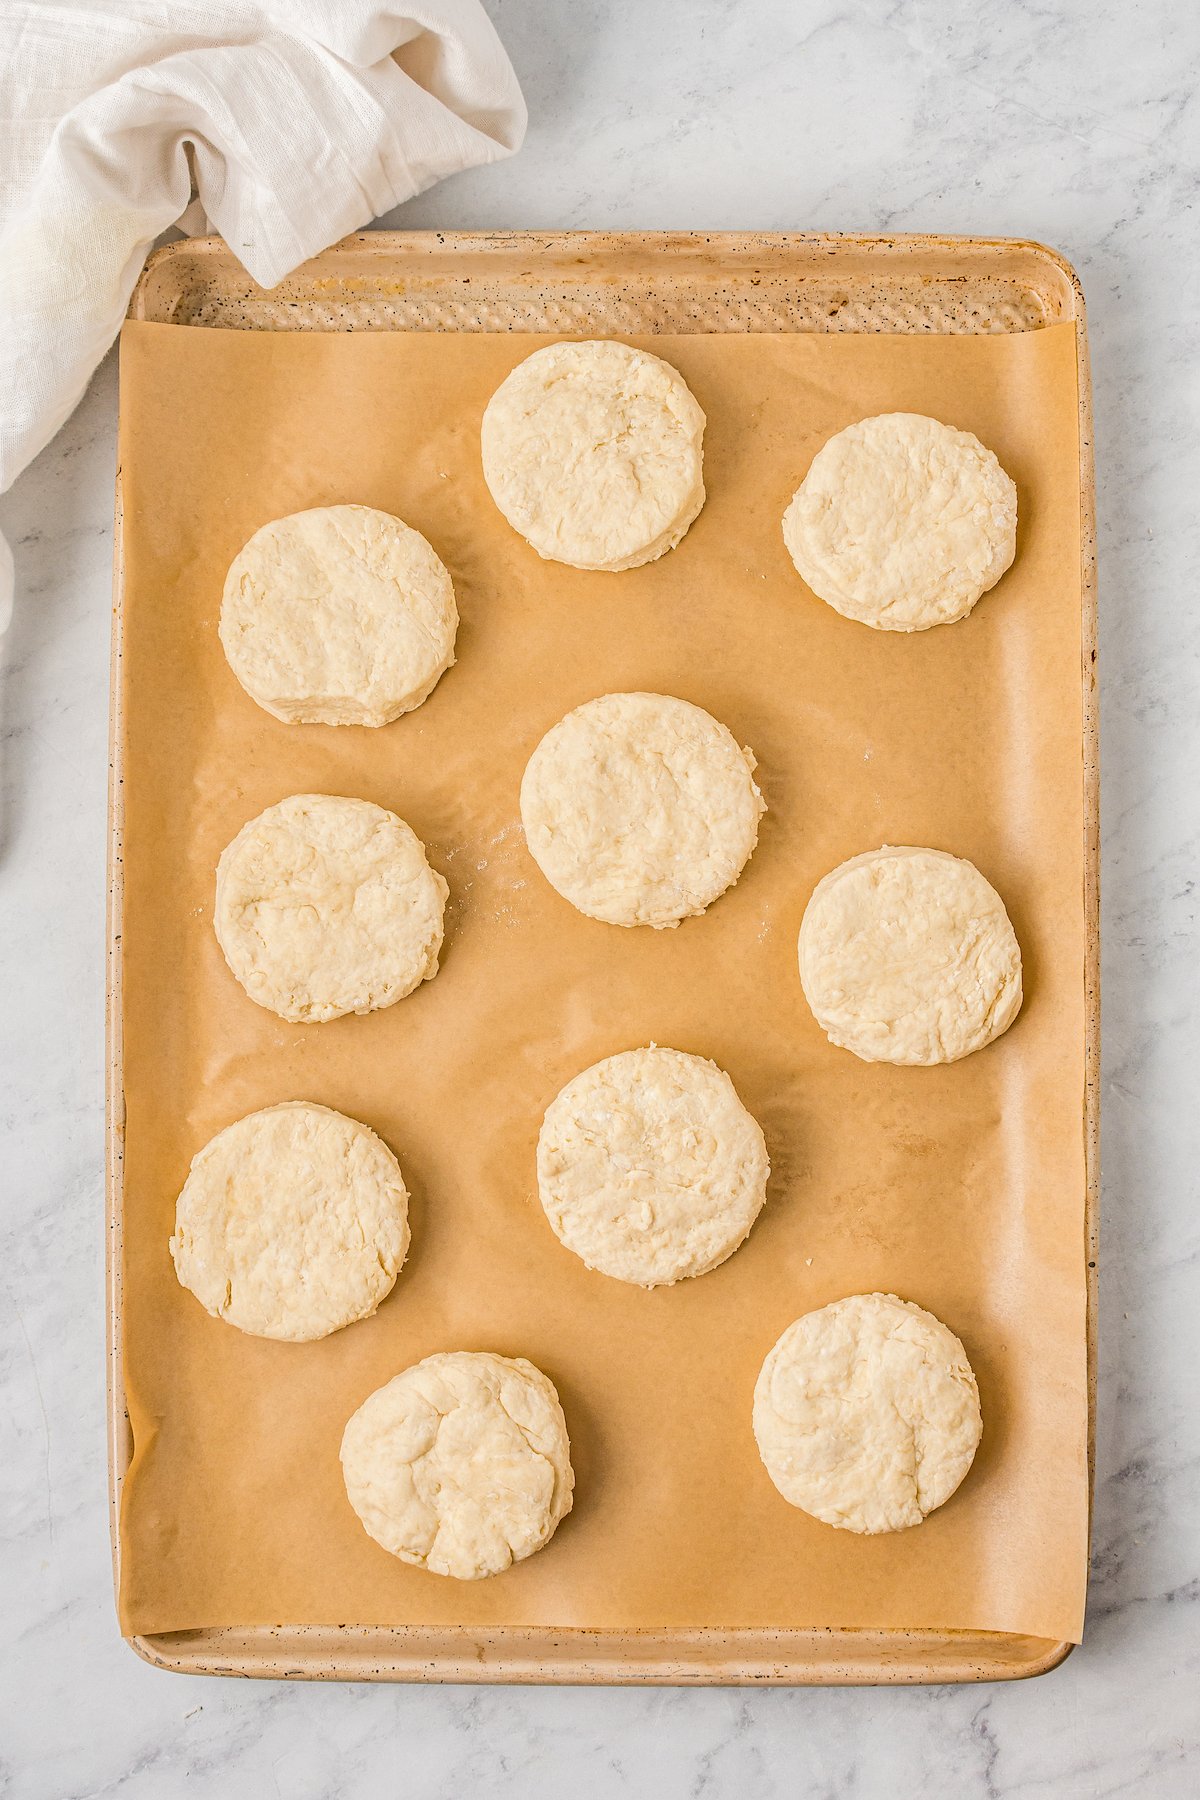
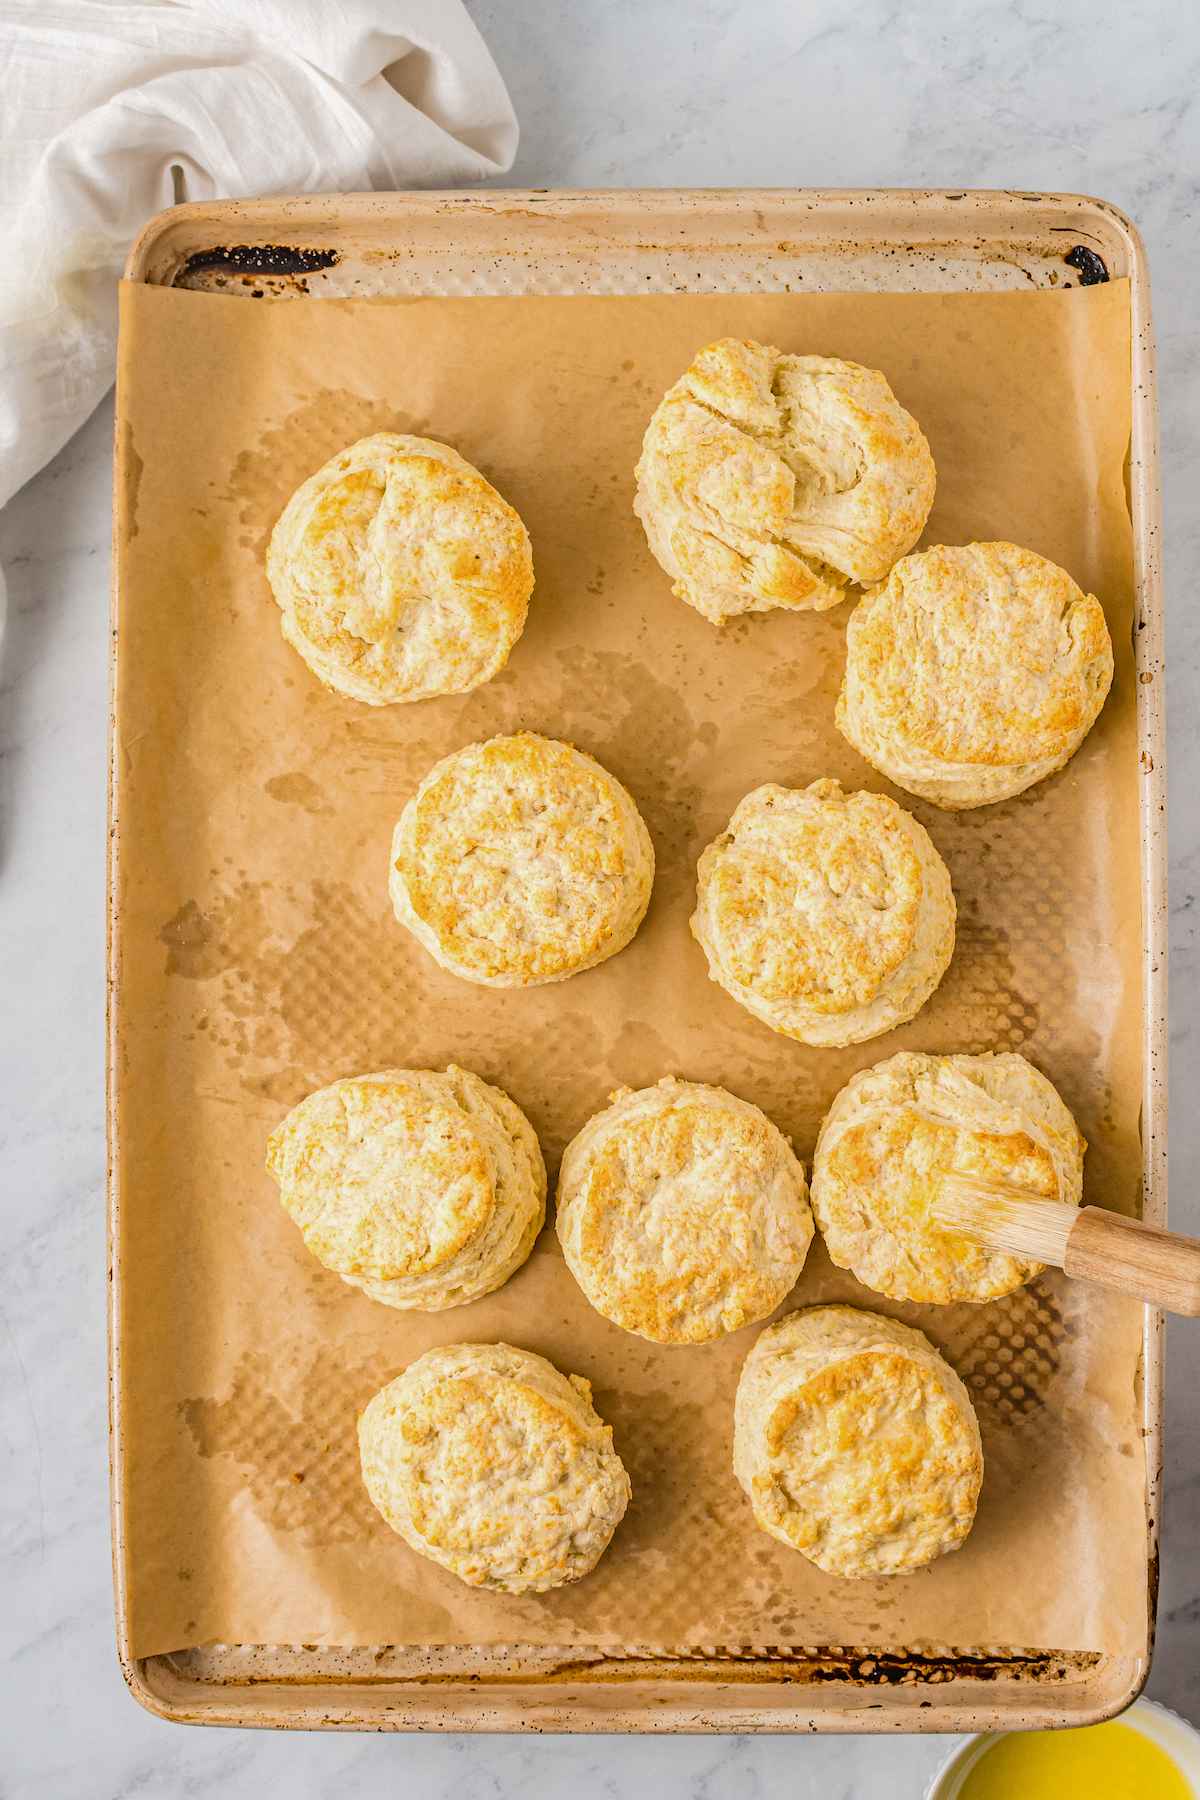
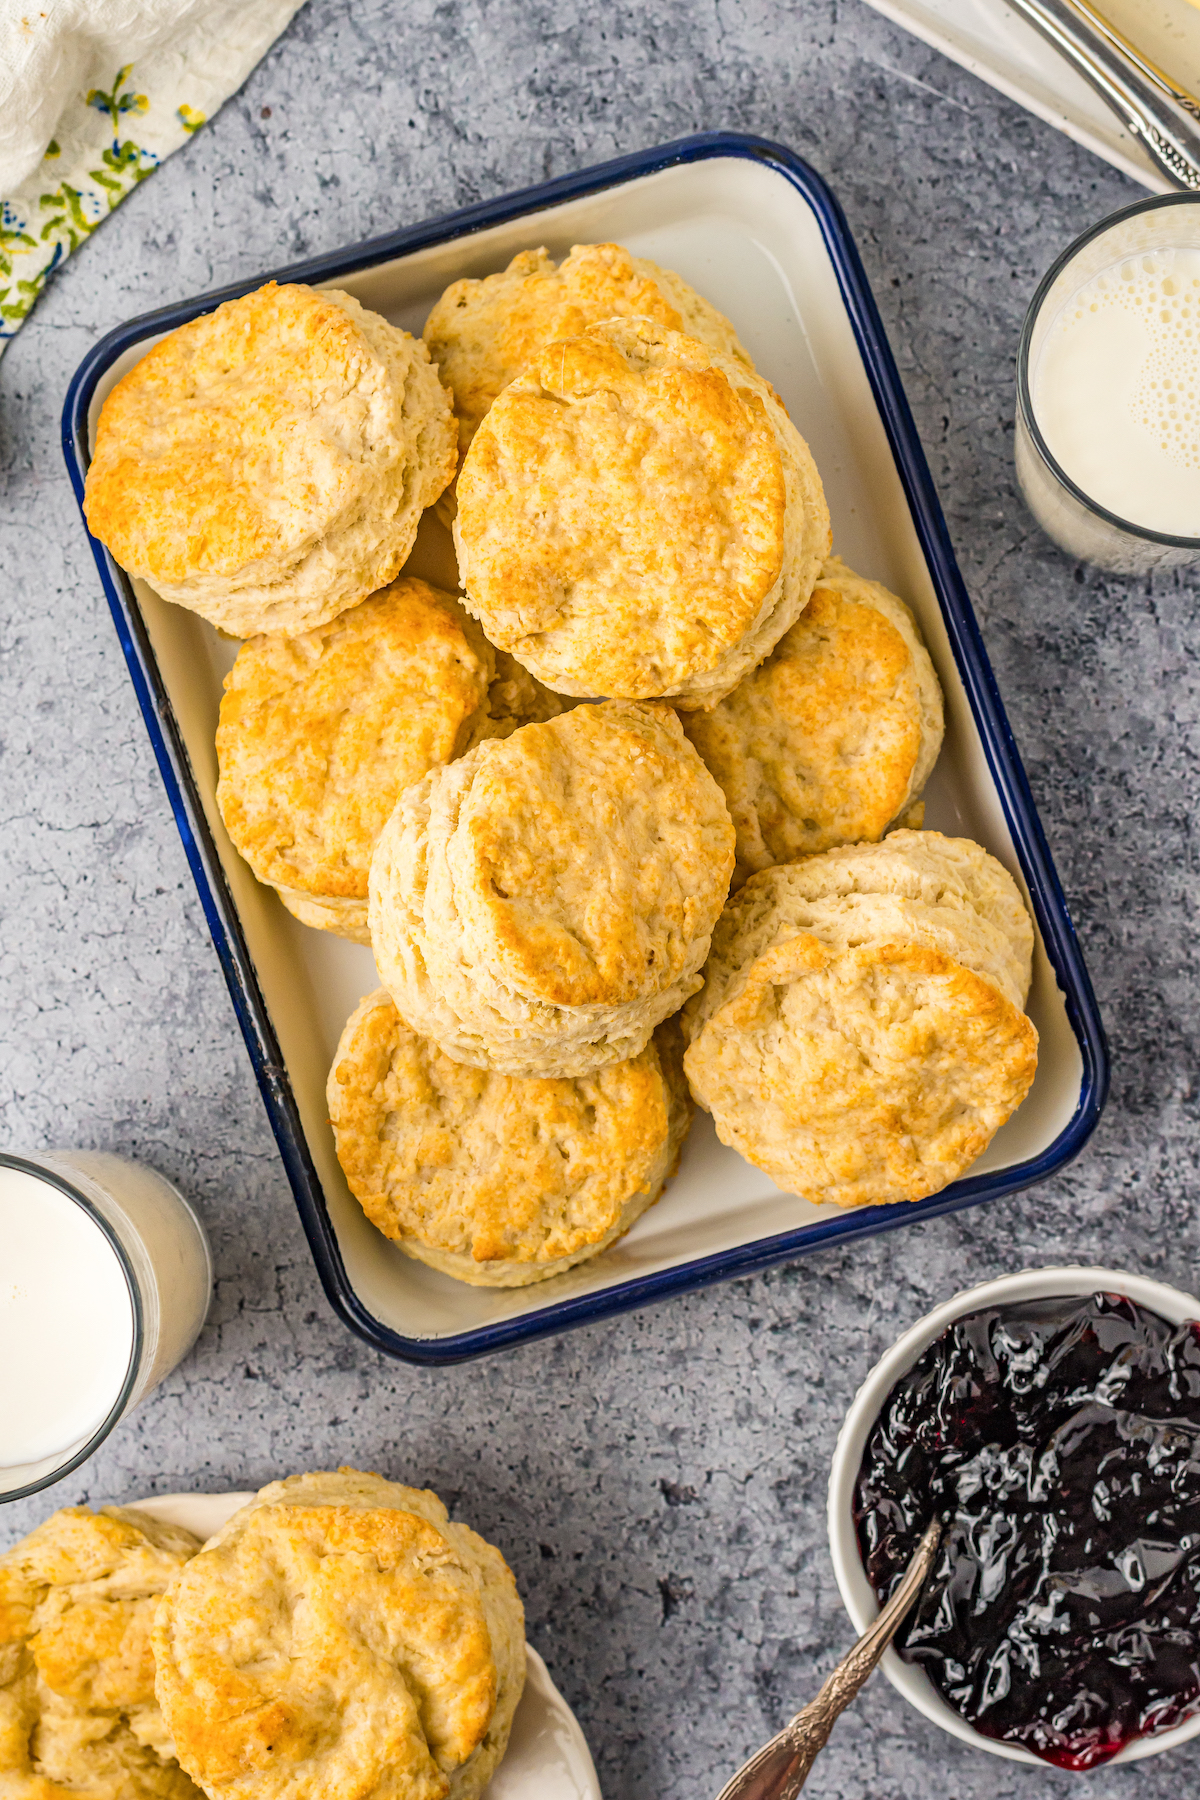
- Bake. Arrange the biscuits on the prepared baking pan. Brush the tops of the biscuits with a little melted butter, or buttermilk, if desired, for extra color and sheen. Bake them for 12 minutes, until they are golden brown.
- Enjoy! Take the biscuits out of the oven, and brush with melted butter one more time, if you prefer. Serve them hot with any dishes or toppings you like.
Want to save this recipe?
Helpful Tips
These are some of the best tips around for making great buttermilk biscuits from scratch. No processed-food shortcuts, just good technique. Here we go:
- Keep Your Ingredients Cold. Not so much the dry ingredients, but it’s very important to have cold butter and buttermilk for this recipe. This will keep the butter from melting while you make the dough. You really want it to melt in the oven and create flaky, light biscuits. If you want to get fancy, try grating frozen butter into the dry ingredients, or cutting your chilled butter into small pieces and placing them in a food processor with the flour. Give this a few good pulses to combine, and then go on with the recipe.
- Make Your Own Buttermilk. If buttermilk isn’t a typical pantry staple for you, no problem! You can make a quick, easy, effective substitute by combining milk and vinegar. Just place a tablespoon of vinegar or lemon juice in a measuring cup, and add enough regular whole milk to make one cup. Let this sit for about 5 minutes, stir, and add to your recipe in place of the buttermilk.
- Use What You Have: If you find that you don’t have shortening, or maybe you have shortening but no butter, feel free to use just one or the other. The biscuits will still be delicious!
- Biscuit Cutters: So you can definitely cut biscuits with any round glass, cup, jar lid, etc. However, I recommend saving yourself a headache, and buying a nice (but affordable) set of biscuit cutters. You can use them for cutting biscuits, of course, but also cutting cookies. The great thing about biscuit cutters is a) it makes it easy to cut round biscuits that you don’t have to pry out of a cup or glass, and b) the biscuit cutters are sharper. A glass or cup tends to smush and seal the dough edges, which makes it harder for the biscuits to rise.
Troubleshooting Your Buttermilk Biscuits
Most likely, your biscuits are falling apart because the dough is a little dry. You could have measured too much flour, or had a lot of flour on your work surface. Either way, good biscuit dough should be moist and a bit sticky.
Two things. The first is careful measuring. Measuring is important, because if you have the wrong ratios, your biscuits may turn out dry, flat, or dense. Second, keep your butter, shortening, and buttermilk cold. You want the butter and shortening to melt in the oven, not in your mixing bowl. That way, they’ll release steam into the biscuit dough, creating light, flaky pockets. Yum.
This is most likely because you are using a thin, dark baking sheet and locating it too close to the bottom of your oven, where the heating element is. It might also happen if you use butter to grease your baking sheet. Don’t get me wrong, I love butter, but it can sort of “fry” the bottom of the biscuits and leave them crunchy.
Tough biscuits are just sad. That said, we’ve all been there! It’s usually a matter of overworking the dough. You can avoid toughening the dough by only kneading it a tiny bit – just enough to bring it together. If you overwork the dough, it will turn tough and gummy as the gluten in the flour overdevelops.
Serving Suggestions
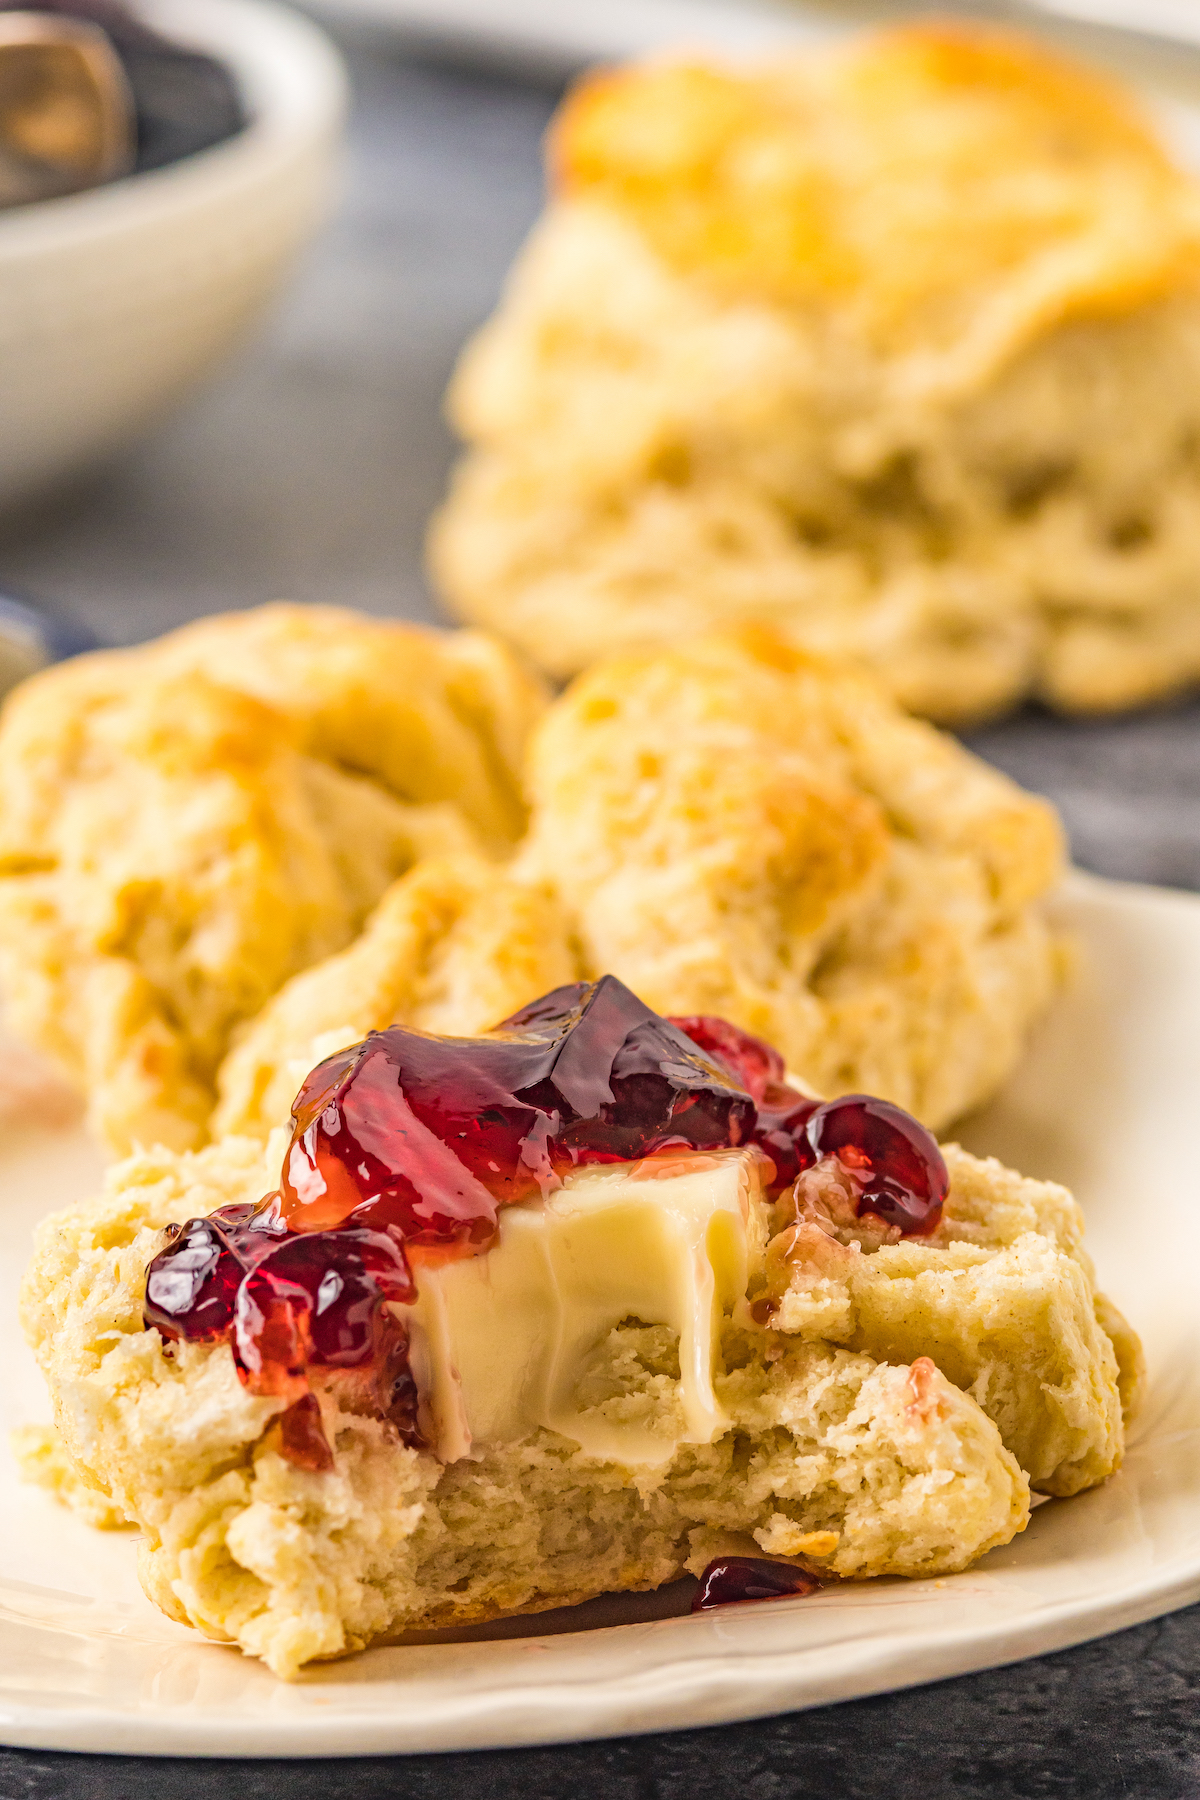
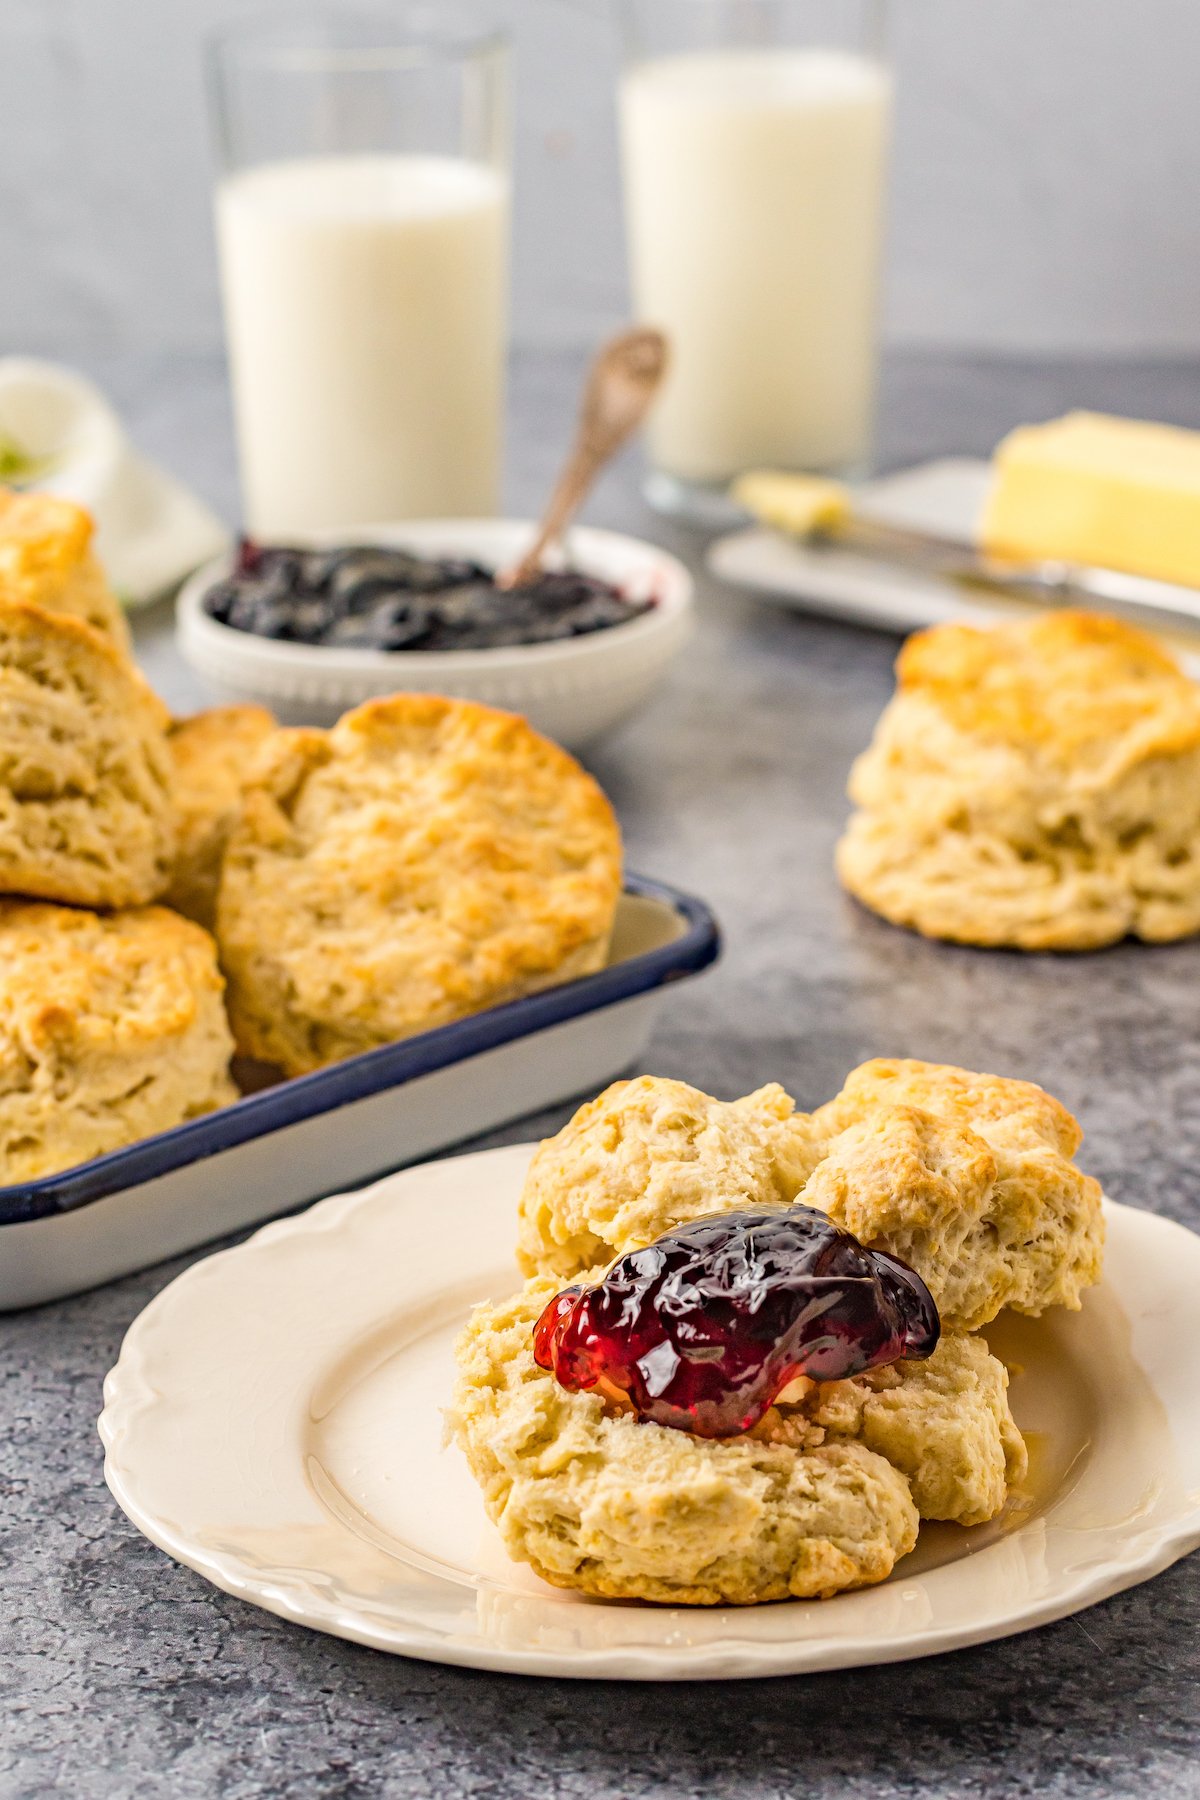
Southern buttermilk biscuits are wonderful eaten plain, buttered, with jam, or with honey. You can smother them in white country gravy, or sandwich them around a piece of fried chicken. But in my opinion, they really go best alongside a mile-high pile of bacon! They’re also great with a hearty main dish, like…
- Gravy: What better topping to go with biscuits than some Homemade Sausage Gravy?
- Soup: Soup and bread – who could resist this combination? Especially when the bread part of the meal is a fluffy biscuit, and the soup is crave-worthy Beer Cheese Soup. Seriously good stuff here, you guys.
- Chicken: Almost any chicken is great with a pile of fluffy biscuits. Try making Crockpot Whole Chicken for a family-style meal that’s extremely low-hassle – plus moist, tender, and flavorful!
- Pork Chops: There’s nothing quite like a juicy pork chop, especially one with a fabulous seasonal stuffing. This recipe for Cranberry Apple Stuffed Pork Chops is epic, and goes beautifully with a side of steamed veggies and a flaky, buttery biscuit or two.
How to Store and Reheat Leftovers
Buttermilk biscuits are best eaten fresh, but if you have leftovers, you can store them in an airtight container in your refrigerator. They will keep for up to 5 days. Reheat them in a toaster oven for a few minutes, or in the microwave for a few seconds.
Can I Freeze Buttermilk Biscuits?
Yes! I am happy to say that these freeze really well, which makes serving fresh biscuits that much easier.
Honestly, making buttermilk biscuits takes me less than 20 minutes, start to finish…and that usually includes 5 minutes of whining about how Jorge should learn to cook breakfast. But this last time I made a batch, I tried freezing some of the unbaked biscuits. I cut them out, froze them on a tray, and popped them in a freezer bag.
A week later, I popped a couple into the oven directly from the freezer, and they baked up very nicely, with just a few extra minutes of baking time. Some were a little lopsided, but they still tasted delicious. If you do freeze yours, make sure to mark the bag with the date. Frozen biscuits should be used within about 3 months.
Southern Buttermilk Biscuits
Ingredients
- 3 cups all purpose flour
- 2 tablespoons baking powder
- ½ teaspoon baking soda
- 1 teaspoon salt
- 6 tablespoons cold butter, grated
- 4 tablespoons cold crisco shortening, cut into small pieces, or more butter
- 1 cup cold buttermilk, plus more for brushing on the biscuits
Want to save this recipe?
Instructions
- Preheat oven to 425°F. Line a baking sheet with parchment paper or a silicone baking mat. Set aside.
- Combine the flour, baking powder, baking soda, and salt in a medium sized bowl.
- Toss the grated butter and shortening with the flour till the pieces are coated, until it resembles coarse meal or sand.
- Then stir in the cold buttermilk, just until a dough forms. If the dough is too dry, add an additional tablespoon of milk to the dough.
- Gently form a ball and press out ½ inch thick with the palm of your hand or use a rolling pin.
- Cut biscuits out with a biscuit cutter or turn a drinking glass upside down and use it to cut the biscuits. Press your leftover dough together again and cut out biscuits one more time.
- Place biscuits on the prepared pan. Brush the tops with melted butter, or buttermilk, if desired. Bake for 12 minutes, until the tops are golden brown.
- Remove and brush with melted butter one more time, if desired. Serve hot with homemade sausage gravy, more butter, jelly or honey.
Notes
Nutrition
Categories:
More Savory Bread Recipes
- Cheddar Jalapeño Cornbread
- Easy Mexican Bolillos
- Buttery Beer Bread
- Easy Homemade Bread
- Homemade Flour Tortillas
- Copycat Texas Roadhouse Rolls
- Homemade Soft Pretzels
- Mexican Bolillos
Post may contain affiliate links. Read my disclosure policy.



I too love biscuits!!! Ever since a year or two ago when The Kitchn posted a recipe for cream biscuits, where you don’t have to cut in the butter, I’ve made that version over and over. And I too freeze them! Can’t believe I’ve never blogged the recipe.
Heading to the sotre after work to buy myself some Crisco cuz these beauties look too good to miss out on.
Did you use the paddle to mix the butter and shortening and then switch to the dough hook when you added the flour?
You crack me up. Love a good biscuit, and these look great 🙂
oh yeah, biscuits are the best 🙂 we freeze them, too, when we think about it! but…i usually forget and bake them all so we can eat more 🙂
I haven’t had a biscuit since I moved to Europe… you are making my mouth water!
I’ve always wondered if you could freeze the biscuits so they’d be ready to go. Thanks for sharing that it works!
So smart! They look delish.
These look awesome and I LOVE your photos!
These look fantastic. I have to admit, I’ve only make biscuits for the holidays, but when I do I try a new one almost every year. YOurs is next up!
Funny thing…my invitation to live with you during biscuit month and help you eat said breakfast treats seems to have gotten lost in the mail. No biggie. I’ll be over soon. 😛
These look great! They even have the perfect crack in the middle 🙂
These are the real deal….I need to make some 4 thanksgiving….maybe with whole wheat flour 🙂
Nothing like a classic biscuit. Also, I need to use up some buttermilk!
Oh my, biscuits. I love these. Totally worth the work put in. They sound melt-in-your-mouth!
Oh my, pass the gravy please!
I love biscuits too!!! I actually have my own biscuit recipe set to post on my blog soon too. 🙂
The key I’ve always found to having biscuits that rise like a champ, is to fold the dough. Roll it out into a nice round, then fold it in half twice and roll it out again. If you do this a couple of times it creates air pockets in the dough that guarantee a nice rise!
And I’ve ALWAYS used a glass – never owned a biscuit cutter – and I’ve never had any problems. Just make sure you lightly flour the rim of your glass first!
We’ve always gone with the pillsbury ones too, but really want to make our own. Rachel has been on the hunt for an easy biscuit recipe for awhile, and now I’ve got your recipe, and I think I should make them and surprise her 😉
Mmm…biscuits! I’m a homemade biscuit version and once I get tired of them after my Memphis trip, I’ll have to whip these bad boys up!
I will take your word for it on these biscuits – as soon as my bisquik is gone, I am so making these!