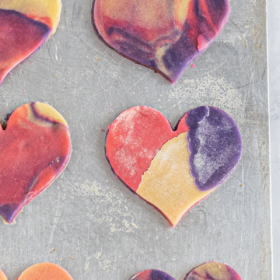
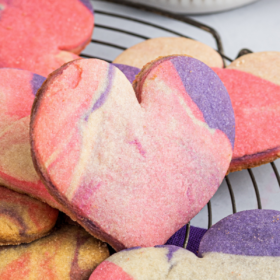
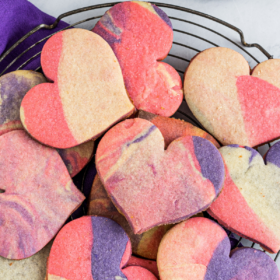
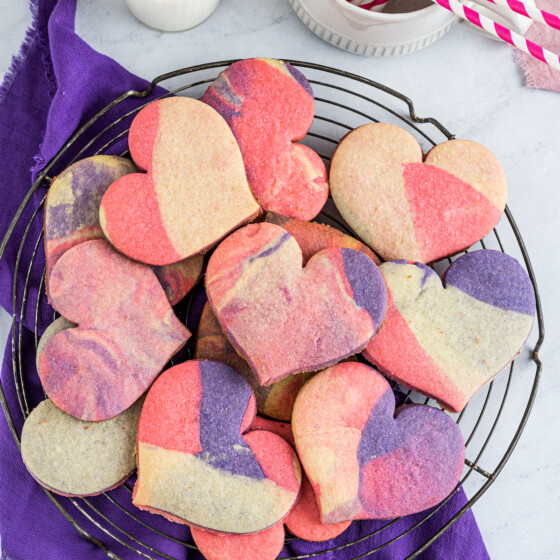
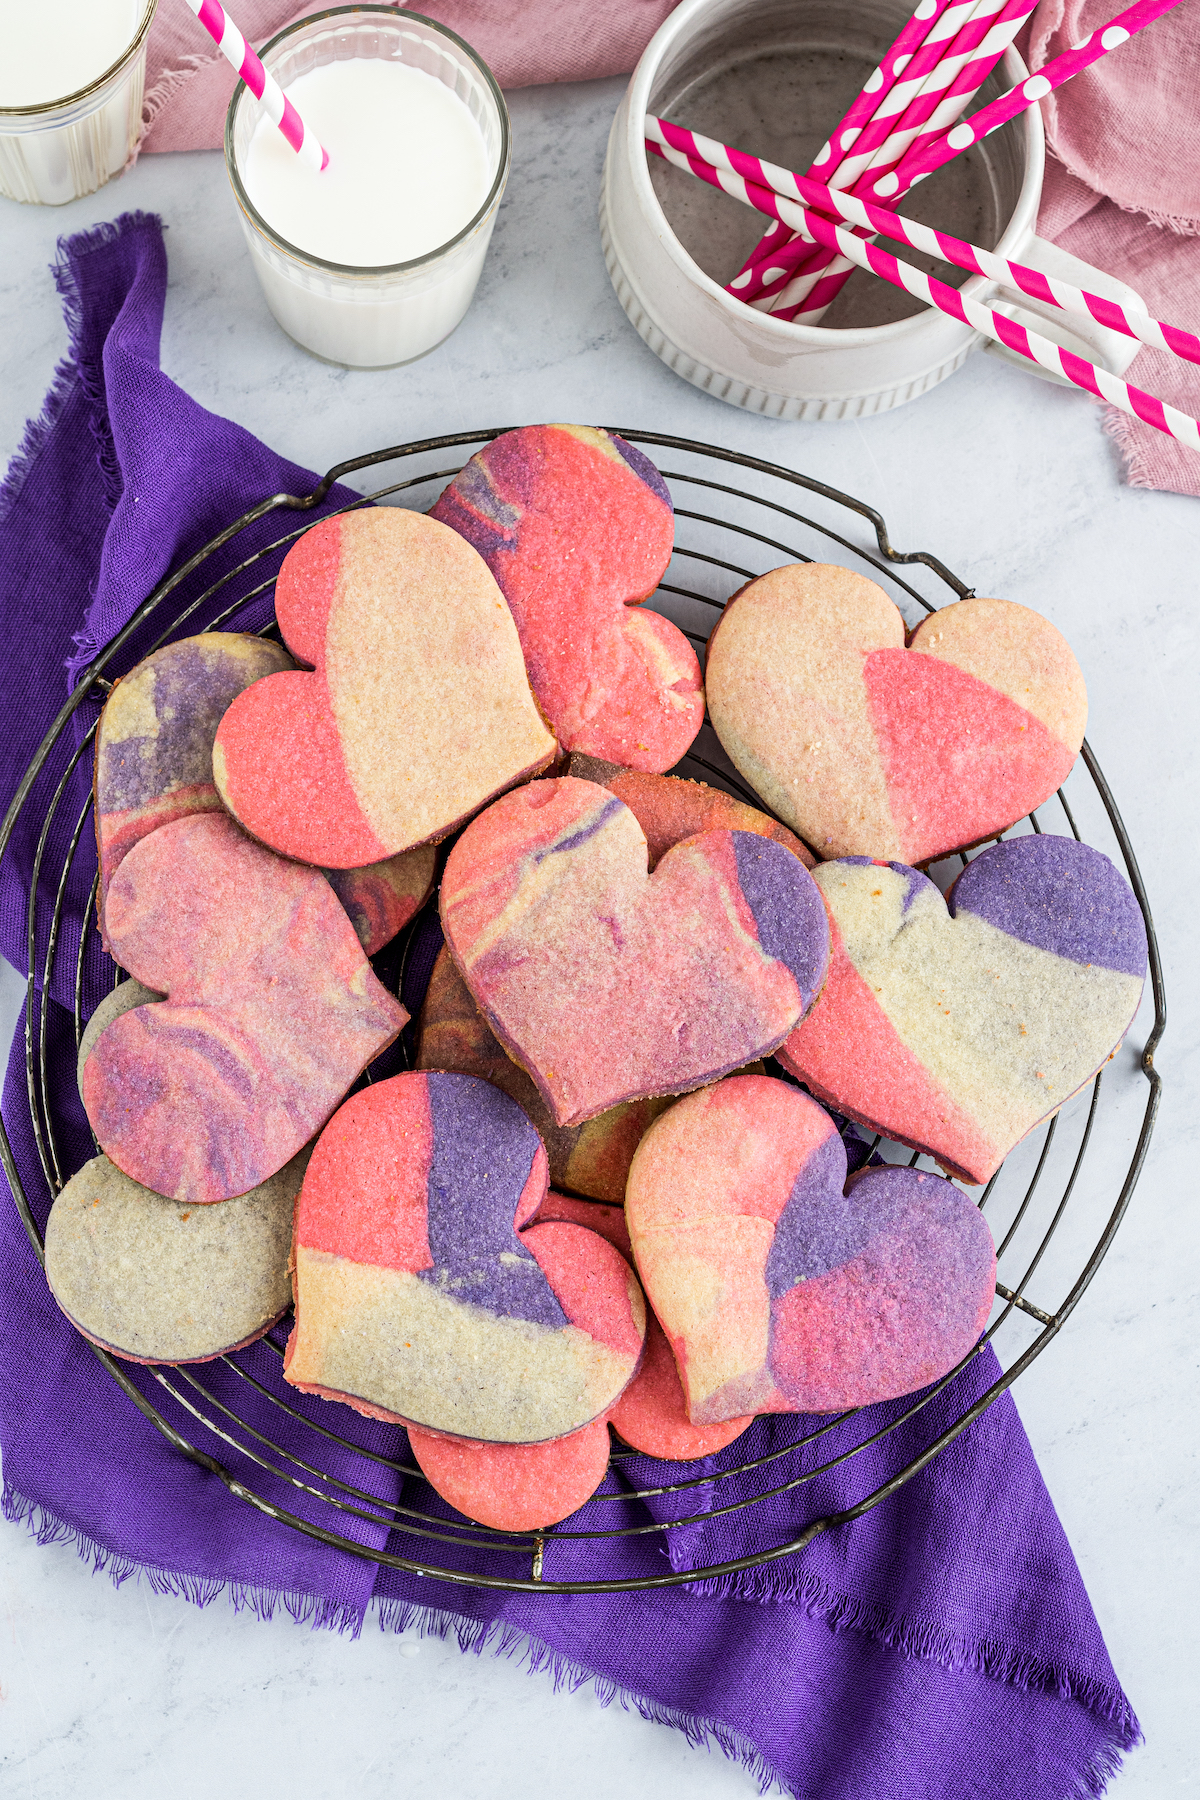
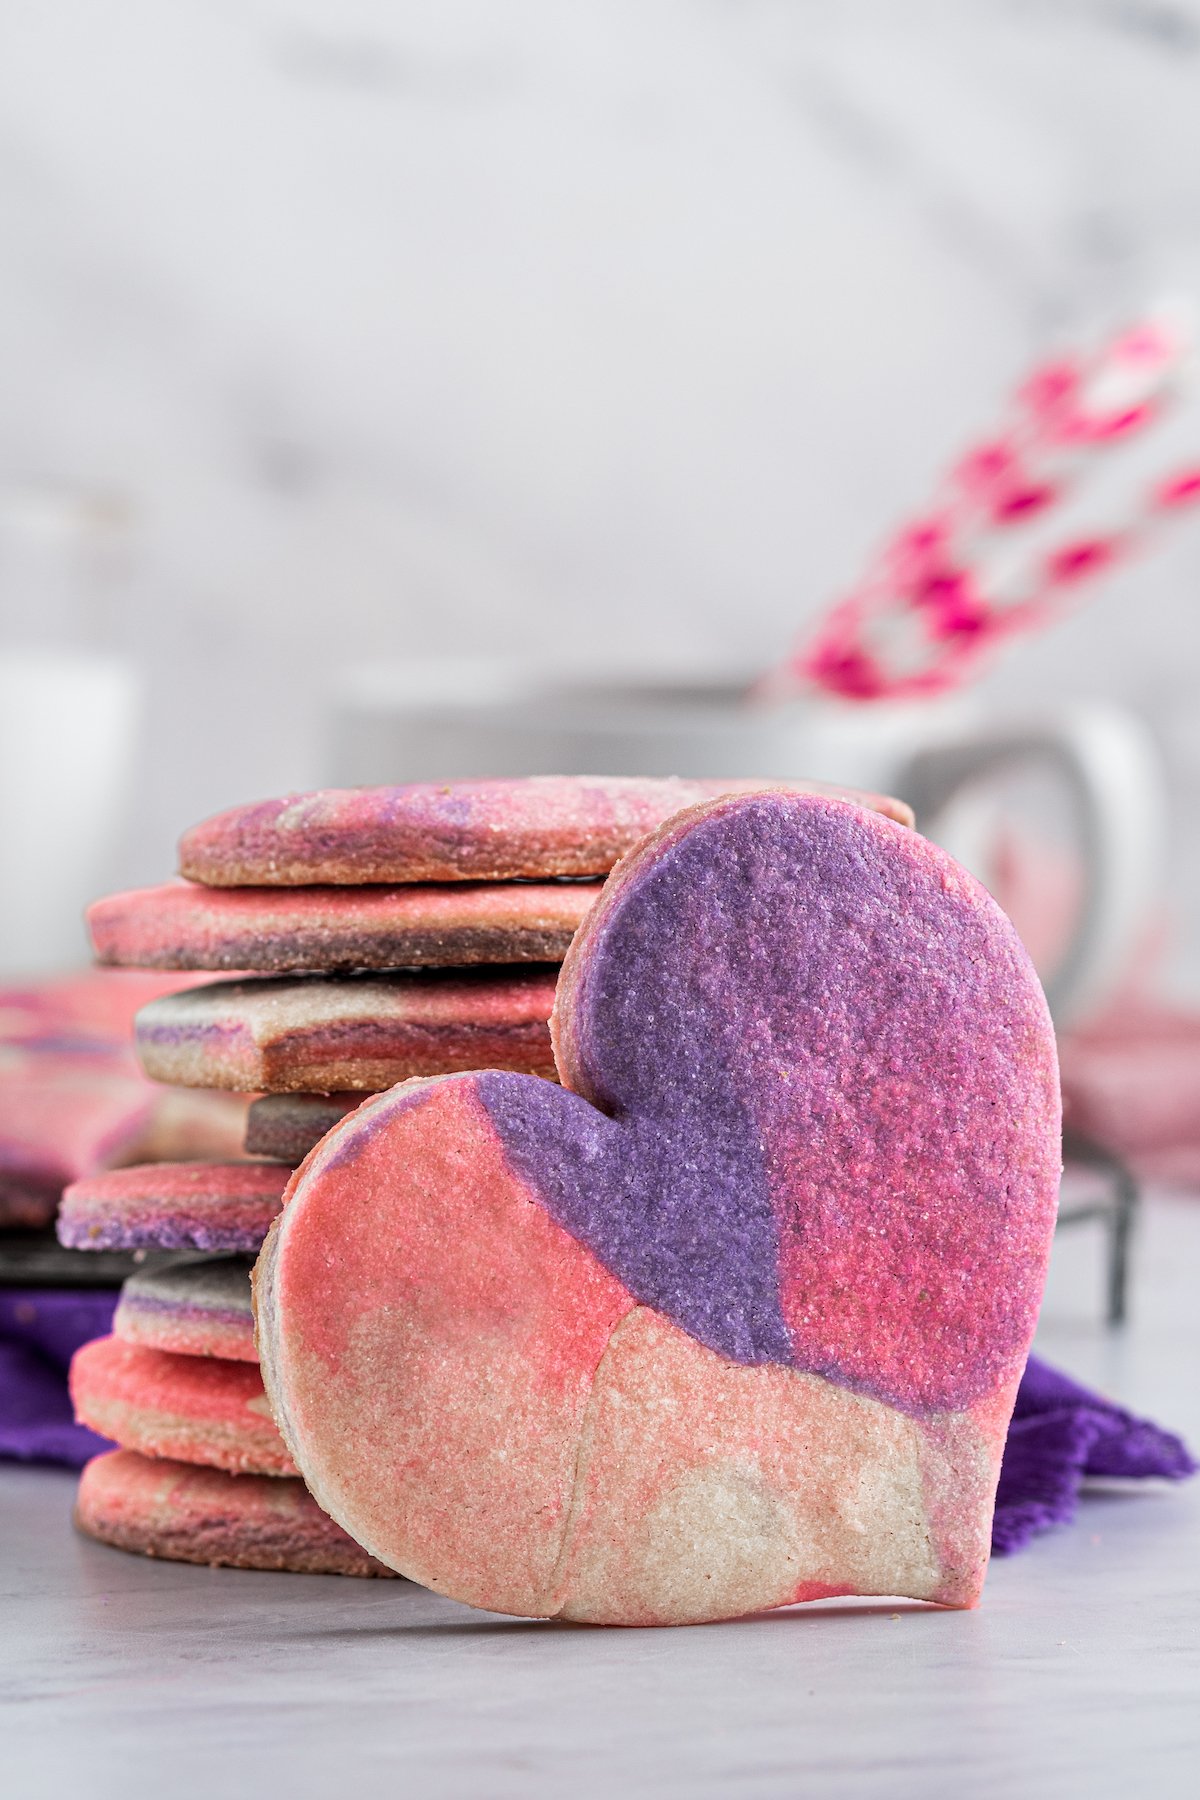
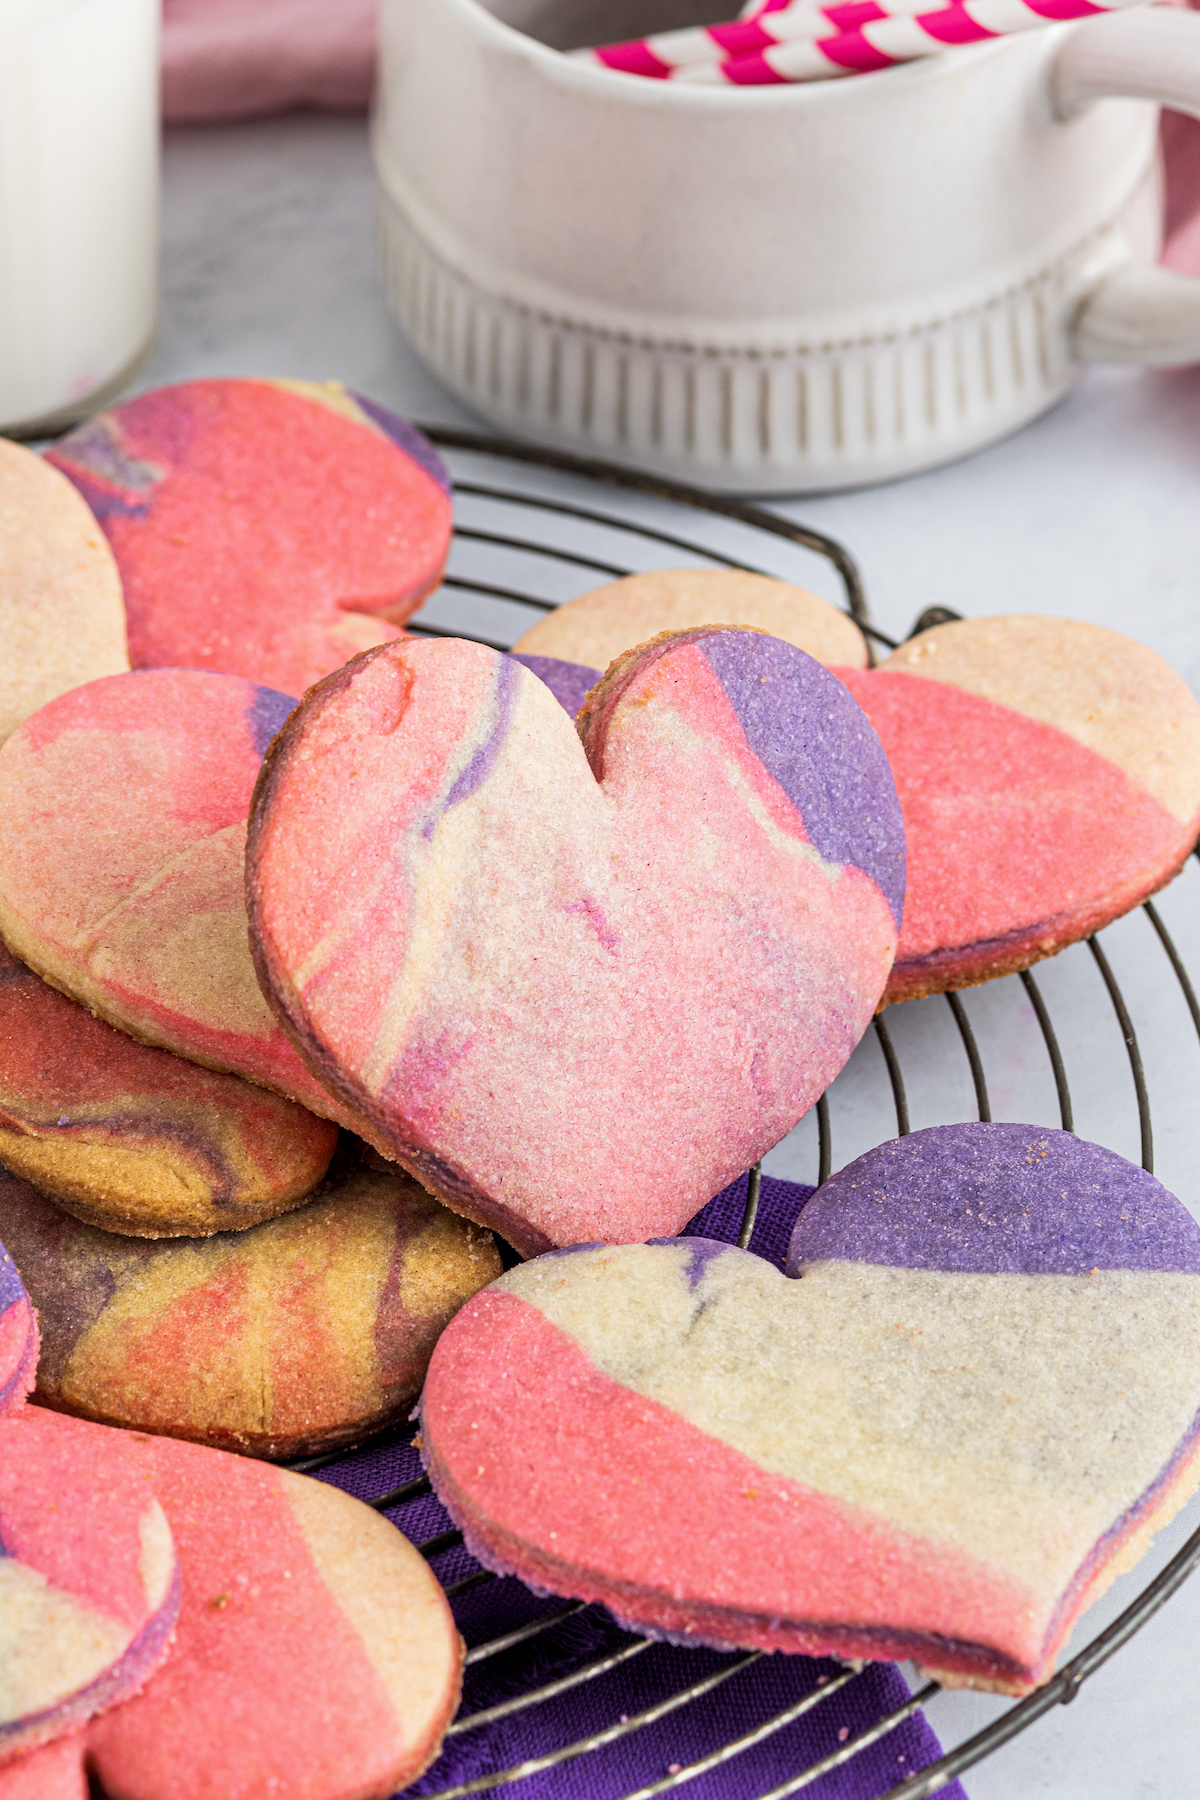
These Marbled Valentine’s Day Sugar Cookies are a delectably easy treat to make for the ones you love! Sweet and simple sugar cookies with an artistic twist, with wispy layers of pink and purple.
Want to save this recipe?
Valentine’s Day is one of my favorite special days for making pretty, decorative cookies, and sugar cookies are perfect for that! Easy to make, fun to cut out with your favorite cookie cutters, and so sweet and light. They are like the baked-treat version of a Valentine!
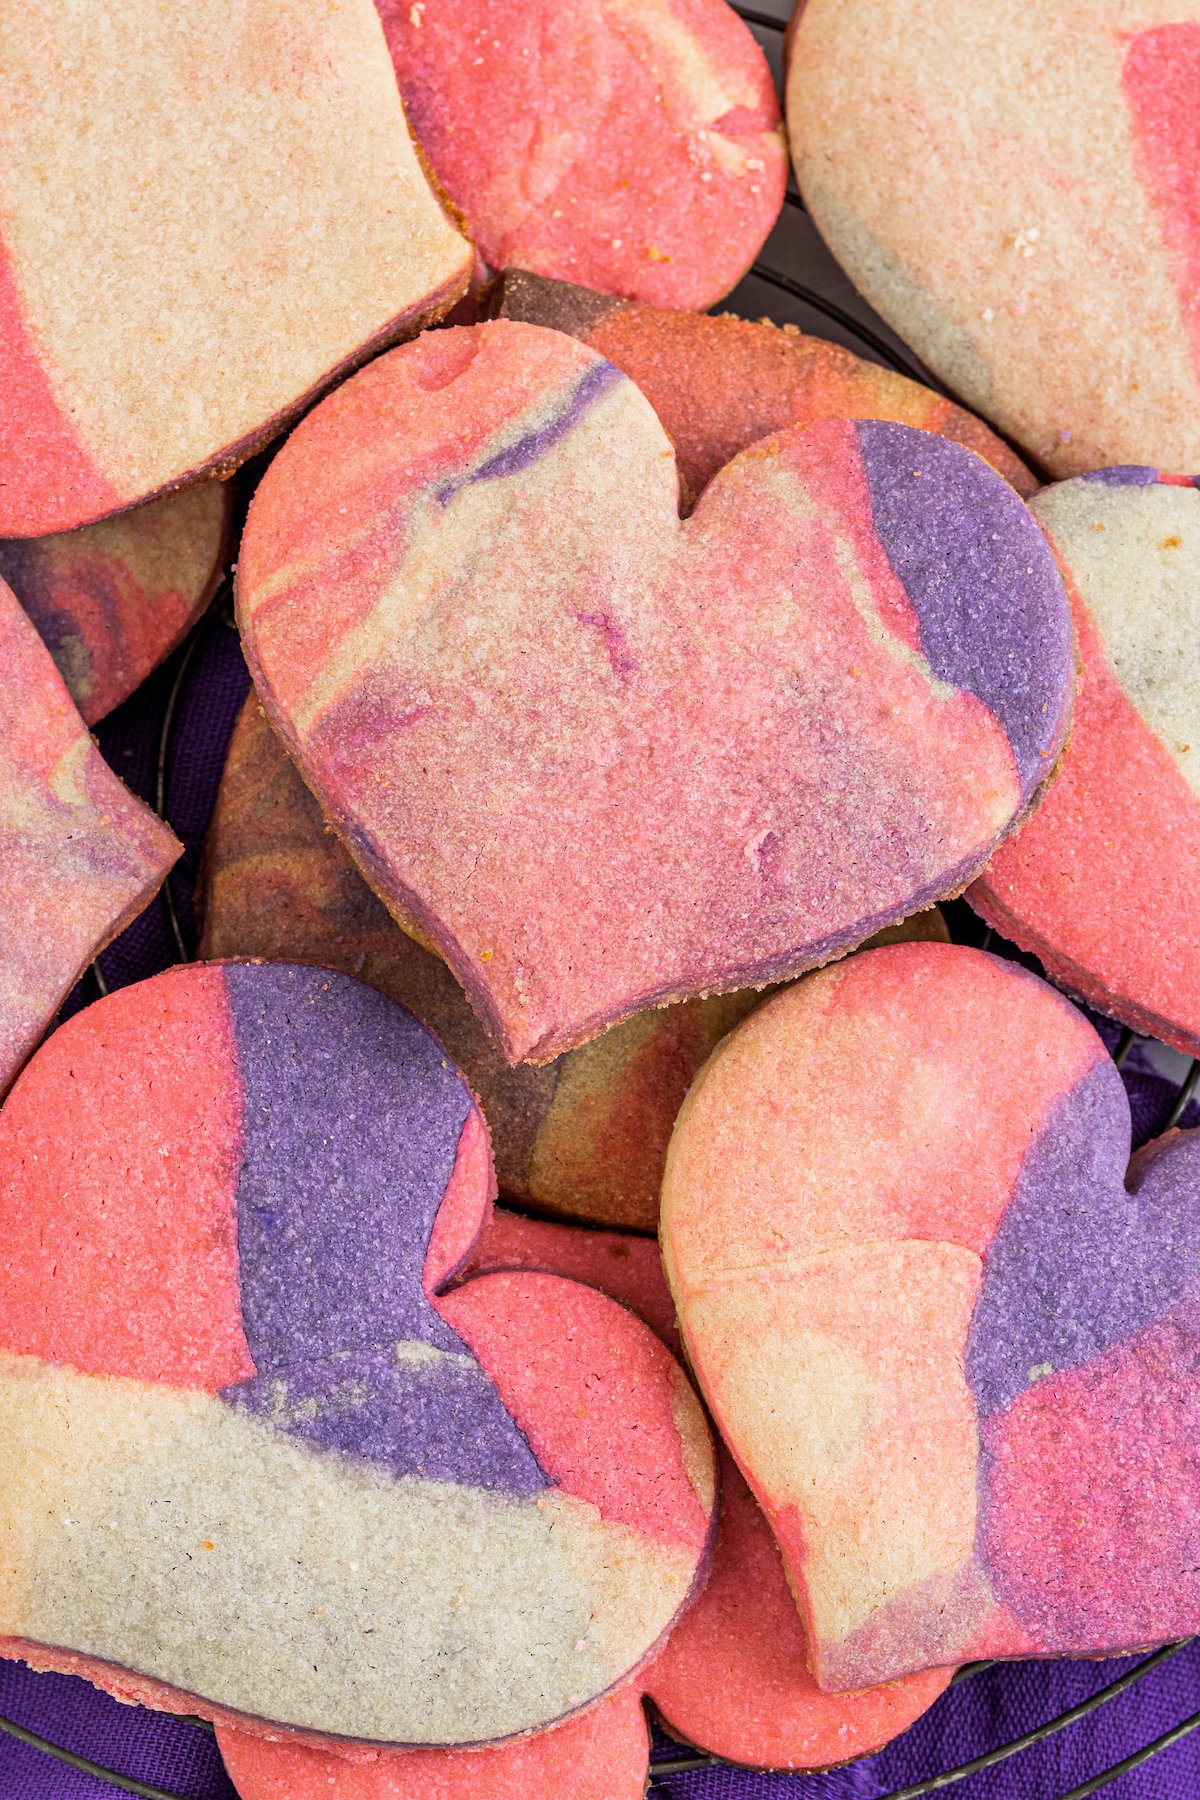
While I love cutting out and decorating sugar cookies, it’s also great to make sugar cookies that don’t need any decoration at all – like these beautiful marbled sugar cookies, with a watercolor-like effect that’s so special. Marbled sugar cookies look like something you would get from a fancy boutique bakery, but in fact, they’re so simple that even a beginner at cooking and baking could make them with ease.
Speaking of which, I think this is a great recipe to make with family! Kids love cutting out sugar cookies, and in this case, you can have all of the fun without having to clean up royal icing and sprinkles afterward!
Looking for more Valentine’s Day cookies? Make sure and check out these Valentine Sandwich Cookies!
Tell Me More!
Definitely! These cookies are…
- Soft in the middle, and crisp at the edges
- Delicately flavored with butter and vanilla
- Versatile for flavoring and baking however you like
- Fun to roll out and cut out (include the kiddos!)
- Easy to store at room temperature or in the freezer
In other words – they’re just about perfect!
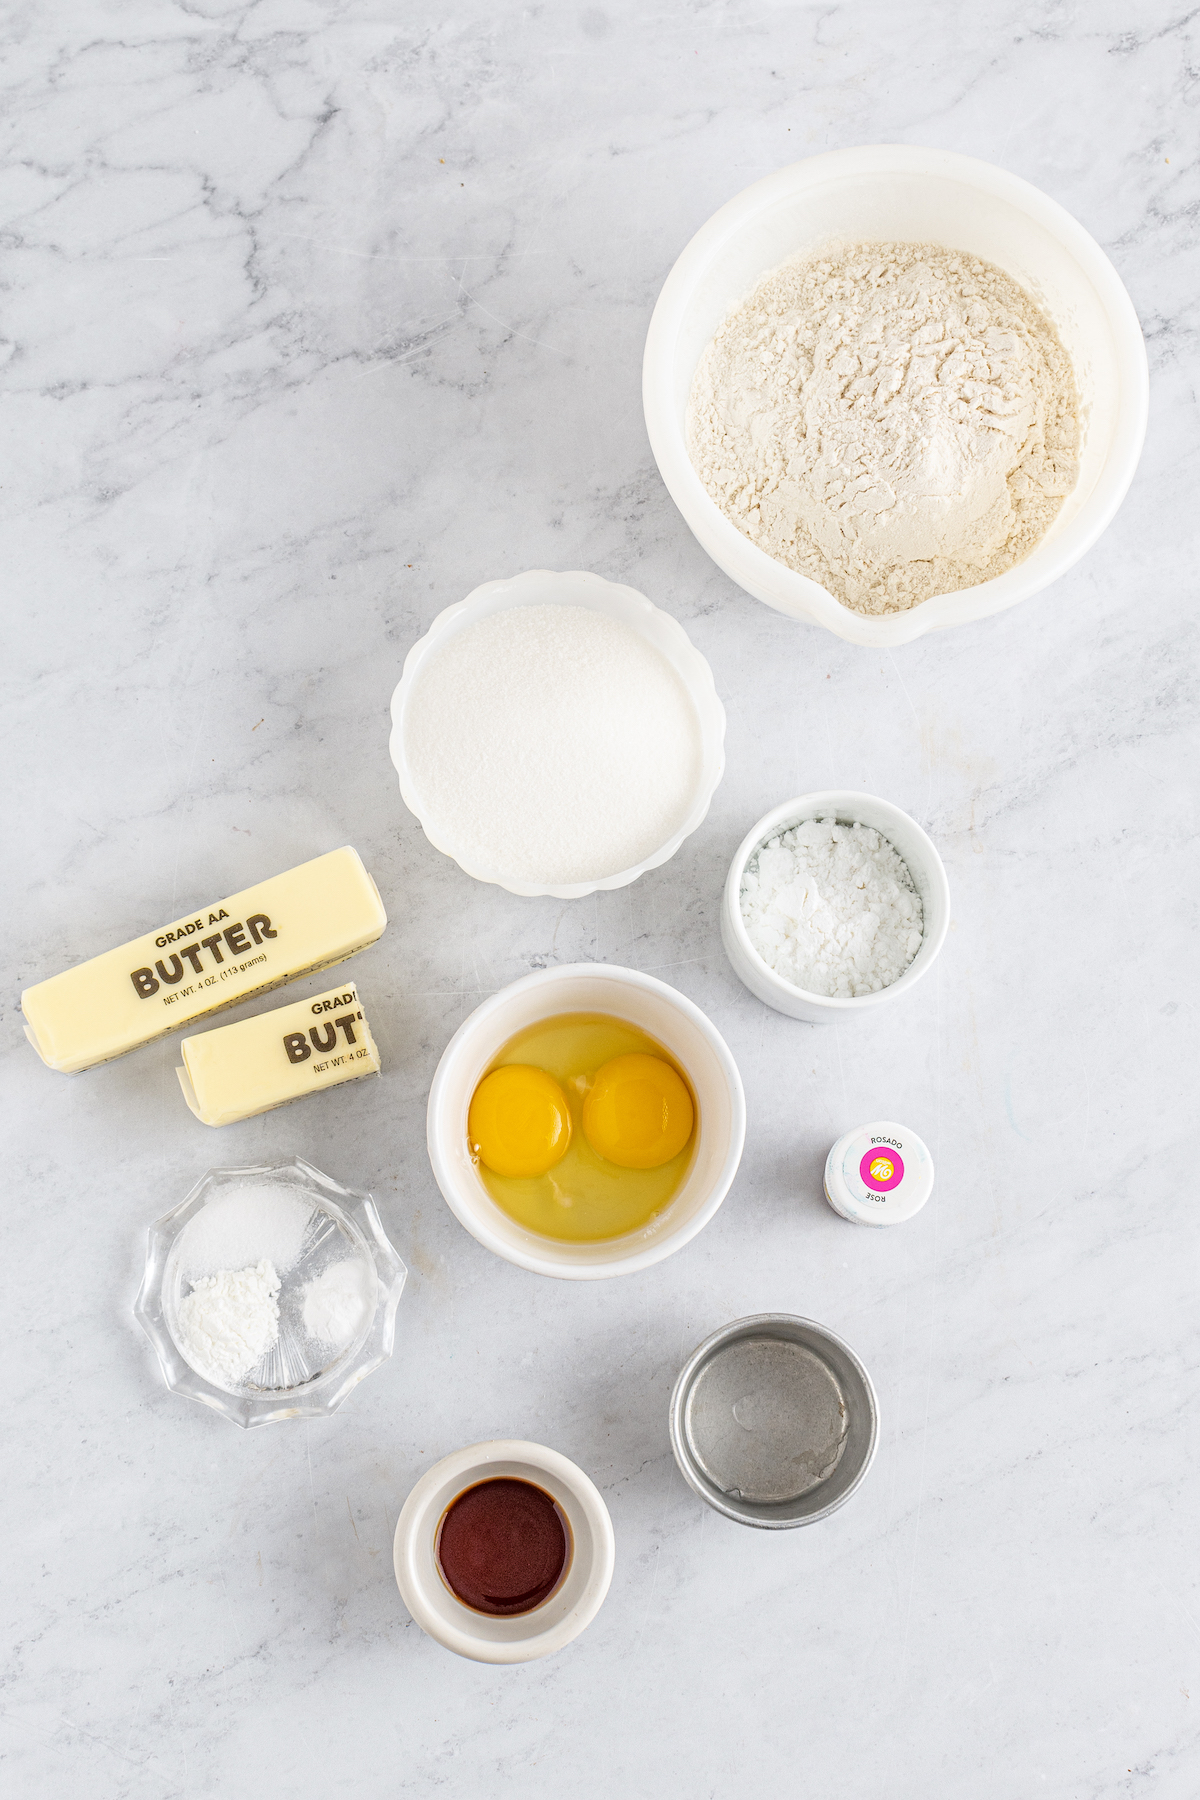
If you’re familiar with making sugar cookies, you probably already know the basic ingredients to expect: butter, sugar, eggs, flour… It’s all here! Let’s take a closer look at each item in particular:
- Butter: I generally use unsalted butter for baking recipes, but you could use salted if you prefer. You may want to lower the salt in the recipe if you do. Either way, have the butter at room temperature.
- Sugar: This recipe uses mostly granulated sugar, with a small amount of powdered sugar as well, which helps keep the cookies soft.
- Egg: You’ll need one egg, and an additional egg yolk for richness.
- Flour: All-purpose flour is fine in this recipe.
- Vanilla: Pure vanilla extract gives the best flavor.
- Salt: Salt.
- Baking Powder and Baking Soda: For lightness.
- Food Coloring: To make the marbled design, you’ll need pink and purple food coloring.
Making these marbled cookies is very similar to making regular sugar cookies. The main difference is in the rolling, because you create the marbled look by arranging the different colored pieces of dough on a work surface for rolling, and roll the dough out several times.
Cream the Butter and Sugar. In the bowl of a stand mixer fitted with the paddle attachment, combine your softened butter with the granulated sugar and powdered sugar. Beat on high for one or two minutes, until smooth and creamy.
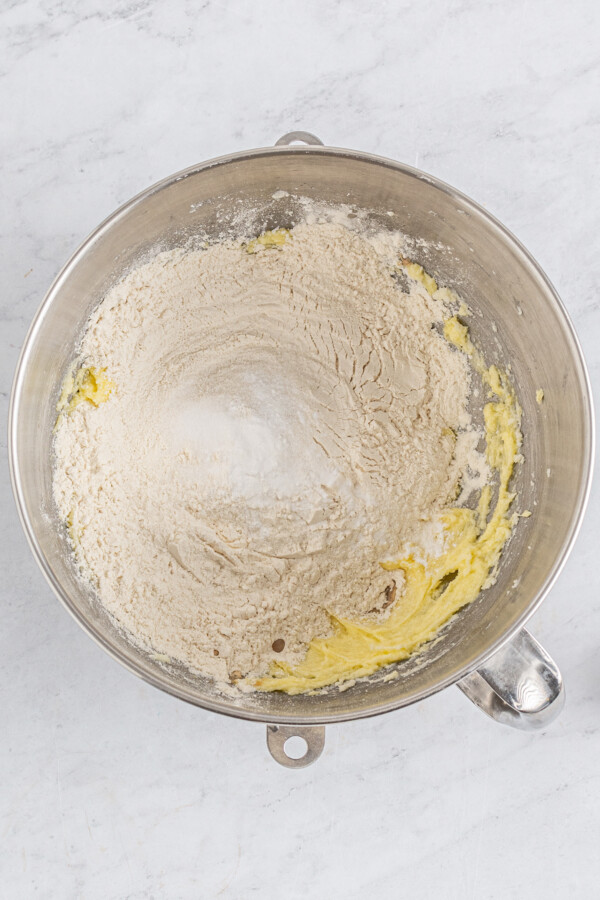
Add the Remaining Ingredients. Next, beat in the eggs, and when they are mixed in thoroughly, add in the flour, vanilla, strawberry extract, salt, baking powder, and baking soda. Beat everything together for about 1 minute, until all of the ingredients are fully incorporated.
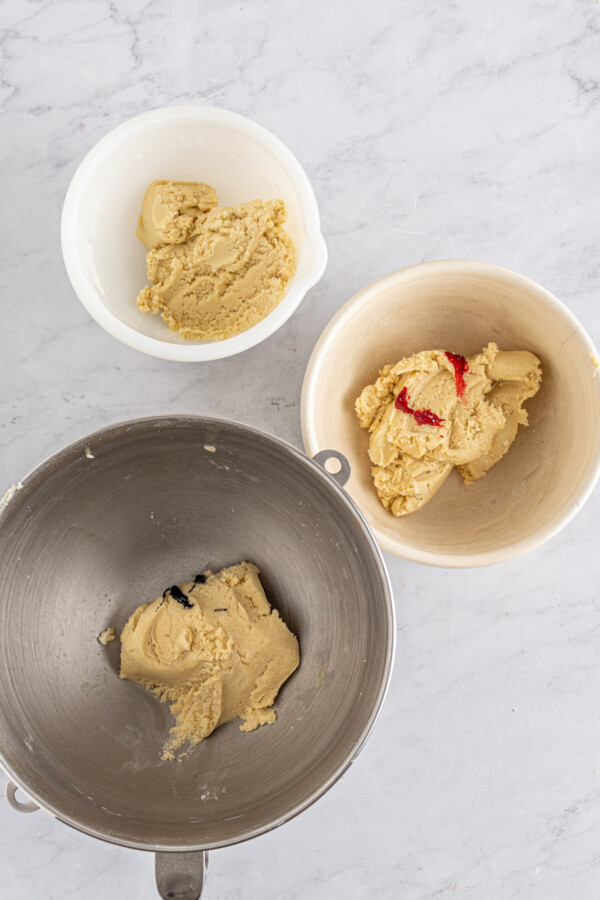
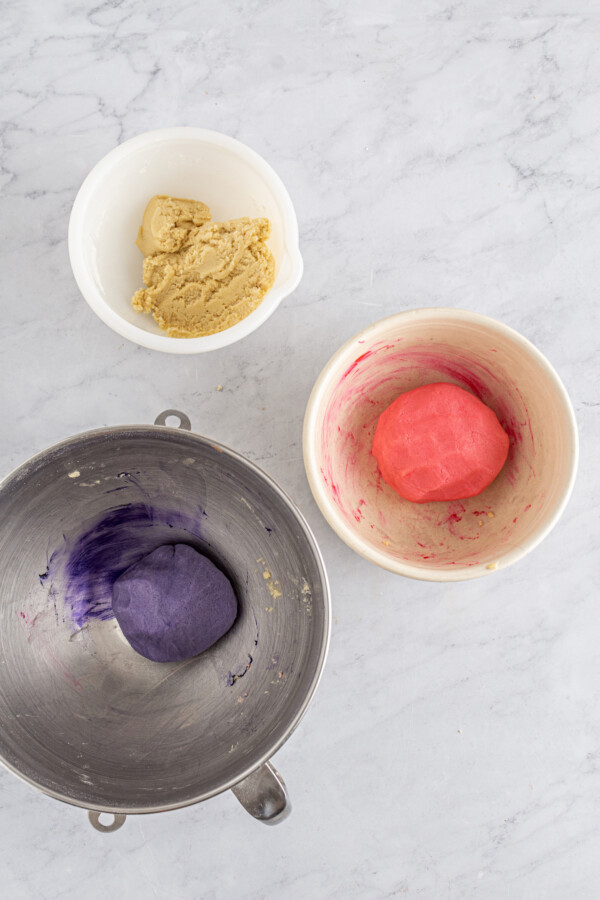
Color and Chill the Cookie Dough. Divide the cookie dough into three separate bowls. Cover one bowl of dough with plastic wrap, and place it in the fridge to chill. Color another portion of cookie dough with pink food coloring, mixing and kneading until fully saturated. Color the last piece of dough with purple food coloring, mixing and kneading until fully saturated as well. Cover, and place in the fridge to chill for about 45 minutes.
Prepare to Bake! Once the dough has chilled, remove it from the refrigerator, and unwrap each bowl. Preheat the oven to 350°F, and line one or two large baking sheets with parchment paper.
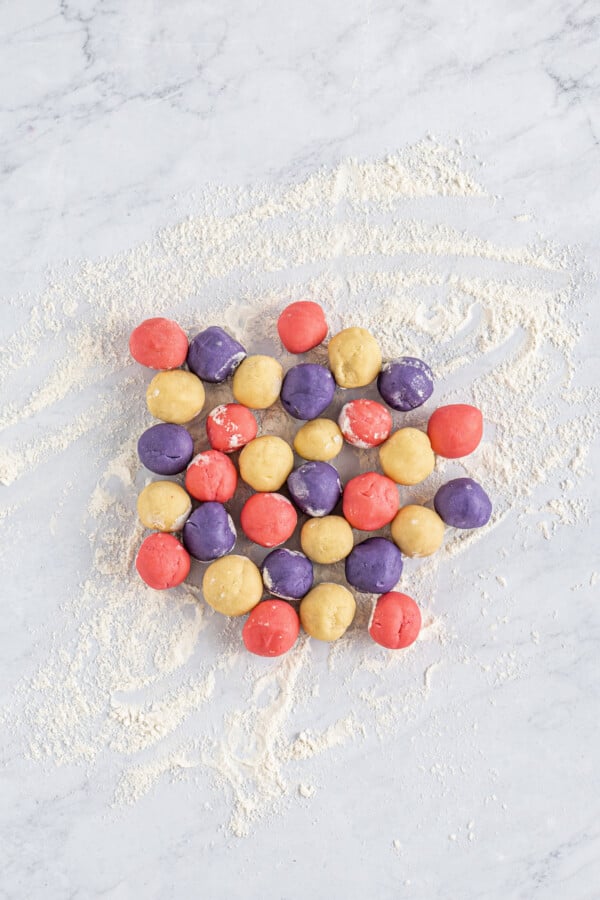
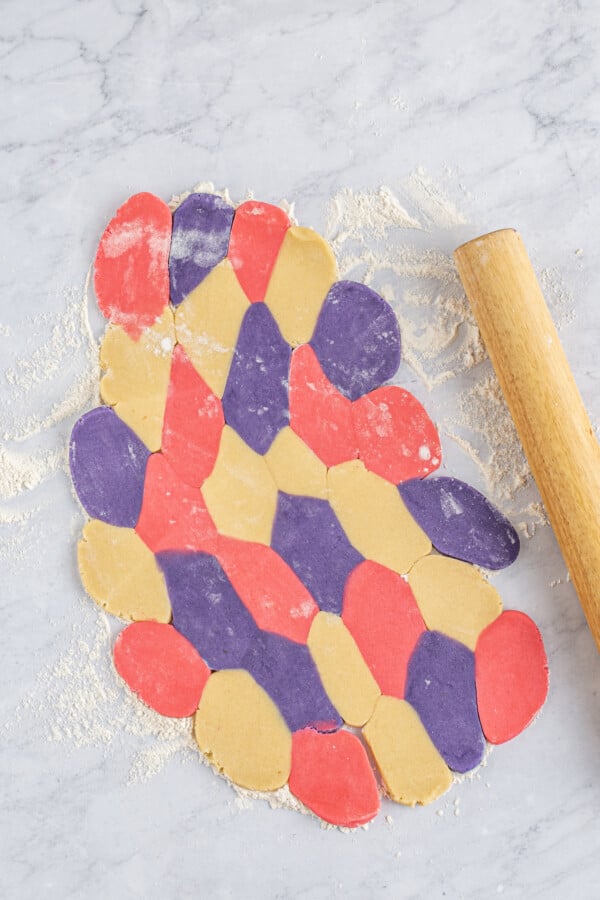
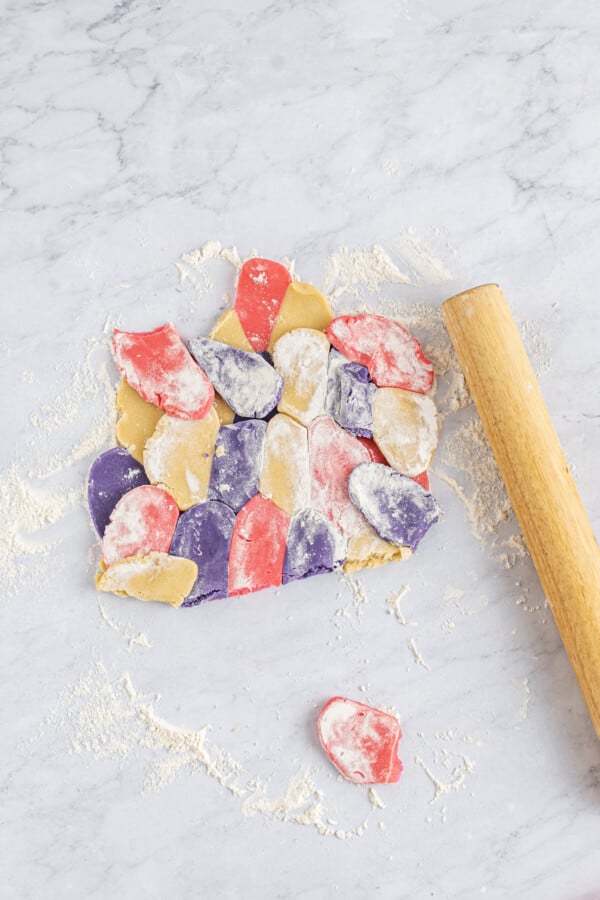
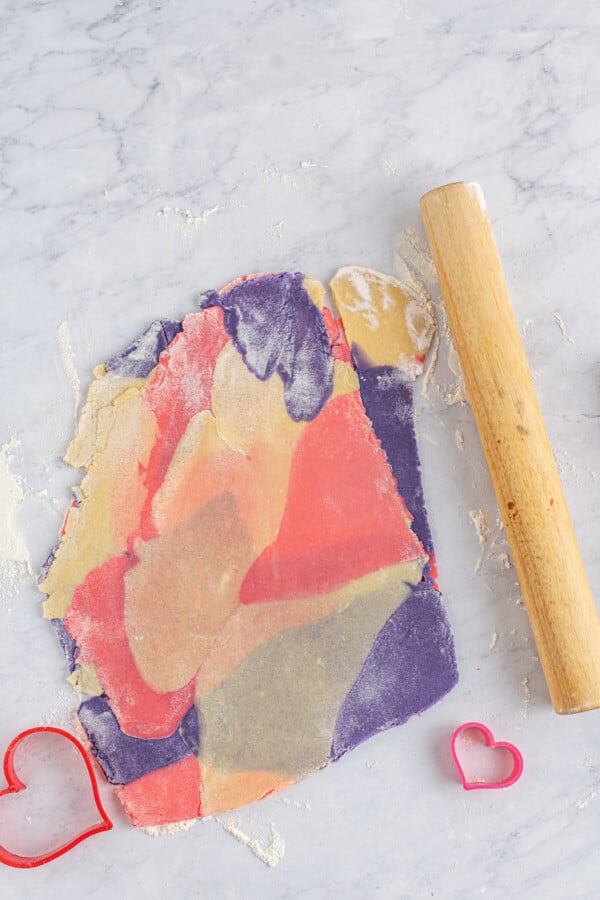
Roll Out the Dough. Now roll each portion of dough into little balls, about 1 tablespoon of dough each. Arrange them together in a pattern, so they are mixed up and not all the same color next to each other. Roll the balls out together into a rectangle – it’s fine if it’s not perfect. Roll into a sheet about ¼ inch thick, fold the sheet in half, and roll again. Repeat this process 1 – 2 more times to get a marbled effect.
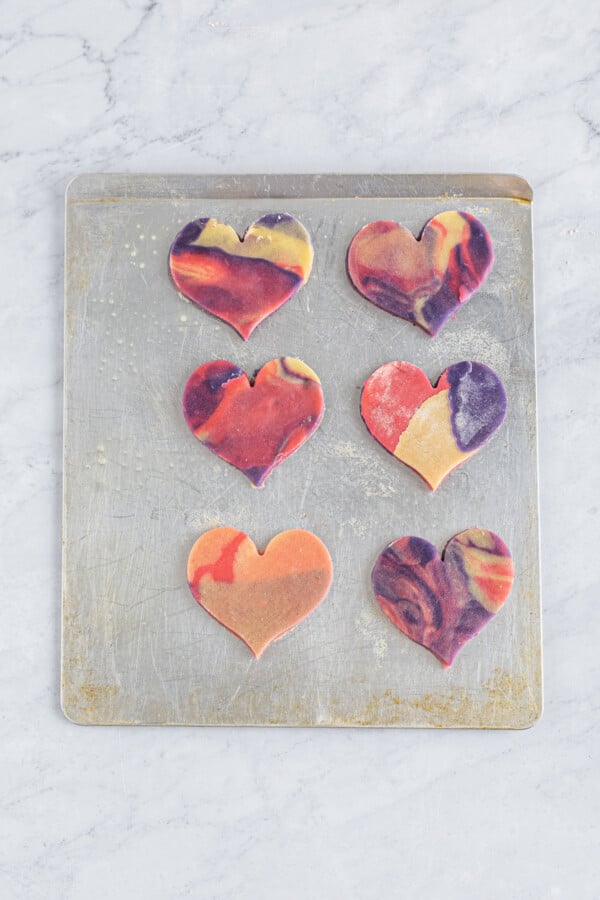
Cut and Bake Cookies. Use a 4-inch heart cookie cutter to cut out as many cookies as possible. Place the cutout cookies onto the prepared baking sheets, and bake for 10 minutes. The cookie will be soft with the edges starting to lightly brown. Place on a cooling rack to cool. While the first batch of cookies is baking, roll the scraps of dough into a ball and roll out again. Cut more cookies, and continue doing this until all the dough is used.
Serve. Serve your gorgeous marbled sugar cookies with a cup of tea, coffee, or a tall glass of your favorite milk!
My Top Tips!
To get perfectly-baked, light, and chewy sugar cookies, be sure to look over these easy tips for success. Happy reading and happy baking!
- Be sure to beat the butter and sugar well at the beginning to ensure the base of the dough is smooth, and not lumpy.
- Once the flour is added, mix until very smooth. The amount of butter in these cookies prevents the gluten from developing very much (if at all), so over-mixing isn’t a big concern. Just don’t mix longer than 5 minutes, or the butter may break down.
- For a slightly chewier cookie, substitute bread flour for the all-purpose flour. (You may need to add a tablespoon of milk to dough made with bread flour, if it seems too dry.)
Easy Variation Ideas
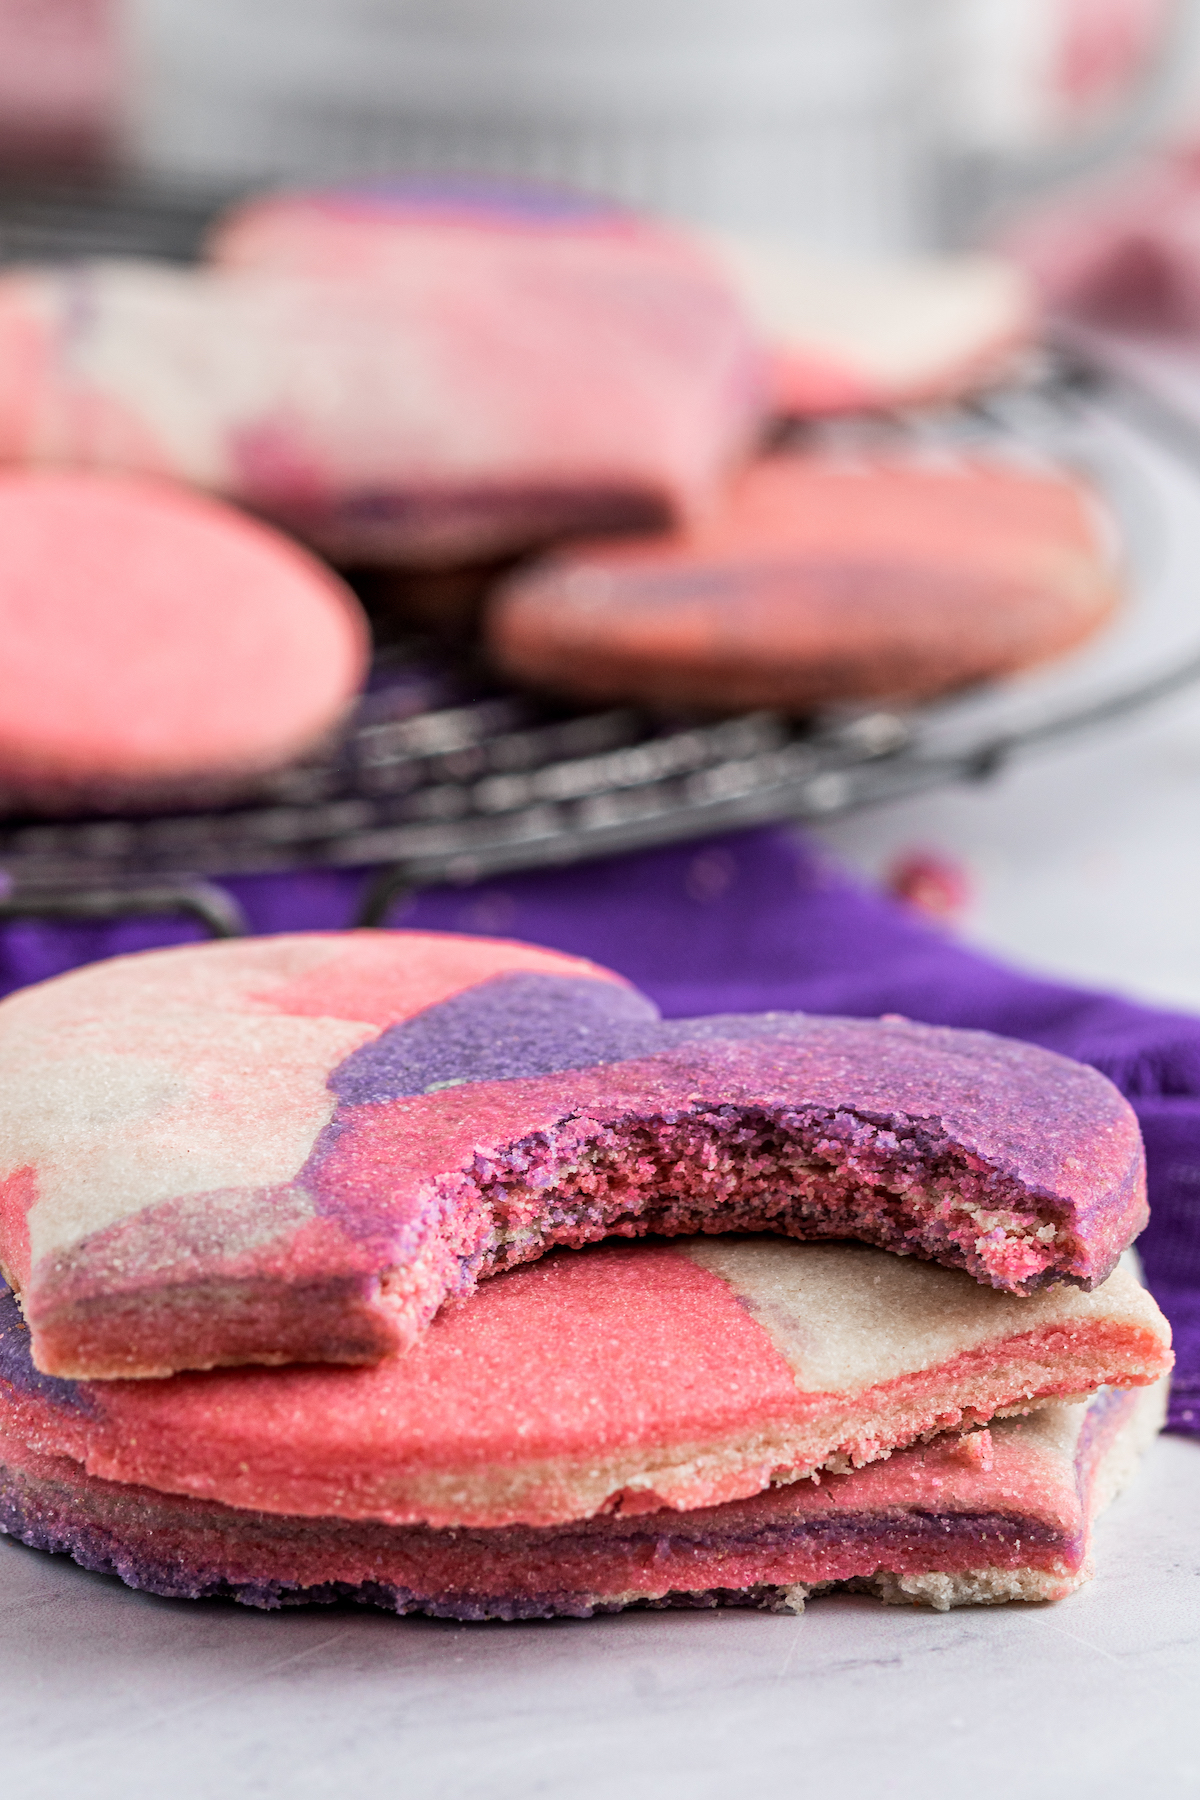
Marbled sugar cookies aren’t just pretty, they’re super versatile as well! There are dozens of ways to make these your own, or customize them for different occasions.
- Flavors: To customize the flavors, use your favorite flavored extracts to flavor the dough. For example, raspberry would work well in this recipe, rather than strawerry. You could also use different flavors for the diffrerent colors. Just half a teaspoon should do. Then of course there are almond, orange, rum… Use whatever extracts or flavorings you love!
- Colors: Any colors will work for this recipe! You can use just one color, or mix two or even three colors. (To keep the colors from blending into a gray-ish brown, stick with colors in the same family, such as blue and green, yellow and orange, red and pink, etc.)
- Shapes: I used hearts, but marbled cookies would be so fun with other shapes! Marbled unicorns, anyone? Stars? Llamas? The possibilities are endless!
- Decorations: These cookies are so stunning, they really don’t need any additional decoration – but if you want to add decorations, that would be awesome, too! A little royal icing piped around the edges and dusted with sanding sugar would be beautiful. You could also attach little edible pearls, candy flowers, or heart-shaped sprinkles. Dipping half of the cookie in chocolate would be striking, while straight lines of white chocolate drizzle would be elegant and understated.
You can store marbled sugar cookies in an airtight container or baggie, at room temperature, for up to 5 days.
If you want to freeze the cookies for another time, just place the cooled cookies in a single layer on a baking sheet or tray, and freeze until frozen solid (20 – 30 minutes). Pack the frozen cookies in airtight containers, with parchment or wax paper between each layer of cookies to keep them from sticking together. Freeze for up to three months. Thaw before serving.
Make-Ahead Instructions
Did you know that you can also make the dough ahead, for rolling and cutting on another day? It’s easy! Just prepare the dough and wrap it well in plastic wrap. Then seal it in a zip-top bag with as much air pressed out as possible, and place in the freezer for up to three months. Thaw overnight in the fridge before rolling and cutting.
Ingredients
- ¾ cup unsalted butter, room temperature
- ¾ cup granulated sugar
- 2 tablespoons powdered sugar
- 1 large egg + 1 yolk
- 2 ½ cups all-purpose flour
- 1 teaspoon vanilla extract
- ½ teaspoon salt
- ½ teaspoon baking powder
- ¼ teaspoon baking soda
- Pink food coloring
- Purple food coloring
Want to save this recipe?
Instructions
- Add the butter, granulated sugar, and powdered sugar to the bowl of a stand mixer, fitted with the paddle attachment. Beat together on high for 1 – 2 minutes, or until smooth and creamy.
- Add in the eggs and beat for 30 seconds. Next, add in the flour, vanilla, strawberry extract, salt, baking powder, and baking soda. Beat together for 1 minute, or until fully incorporated and smooth.
- Divide the dough into three bowls. Wrap one portion of dough with plastic wrap, and place in the fridge to chill. Color a different portion of cookie dough with pink food coloring, until fully saturated. Color the other section of dough with purple food coloring, until fully saturated. Wrap each colored dough portion in a separate sheet of plastic wrap, and place them in the fridge to chill for 45 minutes.
- Once the doughs have chilled, remove them from the refrigerator, and unwarp. Preheat the oven to 350°F. Line 1 – 2 large baking sheets with parchment paper, and set aside.
- Roll all of the dough into 1 tablespoon-sized balls. Arrange them together in a pattern, so they are mixed up and not all the same color next to each other. Use a rolling pin to roll the balls out together into a rough rectangle. Roll into a sheet about ¼ inch thick. Fold the sheet in half, and roll again. Repeat this process 1 – 2 more times.
- Use a 4 inch heart cookie cutter to cut out as many cookies as possible. Place the cutout cookies onto the prepared baking sheets, and bake for 10 minutes. The cookie will be soft with the edges starting to lightly brown. Place on a cooling rack to cool.
- While the first batch of cookies is baking, roll the scraps of dough into a ball and roll out again. Cut more cookies, and continue doing this until all the dough is used.
Notes
Nutrition
Categories:
- Cherry Cordial Cookies
- Red Velvet White Chocolate Chip Cookies
- Red Hot Cookies
- Almond Meltaway Cookies
- Easy Cake Mix Cookie Bars
- Cherry Almond Sugar Cookies
Post may contain affiliate links. Read my disclosure policy.


