Learn how to make the BEST Grilled Corn on the Cob every time with this really easy recipe! It’s just not Summer without fresh grilled corn!
My Favorite Way to Grill Corn
Grilled corn is incredibly easy to make, and I can’t get enough of it! Those sweet corn kernels topped with butter, salt, and pepper… I’m hungry just thinking about it.
There’s a lot of debate about the best way to grill corn. Some people say you should take the husk off, some people say leave it on. Some people swear by soaking it before grilling, some say that’s not necessary. With regard to shucking the corn, I like to compromise by removing the silks but keeping the husks attached. That way the corn gets some smoky char, but the kernels stay juicy and sweet!
If you are looking to stay inside and not heat up the grill, I also have a great recipe for Air Fryer Corn On The Cobb.
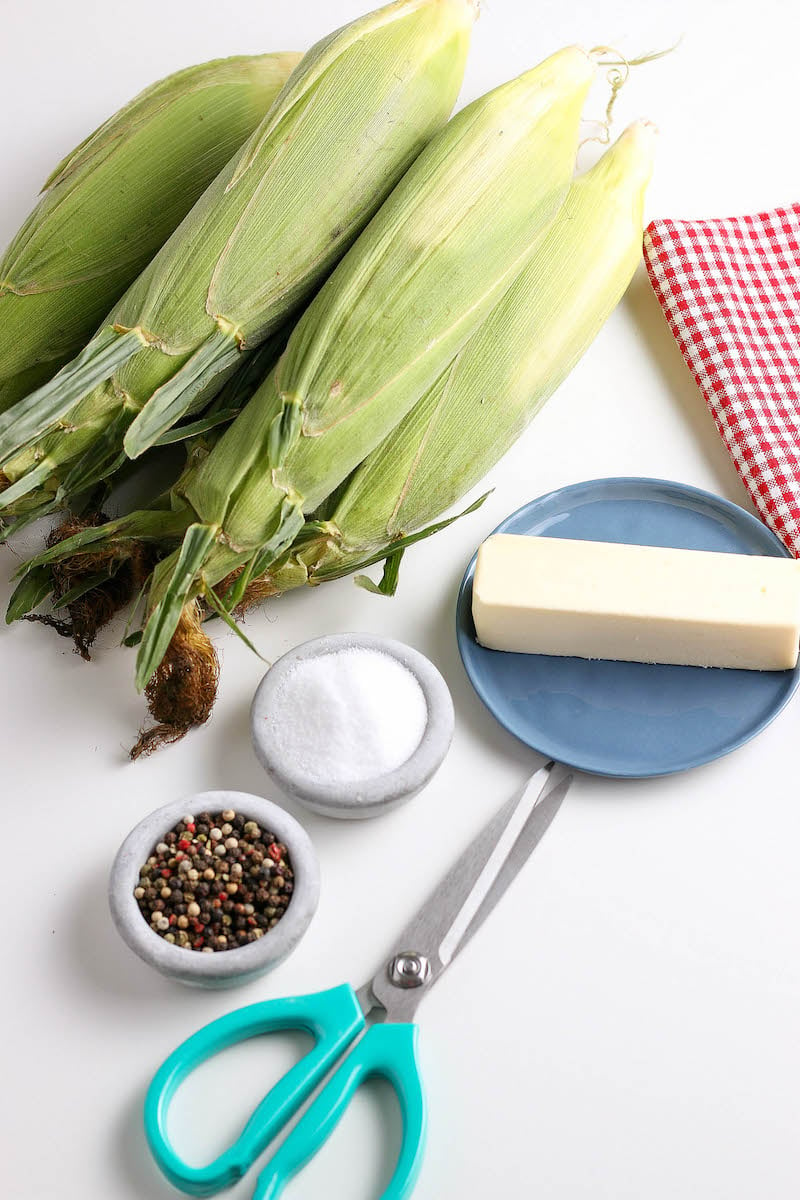
Recipe Ingredients
There’s only one ingredient for today’s recipe. You guessed it… corn!
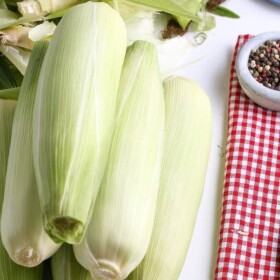
- 6 Ears Fresh Corn: try to pick bright green husks if you can.
- Butter: Optional, but can you imagine corn without butter??
- Seasonings: Salt and Pepper are always great. You can also use things like garlic pepper, smoked paprika, chili powder, etc to season up your corn if you want to!
How to Make Grilled Corn on the Cob
Heat: Heat grill to 400°F.
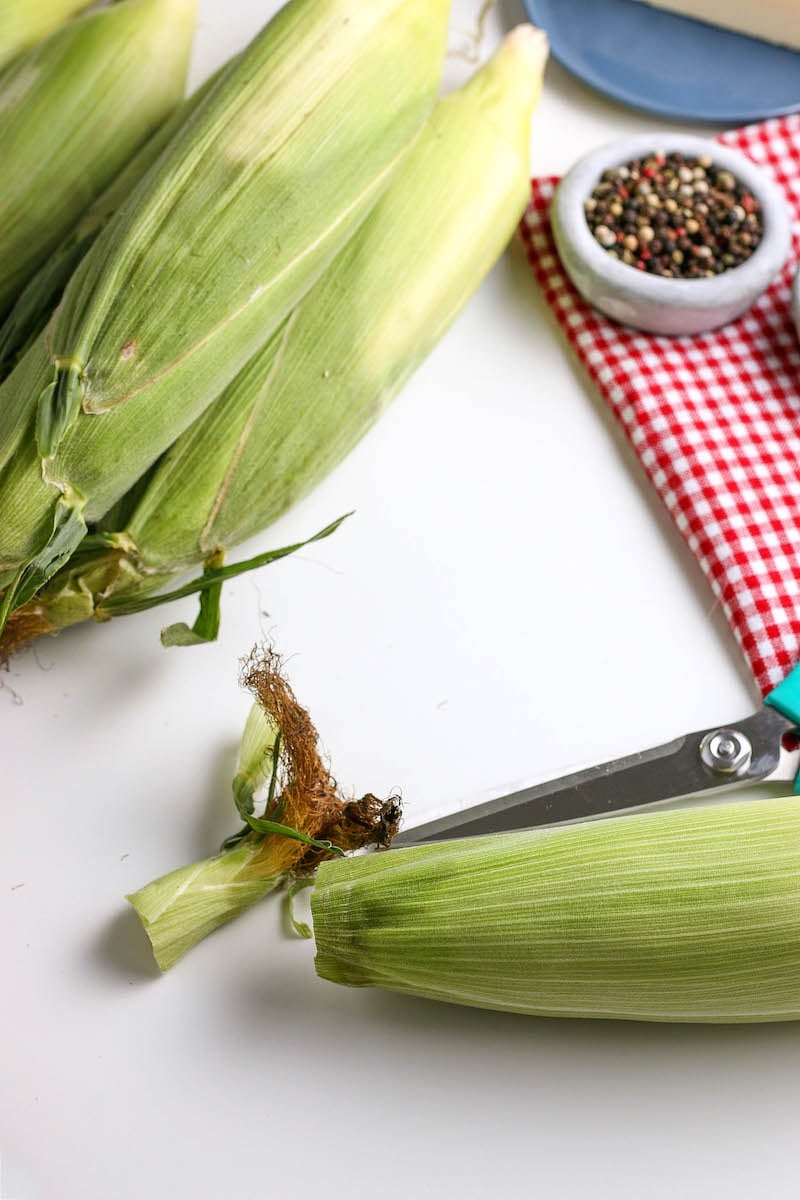
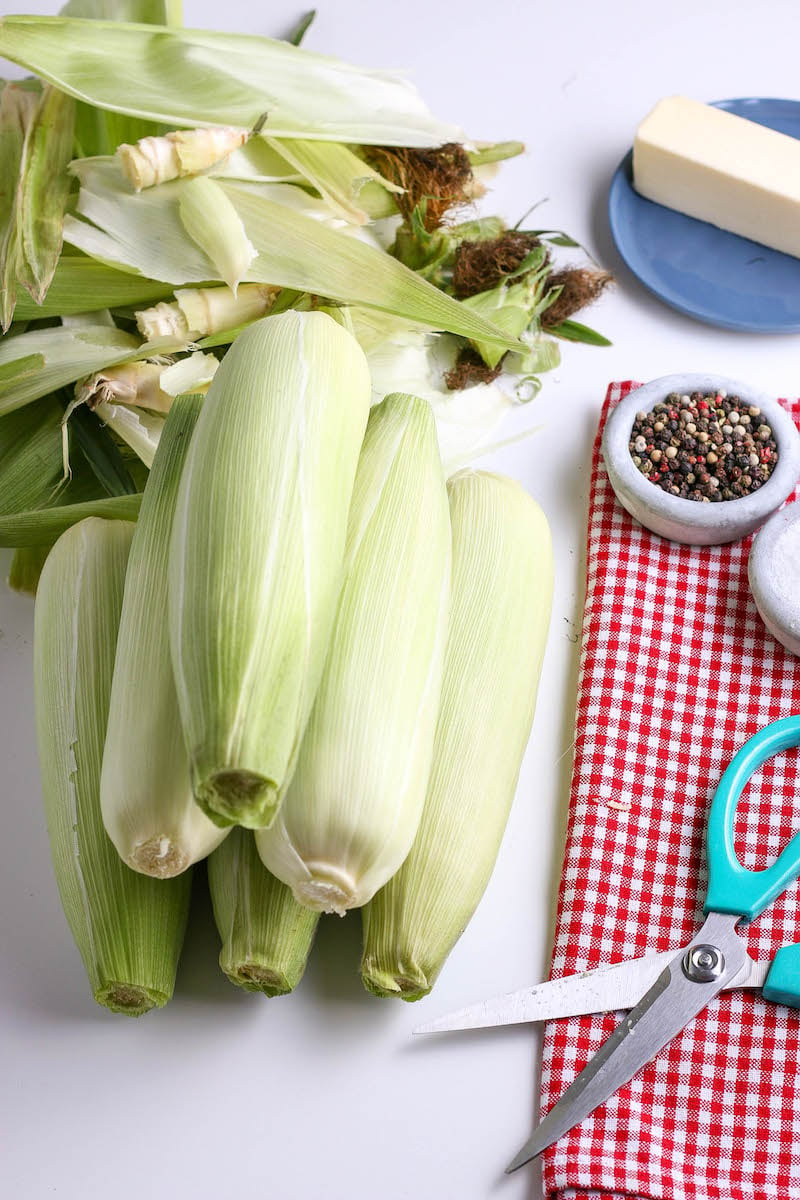
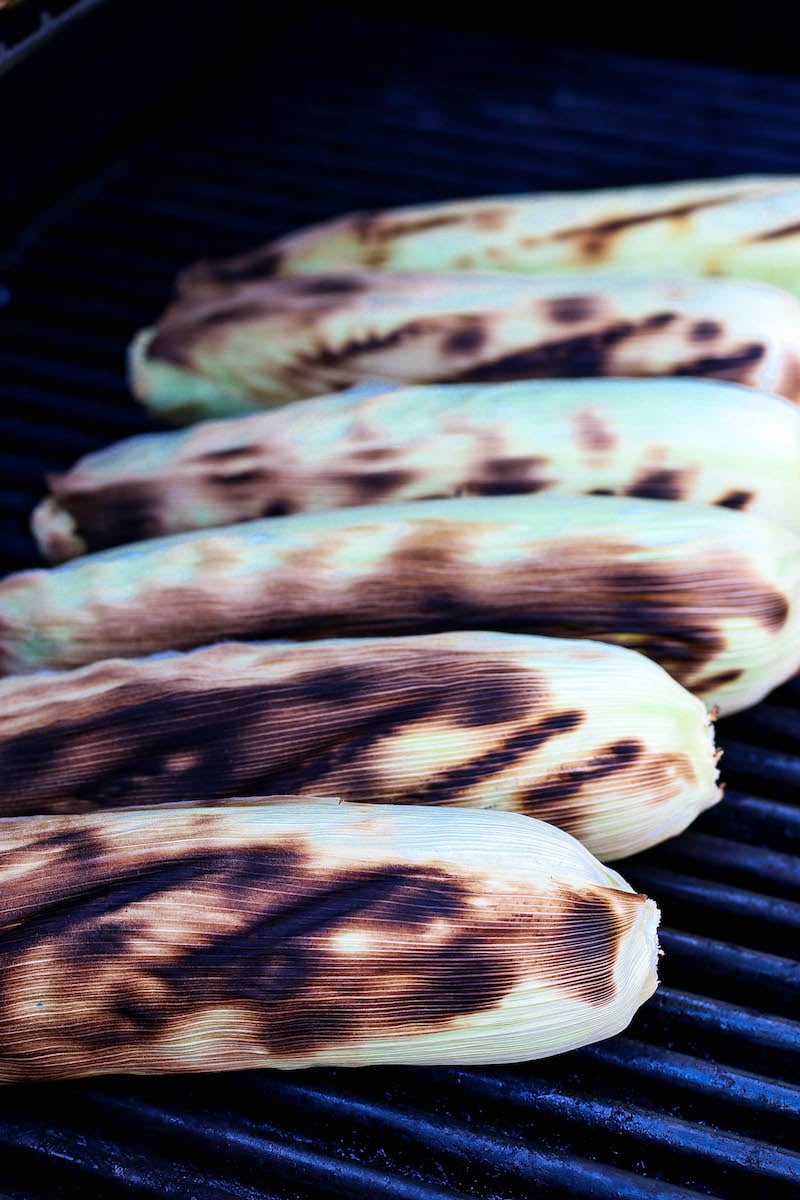
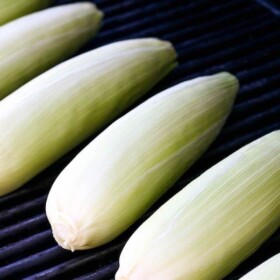
Prep: Pull the husks back from the corn cob and trim the silks and remove the end of the stalk with a sharp knife. However, to prevent the corn from drying out when it’s grilled, keep the husks attached. Once the silks have been removed from the corn, pull the husk back over the corn cob
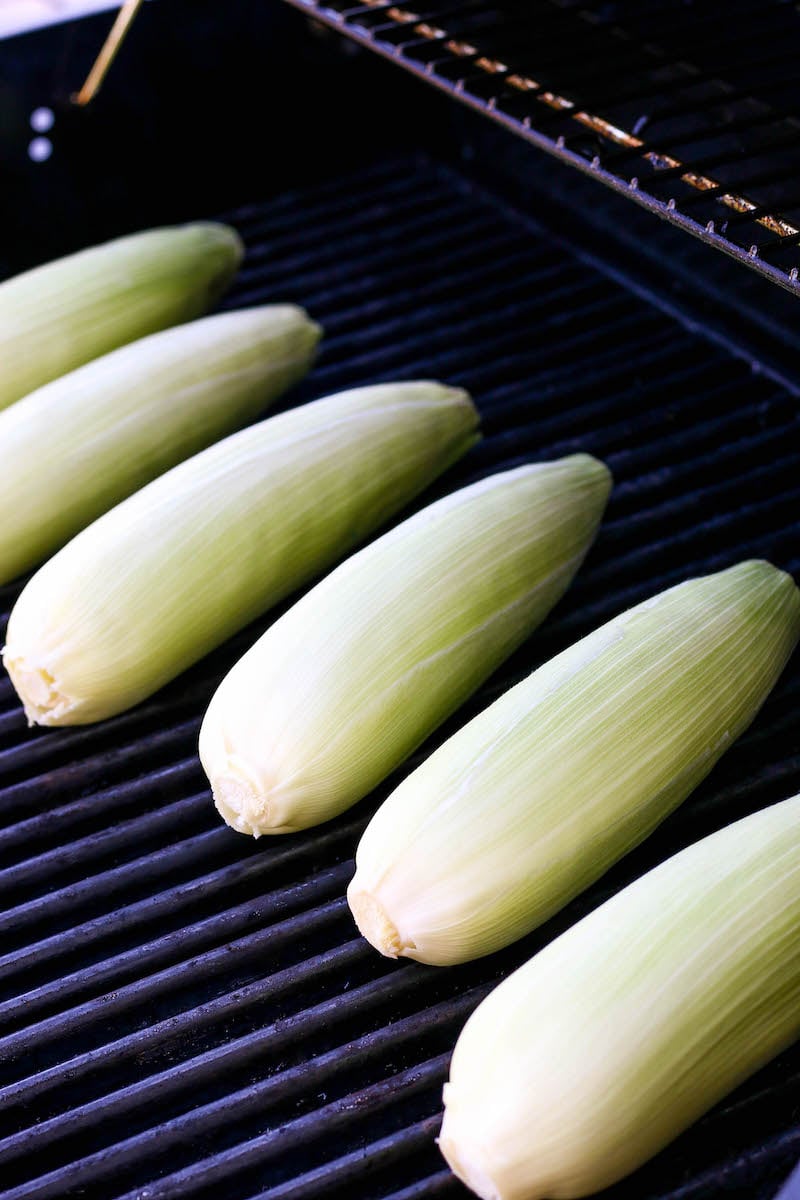
Grill: Grill the corn for 10 to 15 minutes, turning several times for even cooking. Remove corn from grill and allow to cool 5 minutes before removing husks
High Heat: If you would like some char marks on the corn, turn your grill to high and then return the corn (after pulling back the husks again) to grill for a few minutes at the very end and quickly char the outside as desired.
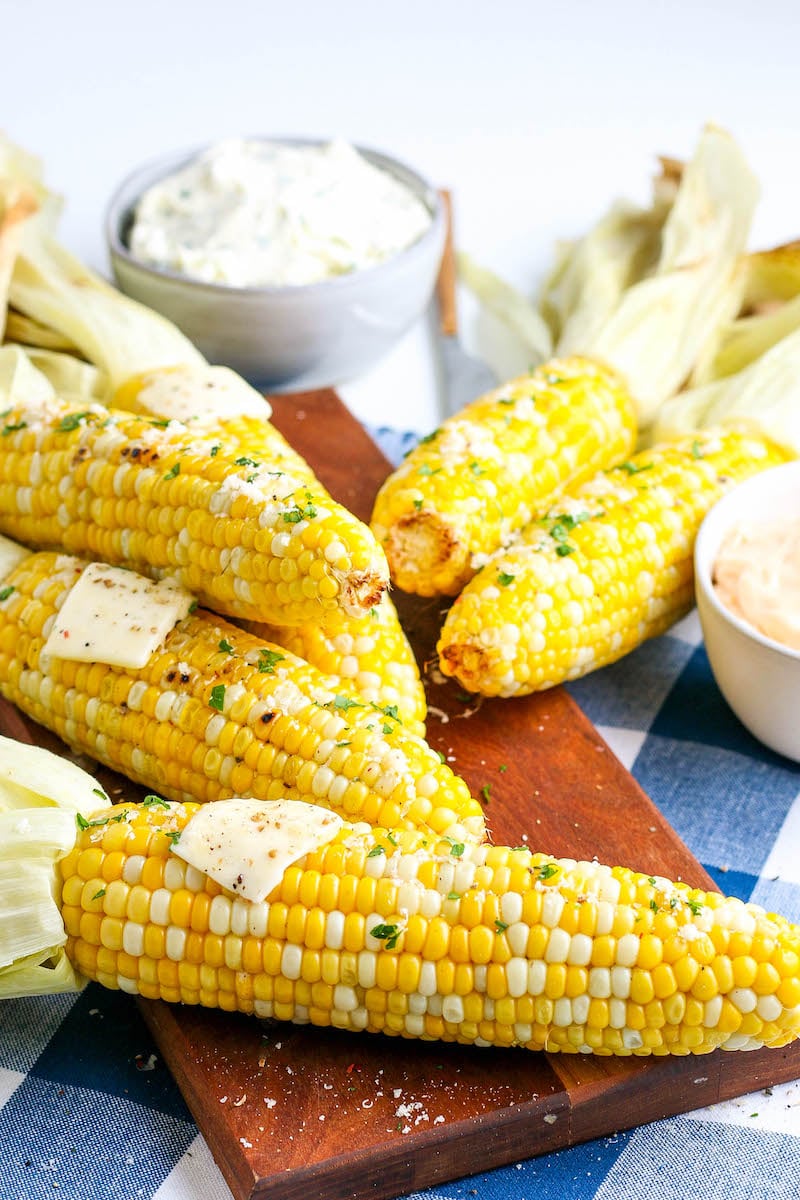
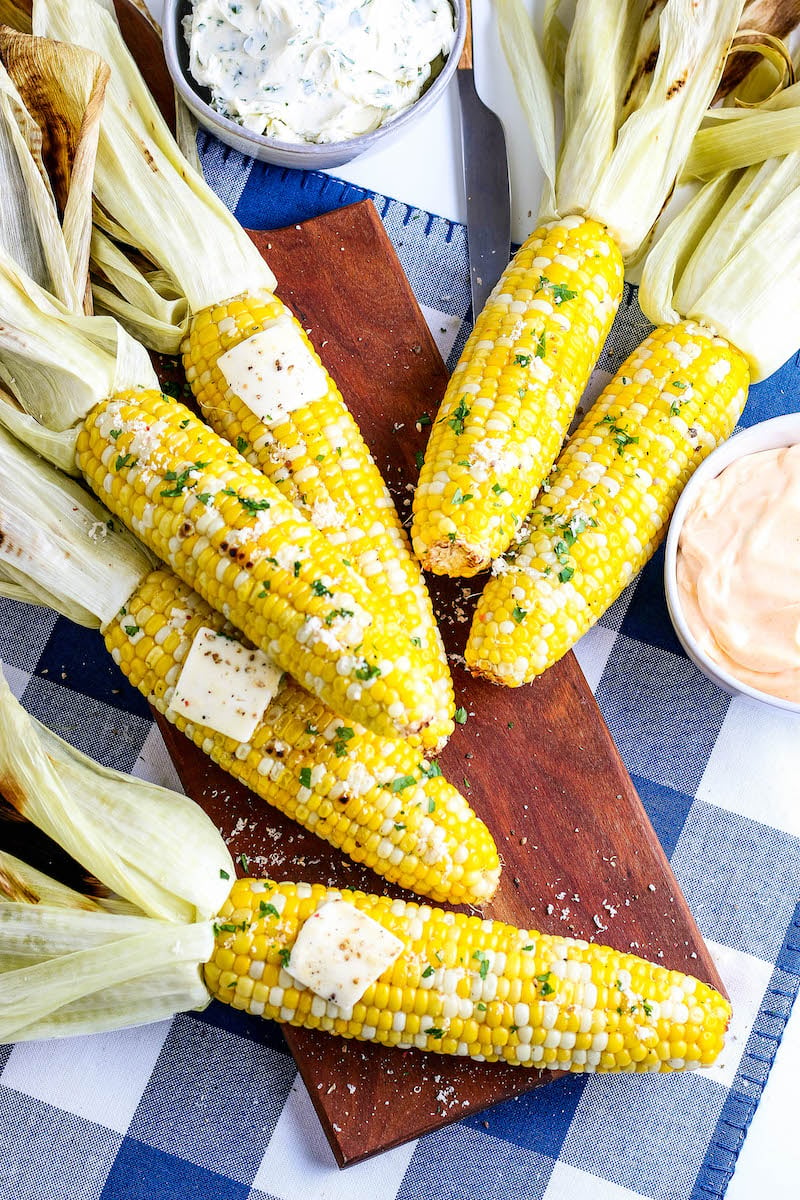
Serve: Serve with lots of butter and any chosen toppings!
Want to save this recipe?
Tips for the Best Grilled Corn
Pretty simple, right? You’ve probably got the process down by now, but here are some more tips that I’ve found helpful:
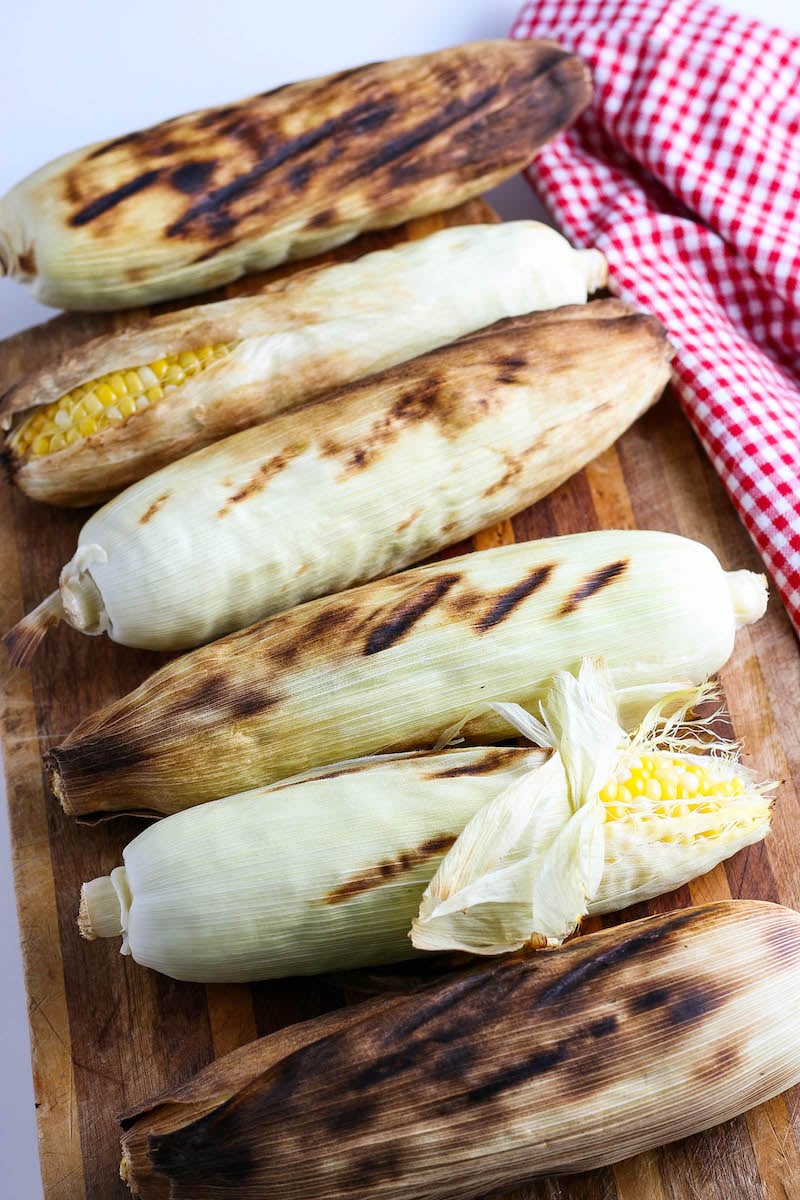
- Soak the corn: Soaking the husks in water before you grill them can help retain some of the moisture while they cook, but you don’t really need to do this if working with fresh corn.
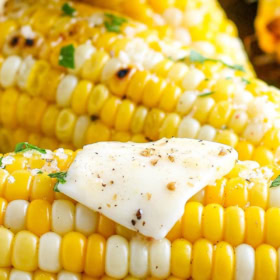
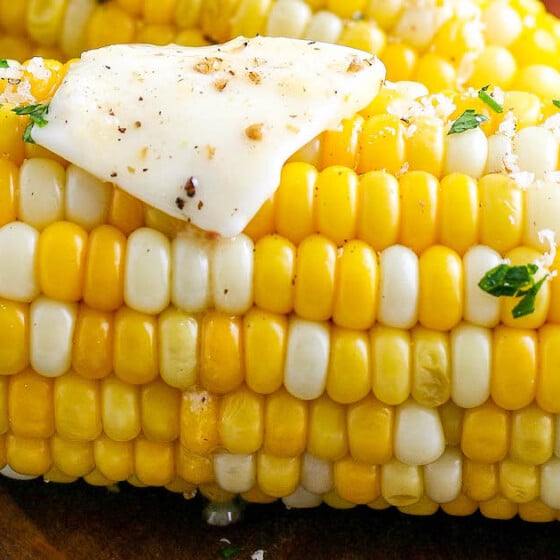
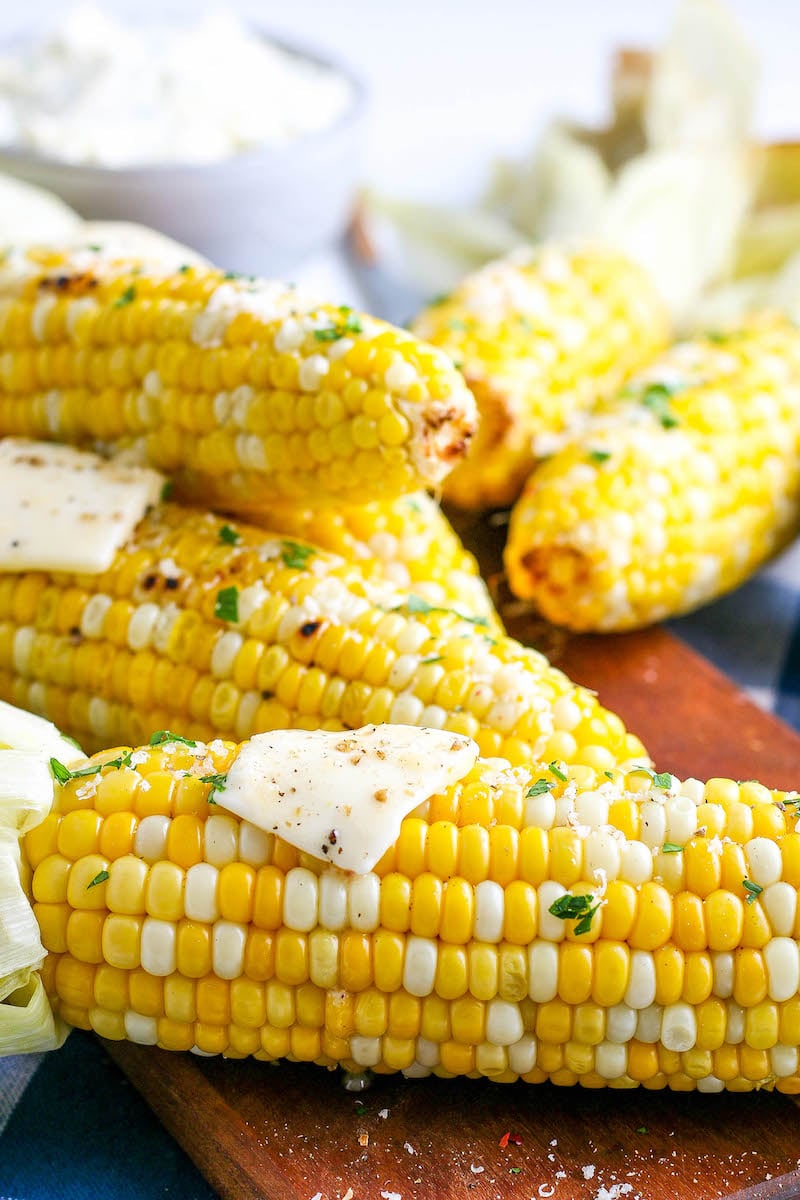
- Grill marks: If you want to have grill marks on your corn, as shown in these photos, pull off a few of the extra outer husk leaves. That way there is less of a barrier between the grill and the corn itself.
Topping Ideas
Looking for some toppings for that golden corn? Here are some of my favorites:
- Butter – obviously! Using flavored butter – like garlic – works wonders for the tastebuds.
- Salt & Pepper
- Minced Herbs (parsley, cilantro, chives, etc.)
- Mexican Street Corn: I also have an amazing recipe for Mexican Street Corn if you love cilantro, seasonings and cheese!
Serving Suggestions
Usually one ear of corn per person does the trick, but sometimes it’s a good idea to cut the corn cobs in half – especially if you’ve got kiddos!
As for what to serve it with, corn complements any main dish fabulously. I love eating this with baked chicken, sloppy joes or homemade mac and cheese! It’s also fantastic alongside your favorite salads. If you’re feeling really wild, you can just eat it as the main course. I won’t judge!
Can I Use Frozen Corn?
You can definitely use frozen corn – just make sure you thaw it beforehand and wrap it in aluminum foil when you grill it. You may also want to add any spices you like before you cook the corn for heightened flavor.
Grilled Corn
Ingredients
- 6 ears fresh corn
- butter
Want to save this recipe?
Instructions
- Heat grill to 400°F.
- Pull the husks back from the corn cob and trim the silks and remove the end of the stalk with a sharp knife. However, to prevent the corn from drying out when it’s grilled, keep the husks attached. Once the silks have been removed from the corn, pull the husk back over the corn cob.
- Grill the corn for 10 to 15 minutes, turning several times for even cooking. Remove corn from grill and allow to cool 5 minutes before removing husks.
- If you would like some char marks on the corn, turn your grill to high and then return the corn (after pulling back the husks again) to grill for a few minutes at the very end and quickly char the outside as desired.
- Serve with lots of butter and any chosen toppings!
Nutrition
Categories:
More Delicious Vegetable Recipes:
- The Best Sautéed Green Beans With Bacon
- Air Fryer Baked Potato
- Pan Fried Plantains (Sweet Plantains)
- Air Fryer Asian Roasted Broccoli
- Crispy Baked Sweet Potato Fries
- Oven Roasted Potatoes
- Air Fryer Asparagus
- Best Creamed Spinach
- Garlic Roasted Cherry Tomatoes
Post may contain affiliate links. Read my disclosure policy.


